Gadgets & Equipment

Q's toolkit, tested in the field

Before We Get Started

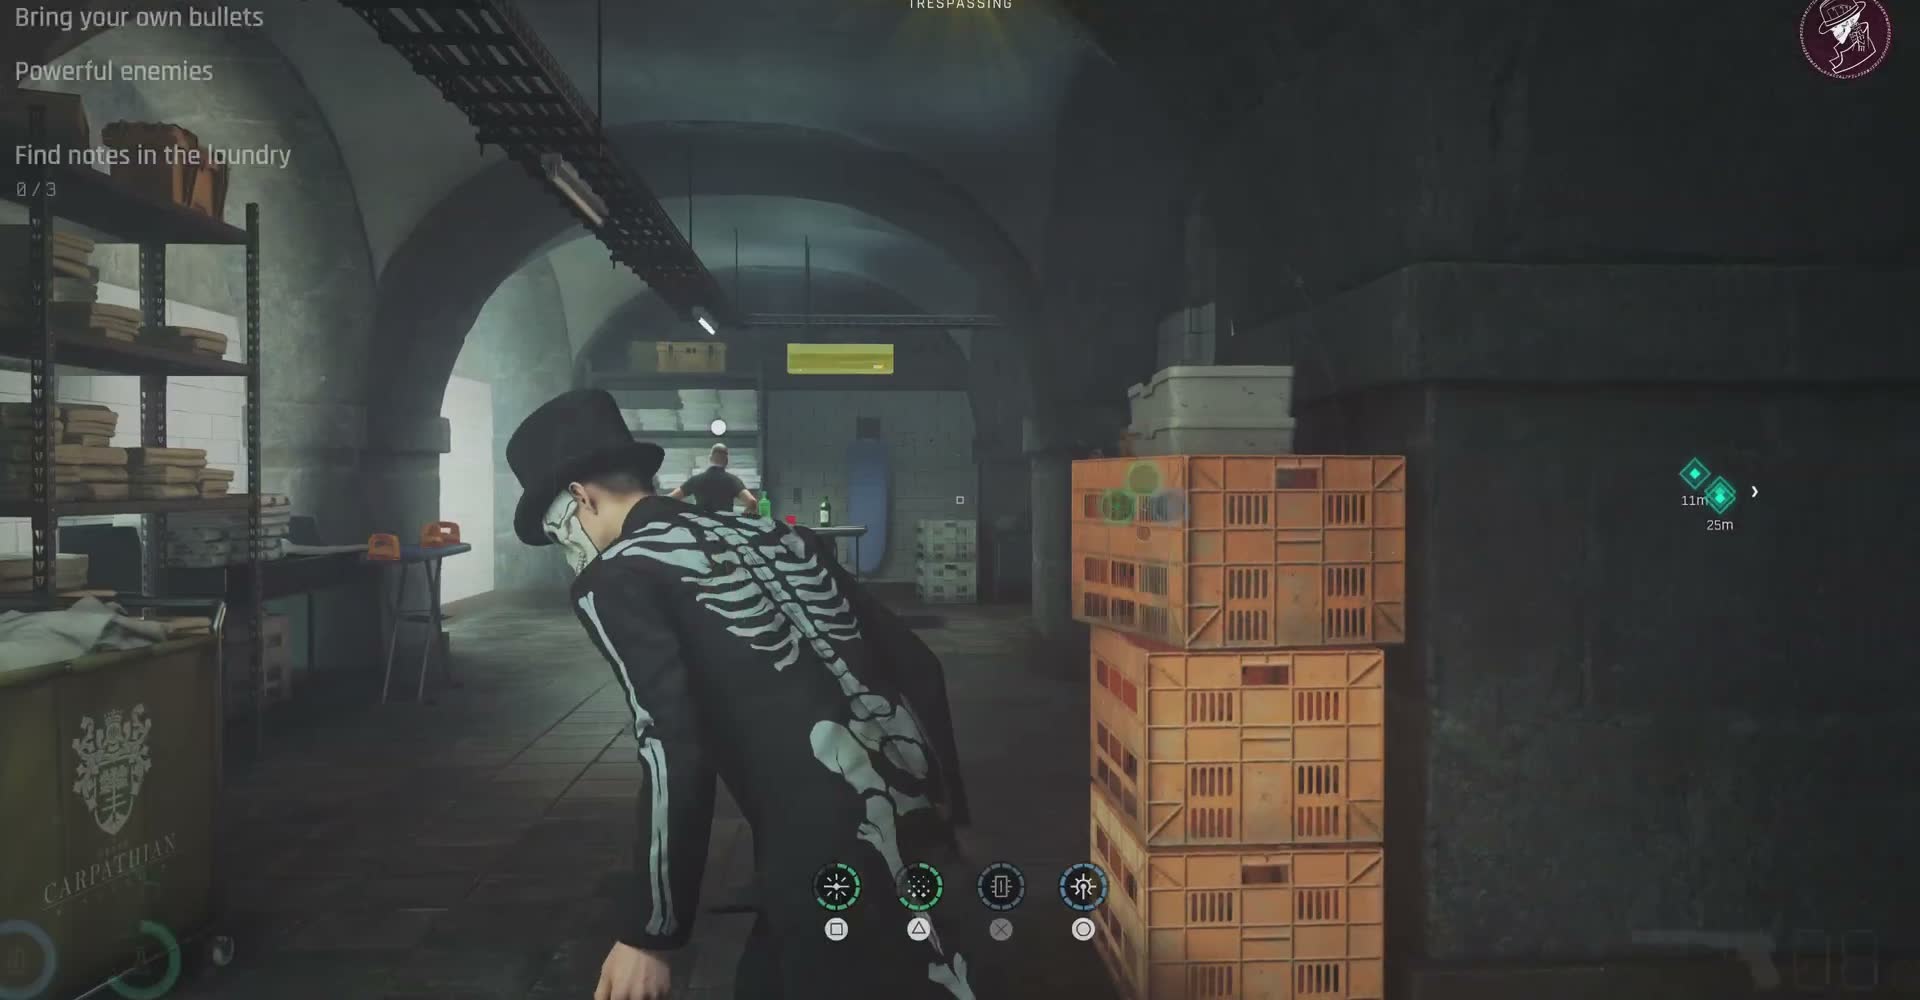
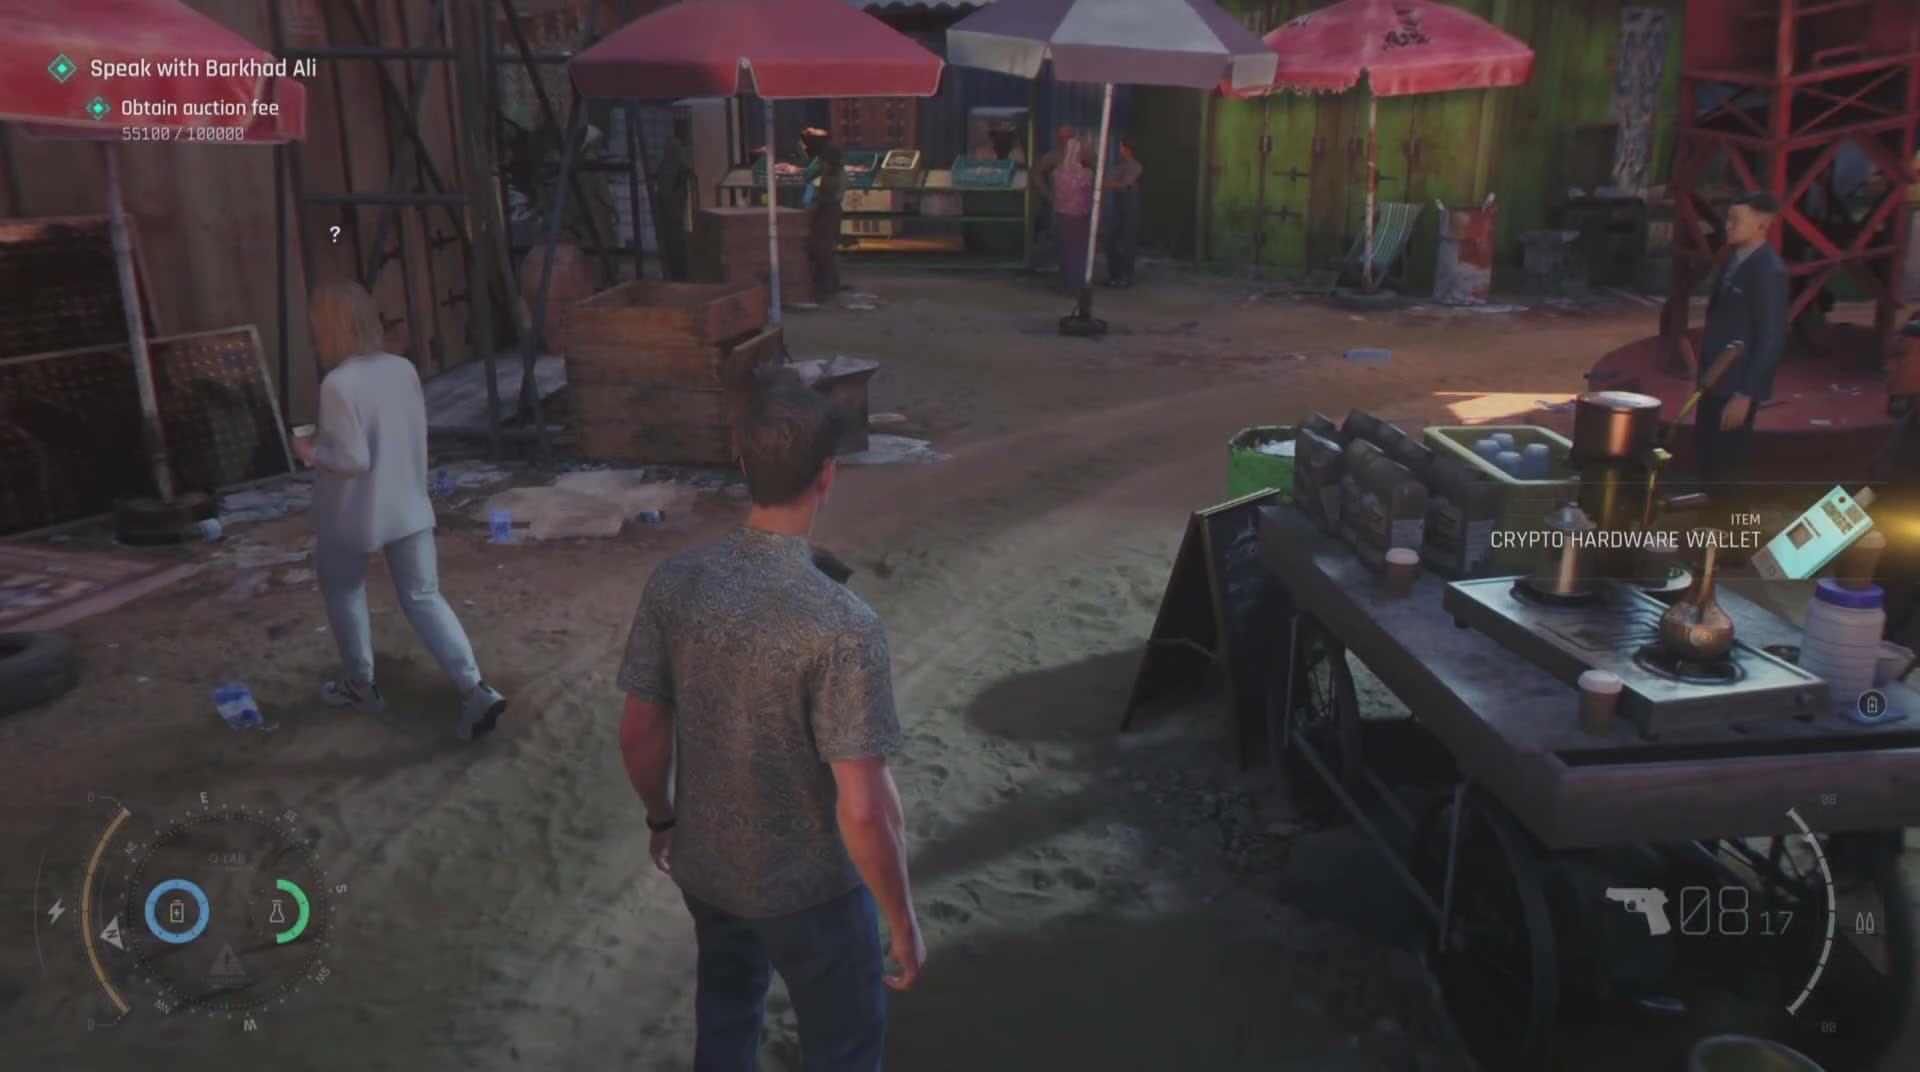
Let me be upfront: there's a lot of garbage online about 007 First Light gadgets. People making up specific upgrade costs, listing gadgets that don't exist, and describing functions that aren't in the game. I've played through the campaign twice and messed around with every gadget I could get my hands on, so everything here is based on actual gameplay rather than speculation.

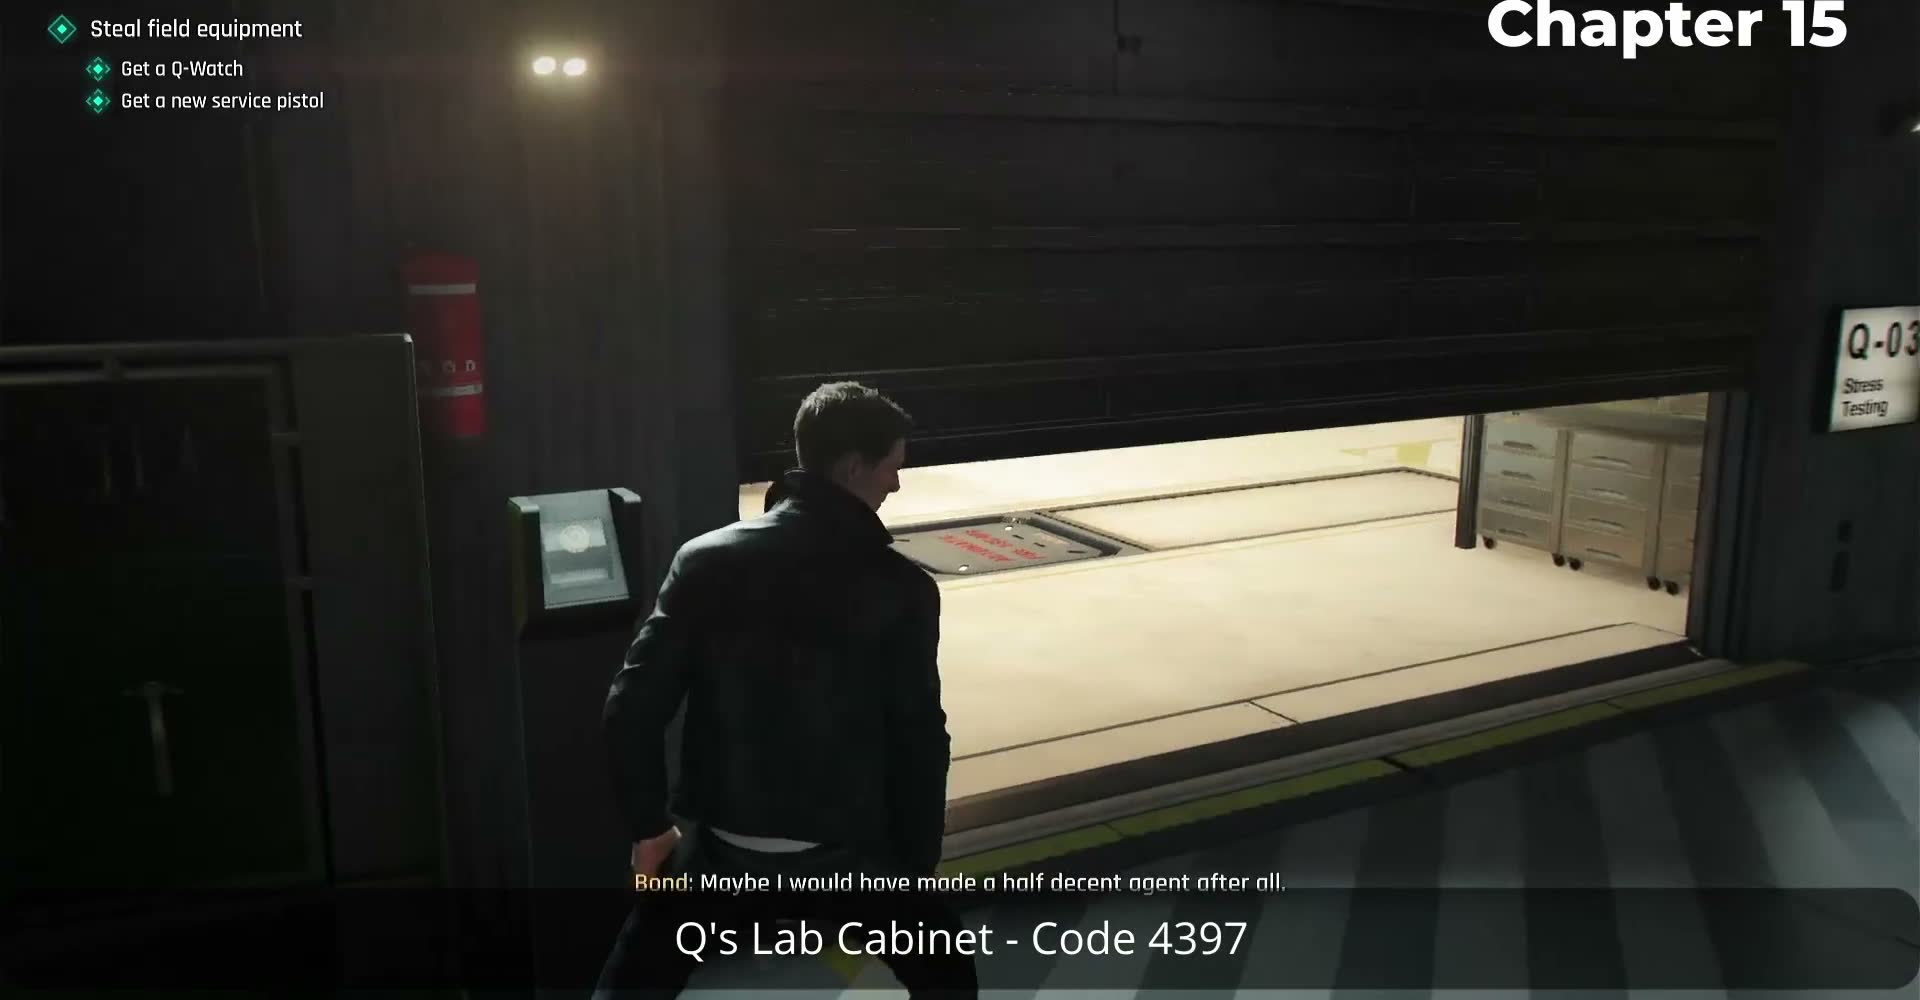
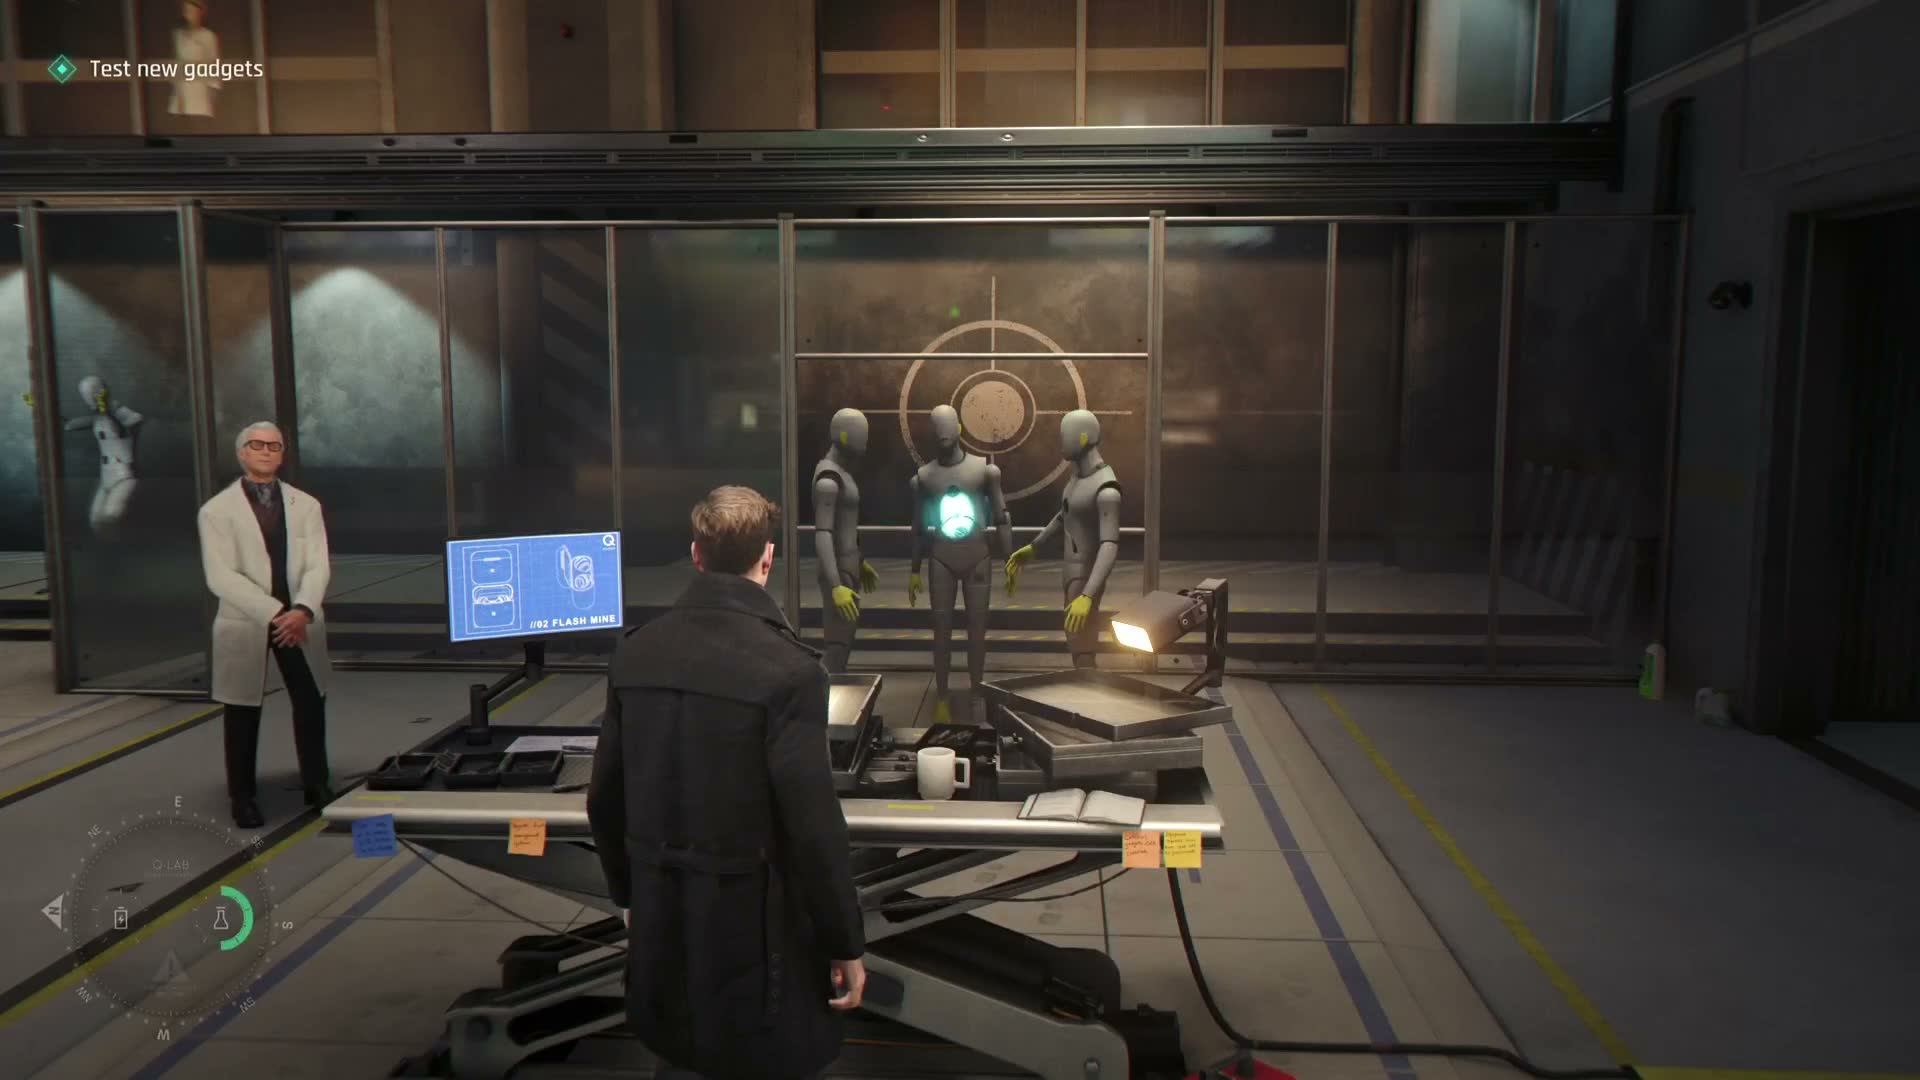
The gadget system works like this: you unlock tools as you progress through the story, and you upgrade them at Q Lab between missions using Intel Points you earn from completing objectives and finding collectibles. Some gadgets are always equipped (looking at you, watch), while others take up loadout slots and you have to choose what to bring.

Here's the big secret: you don't need every gadget upgraded. Focus on 3-4 that fit your playstyle and max those out first. Spreading points thin across everything leaves you weak at everything.
Omega Seamaster Q-Watch

Omega Seamaster Q-Watch

GadgetCh.1

Bond's signature Omega Seamaster chronograph, modified by Q Branch for field operations. This is the one gadget you always have on you, no matter the mission or loadout restrictions. The watch serves double duty: it tells time like any luxury Swiss timepiece, and it packs a surprising amount of spy tech into a case that looks completely civilian. During social infiltration missions, nobody looks twice at a man checking his watch — which is exactly the point.

How It Works

  • Electronic Hacking: Interface with door panels, security cameras, and access terminals. Range is short but reliable — you need to be within a few meters of the target.
  • Flashlight: A small but bright LED for navigating dark corridors and unlit areas. Useful when you don't want to draw attention with a bigger light source.
  • Compass & Navigation: The mechanical compass works even when electronics are fried, and the watch displays your current objective marker and map position.
  • Communication: Direct link to MI6 — Moneypenny and Q pipe in intel, mission updates, and occasional hints when you're stuck.

Agent Tips

Your default gadget in every loadout — never leave home without it, literally
Use it to disable cameras from a short distance rather than sneaking past them
The compass works when EMP'd — invaluable in blackout sections
Upgrades through Q Lab make a huge difference in hacking speed and range

Upgrades Worth Getting

Extended RangeTier 2

Increases hacking distance so you can reach panels from cover

Quick BypassTier 1

Cuts down the time it takes to hack a lock or camera

Where It Shines

Every mission
EMP Device

EMP Device

GadgetCh.2

A compact electromagnetic pulse emitter that fries electronics in its blast radius. This is your 'reset button' for security systems — throw it, and suddenly every camera, alarm, and electronic lock in the area goes dark for a few precious seconds. The window isn't long, but it's usually enough to slip past a security checkpoint or disable a cluster of devices at once. Heavier than it looks and you only carry a limited number per mission, so use them wisely.

How It Works

  • Security Systems: Disables cameras, motion sensors, electronic locks, and alarm panels in the blast radius. Perfect for multi-device chokepoints.
  • Enemy Equipment: Temporarily scrambles enemy radios and comms, preventing them from calling for backup during the blackout window.
  • Environmental Puzzles: Some doors and barriers only open when you EMP the control panel nearby — you'll know it when you see the sparks.
  • Vehicle Disabling: Works on car electronics too, though you'll mostly use this during driving sequences.

Agent Tips

The radius is bigger than you think — throw it near a central position to hit multiple devices at once
Always have one ready when entering a room with multiple cameras
Cooldown / ammo is limited — don't waste them on single devices you can hack with the watch
Combine with a quick dash through a security zone while systems are rebooting

Upgrades Worth Getting

Increased RadiusTier 3

Wider blast covers more ground and more devices

Longer DurationTier 2

Systems stay down longer, giving you more time to move

Where It Shines

Most infiltration missions
Dart Gun

Dart Gun

GadgetCh.2

A non-lethal ranged weapon that fires tranquilizer darts. Think of it as your silent takedown option for when you can't get close enough for a melee subdue. One clean hit puts a guard to sleep — they won't remember what happened and nobody hears a thing. The darts travel slower than bullets and you have to lead moving targets a bit, but the payoff is worth it: a completely silent takedown from across a room. Essential for ghost runs and situations where you can't reach the target from behind.

How It Works

  • Tranquilizer Darts: Standard dart type — puts targets to sleep within a couple seconds of impact. Completely silent.
  • Ranged Stealth Takedowns: Use from hidden positions to take out guards without alerting anyone nearby.
  • Ammo is Limited: You carry a set number of darts per mission — choose your targets carefully. Refill at supply crates.
  • Slow Projectile: Darts arc and travel slower than bullets — you need to lead moving targets and account for drop at long range.

Agent Tips

Fire from cover or a hidden position — they won't see it coming
Always hide the body afterward, same as a melee takedown
Lead moving targets slightly — the dart takes time to travel
Save darts for guards you can't reach from behind — don't waste them on easy melee targets

Upgrades Worth Getting

Extra DartsTier 2

Carry more darts per mission / refill

Faster ActingTier 1

Targets go down quicker, less chance they stumble into view

Where It Shines

Stealth-focused chapters
Grappling Hook

Grappling Hook

GadgetCh.3

A compact grappling device that lets Bond reach elevated positions and cross gaps that would otherwise be impossible. This isn't just a traversal tool — it's a stealth weapon. Being able to zip up to a ledge, cross from one rooftop to another, or bypass a heavily-guarded entrance by going in through a window opens up entirely new approach routes. Some of the best stealth paths in the game are only accessible with this thing. It takes a minute to get the hang of aiming it, but once you do you'll wonder how you ever played without it.

How It Works

  • Vertical Traversal: Climb to ledges, rooftops, and upper floors that are unreachable on foot.
  • Gap Crossing: Zip across open spaces between buildings or over obstacles too wide to jump.
  • Stealth Entry: Access windows, vents, and rooftops that let you bypass guarded entrances entirely.
  • Quick Escape: If things go sideways, a well-timed grapple to a higher position can break line of sight fast.

Agent Tips

Look up — half the grapple points in any given area are easy to miss if you're only looking at eye level
Use it to bypass entire guard patrols by taking the high road
Some collectibles and secret areas are only reachable with the grapple — worth exploring with it
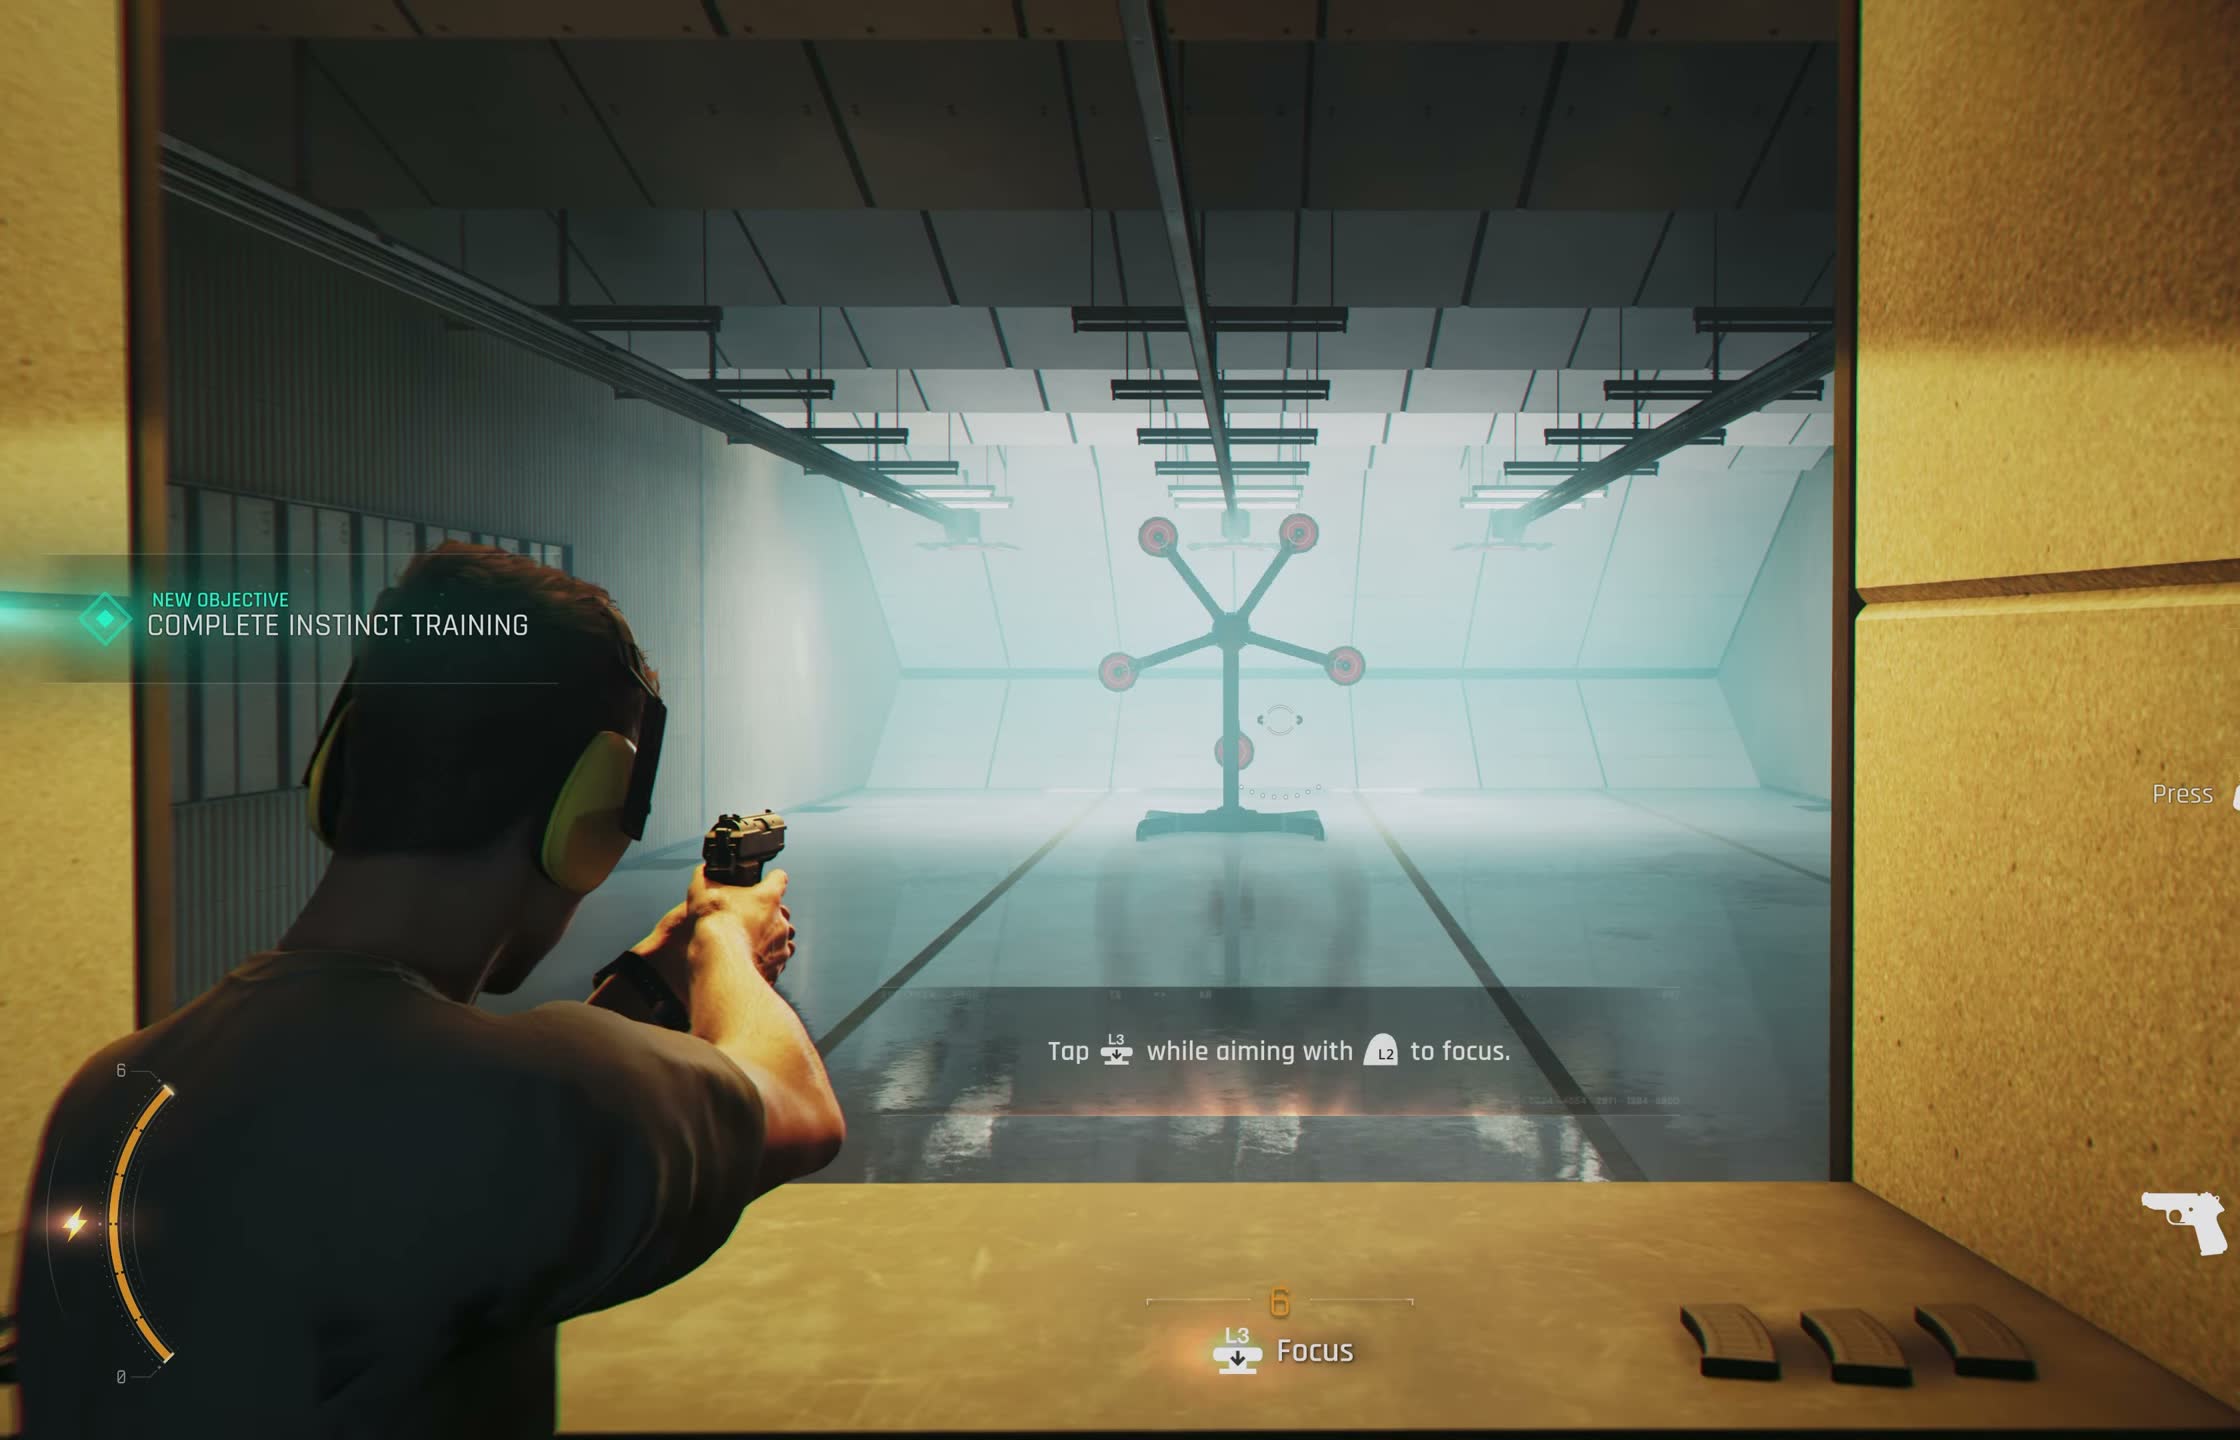
Practice the aiming in Malta's training area — it feels weird at first but clicks fast

Upgrades Worth Getting

Longer RangeTier 2

Reach grapple points from farther away

Faster RetractionTier 1

Pulls you up quicker, less time exposed mid-air

Where It Shines

Chapters with verticality
Lock Pick

Lock Pick

GadgetCh.2

A standard lock picking set for getting through physical locks when you don't have a keycard and hacking isn't an option. Not every lock is electronic — plenty of doors, safes, and containers in the game use old-fashioned mechanical locks, and that's where this comes in. The mini-game is straightforward once you get the feel for it, but it takes time — and time is something you don't always have when a guard is about to round the corner. Upgrade it to make the process faster and more forgiving.

How It Works

  • Physical Locks: Works on standard pin tumbler locks on doors, cabinets, and safes.
  • Requires Time: Picking takes a few seconds — make sure you're hidden before you start.
  • No Electronics Needed: Works when EMP'd or when the lock has no electronic component to hack.
  • Upgrade for Speed: Higher tiers cut down picking time and add some forgiveness for fumbled inputs.

Agent Tips

Always check if you can hack a lock first — it's usually faster if you have line of sight
Start picking right after a guard passes — use their patrol cycle time to your advantage
Some safes contain collectibles and intel — worth picking if you have the time
Upgrade at least once — the speed difference is noticeable

Upgrades Worth Getting

Faster PickingTier 1

Cuts down the time it takes to open a lock

Error ToleranceTier 2

Gives you more room for mistakes before failing

Where It Shines

Most missions

Quick Reference: Which Gadget When

GadgetBest ForUnlocksPriorityFirst Upgrade
Omega WatchAlways available, hackingCh.1★★★★★Extended Range
EMP DeviceDisabling security clustersCh.2★★★★★Increased Radius
Dart GunRanged non-lethal takedownsCh.2★★★★☆Extra Darts
Grappling HookVertical traversal & bypassesCh.3★★★★☆Longer Range
Lock PickPhysical locks & safesCh.2★★★☆☆Faster Picking

Combos That Actually Work

Forget the theory — these are the gadget combinations I found myself using over and over through two full playthroughs. They're reliable, efficient, and make tough sections feel easy once you get the timing down.

EMP + Grappling Hook

EMP DeviceGrappling HookMedium

Hit a security camera cluster with an EMP to blind the area, then immediately grapple up to an elevated position before the systems come back online. This is the fastest way to get past multi-camera chokepoints without alerting anyone. The timing takes practice but once you nail it, you'll be skipping entire security sections.

Dart Gun + Watch Hack

Dart GunOmega WatchEasy

Use the dart gun to put a distant guard to sleep, then hack the nearest camera with your watch while the coast is clear. The dart does all the hard work from range and the watch cleans up the evidence electronically. Perfect for long corridors where you can't sneak past in person.

Grappling Hook + Dart Gun

Grappling HookDart GunMedium

Grapple up to a rooftop or ledge, then fire tranquilizer darts at guards below from above. The high ground gives you perfect aim, nobody looks up (seriously, guards in this game never look up), and you can reposition by grappling to another spot if things get dicey. This combo alone makes most stealth sections trivial.

EMP + Lock Pick

EMP DeviceLock PickEasy

EMP the alarm system on a high-security door first, then pick the lock while the electronics are fried. If you mess up the picking minigame, the alarm won't go off because it's already disabled. The EMP window is tight so start picking immediately — don't waste time.

Watch Hack + Distraction

Omega WatchEnvironmental ObjectsEasy

Throw a bottle or can to pull a guard away from a security panel, then hack the panel with your watch while they're investigating the noise. The distraction buys you the few seconds you need. Free, always available, and nobody suspects a thing. I use this more than any other combo in the game.

Full Stealth Loadout

Dart Gun + Watch + EMP + GrappleHard

The four-tool stealth setup that covers every situation: watch for close-range hacks, dart gun for ranged takedowns, EMP for multi-device rooms, grappling hook for vertical bypasses. If you only upgrade four things, make it these four. With this loadout there isn't a stealth section in the game you can't handle.

Final Advice From Someone Who's Played This Way Too Much

Don't sleep on the basic throwable objects. Bottles and cans are free, unlimited, and 80% of your stealth problems can be solved with a well-placed throw. Gadgets are tools for when the basics aren't enough — not the other way around.
Upgrade your playstyle, not every gadget. If you're a stealth player, max out the watch, dart gun, and EMP first. If you prefer going loud, focus on EMP and combat tools. There's no prize for upgrading everything evenly.
Revisit Q Lab after every chapter. New upgrades and gadgets unlock as you progress, and it's easy to miss them if you just rush to the next mission. I skipped Q Lab for three chapters on my first run and paid for it dearly.

More Gadget & Loadout Guides