Combat Guide
Master every fight like a true 00 agent
Melee Combat
Master hand-to-hand combat with counters, combos, and takedowns.
Shooting
Weapon handling, aim assist, cover system, and firearm tactics.
Boss Fights
Strategies for every major boss encounter and set-piece battle.
Enemy Types
Know your enemies — guards, elites, heavies, and specialists.
Gadgets in Combat
Using Q's gadgets offensively during firefights and brawls.
Combat Fundamentals — 5 Core Tips
Focus Mode Chain Kills
Focus Mode is 007 First Light's signature combat mechanic that allows Bond to chain multiple takedowns in slow motion. When you build your Focus meter (by performing headshots, parries, and melee finishers), you can activate Focus Mode to enter a state where time slows down significantly. During this window, you can mark multiple enemies and execute rapid sequential takedowns with cinematic flair. The key to maximizing Focus Mode is building it up during stealth phases — silent takedowns contribute to the meter without alerting other enemies. When you inevitably go loud, activate Focus immediately to clear rooms efficiently. Each kill in Focus Mode extends its duration slightly, so skilled players can chain through entire groups of 6-8 enemies if they aim quickly. On higher difficulties, Focus Mode duration is reduced, making every shot count even more critically.
Headshots Deal Triple Damage
Headshot damage multiplier is one of the most important combat numbers to know in 007 First Light. A precise headshot deals approximately 3× normal damage on all difficulty levels, meaning most standard enemies die from a single well-placed headshot regardless of weapon type. This makes accuracy far more valuable than raw firepower in almost every engagement. The Walther PPK, despite being a pistol, can clear rooms as effectively as assault rifles if every shot finds its mark. The game features generous hit detection on headshots — the hitbox extends slightly beyond the actual head model, rewarding good aim without requiring pixel-perfect precision. When combined with Focus Mode's time dilation, headshot chains become devastatingly effective. Practice aiming for the head early in the campaign on Operative difficulty, then carry that skill forward into harder playthroughs where ammunition scarcity makes every bullet precious.
Walther PPK — Always Available
The iconic Walther PPK is Bond's signature sidearm and the only weapon that is permanently available regardless of mission loadout or equipment restrictions. It has infinite reserve ammunition (though the magazine still needs reloading) and never can be taken from you. This makes the PPK your reliable fallback in any situation — when you run dry on primary weapons, when a mission strips your gear, or when stealth fails and you need immediate firepower. The PPK excels at medium-range precision shooting with minimal recoil and fast follow-up shot capability. While it lacks the raw damage per second of SMGs or rifles, its accuracy and infinite ammo make it arguably the most versatile weapon in the game for skilled players who prioritize headshots. Upgrade the PPK at Q Lab whenever possible — improved sights, extended magazines, and enhanced damage mods transform this classic sidearm into a legitimate primary weapon choice throughout the entire campaign.
Health & Regeneration System
Bond's health system in 007 First Light uses a regenerating shield model similar to modern shooters but with some unique twists. You have a base health pool that depletes when taking damage, represented by the red health bar. Once you take damage, you have a brief "damage grace period" of about 1.5 seconds where additional damage is slightly reduced, encouraging aggressive counter-attacks rather than passive retreat. Health begins regenerating after 5 seconds of not taking any damage, regenerating at a rate of about 10% per second back to full. However, if your health drops below 25%, regeneration pauses for an additional 3 seconds and resumes at half speed — this prevents you from simply ducking behind cover for a few seconds after nearly dying. Cover reduces incoming damage by approximately 70% when properly positioned, making smart cover usage more valuable than pure dodging ability in prolonged firefights.
Cover System Mastery
The cover system in 007 First Light is deeply integrated into both stealth and combat gameplay. Pressing the cover button near any suitable surface snaps Bond into cover, reducing incoming damage significantly while allowing blind fire and aimed peek shots. Advanced cover techniques include: cover-to-cover movement (hold direction toward another cover point while in cover to sprint between them), cover melee (press attack while in cover near an enemy to perform a quick cover takedown), and cover slide (sprint toward cover and crouch to slide into position faster). Different cover types offer different protection levels — solid concrete walls provide maximum protection with no penetration risk, while wooden furniture, glass barriers, and chain-link fences can be shot through by enemies. The instinct system highlights the best cover positions in gold when activated, helping you plan movement routes before engaging. In combat scenarios, always prioritize moving to better cover over standing your ground — a repositioned fight is usually a won fight.
Melee Combo System
Three Combat Stances Explained
007 First Light's melee combat revolves around three distinct stances that change Bond's available moveset and combat properties. Precision Stance (default) emphasizes quick jabs, accurate strikes, and defensive options. Attacks deal moderate damage but execute very quickly, allowing for rapid combo strings. This stance excels against single opponents or when you need to maintain mobility during a fight. Power Stance trades speed for raw damage — each attack is slower but hits significantly harder, ideal for breaking enemy blocks or finishing off heavily damaged foes. The wind-up animation leaves you vulnerable, so commit to Power Stance attacks only when you have an opening. Balanced Stance sits between the two, offering neither the fastest attacks nor the hardest hits but providing the most consistent performance across varied situations. Most players should default to Precision for standard encounters and switch to Power for guaranteed openings like stunned enemies or post-parry windows.
Parry Timing — Red vs Yellow Indicators
The parry system uses visual indicators that appear above attacking enemies to signal timing windows. Red indicators represent grab attacks or unblockable heavy strikes — these cannot be parried conventionally and must instead be dodged by pressing the dodge button when the indicator flashes. Dodging a red attack creates a counter-opportunity window where Bond can deliver a free powerful strike. Yellow indicators represent standard attacks that can be parried by pressing the attack/parry button just as the enemy's strike would land. Perfect parries (timing within the tight success window) stun the enemy briefly, open them for a critical counter-hit, and restore a small amount of Focus meter. Late parries still block the damage but don't grant the bonus effects. Missing a parry entirely means taking full damage. Learning to read indicator colors instantly is the single most important melee skill — confusing a red grab for a yellow attack and trying to parry it will result in taking the full hit plus being grabbed. In group fights, prioritize reading the closest enemy's indicators first.
Combo Chains & Finishers
Successful melee combat in 007 First Light is built around extending combo chains for maximum damage output. Each consecutive hit in a combo increases a hidden combo counter that affects damage scaling — longer combos deal progressively more damage per hit, rewarding aggression once you've committed to an exchange. Combo chains can transition between stances mid-sequence using specific input combinations, allowing experienced players to weave Precision jabs into Power finishers for optimal damage curves. When an enemy's health is depleted through melee damage, a finisher prompt appears — pressing the attack trigger executes a cinematic takedown that deals massive area-of-effect damage to nearby enemies and fully restores your Focus meter. These finishers are the key to sustaining long melee encounters against groups; strategically weakening one enemy before finishing them can turn the tide of an entire room fight. Environmental finishers near walls, tables, or ledges deal additional damage and look spectacular.
Weapon Tier List
S-Tier: Walther PPK
The eternal sidearm. Infinite ammo, excellent accuracy, fast fire rate, available in every situation. With headshot focus, it outperforms "better" weapons. Q Lab upgrades make it endgame-viable. The only weapon you can truly rely on 100% of the time.
A-Tier: Submachine Gun (SMG)
The most versatile primary weapon class. Good damage, manageable recoil, large magazine size, effective at close-to-medium range. Excels in room-clearing scenarios and sustained firefights. Slightly less accurate than the PPK at range but compensates with superior DPS when hip-firing or suppressing multiple targets.
B-Tier: Assault Rifle
Powerful and accurate at range but situational due to limited availability and slower handling. Best used in open outdoor combat zones like Iceland exterior areas and certain Slovakia rooftop sections. The rifle's scope attachment enables long-range engagements that other weapons cannot match, making it invaluable for specific encounter designs.
B-Tier: Shotgun
Devastating at close range, nearly useless beyond 10 meters. The ultimate room-clearing tool for tight corridor fights and interior breaches. One shot can eliminate standard enemies outright at point-blank range. Very limited ammo capacity and slow reload speed mean every shot must count. Save it for crowded rooms where it shines brightest.
Boss Fight Basics
Damian Weber — Slovakia Hotel
Damian Weber serves as the major boss encounter in Chapter 4 (Slovakia Hotel), acting as Bauma's chief enforcer and a former MI6 operative turned mercenary. This fight unfolds across three distinct phases in the hotel's grand ballroom. Phase 1 is a straightforward duel where Weber uses a combination of pistol fire and aggressive melee charges. Stay mobile, use the ballroom pillars for cover, and focus on parrying his yellow-indicator attacks to build Focus. Phase 2 introduces hired guards who join the fray — prioritize eliminating them quickly before returning attention to Weber, as fighting both simultaneously is extremely difficult. Phase 3 triggers when Weber drops below 40% health, entering an enraged state with faster attacks and unblockable red grabs mixed into his pattern. Save your Focus Mode for Phase 3 to chain-takedown the remaining guards while weaving around Weber's final assault pattern. Defeating Weber unlocks his unique pistol as a collectible weapon for New Game+.
Bauma — Final Boss (Lenny Kravitz)
The final confrontation with Bauma (portrayed by Lenny Kravitz) is 007 First Light's most complex and cinematic boss battle, spanning two major sequences. The first sequence takes place in Bauma's private command deck aboard his yacht, featuring a multi-stage fight that combines melee combat, environmental hazards, and quick-time events. Bauma fights with brutal efficiency, mixing hand-to-hand combat with gadget deployment including deployable drones and proximity mines. His attack patterns shift based on your approach — aggressive play triggers counter-heavy responses while defensive play draws him into ranged engagements. The second sequence occurs on the yacht's helipad during a storm, adding environmental hazards like wind gusts and lightning strikes that affect both combatants. Bauma's final phase introduces scripted cinematic moments where you must use contextual prompts to gain advantages. The fight is designed to feel like a classic Bond climax — dramatic, challenging, and memorable. Prepare by maxing out your Focus meter beforehand and bringing your most upgraded loadout.
In-Depth Combat Guides
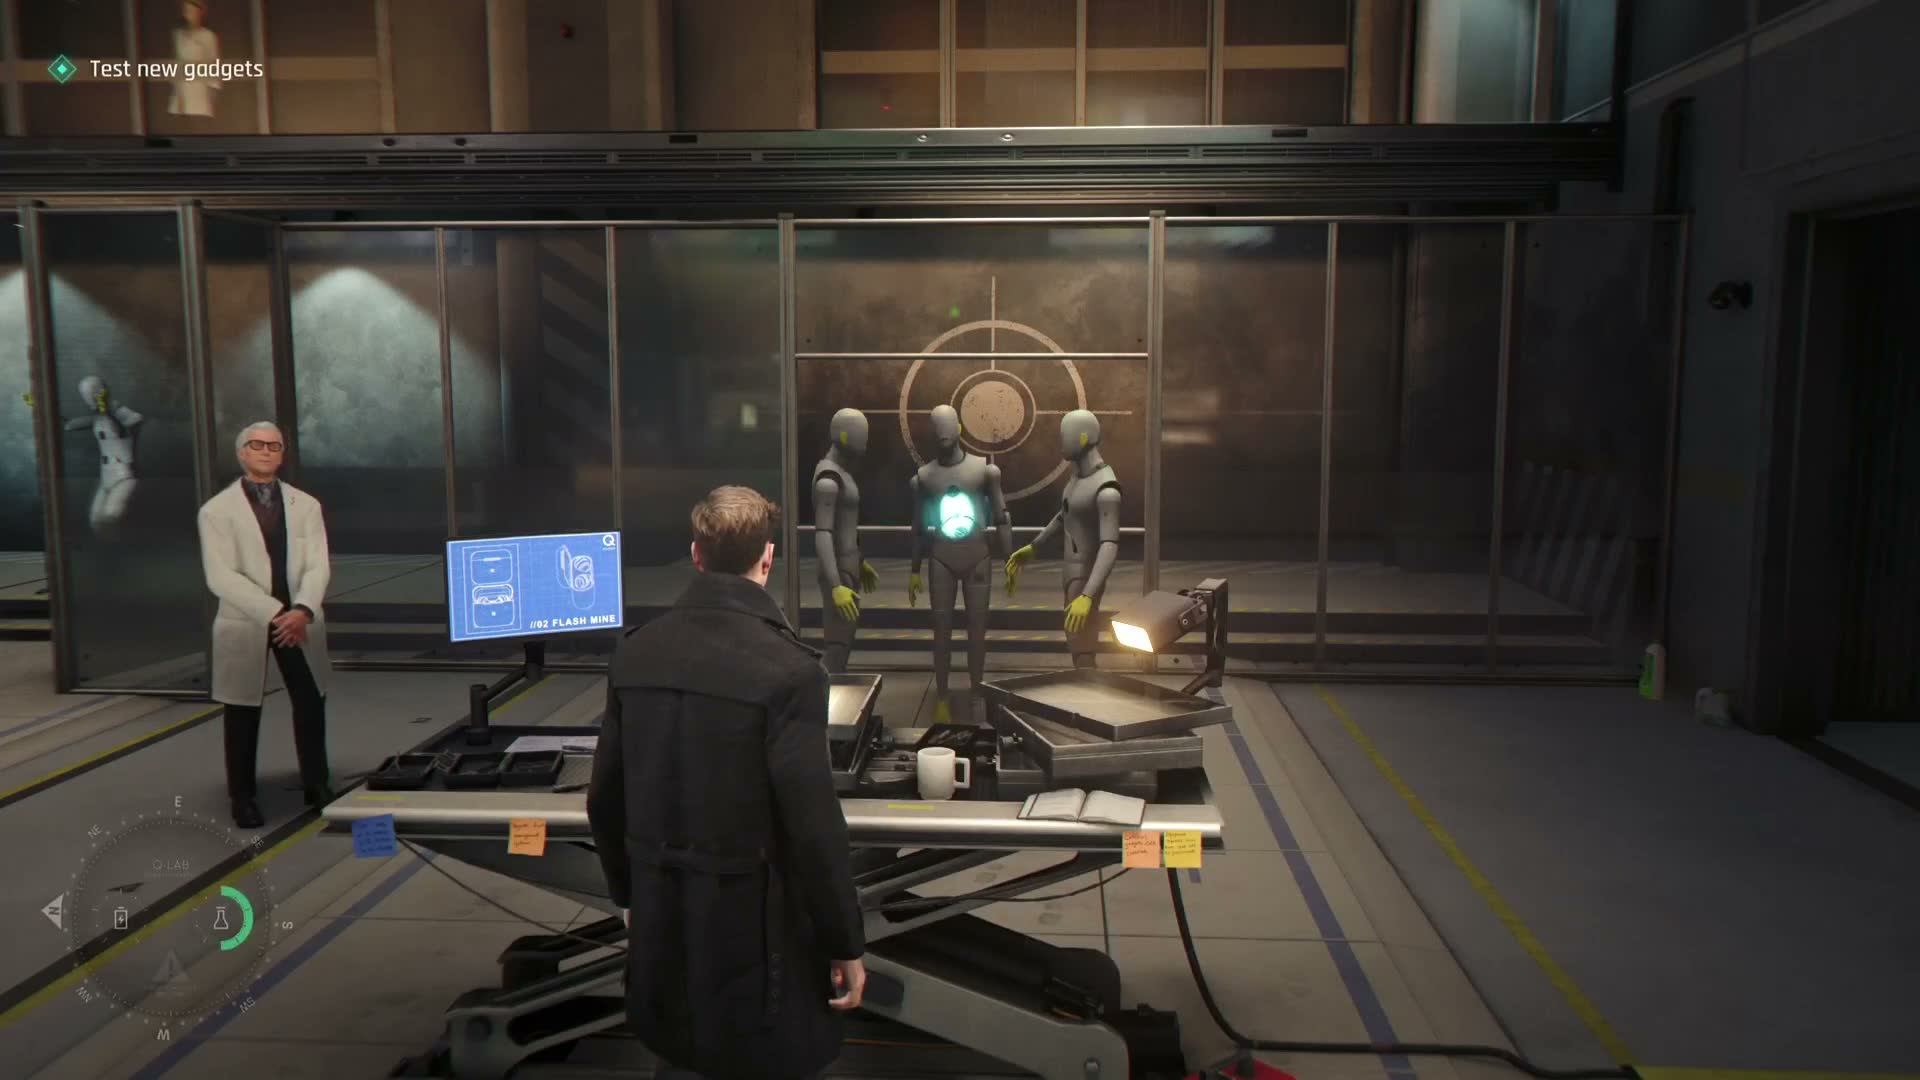
007 First Light Best Weapons Guide - All Guns and Loadouts Ranked
Discover the best weapons in 007 First Light with our ranked guide covering all guns, upgrades, and recommended loadouts for every situation.
Read More
007 First Light Aston Martin Driving Guide - All Car Sections
Complete guide to all Aston Martin driving sections in 007 First Light with controls, tips, and how to master every chase sequence.
Read More
007 First Light Boss Fight Guide - All Boss Strategies and Tips
Defeat every boss in 007 First Light with our complete guide covering strategies, attack patterns, and the best approach for each encounter.
Read More
007 First Light Beginner Tips - 15 Essential Tips for New Players
`15 honest beginner tips for 007 First Light from someone who's actually played it. Stealth
Read More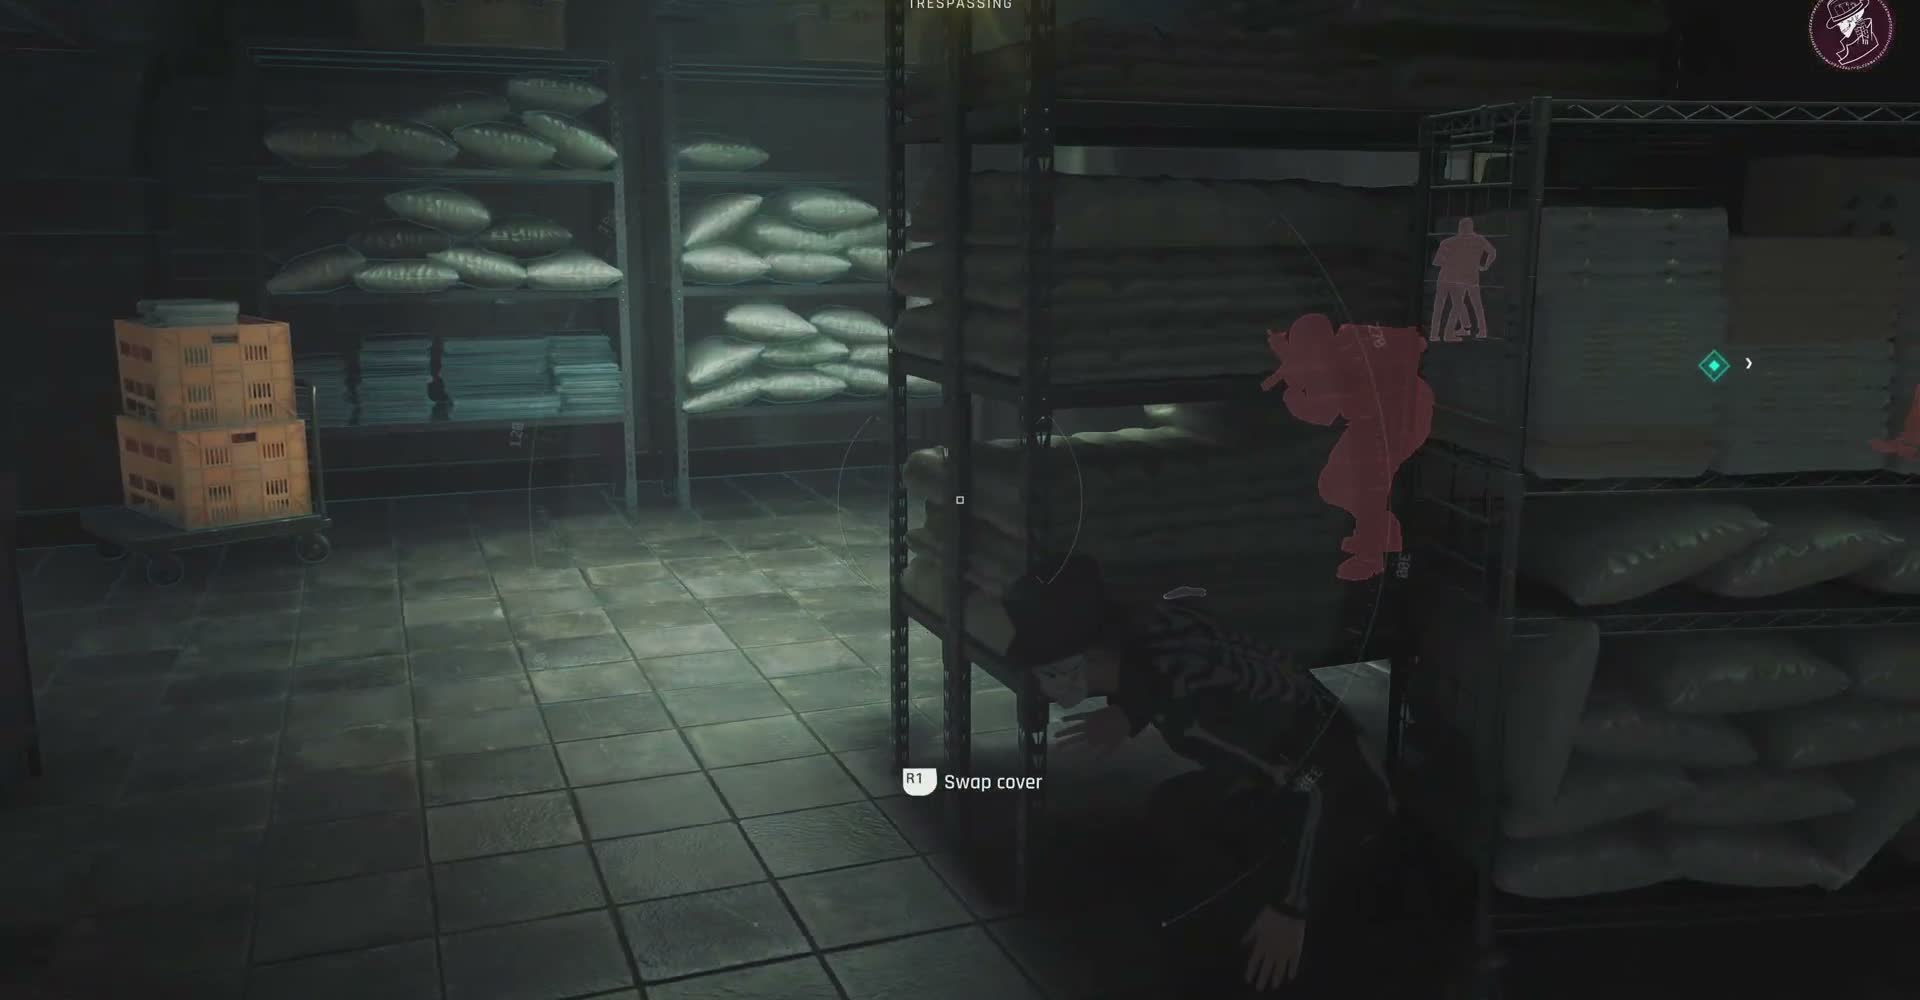
007 First Light Melee Combat Guide - Takedowns and Close Quarters
Master melee combat in 007 First Light with our guide covering all takedown types, melee mechanics, and close-quarters strategies.
Read More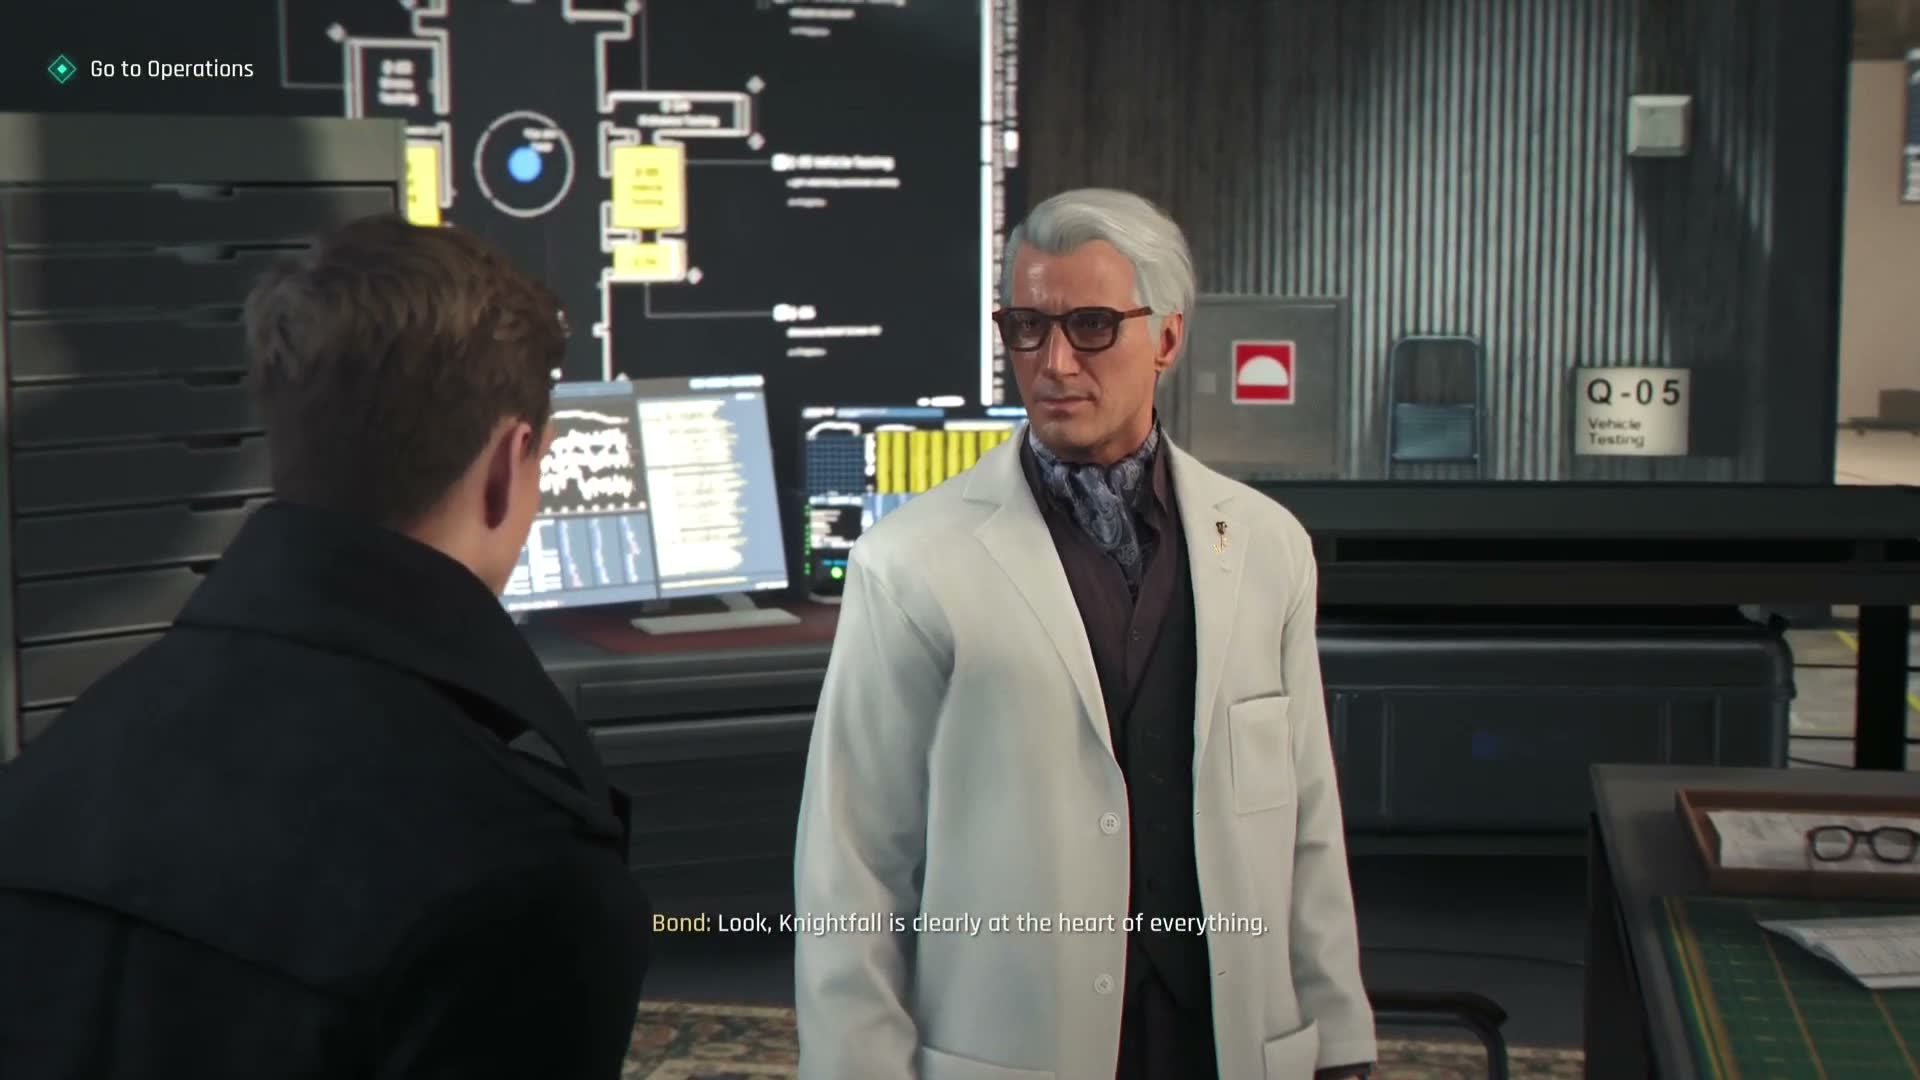
007 First Light Best Loadout Per Mission - Optimal Gear for Every Chapter
The best loadout for every mission in 007 First Light with weapon and gadget recommendations for stealth, combat, and hybrid approaches.
Read More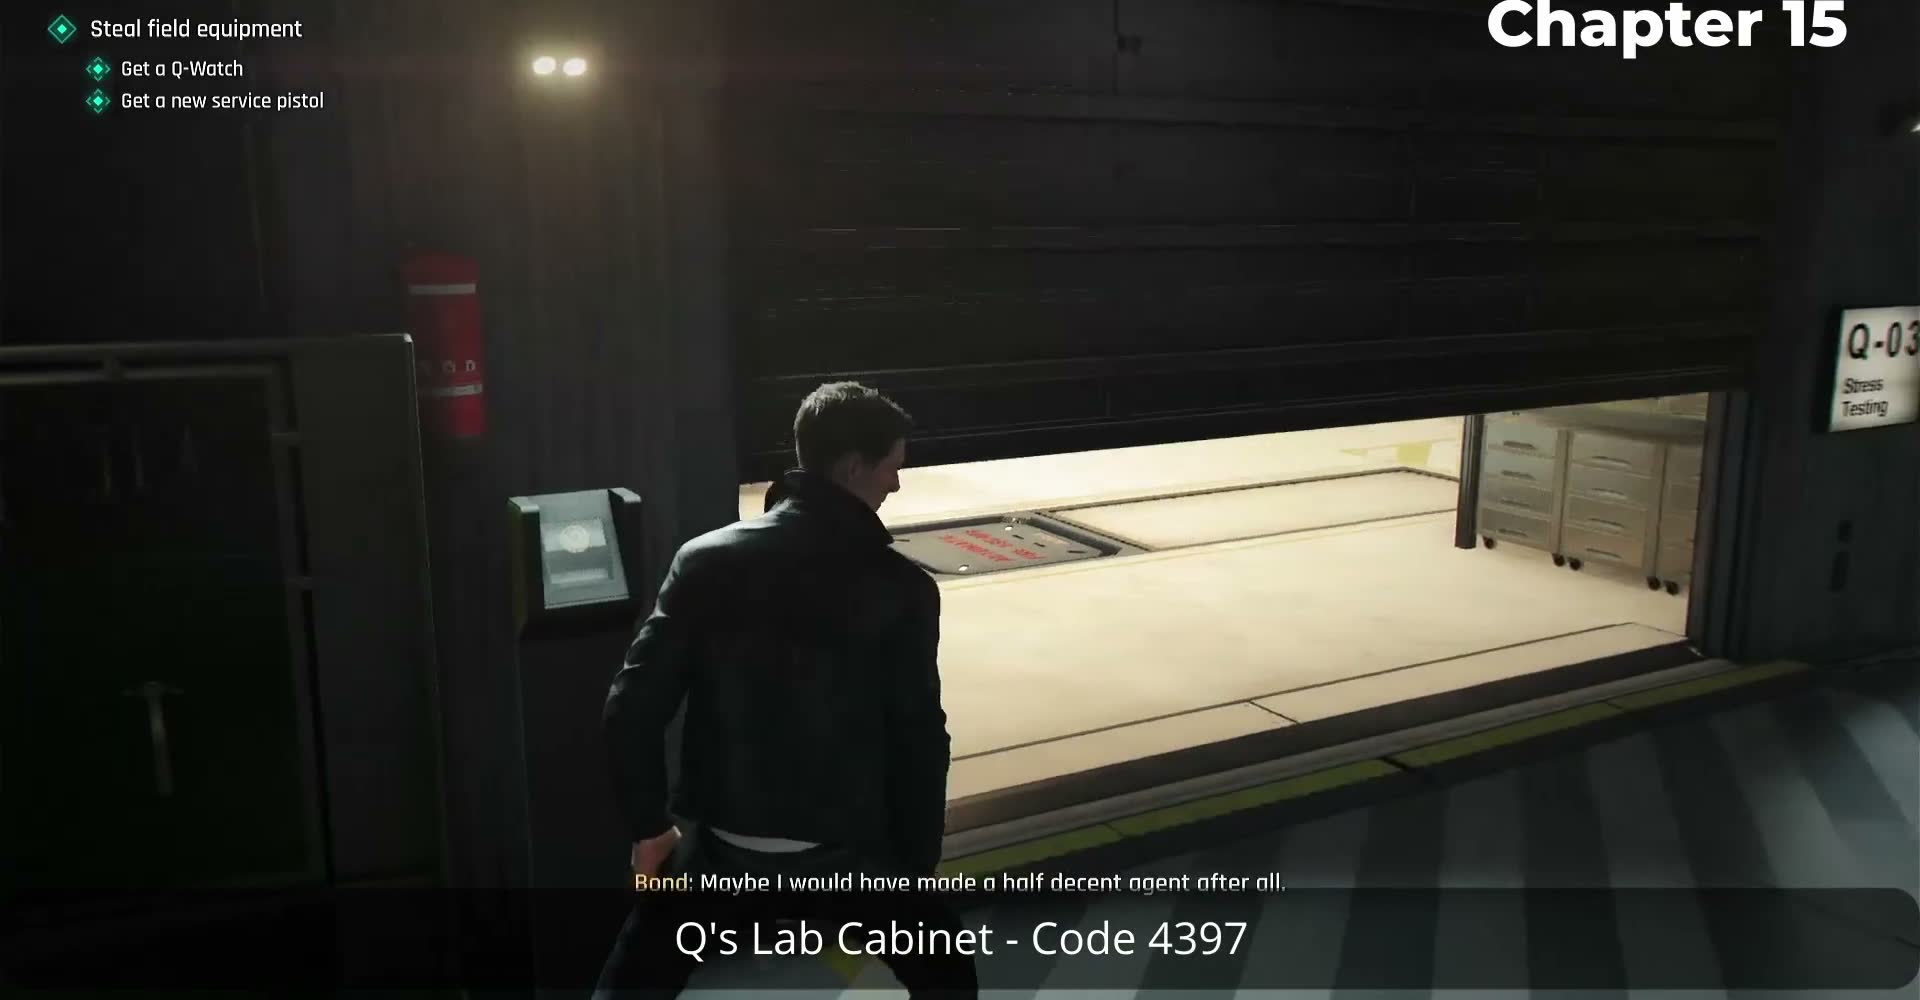
007 First Light Final Boss Bawma Strategy - How to Defeat Bawma
Complete strategy guide for defeating the final boss Bawma in 007 First Light covering all phases, tactics, and approach options.
Read More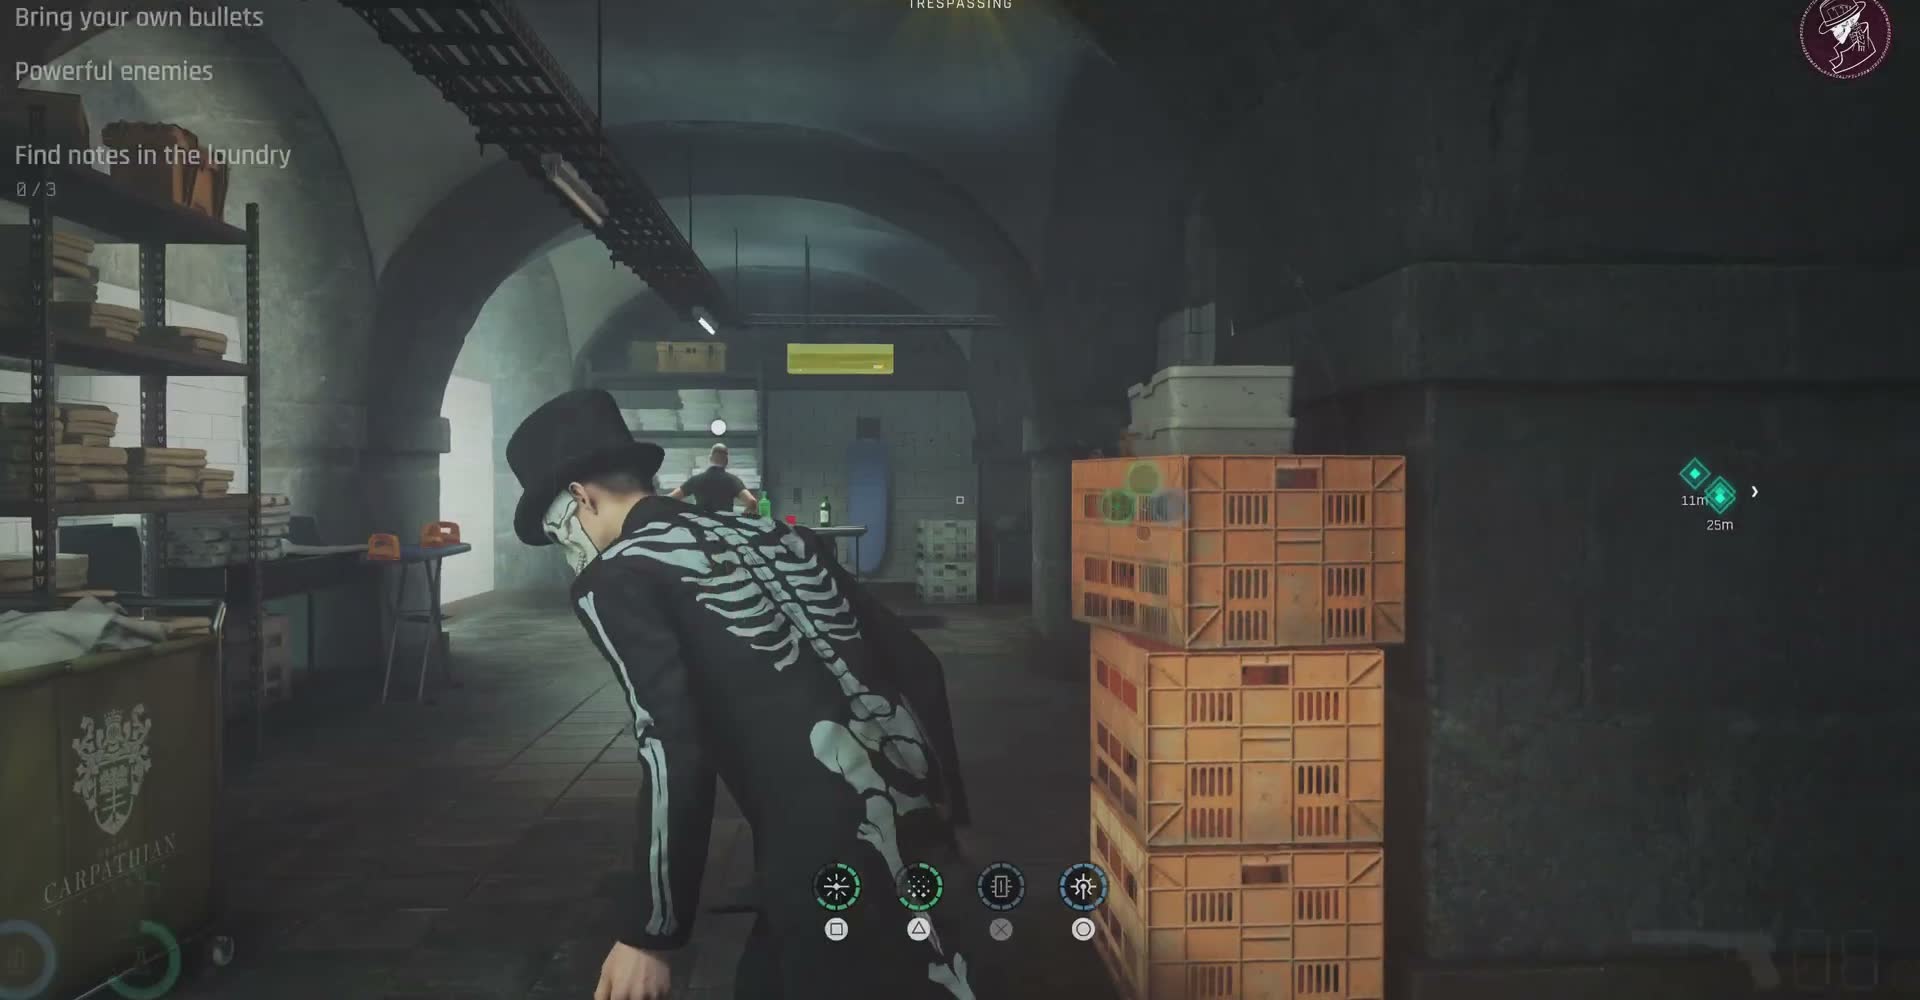
007 First Light Best Gadgets & Q Lab Upgrades - Essential Loadout Guide
Honest guide to Q Lab upgrades and the 8 confirmed gadgets in 007 First Light. Learn which gadgets to prioritize for stealth, combat, and exploration.
Read More