007 First Light Boss Fight Guide - All Boss Strategies and Tips
Defeat every boss in 007 First Light with our complete guide covering strategies, attack patterns, and the best approach for each encounter.
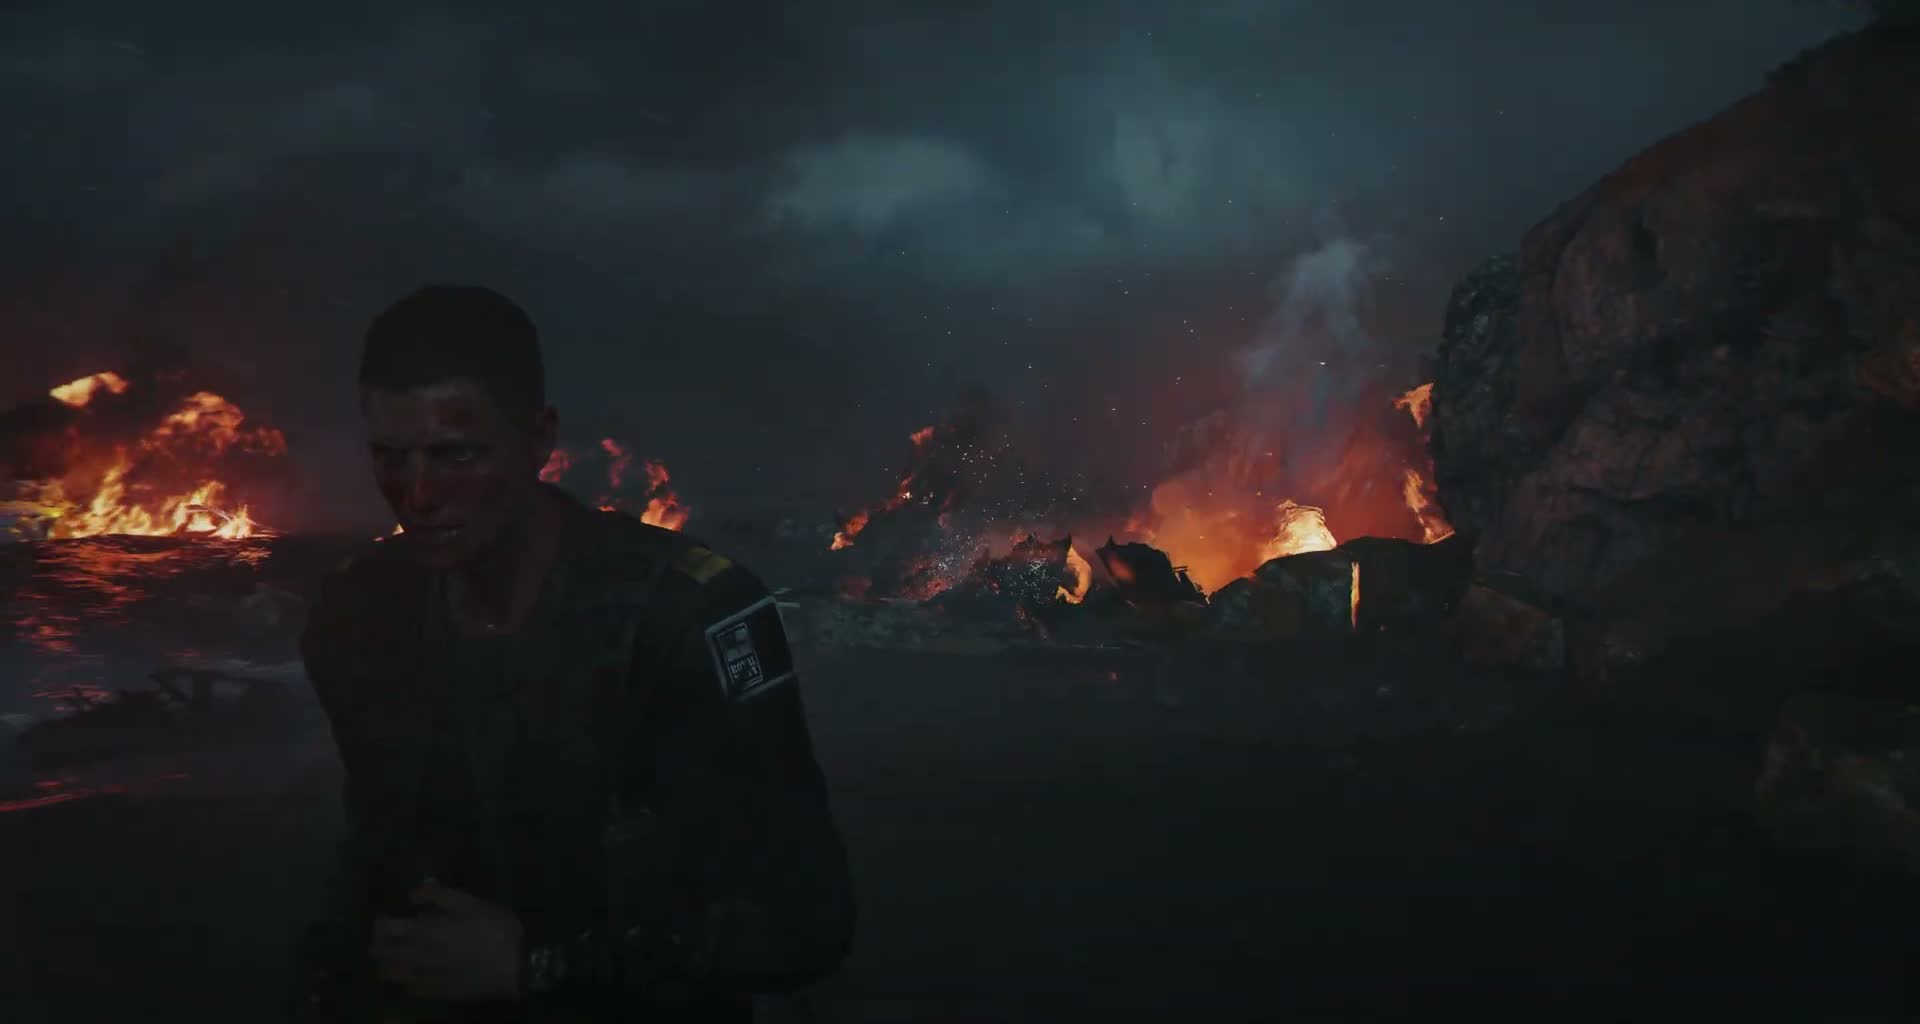
All Boss Fights in 007 First Light
007 First Light features several target encounters throughout its campaign, ranging from stealth-oriented eliminations to more direct confrontations. Unlike traditional boss fights with health bars and scripted attack phases, most encounters in 007 First Light follow the Hitman-style approach where targets can be eliminated through creative means rather than forced combat. However, there are a few encounters in the later chapters that lean more heavily on action and direct confrontation. The main target encounters include the Iceland facility director, the Malta training commander, the London nightclub owner, the Slovakia hotel target, and the final confrontation with Bawma. Each target has unique behaviors, patrol patterns, and vulnerabilities that can be exploited for creative eliminations. Understanding each target's routine is key to finding the most efficient and satisfying way to deal with them.
Iceland and Malta Boss Strategies
In the early chapters of 007 First Light — specifically Iceland and Malta — there are no traditional "boss fights" in the conventional video game sense. Instead, these missions follow IO Interactive's Hitman formula: you are assigned high-value targets that you must eliminate, and the game gives you the freedom to choose how. There are no health bars, no scripted phases, and no arena locked down for a one-on-one fight. The Iceland facility director can be eliminated through environmental accidents, poisoned drinks, stealth takedowns, or even disguised as a workplace incident. Similarly, the Malta training commander has a routine you can exploit — you can sneak in disguised as staff, tamper with equipment, or arrange an "accident" during training exercises. The key is observation: watch patrol patterns, listen for conversations that reveal weaknesses, and look for environmental hazards you can use. These early targets are designed to teach you that creativity is more effective than firepower.
London and Slovakia Boss Strategies
The London nightclub owner is a social target who spends his time in the VIP area and private office. The most elegant elimination is to poison his signature cocktail at the bar, which appears as a tragic accident. Alternatively, you can access his office through the service corridor and arrange a meeting accident. The Slovakia hotel target is the most complex encounter in the middle chapters, with a detailed routine that spans multiple floors of the hotel. He visits the casino, restaurant, spa, and penthouse suite on a schedule. The most satisfying elimination involves pushing him from the penthouse balcony during his private moment, which requires careful timing to avoid witnesses. You can also sabotage the elevator he uses between floors, electrocute him in the spa, or poison his meal in the restaurant. Each method requires different disguises and preparation.
Final Boss - Bawma Strategy
The final encounter with Bawma in Chapter 16 is not a straightforward shootout — it combines elements of stealth, environmental interaction, and player choice that reflects your journey through the game. The structure of this final confrontation actually varies depending on the ending path you've been pursuing through your earlier choices (Duty, Justice, or Sacrifice), which means different players may experience slightly different scenarios. Rather than a simple arena with a health bar, you have opportunities to use the environment to your advantage — there are cover positions, interactive elements, and multiple approaches to consider. You can choose to go in guns blazing if that's your playstyle, but stealthy and tactical players will find ways to turn the situation to their advantage without relying purely on firepower. The encounter is designed to feel like a climax to your personal Bond story rather than a generic boss rush, so play to the strengths of the build and approach you've developed throughout the campaign.
Related Guides
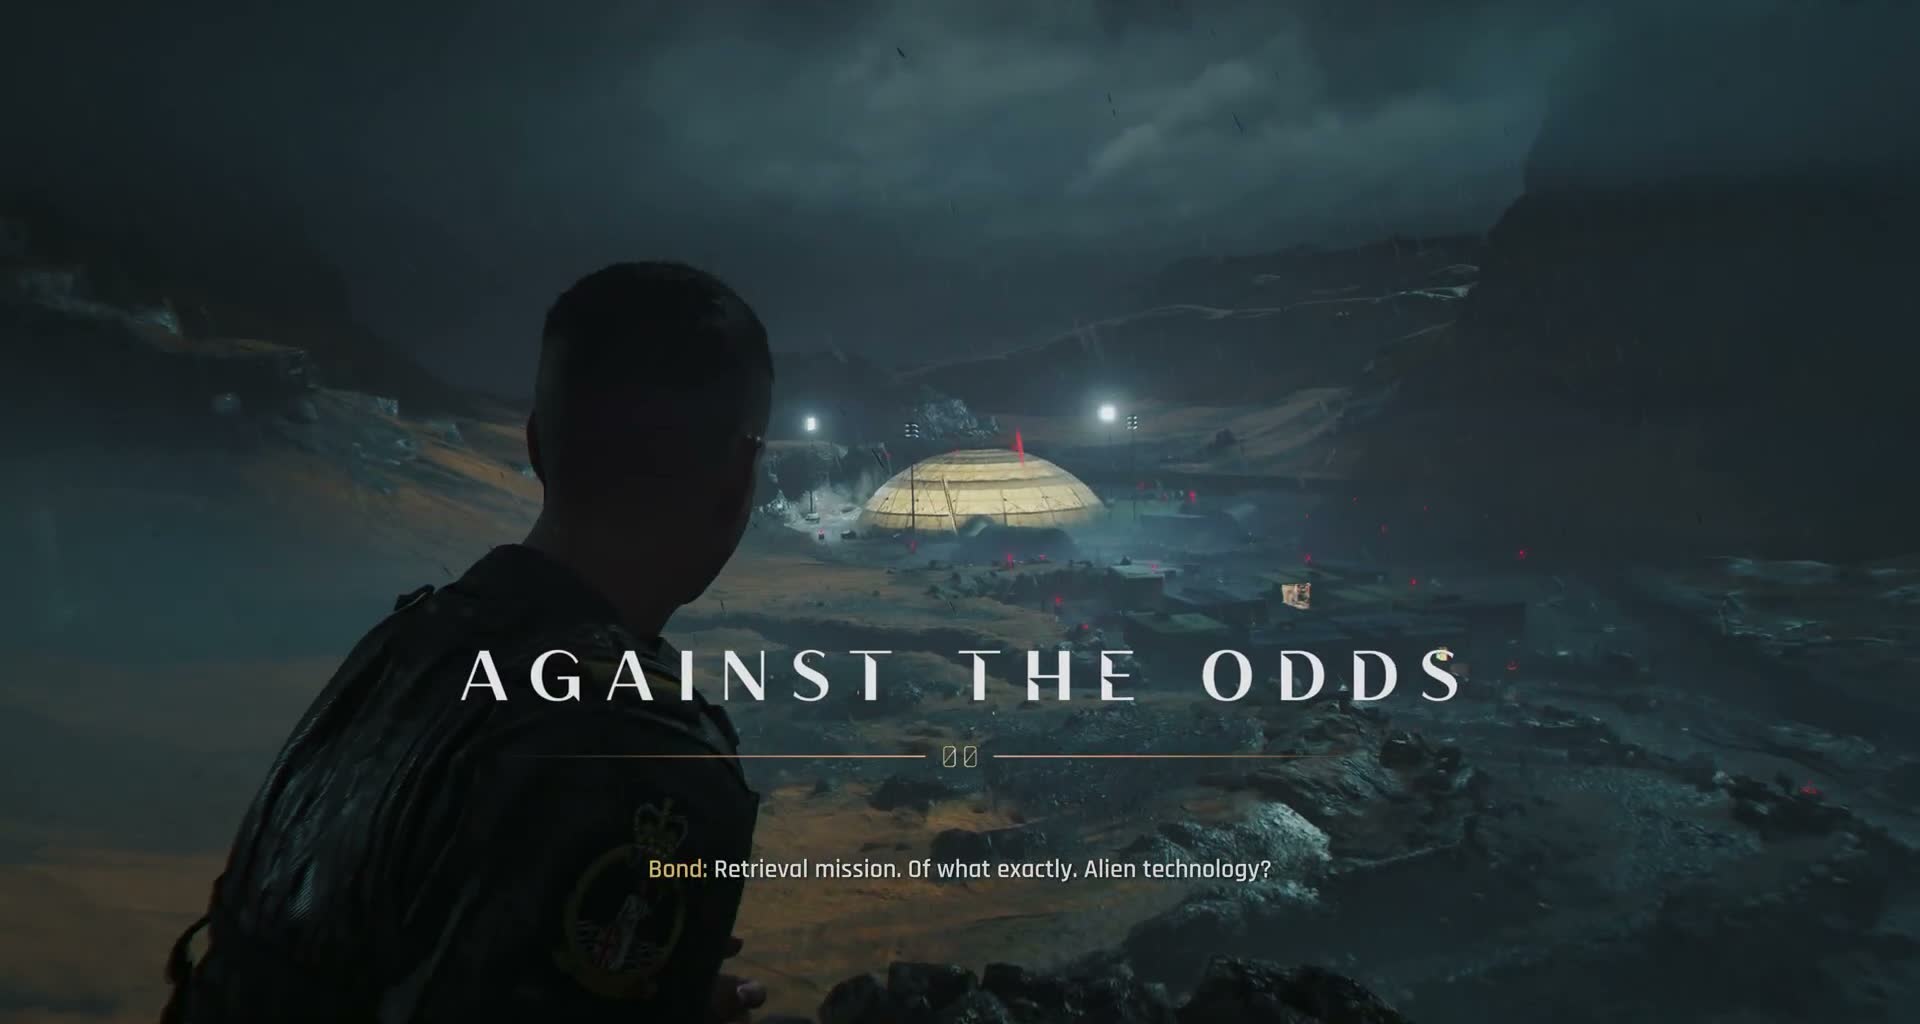
007 First Light Complete Walkthrough
Complete walkthrough for 007 First Light covering all seventeen chapters, missions, story decisions, and optional objectives.
Read More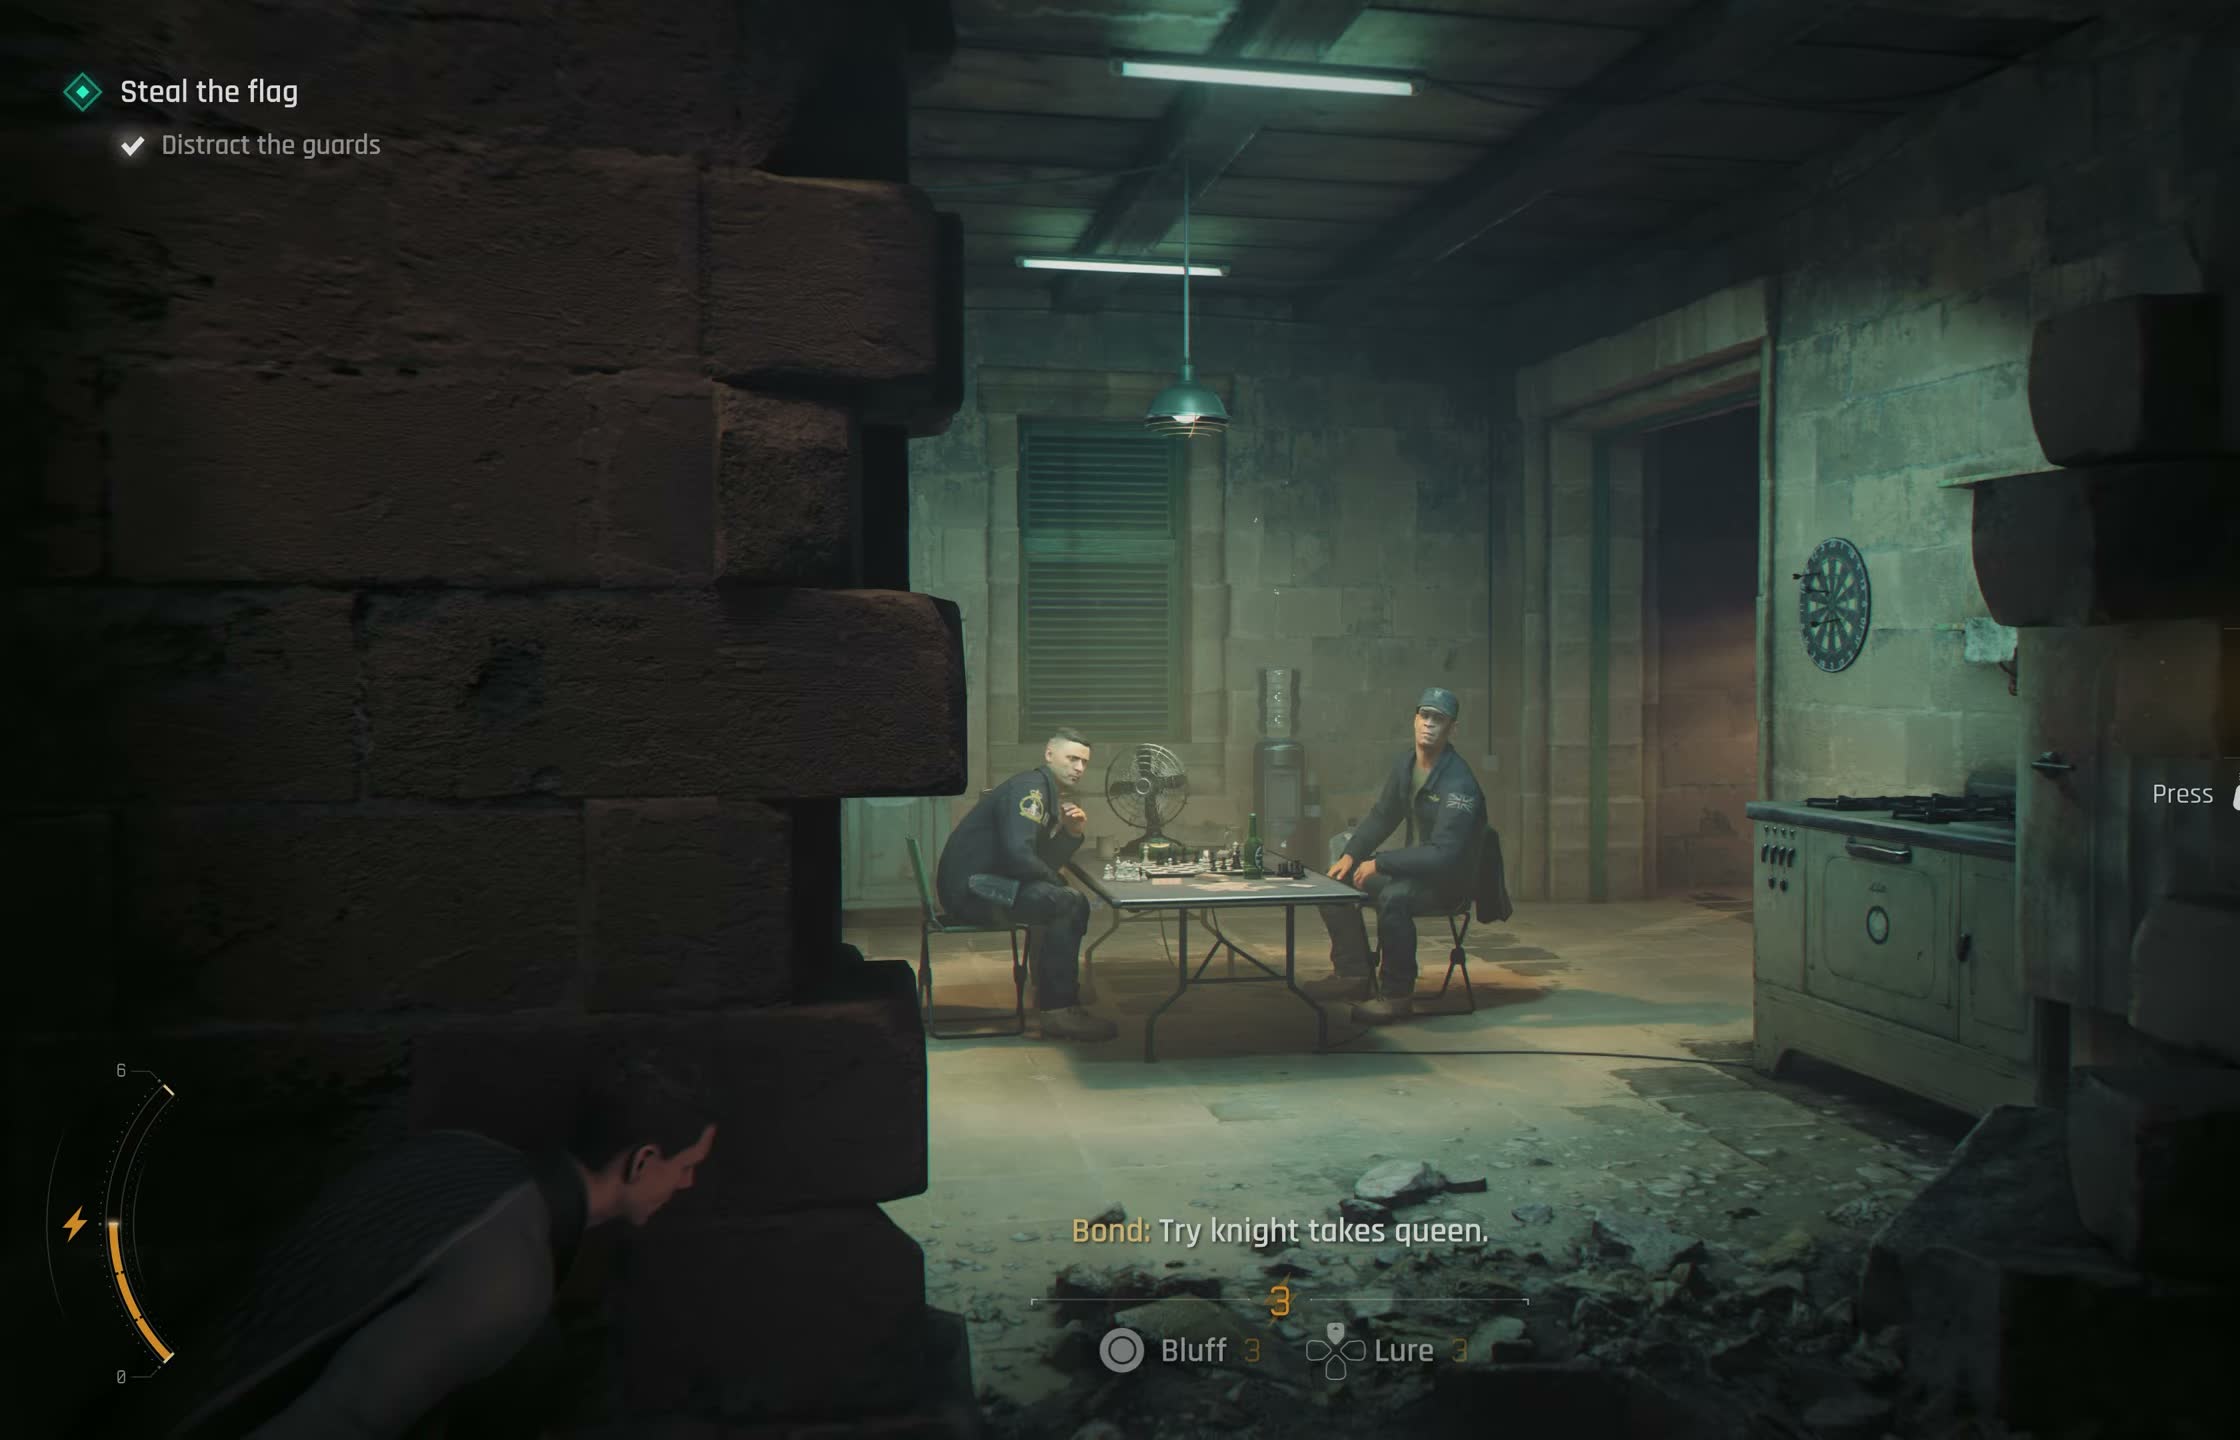
007 First Light Trophy Guide - All 38 Trophies and Achievements
Complete trophy guide for 007 First Light with strategies for all 38 trophies including Silent Assassin ratings and collectibles.
Read More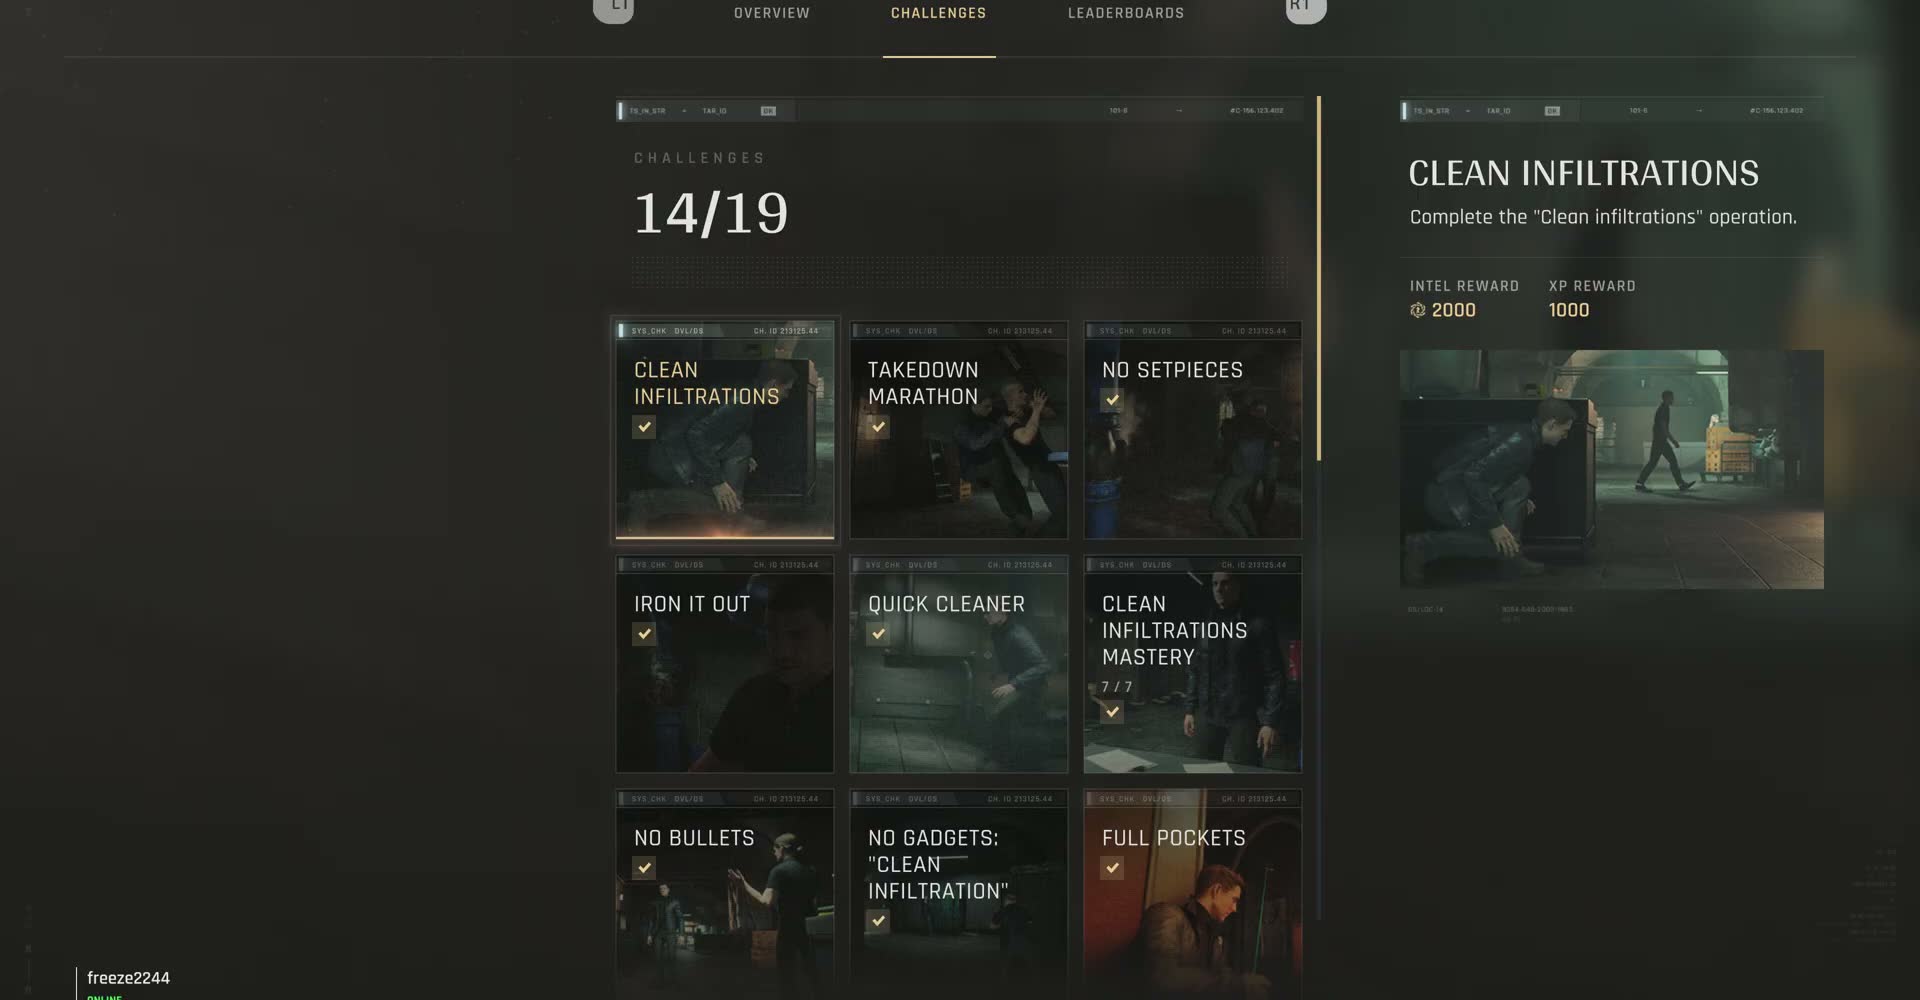
007 First Light Collectibles Guide - All Cards, Intel, and Hidden Items
Find every collectible in 007 First Light including Cards, Intel, Legacy items, Mementos, and Postcards across all chapters.
Read More
007 First Light System Requirements - PC Specs and Performance
Complete system requirements for 007 First Light on PC including minimum and recommended specs, GPU benchmarks, and optimization tips.
Read More