Against the Odds
1

Against the Odds

A Royal Navy helicopter goes down over Iceland under mysterious circumstances. Bond washes ashore wounded and exposed to an unknown toxin, with nothing but his training to survive enemy territory and rescue captive scientists before time runs out.

Medium~30-40 min4 Collectibles

Helicopter Down — The Icy Beach

Against the Odds — Helicopter Down — The Icy Beach

The game opens in chaos. Bond is inside a Royal Navy Merlin helicopter that takes heavy fire over the Icelandic coast. Flashing warning lights, tracer rounds tearing through the fuselage, and the pilot fighting for control give way to blackness as the bird goes down into the freezing North Atlantic.

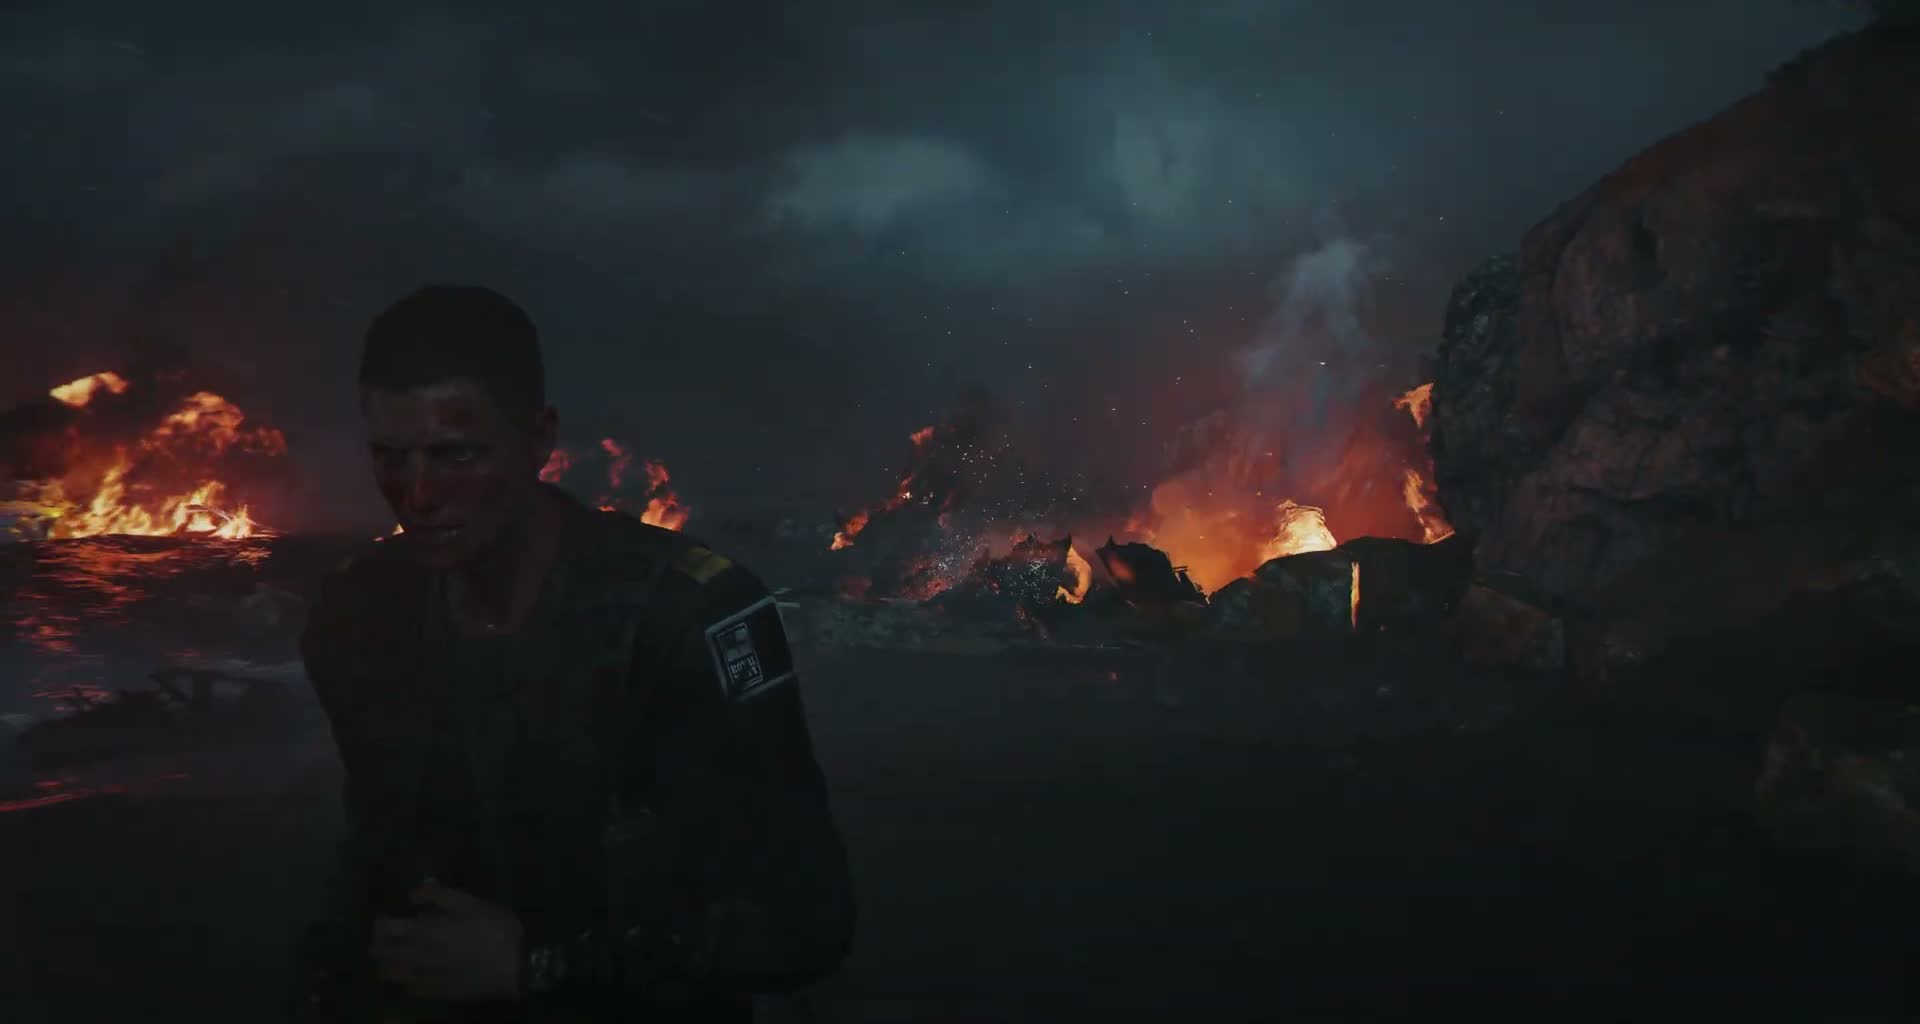
You regain consciousness underwater, disoriented, the world muffled and dark. Follow the on-screen prompts to kick free of the wreckage and swim toward the surface. Bond hauls himself onto a black sand beach through crashing surf, battered and bleeding.

He looks back to see the helicopter wreckage burning in the water, orange flames reflected across the waves. His earpiece crackles to life and MI6 Handler checks in, but the signal is bad. There's no rescue coming. The mission is a retrieval gone wrong, and Bond is the only asset left on the ground.

The underwater sequence is linear and scripted, so don't panic — just follow the button prompts. If you miss a prompt you'll restart from the water, not the whole mission.
Take a moment on the beach to get your bearings. The camera will pan toward the cliffs ahead — that's your direction. The path is always up and inland.
Bond is visibly injured throughout this opening section, limping and holding his side. This is cosmetic; your actual health regenerates once you reach cover.

Cliff Ascent and Stealth Approach

Against the Odds — Cliff Ascent and Stealth Approach

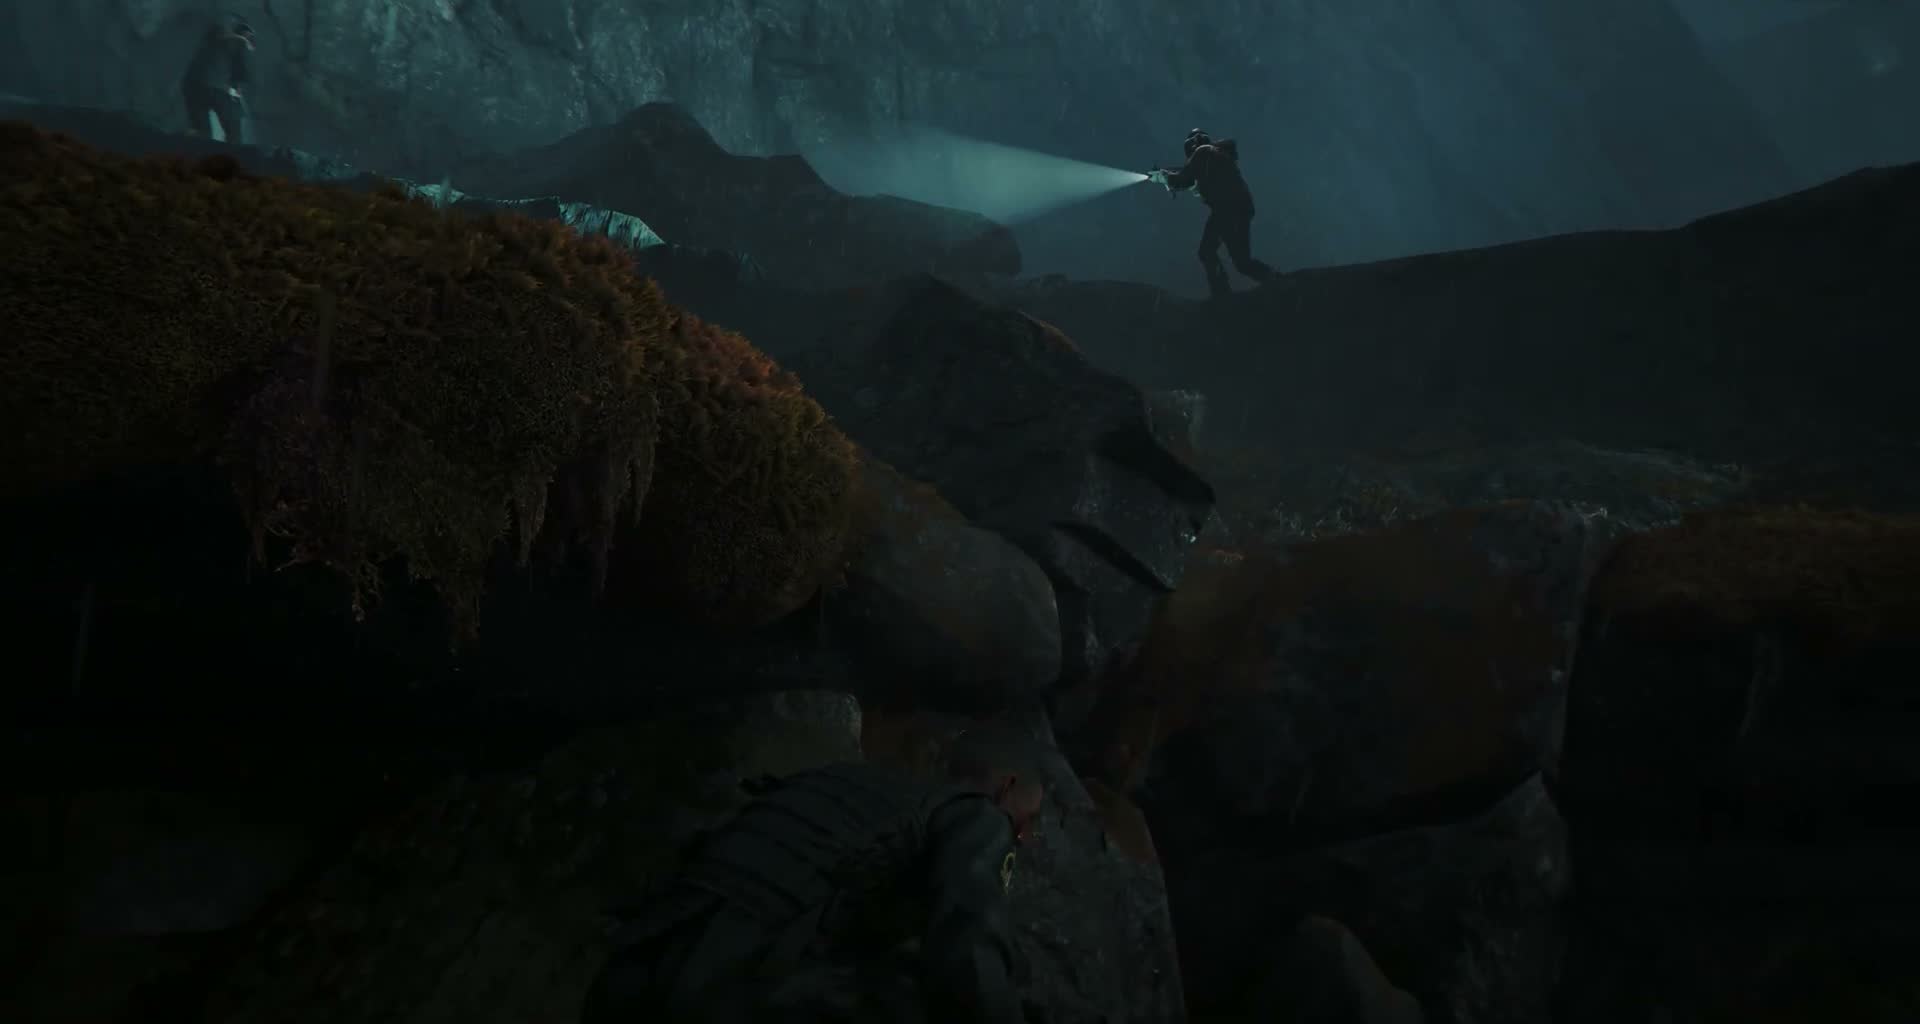
The only way forward is up. Start making your way along the rocky shoreline and you'll quickly realize you're not alone. Enemy patrols are sweeping the crash site with flashlights, and they're shooting survivors in the water.

Crouch behind the large boulders and stay low. The rain and wind work in your favour, muffling sound and reducing visibility. You'll need to move from cover to cover, timing your advances between flashlight sweeps.

Once you reach the cliff face, the climbing sections begin. The handholds are marked by lighter-coloured lichen on the rock, and the path is fairly linear — up and to the left. About halfway up you'll encounter a narrow ledge where a guard patrols directly above you.

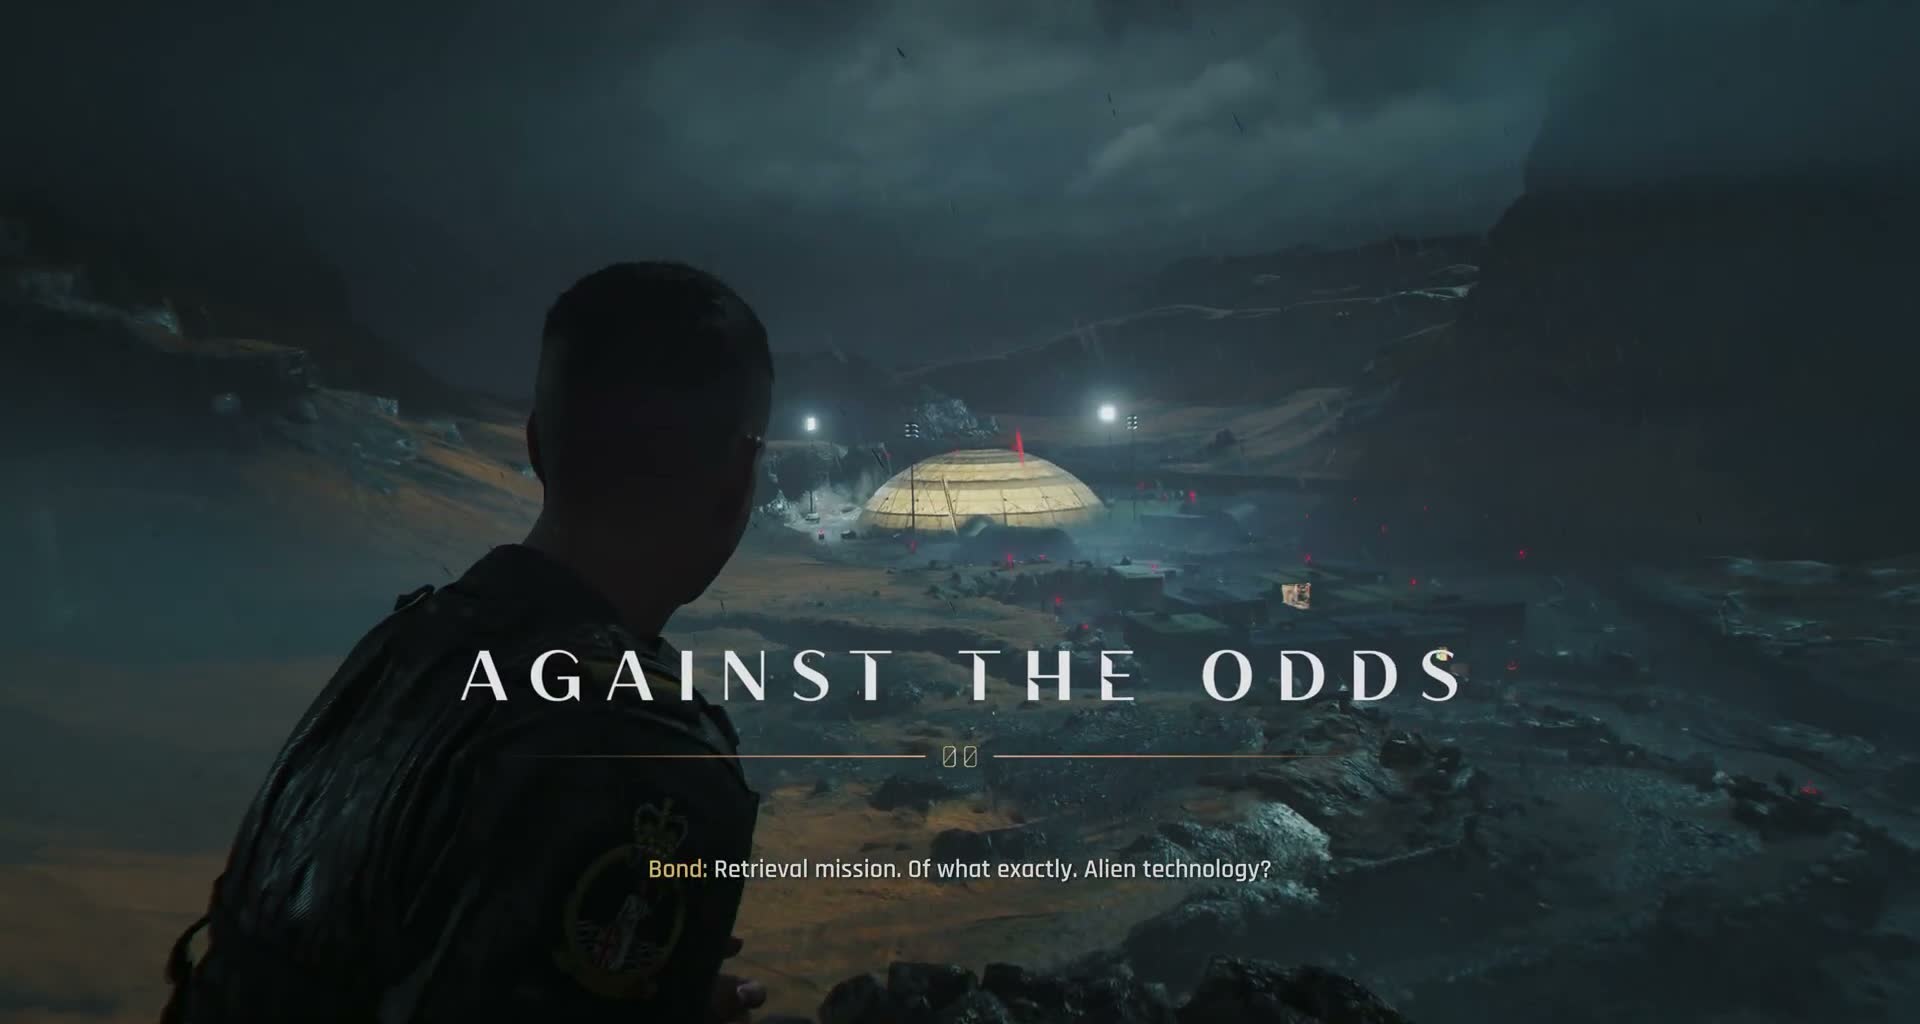
Freeze and stay pressed against the rock until he moves on. After reaching the top of the cliff system, you crest a ridge and the enemy camp reveals itself below you: a sprawling industrial site carved into the volcanic landscape, dominated by a massive inflatable dome tent lit from within by floodlights. The words AGAINST THE ODDS appear on screen — the mission title, and a fair warning of what's ahead.

When a guard's flashlight beam is sweeping toward you, stop moving entirely. The guards have poor peripheral vision in the storm, but they will spot you if you move while the light is on your position.
The tall grass along the cliff path provides concealment even when you're standing. Use it to move faster between rock covers.
If you do get spotted on the cliffs, you can climb down a level to break line of sight. The guards won't follow you down the rock faces.
Don't worry about collectibles on your first playthrough. The cliff path has a couple of hidden items but they're much easier to grab on Chapter Select once you know the route.

A2 Shelter: What Went Wrong

Against the Odds — A2 Shelter: What Went Wrong

Slide down the scree slope from the overlook and work your way through the camp perimeter. Stick to the shadows behind containers and equipment. The first building you can enter is A2, a prefab shelter near the outer fence.

Inside you'll find signs of a struggle — overturned furniture, scattered papers. An injured man, one of the scientists, is propped up against some crates. He's barely conscious.

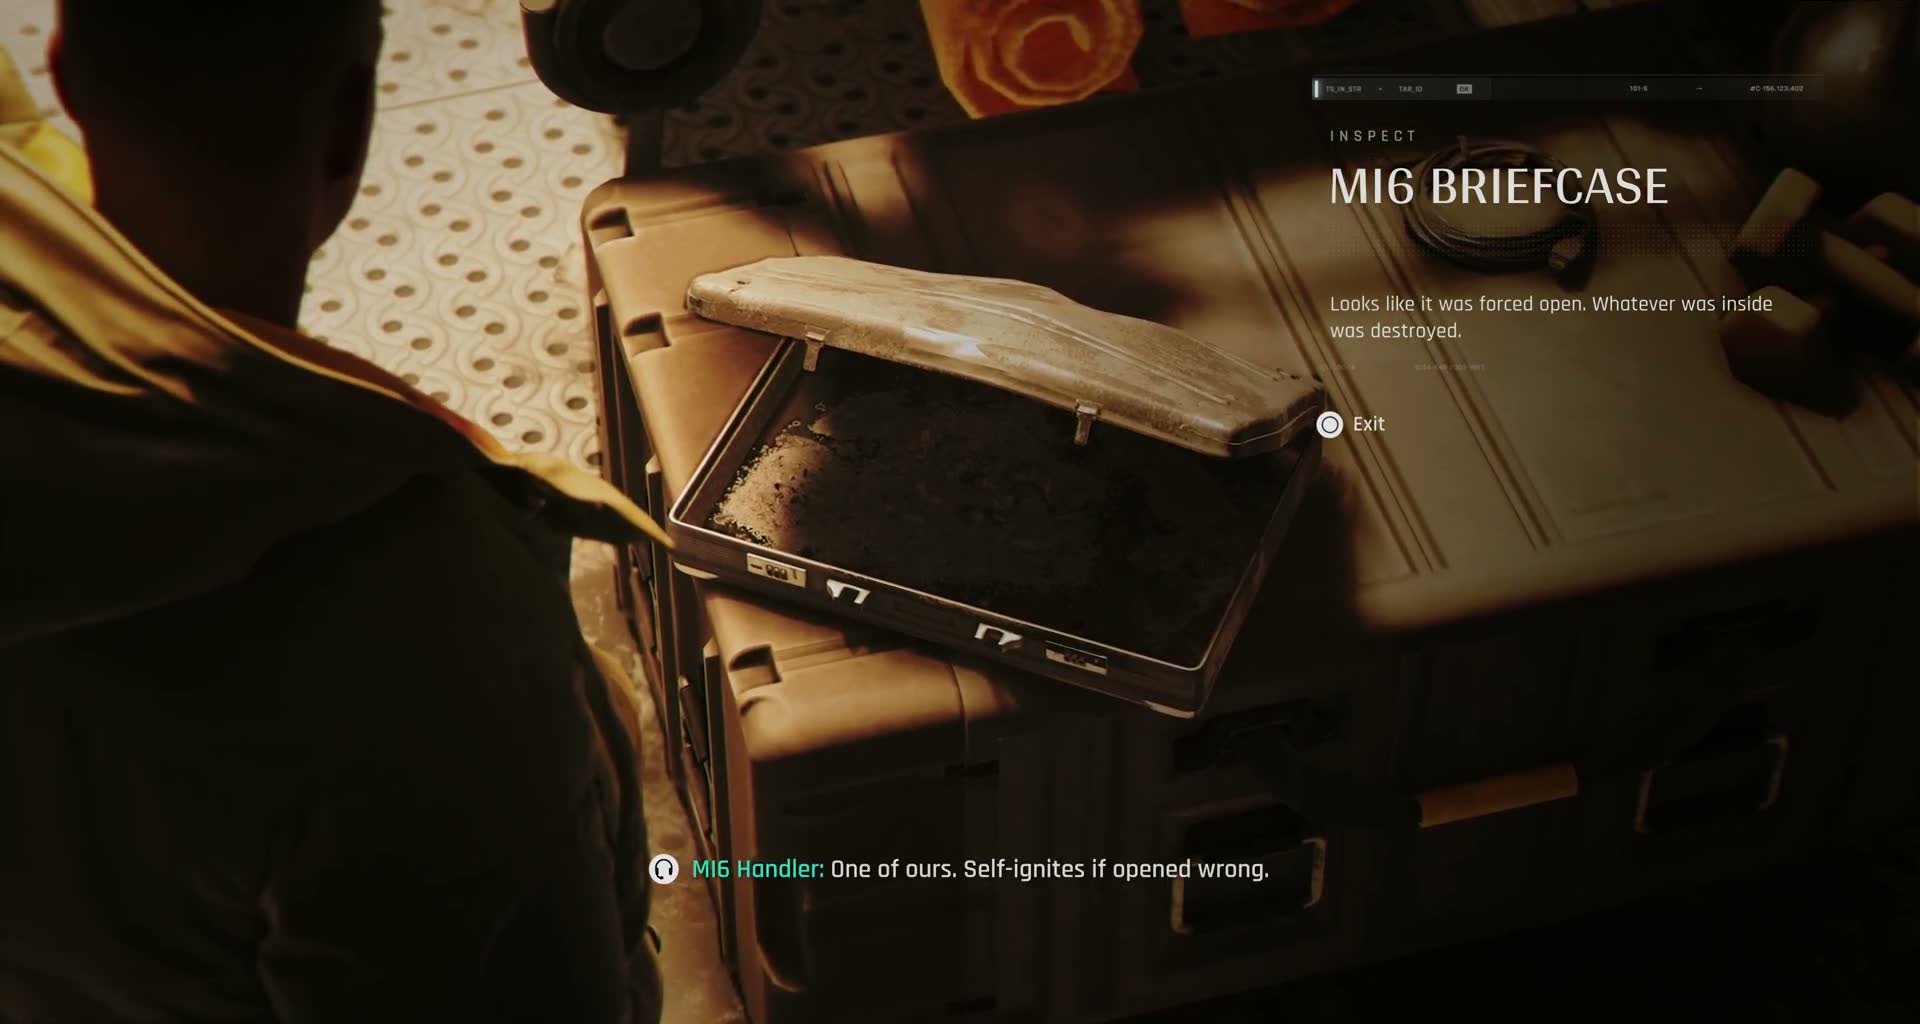
Examine the MI6 briefcase on a metal trunk in the corner. It's been forced open and the contents are burned to ash. Handler explains over comms that these briefcases self-destruct if opened incorrectly — meaning someone from the operation was caught and forced to open it under duress.

There's a pistol on a table nearby, but when Bond picks it up the biometric lock rejects him; it's coded to its owner. You'll remain unarmed for a long stretch here, which is intentional. The game is teaching you that stealth is the default approach, not shooting your way through. After searching the room, exit through the far door and follow the path deeper into the camp.

Examine every object you can interact with in A2. The clues here — the burned briefcase, the biometric gun, the injured scientist — establish the story context for everything that follows.
Despite what you might expect from a Bond game, you cannot kill or subdue guards at this point. Bond is injured, unarmed, and outnumbered. If a guard sees you, run and hide.
The biometric gun isn't a tease for a weapon you'll get in this mission. It's purely a story beat establishing how compromised the operation is.

Camp Infiltration and the BT-65 Loader
Against the Odds — Camp Infiltration and the BT-65 Loader

The camp is larger and more heavily guarded than it looked from the cliff. Shipping containers, prefab buildings, and guard patrols with dogs fill the area. Watch patrol patterns carefully and use the gaps between their routes.

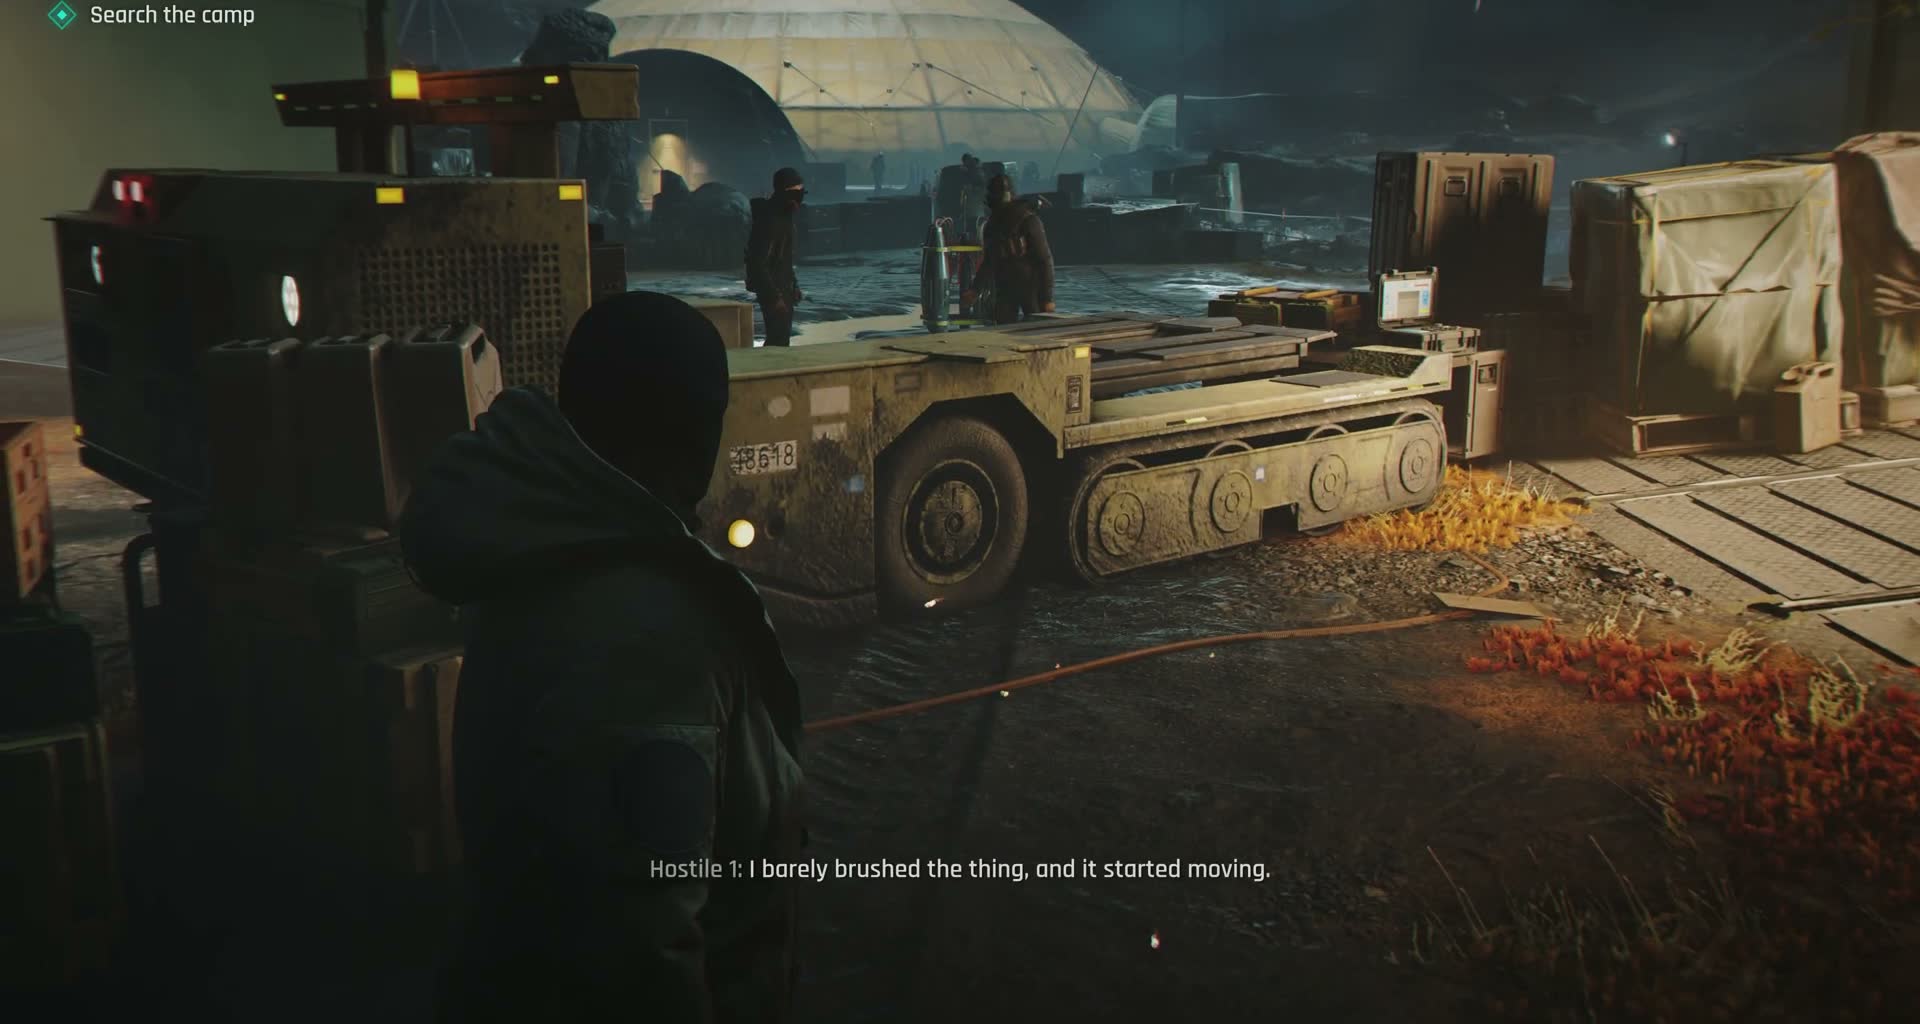
In one of the larger buildings you'll find a winter parka hanging by a door. This is a disguise opportunity — put it on and you can walk more freely through certain areas, though guards will still get suspicious if you linger too close or act erratically. The key obstacle in this section is the BT-65, an automated cargo loader that's blocking a critical path.

Two guards are arguing about it — one of them accidentally triggered it and it won't stop moving. Approach the control panel (it's near the vehicle, on a stack of crates with a laptop) and interact with it. You can redirect the BT-65 to clear a path forward.

Once it moves, the guards in the immediate area lose interest and wander off, opening up the route to the inner camp. This is a pattern the game returns to repeatedly: observe the environment, find something you can manipulate, and use it to create an opening without ever touching a weapon.

The parka disguise doesn't make you invisible. Guards will still become suspicious if you run, enter restricted tents, or stand too close for too long. Walk at normal pace and keep moving.
Before activating the BT-65, scout the area around it first. There's a collectible card tucked on a shelf in the storage area right next to the control laptop.
If the BT-65 startles a guard (it can happen if they're standing too close when it moves), they'll go on alert but won't necessarily find you. Duck behind cover and wait it out.
There are multiple routes through the camp after moving the truck. The ditch to the right is the safest — guards on the upper level can't see down into it.

Decontamination and the Antidote

Against the Odds — Decontamination and the Antidote

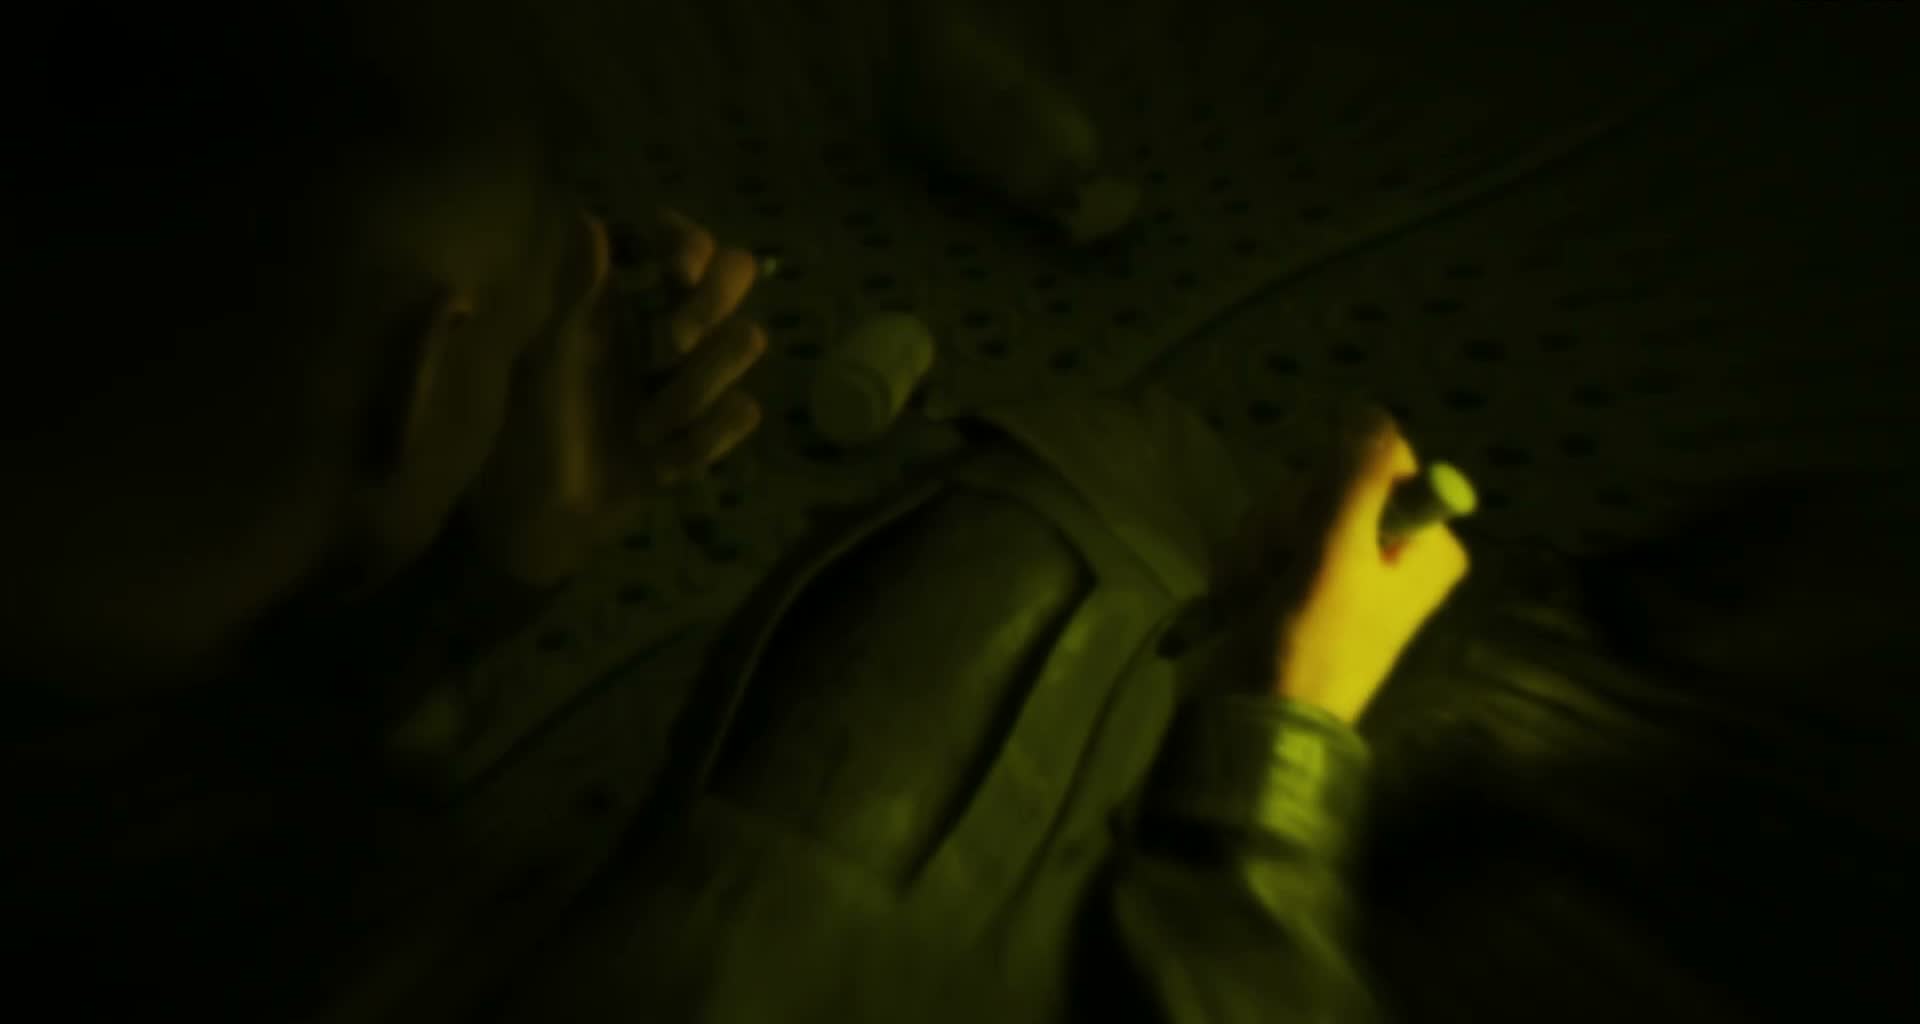
After passing through the inner camp's tent structures and a round tunnel with automatic doors, you'll enter what appears to be a medical or research area. The first sign something is very wrong is the decontamination shower corridor — yellow-lit, mist blowing from ceiling nozzles. Walk through it; it's a mandatory checkpoint, not a trap.

On the other side you'll find a room full of supply shelves. Bond is getting visibly worse by this point; his hands shake, his vision blurs at the edges, and the toxin exposure from the crash is catching up. The antidote is in a green first-aid crate on the shelves to the right through an archway.

Interact with it for a brief tense sequence — Bond stabs the auto-injector into his own thigh, and the effect is immediate. Colour returns, hands steady, and the blurring stops. It's a moment of relief that lasts about ten seconds.

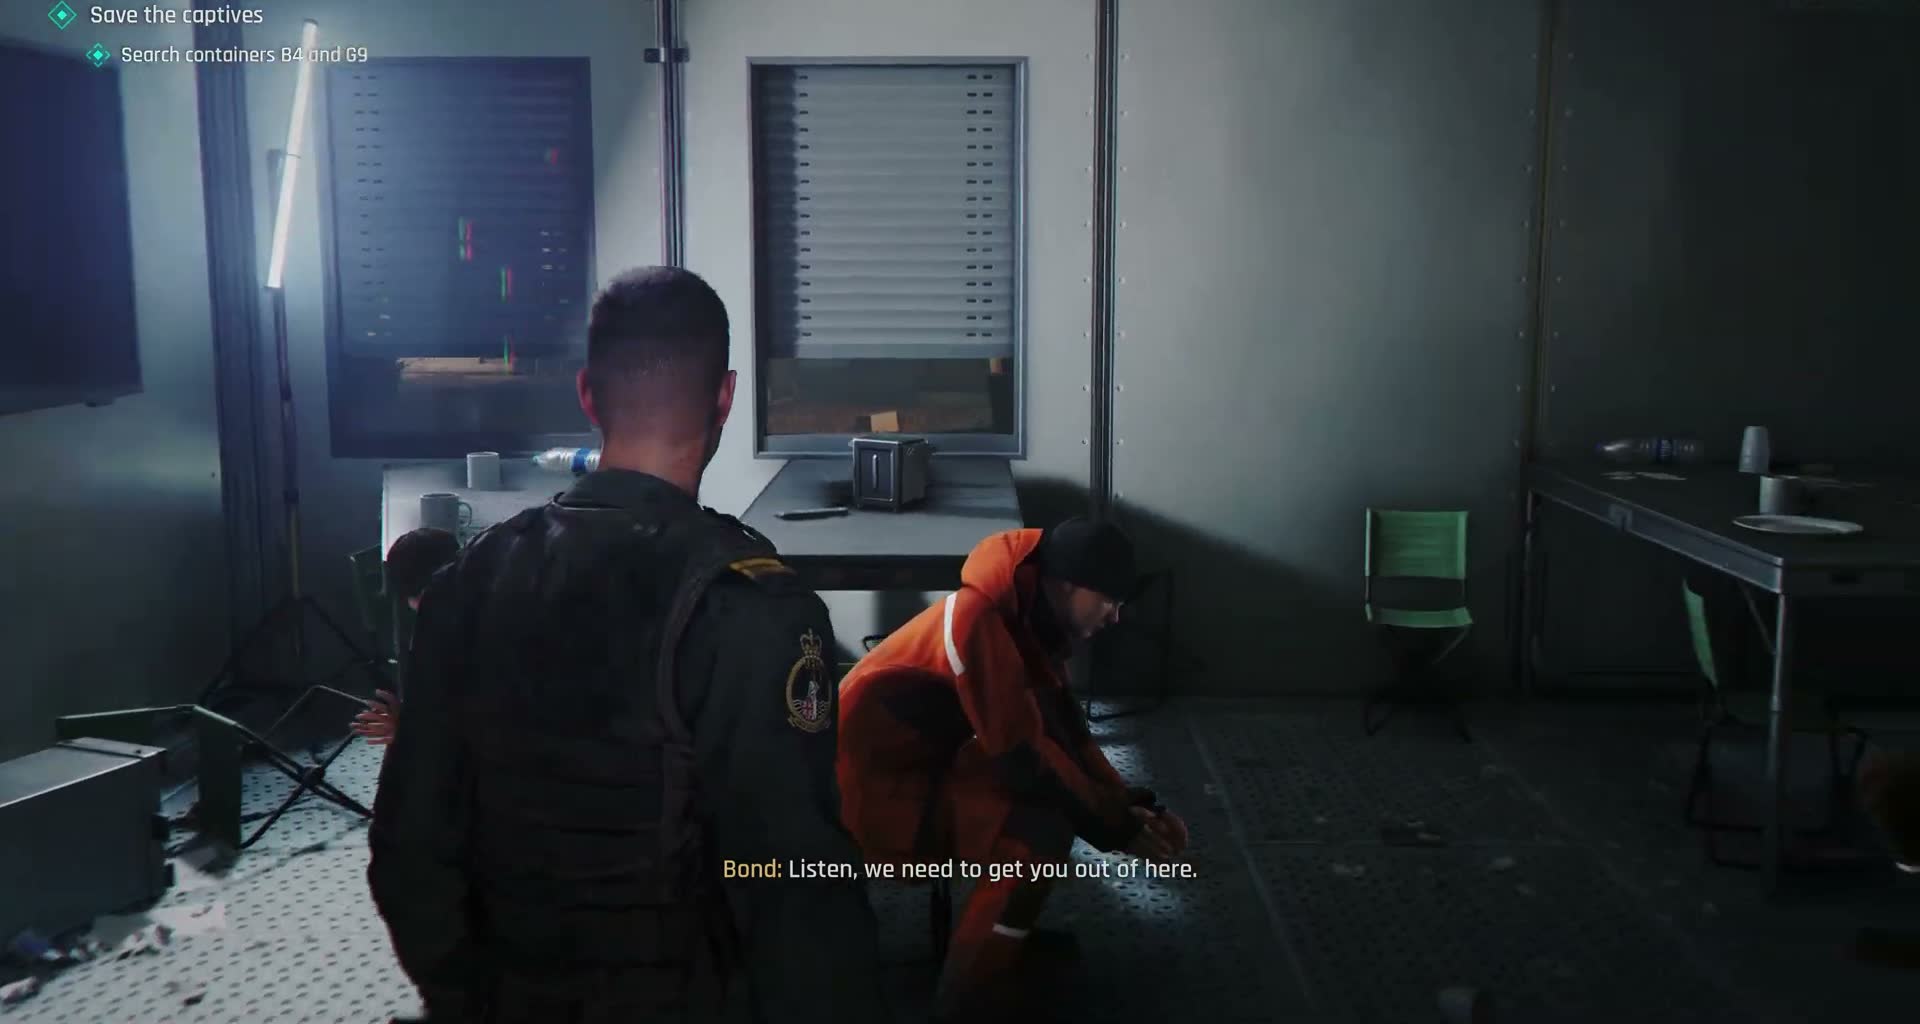
When you step outside, you find a dead scientist slumped against the rocks. Through the nearby doorway you can see guards talking about the other hostages being held in containers B4 and G9. Handler gives the order to extract immediately — the mission is blown.

Bond looks at the dead scientist, ignores the order, and turns toward the container yard. The rescue is on.

The antidote sequence has one quicktime event that's easy to miss on your first try — the injector cap needs to be twisted off first. If you fumble it, Bond drops it and you get another chance, but the animation takes longer.
After the injection, take a second to breathe. The game gives you a brief window of safety before the next section starts. Use it to get oriented.
There's a collectible in the decontamination area — on your way through, check the shelf to the left just before the showers. It's easy to miss because the lighting draws your eye forward.
If you're going for the Ghost or Pacifist achievements, the entire antidote section has no mandatory takedowns or alerts. You can get through it completely unseen.

Central Camp: Finding the Hostages

Against the Odds — Central Camp: Finding the Hostages

From the cliff where you found the dead scientist, you can see the full container yard spread out below, with dawn starting to break pink over the mountains. The objectives update: Save the captives, search containers B4 and G9. The route down takes you through tall grass and a ditch system that keeps you out of sight.

Container F8 is your entry point — slip inside, climb the ladder to the roof, and you'll have a clear view of the yard. From the F8 rooftop you can see G9, a container with a guard posted at the door. The zipline from F8's upper roof is the fastest way across — Bond slides down a cable to the cliff overlooking G9.

Drop onto G9's roof and enter through the access hatch to take down the guard inside silently. This is the first takedown the game allows you, and it's necessary — the hostages inside are locked in a cage that needs his key. Free them, and you'll learn there's a second group in B4.

Before heading to B4, find the laptop on crates near G9 that controls the BT-65. Activating it will send the loader trundling around the yard, creating noise and distraction. Near the ditch approach to B4 there's an ATV you can sabotage — cut the brake line and it'll roll into some crates, drawing guards away from your path. These diversions are optional but they make the rest of the section significantly easier.

The ditch is your best friend in the container yard. Stay low in it and you can move between containers without being seen by patrols on the upper levels.
If you want the Pacifist challenge rating, you can only take down exactly two guards in the entire Central Camp section — both are the ones directly guarding the hostage groups inside G9 and B4. Any other takedown invalidates it.
The zipline from the F8 roof isn't just a shortcut; it counts for the Scenic Route challenge. It's also the safest approach to G9 because it bypasses all the ground patrols.
Sabotage both the BT-65 and the ATV before entering B4 for the Full of Surprises challenge. Neither sabotage triggers a full alert; they just create useful chaos.

Escape and Detonation

Against the Odds — Escape and Detonation

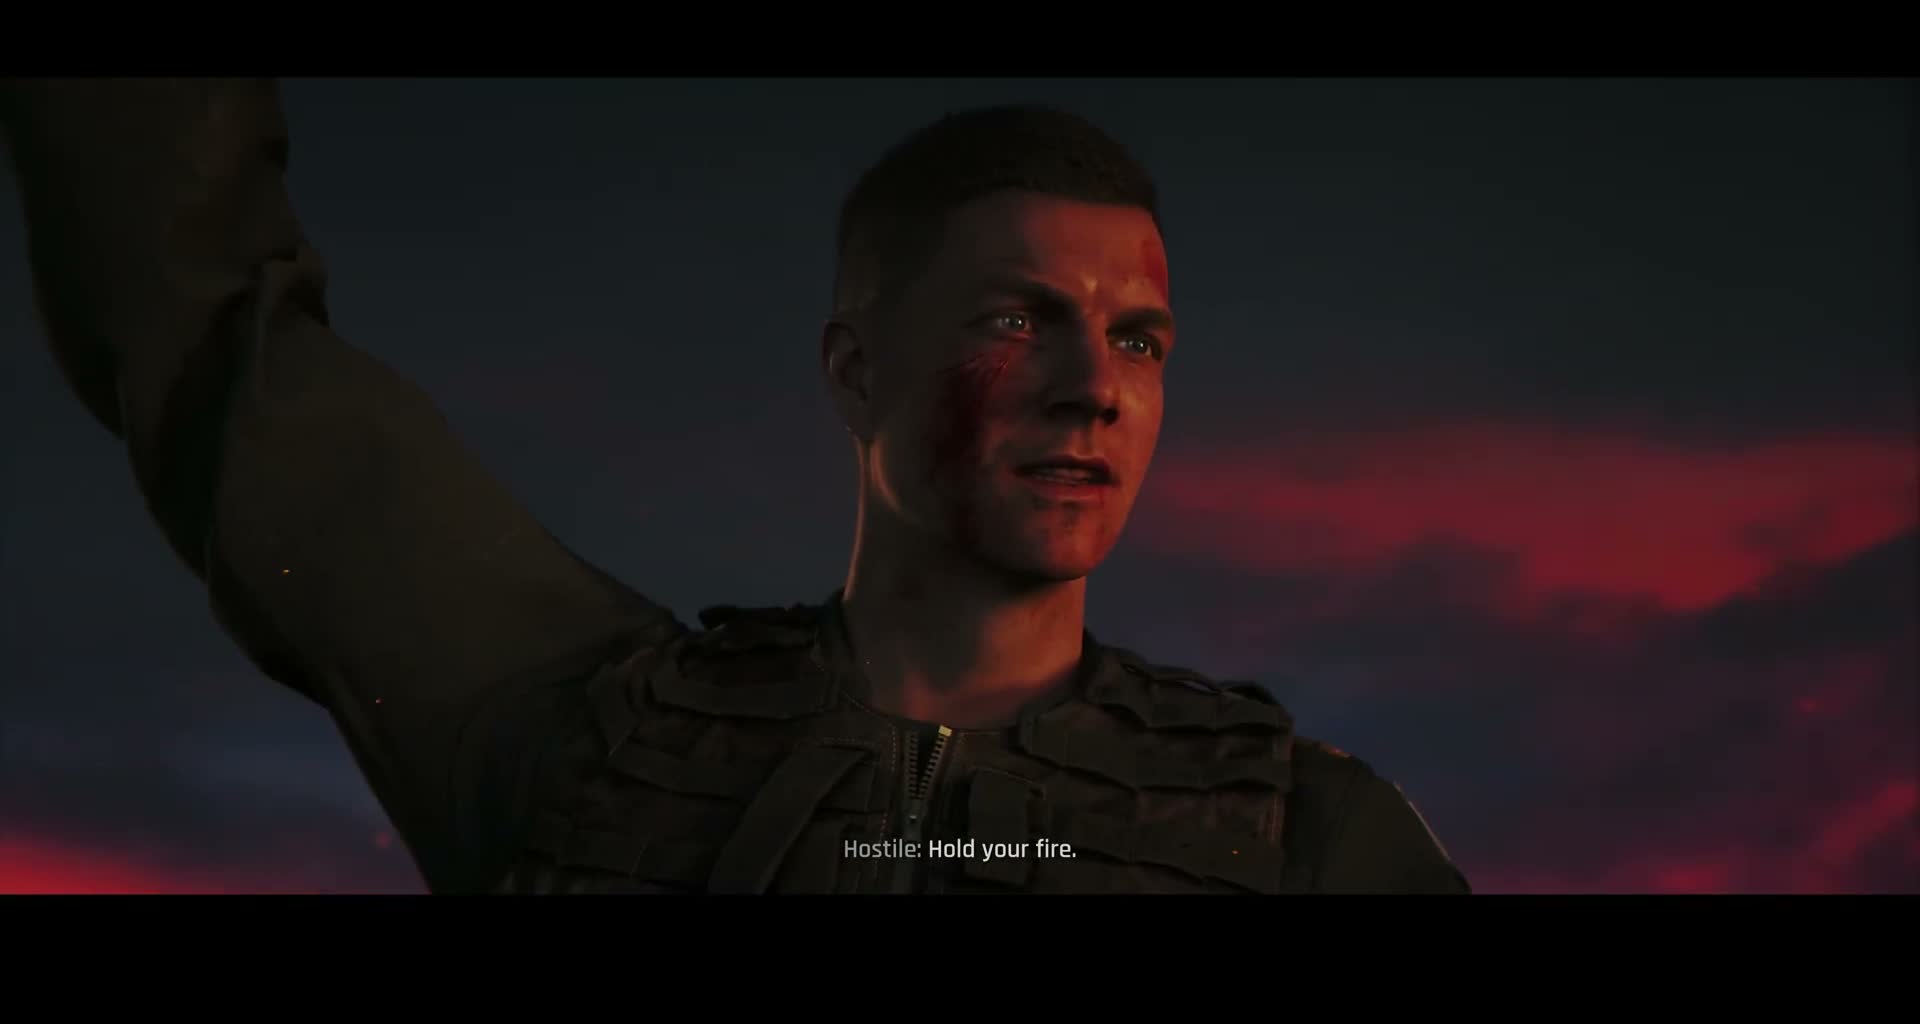
After freeing the second group of hostages from B4, one of them gives Bond a detonator connected to explosive charges placed around the camp. The alarm gets raised almost immediately — there's no stealthing out from here. Climb to the rooftop of B4, where you can sabotage a mast support cable to bring down a communications tower.

This triggers the camp's full alert: sirens, searchlights, and armed guards converging from everywhere. Drop down and fight your way to the rendezvous point with the hostages. A heavy armoured personnel carrier appears, blocking the direct route — you can't destroy it with small arms, so veer right into a narrow crevice in the rocks to bypass it.

An ATV chase sequence follows with quicktime events as you and the hostages scramble up the final cliff path. At the top, the hostages scramble to safety on an extraction ridge. When the pursuing guards reach the explosives, trigger the detonator.

The camp erupts in a chain of fireballs that tears through the container yard, the dome tent collapsing in flames. The screen fades to black as the 007 logo appears. The prologue ends here, and the game moves to London for the debriefing and recruitment that leads into the first training chapter.

Once the alarm sounds, don't try to be stealthy anymore. Run. The cover system still works, but the goal is to get to the hostages, not clear enemies.
The armoured carrier section is not a fight. It's a chase — you cannot damage it, so don't waste time trying. Just turn right and run for the rocks.
The ATV quicktime sequence isn't very forgiving on harder difficulties. Keep your fingers near the interact and dodge buttons as you approach the vehicle.
After pressing the detonator, don't stick around to watch. Turn and run for the extraction point — a final wave of guards spawns behind you.
If you saved all hostages, maintained Pacifist (two takedowns max), and weren't detected before the alarm, you'll unlock a special achievement at the results screen.

Chapter Tips

The underwater sequence is linear and scripted, so don't panic — just follow the button prompts. If you miss a prompt you'll restart from the water, not the whole mission.
Take a moment on the beach to get your bearings. The camera will pan toward the cliffs ahead — that's your direction. The path is always up and inland.
Bond is visibly injured throughout this opening section, limping and holding his side. This is cosmetic; your actual health regenerates once you reach cover.
When a guard's flashlight beam is sweeping toward you, stop moving entirely. The guards have poor peripheral vision in the storm, but they will spot you if you move while the light is on your position.
The tall grass along the cliff path provides concealment even when you're standing. Use it to move faster between rock covers.
If you do get spotted on the cliffs, you can climb down a level to break line of sight. The guards won't follow you down the rock faces.
Don't worry about collectibles on your first playthrough. The cliff path has a couple of hidden items but they're much easier to grab on Chapter Select once you know the route.
Examine every object you can interact with in A2. The clues here — the burned briefcase, the biometric gun, the injured scientist — establish the story context for everything that follows.
Despite what you might expect from a Bond game, you cannot kill or subdue guards at this point. Bond is injured, unarmed, and outnumbered. If a guard sees you, run and hide.
The biometric gun isn't a tease for a weapon you'll get in this mission. It's purely a story beat establishing how compromised the operation is.
The parka disguise doesn't make you invisible. Guards will still become suspicious if you run, enter restricted tents, or stand too close for too long. Walk at normal pace and keep moving.
Before activating the BT-65, scout the area around it first. There's a collectible card tucked on a shelf in the storage area right next to the control laptop.
If the BT-65 startles a guard (it can happen if they're standing too close when it moves), they'll go on alert but won't necessarily find you. Duck behind cover and wait it out.
There are multiple routes through the camp after moving the truck. The ditch to the right is the safest — guards on the upper level can't see down into it.
The antidote sequence has one quicktime event that's easy to miss on your first try — the injector cap needs to be twisted off first. If you fumble it, Bond drops it and you get another chance, but the animation takes longer.
After the injection, take a second to breathe. The game gives you a brief window of safety before the next section starts. Use it to get oriented.
There's a collectible in the decontamination area — on your way through, check the shelf to the left just before the showers. It's easy to miss because the lighting draws your eye forward.
If you're going for the Ghost or Pacifist achievements, the entire antidote section has no mandatory takedowns or alerts. You can get through it completely unseen.
The ditch is your best friend in the container yard. Stay low in it and you can move between containers without being seen by patrols on the upper levels.
If you want the Pacifist challenge rating, you can only take down exactly two guards in the entire Central Camp section — both are the ones directly guarding the hostage groups inside G9 and B4. Any other takedown invalidates it.
The zipline from the F8 roof isn't just a shortcut; it counts for the Scenic Route challenge. It's also the safest approach to G9 because it bypasses all the ground patrols.
Sabotage both the BT-65 and the ATV before entering B4 for the Full of Surprises challenge. Neither sabotage triggers a full alert; they just create useful chaos.
Once the alarm sounds, don't try to be stealthy anymore. Run. The cover system still works, but the goal is to get to the hostages, not clear enemies.
The armoured carrier section is not a fight. It's a chase — you cannot damage it, so don't waste time trying. Just turn right and run for the rocks.
The ATV quicktime sequence isn't very forgiving on harder difficulties. Keep your fingers near the interact and dodge buttons as you approach the vehicle.
After pressing the detonator, don't stick around to watch. Turn and run for the extraction point — a final wave of guards spawns behind you.
If you saved all hostages, maintained Pacifist (two takedowns max), and weren't detected before the alarm, you'll unlock a special achievement at the results screen.

Collectibles in This Chapter

4 Collectibles

Explore each section thoroughly to find all hidden items. Check the tips above for specific collectible locations.