The Needle's Eye
Bond arrives at the MI6 training facility in Malta for his 00-agent assessment. Four modules cover the game's core mechanics: stealth, firearms, close-quarters combat, and driving. This chapter teaches you everything you need before heading into the field.
Arrival at the Malta Facility
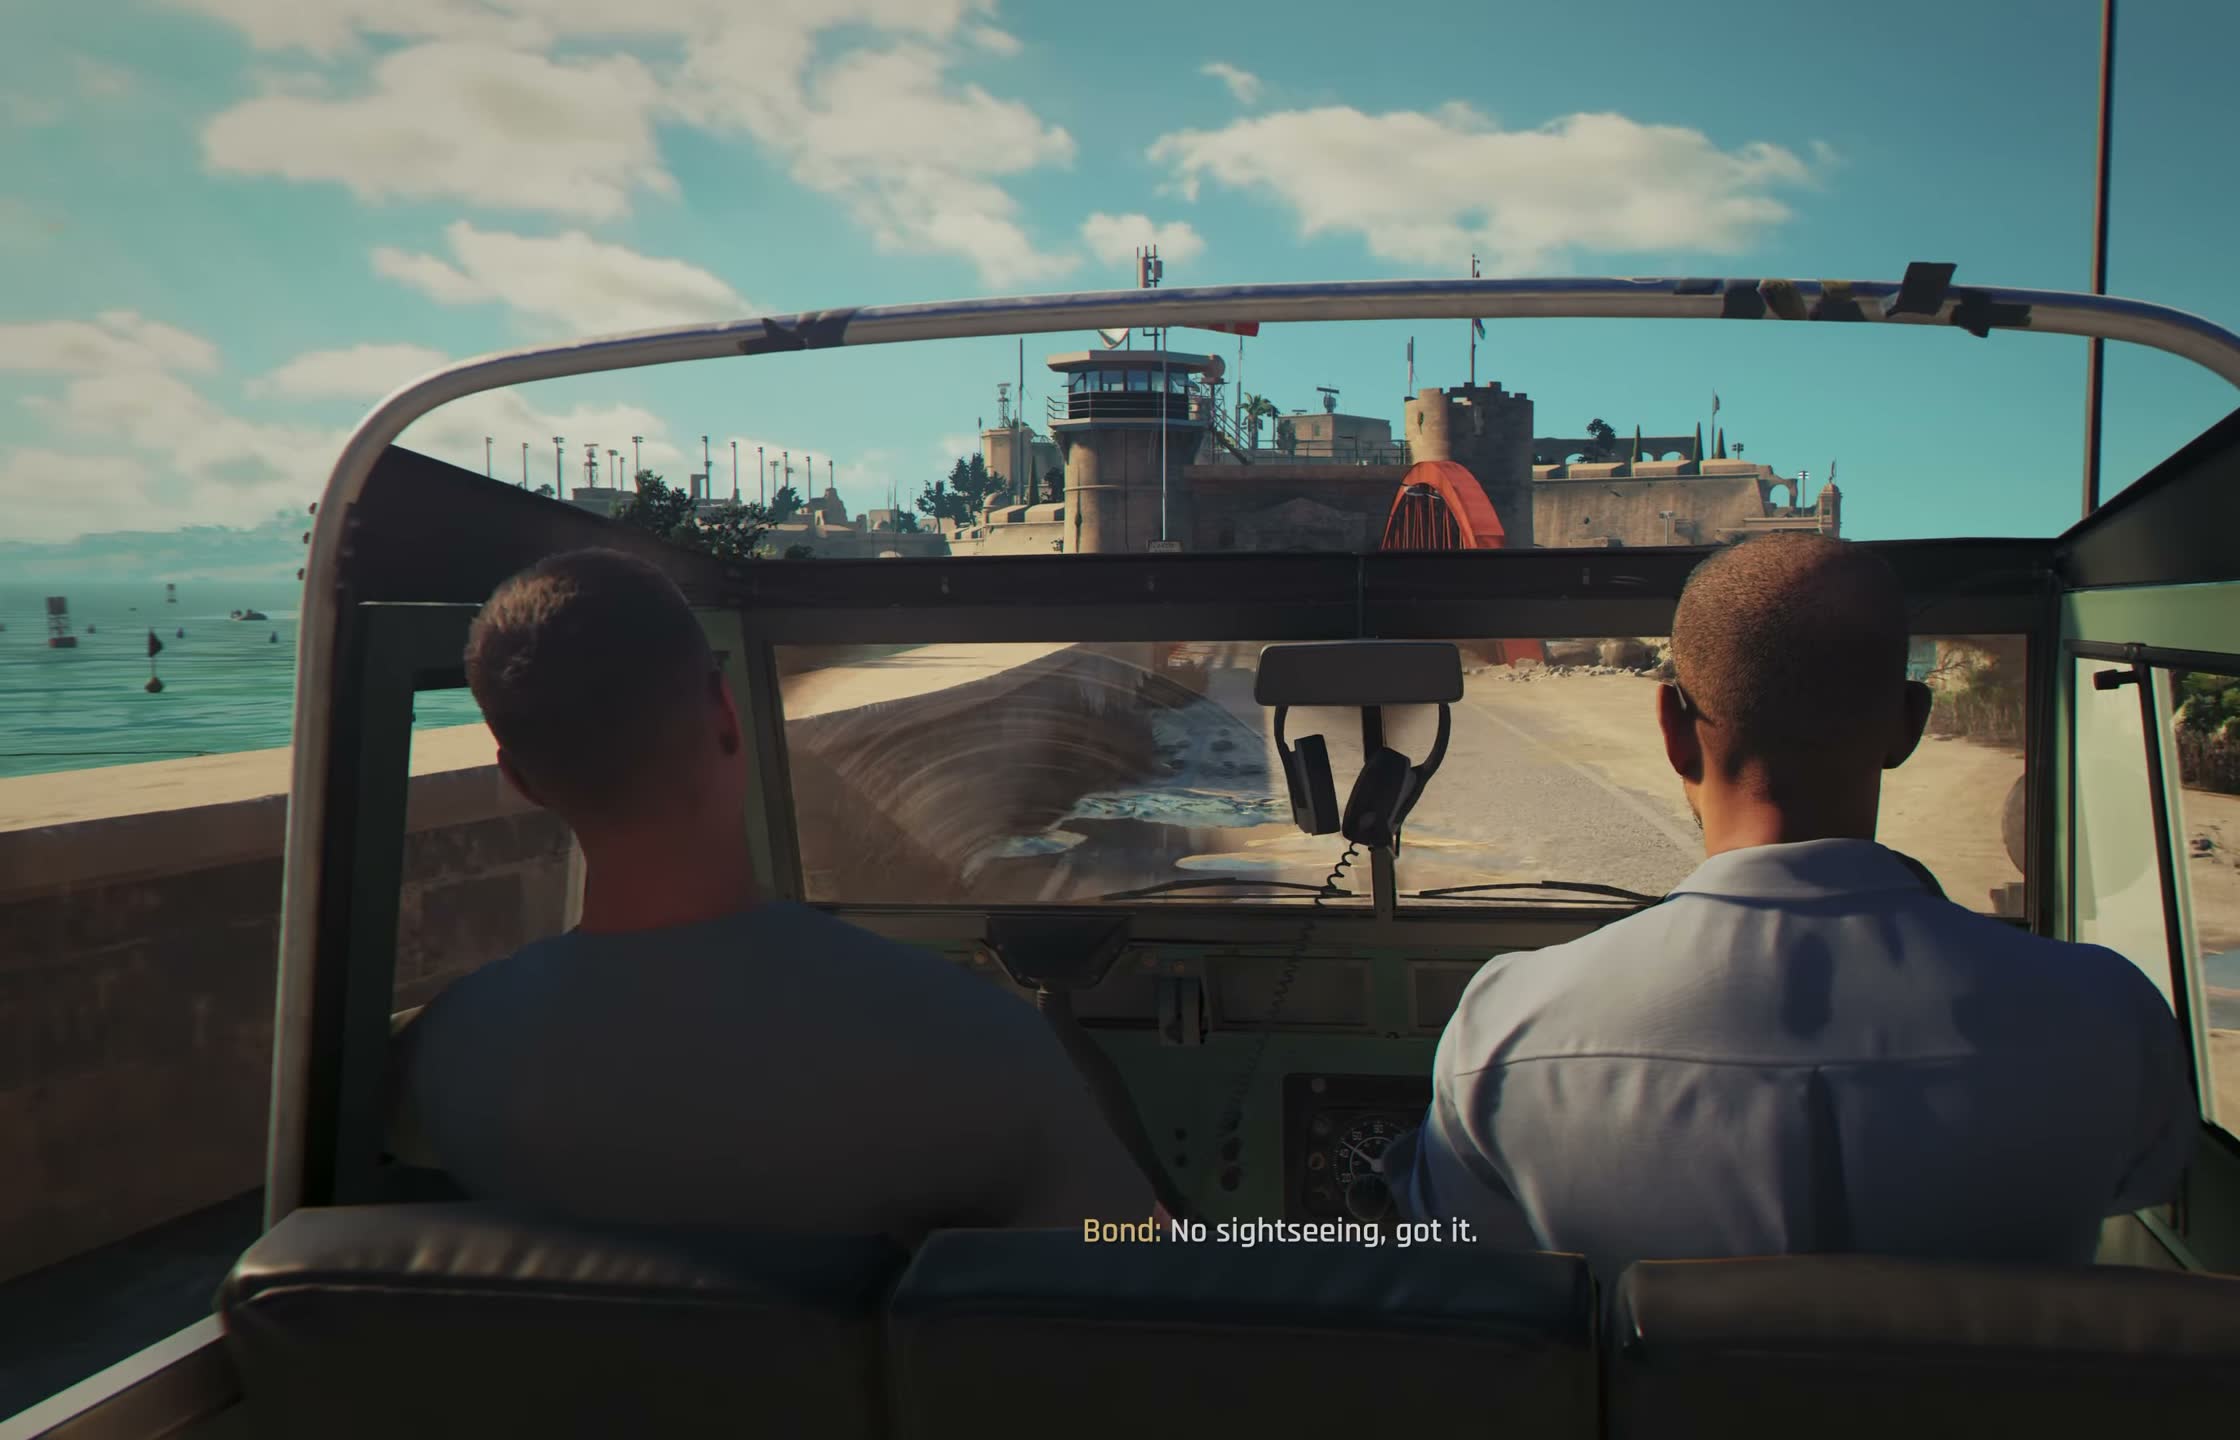
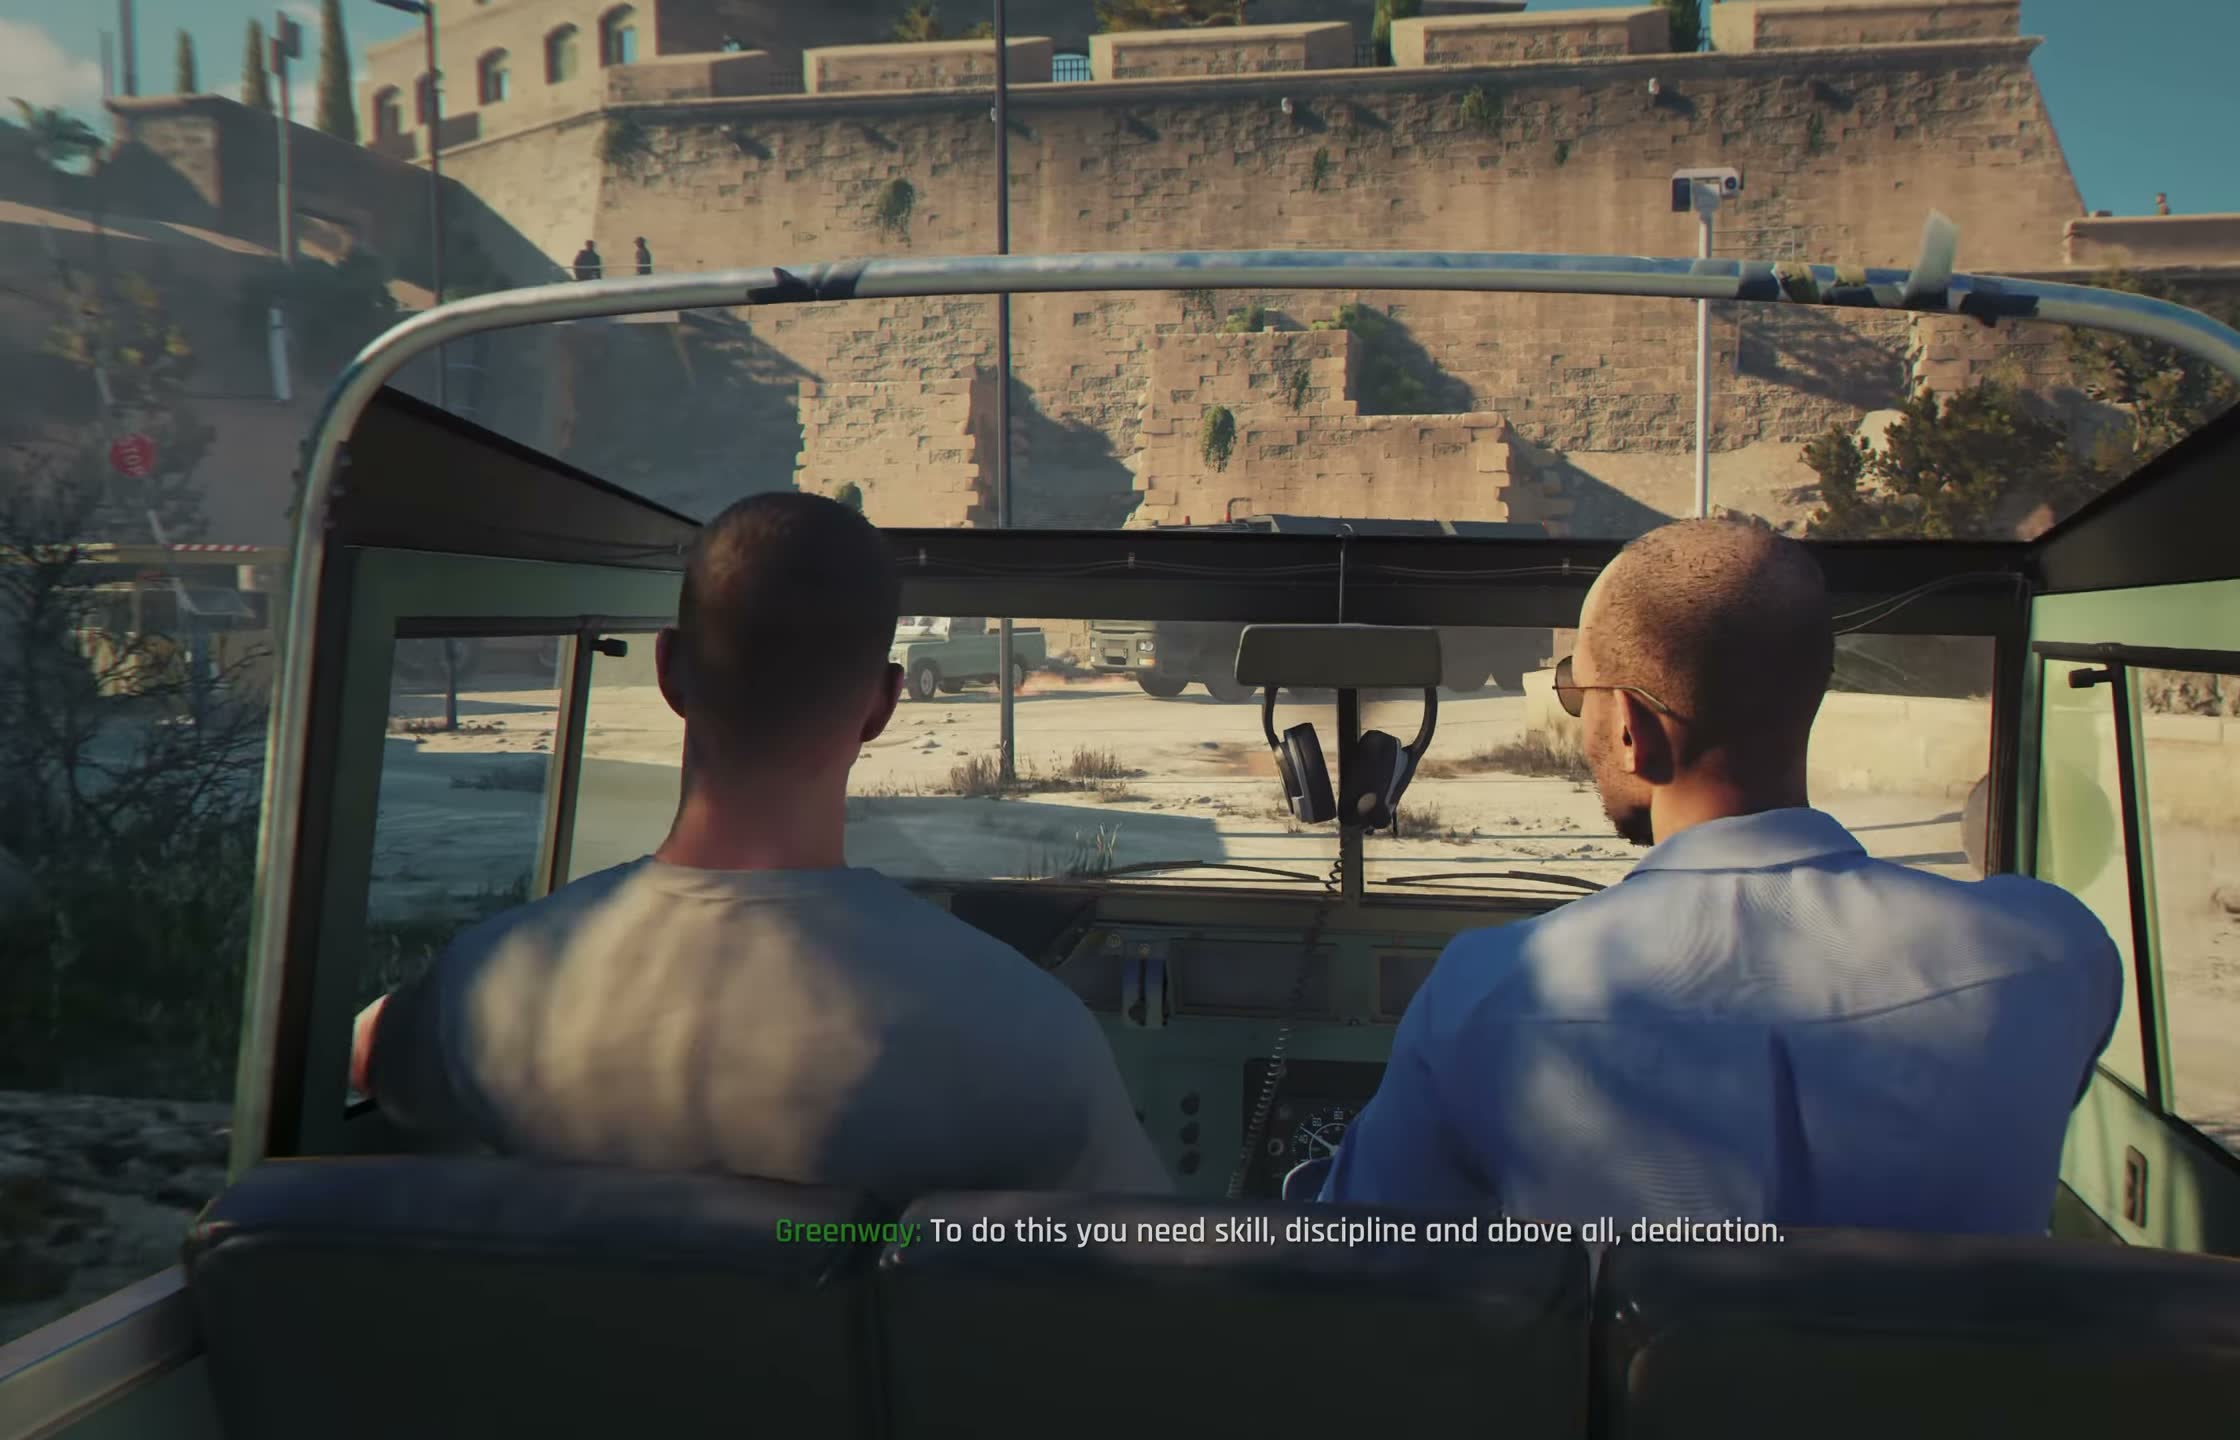
The chapter opens with a cinematic flyover of the Maltese coast. Bond is dropped off at a training facility built into the coastal cliffs — a far cry from the polished MI6 headquarters you saw in the previous chapter. Everything here is concrete, steel, and purpose-built.
Follow the path up the staircases to reach the main building. Along the way you'll pass other recruits, including Cressida Bright and Lennox Monroe, who show up in later chapters. Take a moment to look around before heading inside — the environment is well-detailed and worth appreciating.
Once you enter the main hall, Selina Tan (the training director) briefs you on what to expect: four assessment modules, each scored Bronze, Silver, or Gold. Higher scores give you better starting equipment and some perks that carry through the campaign.
Module 1: Stealth Elimination Training
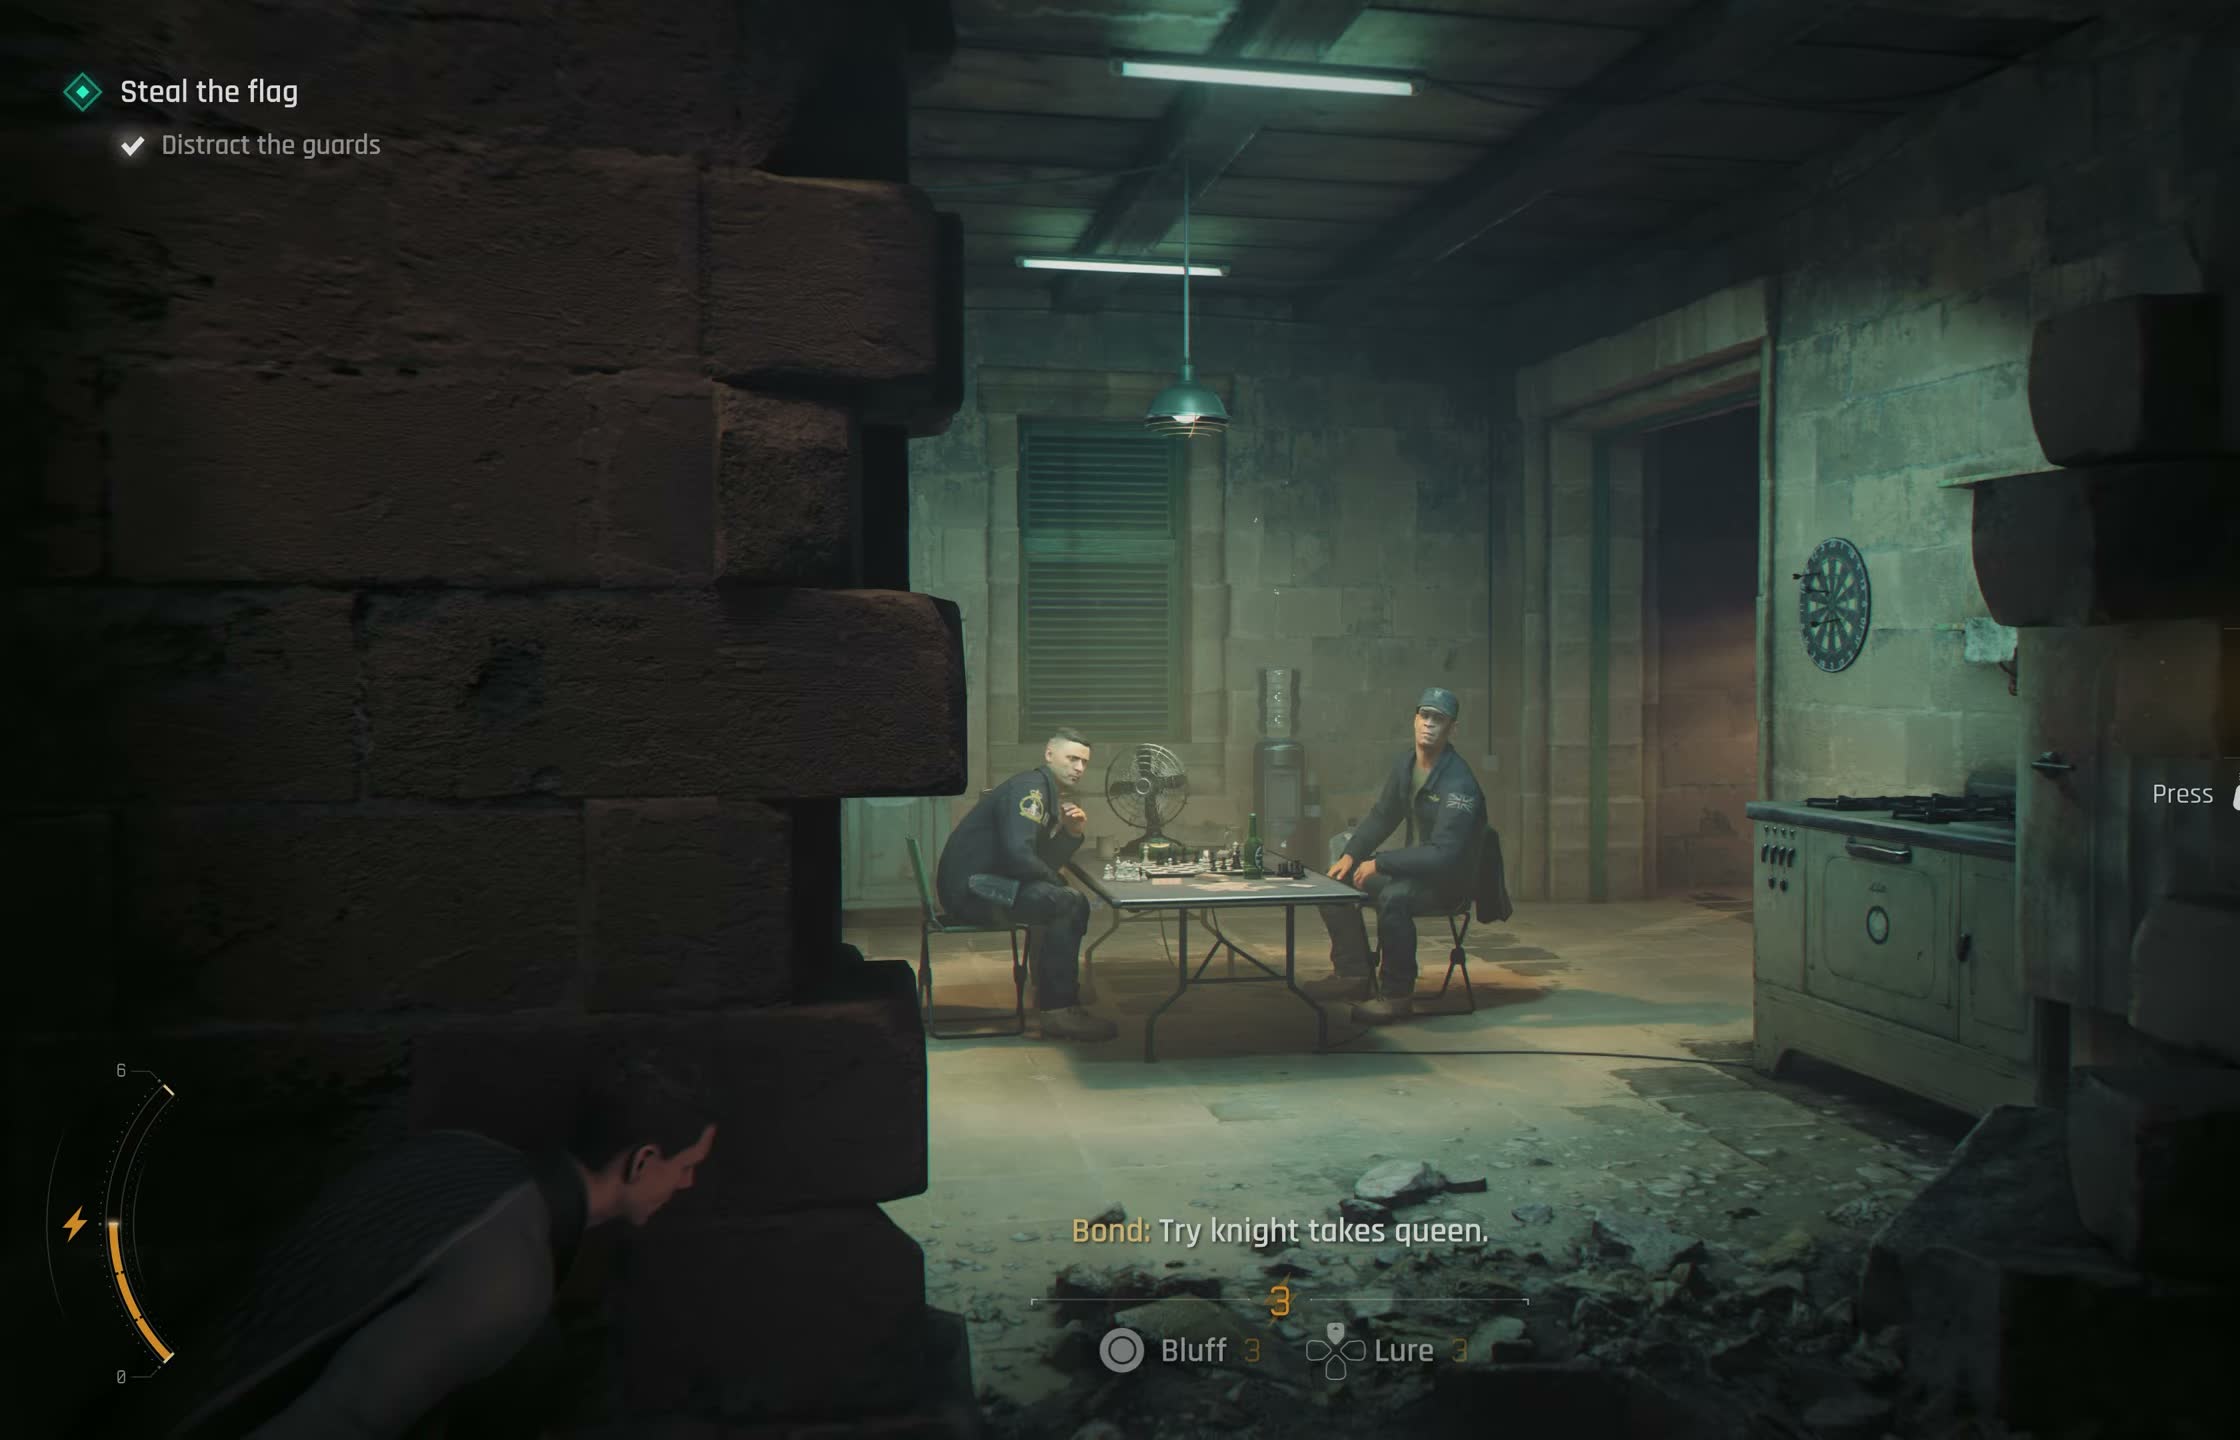
The first training bay is set up like a warehouse interior — cargo containers, stacked crates, concrete pillars, and a catwalk overhead. This module teaches the stealth fundamentals that the entire game is built around. The core mechanics covered here include crouch-walking for silent movement, attaching to cover, switching between cover positions, corner peeking, silent takedowns from behind, ledge takedowns from elevated positions, and using thrown objects as distractions.
Your objective is to neutralize all the training dummy targets in the bay without being detected. The first target patrols near the crates on your right side. Wait for him to turn away, then move in for the takedown.
After a takedown, drag the body out of sight — leaving it in the open will alert other guards who walk past. The second half of the course introduces pairs of guards on synchronized patrol routes. Watch their patterns for a while before committing to an approach.
Stealth Module: Guard Patterns and Advanced Tactics
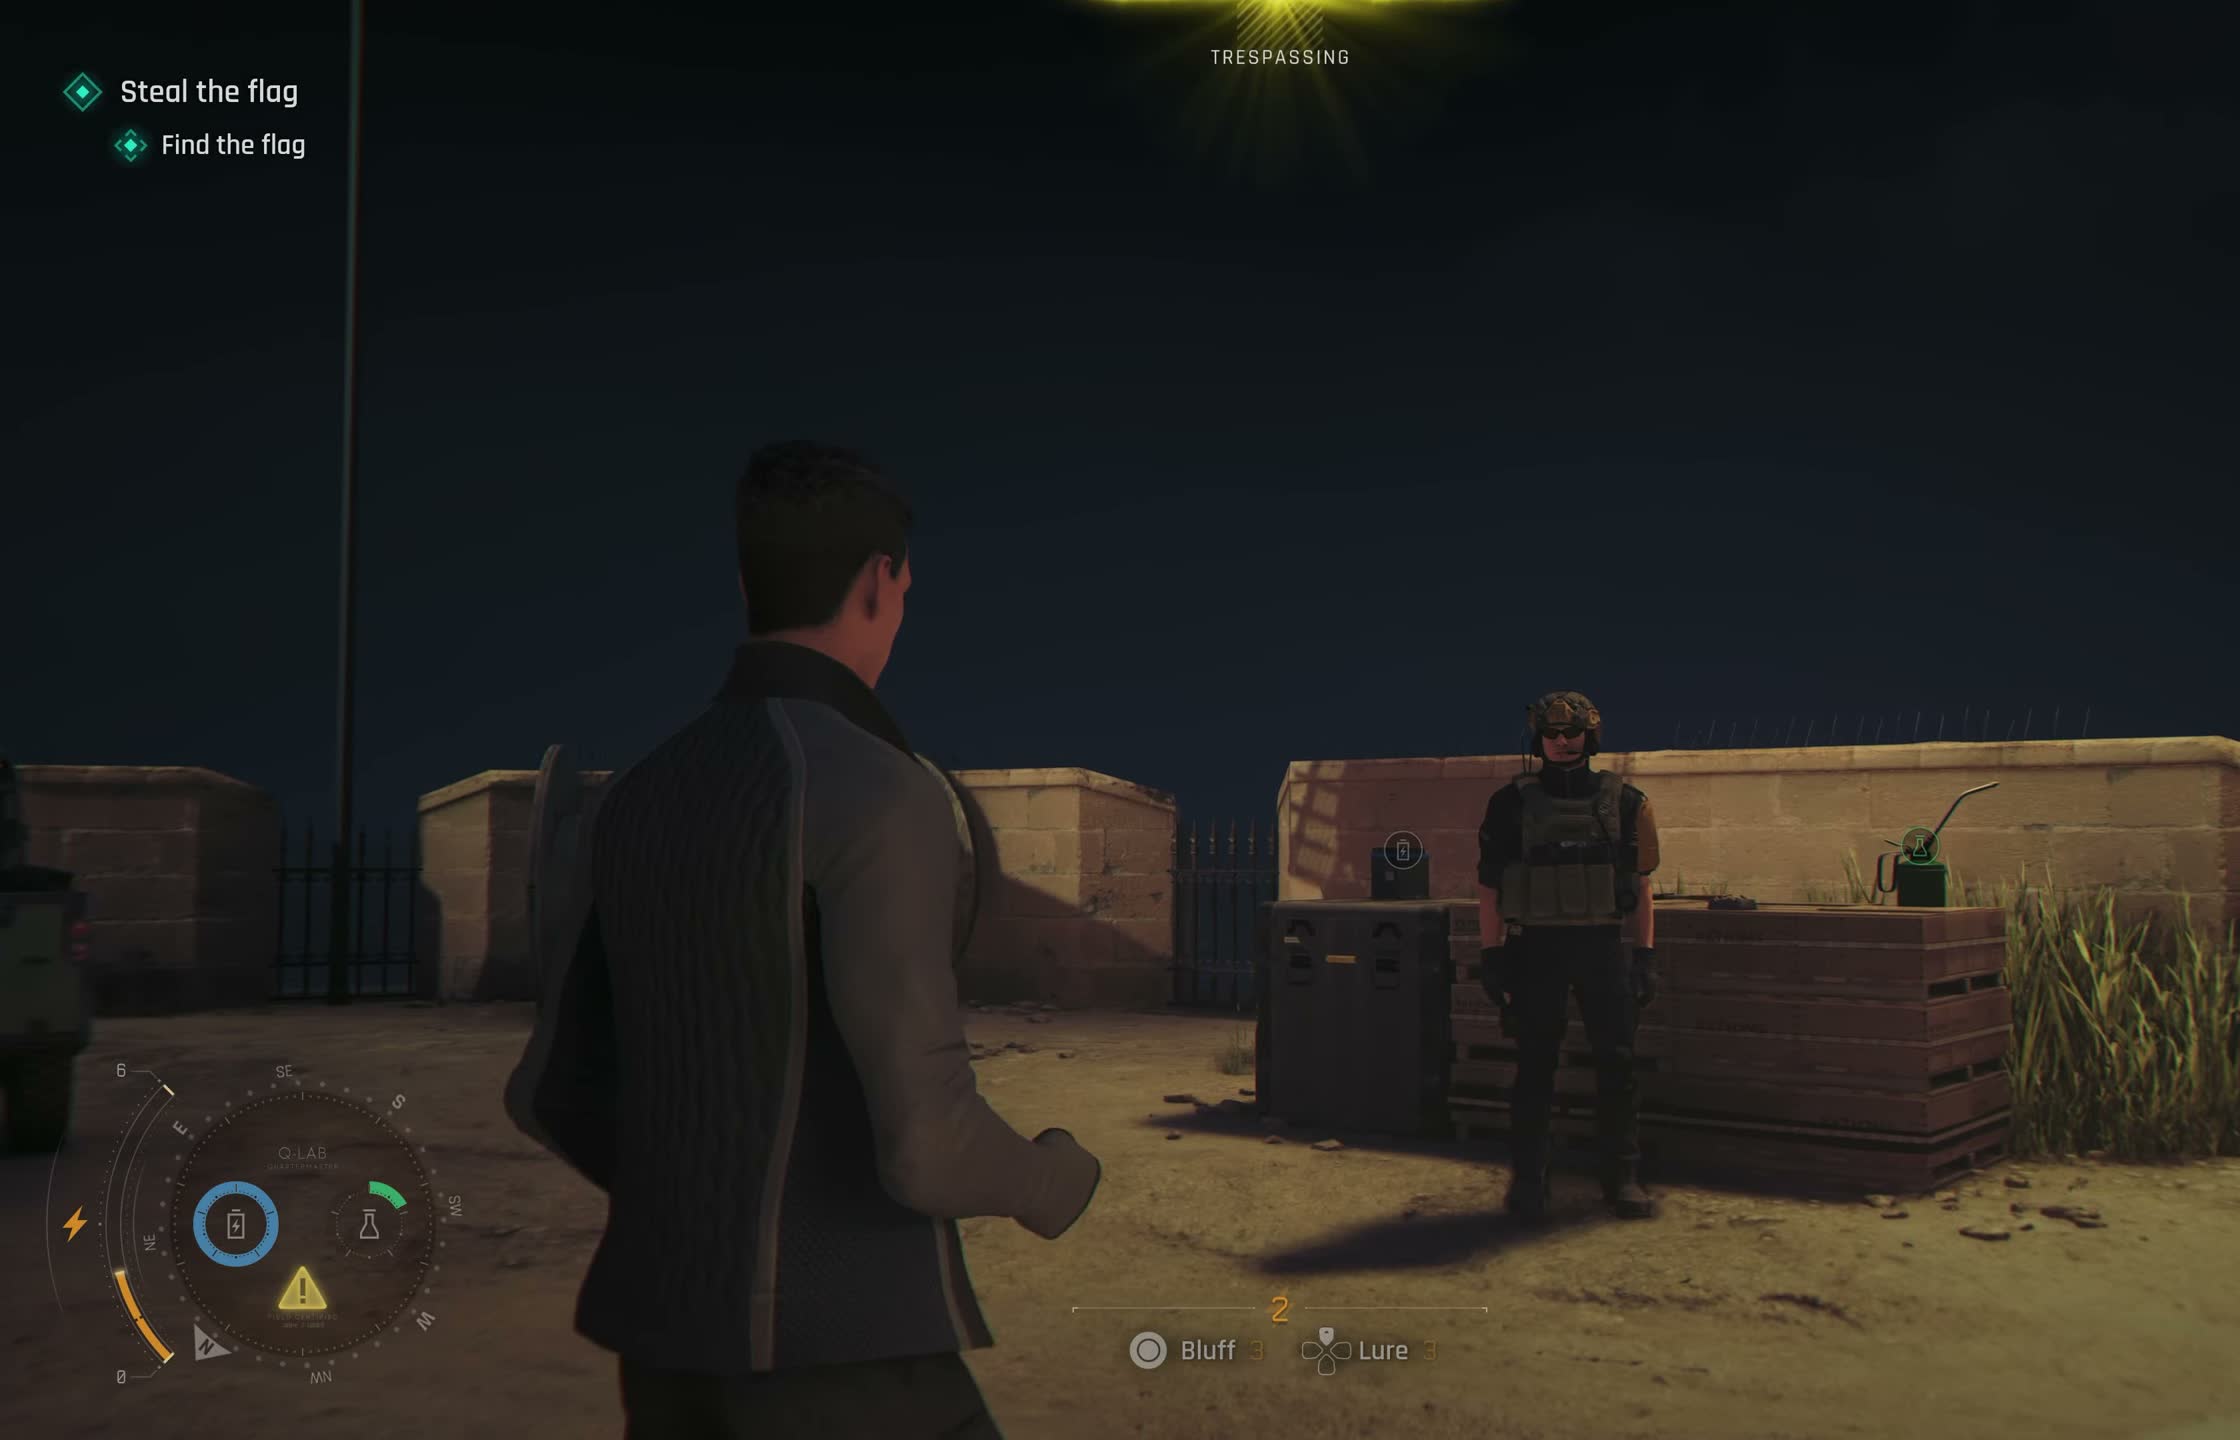
As you push deeper into the warehouse, the guard placements get more complex. Two guards patrol in a synchronized pattern — they split up and then reconverge. The trick is to take one of them out during the window when they're separated.
You can also create your own opportunities by throwing objects to draw a guard away from his partner. The environmental takedown near the fuse box is worth using — it's faster than a standard chokehold and the body falls into a concealed position automatically. After clearing the ground floor, you need to get up to the catwalk to deal with the last two guards blocking the exit. Use the maintenance ladder on the far wall rather than the center stairs, which are noisy and will draw attention.
Module 2: Firearms Training
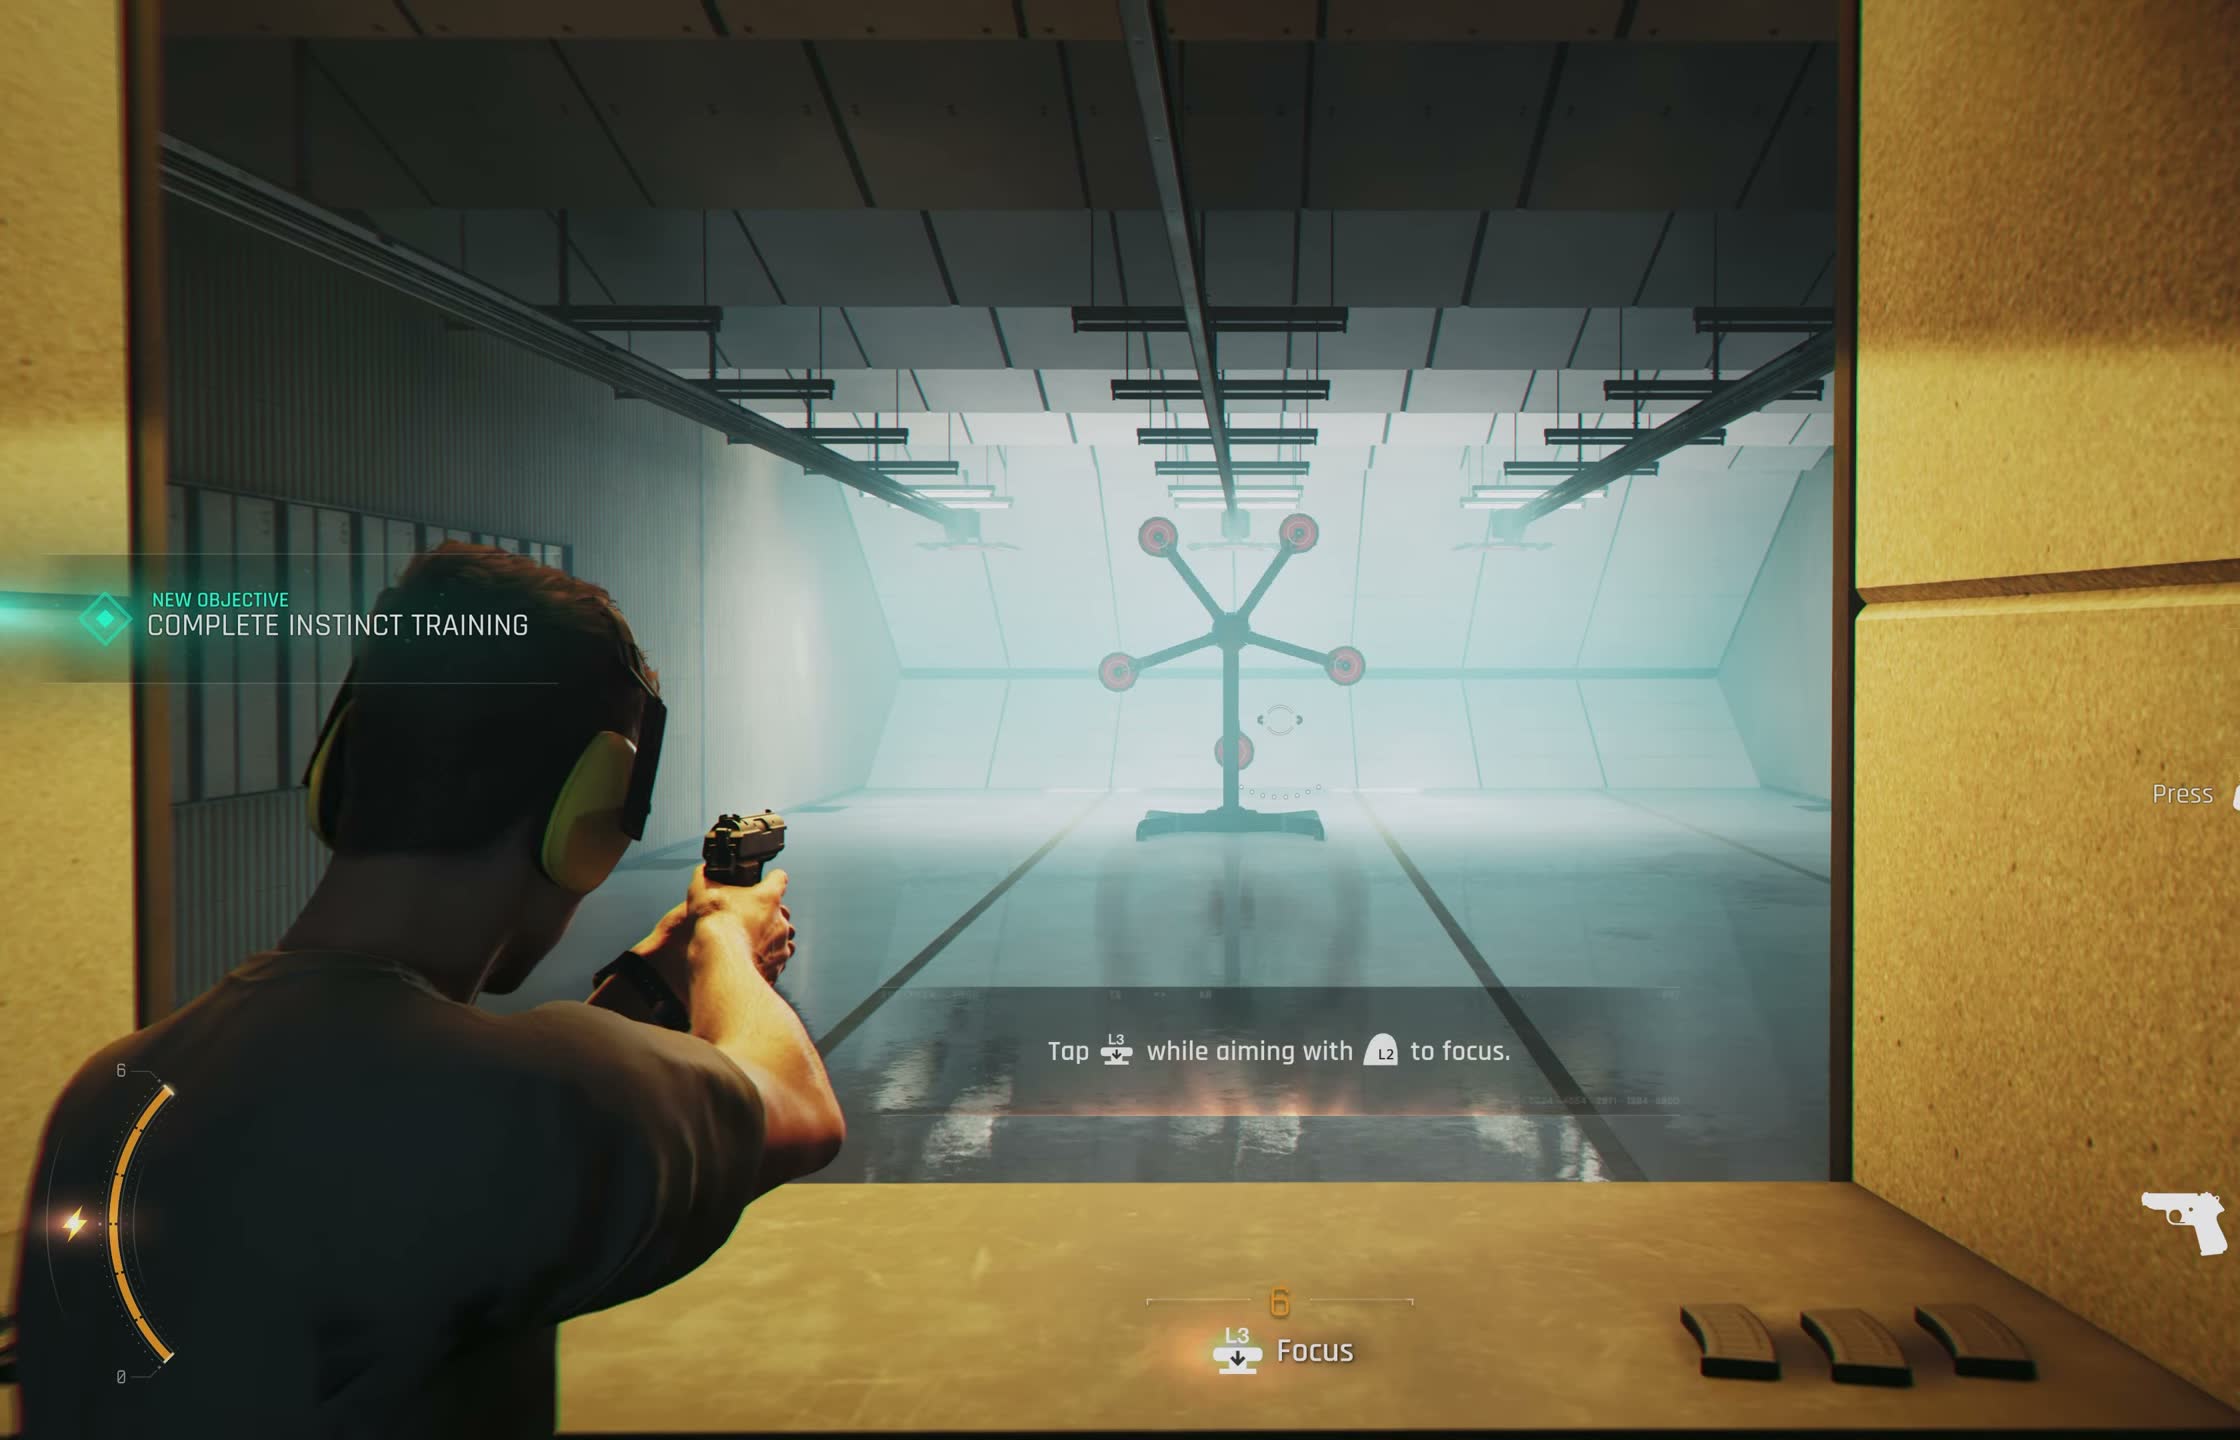
The firearms range is where you learn the Focus system — Bond's bullet-time ability that slows time, stabilizes your aim, and highlights enemy weak points. Focus energy is shown as a segmented bar that recharges over time, with headshots speeding up the recharge. You're issued a silenced Walther PPK for the course.
The range is split into three phases. Phase one is static targets at increasing distances — straightforward accuracy practice. Phase two introduces moving targets that cross laterally, which requires leading your shots.
Phase three is the stress test: targets pop up at random distances and angles, and some are hostage dummies mixed in with the hostile silhouettes. Shooting a hostage fails the module immediately.
Firearms Module: The Stress Test
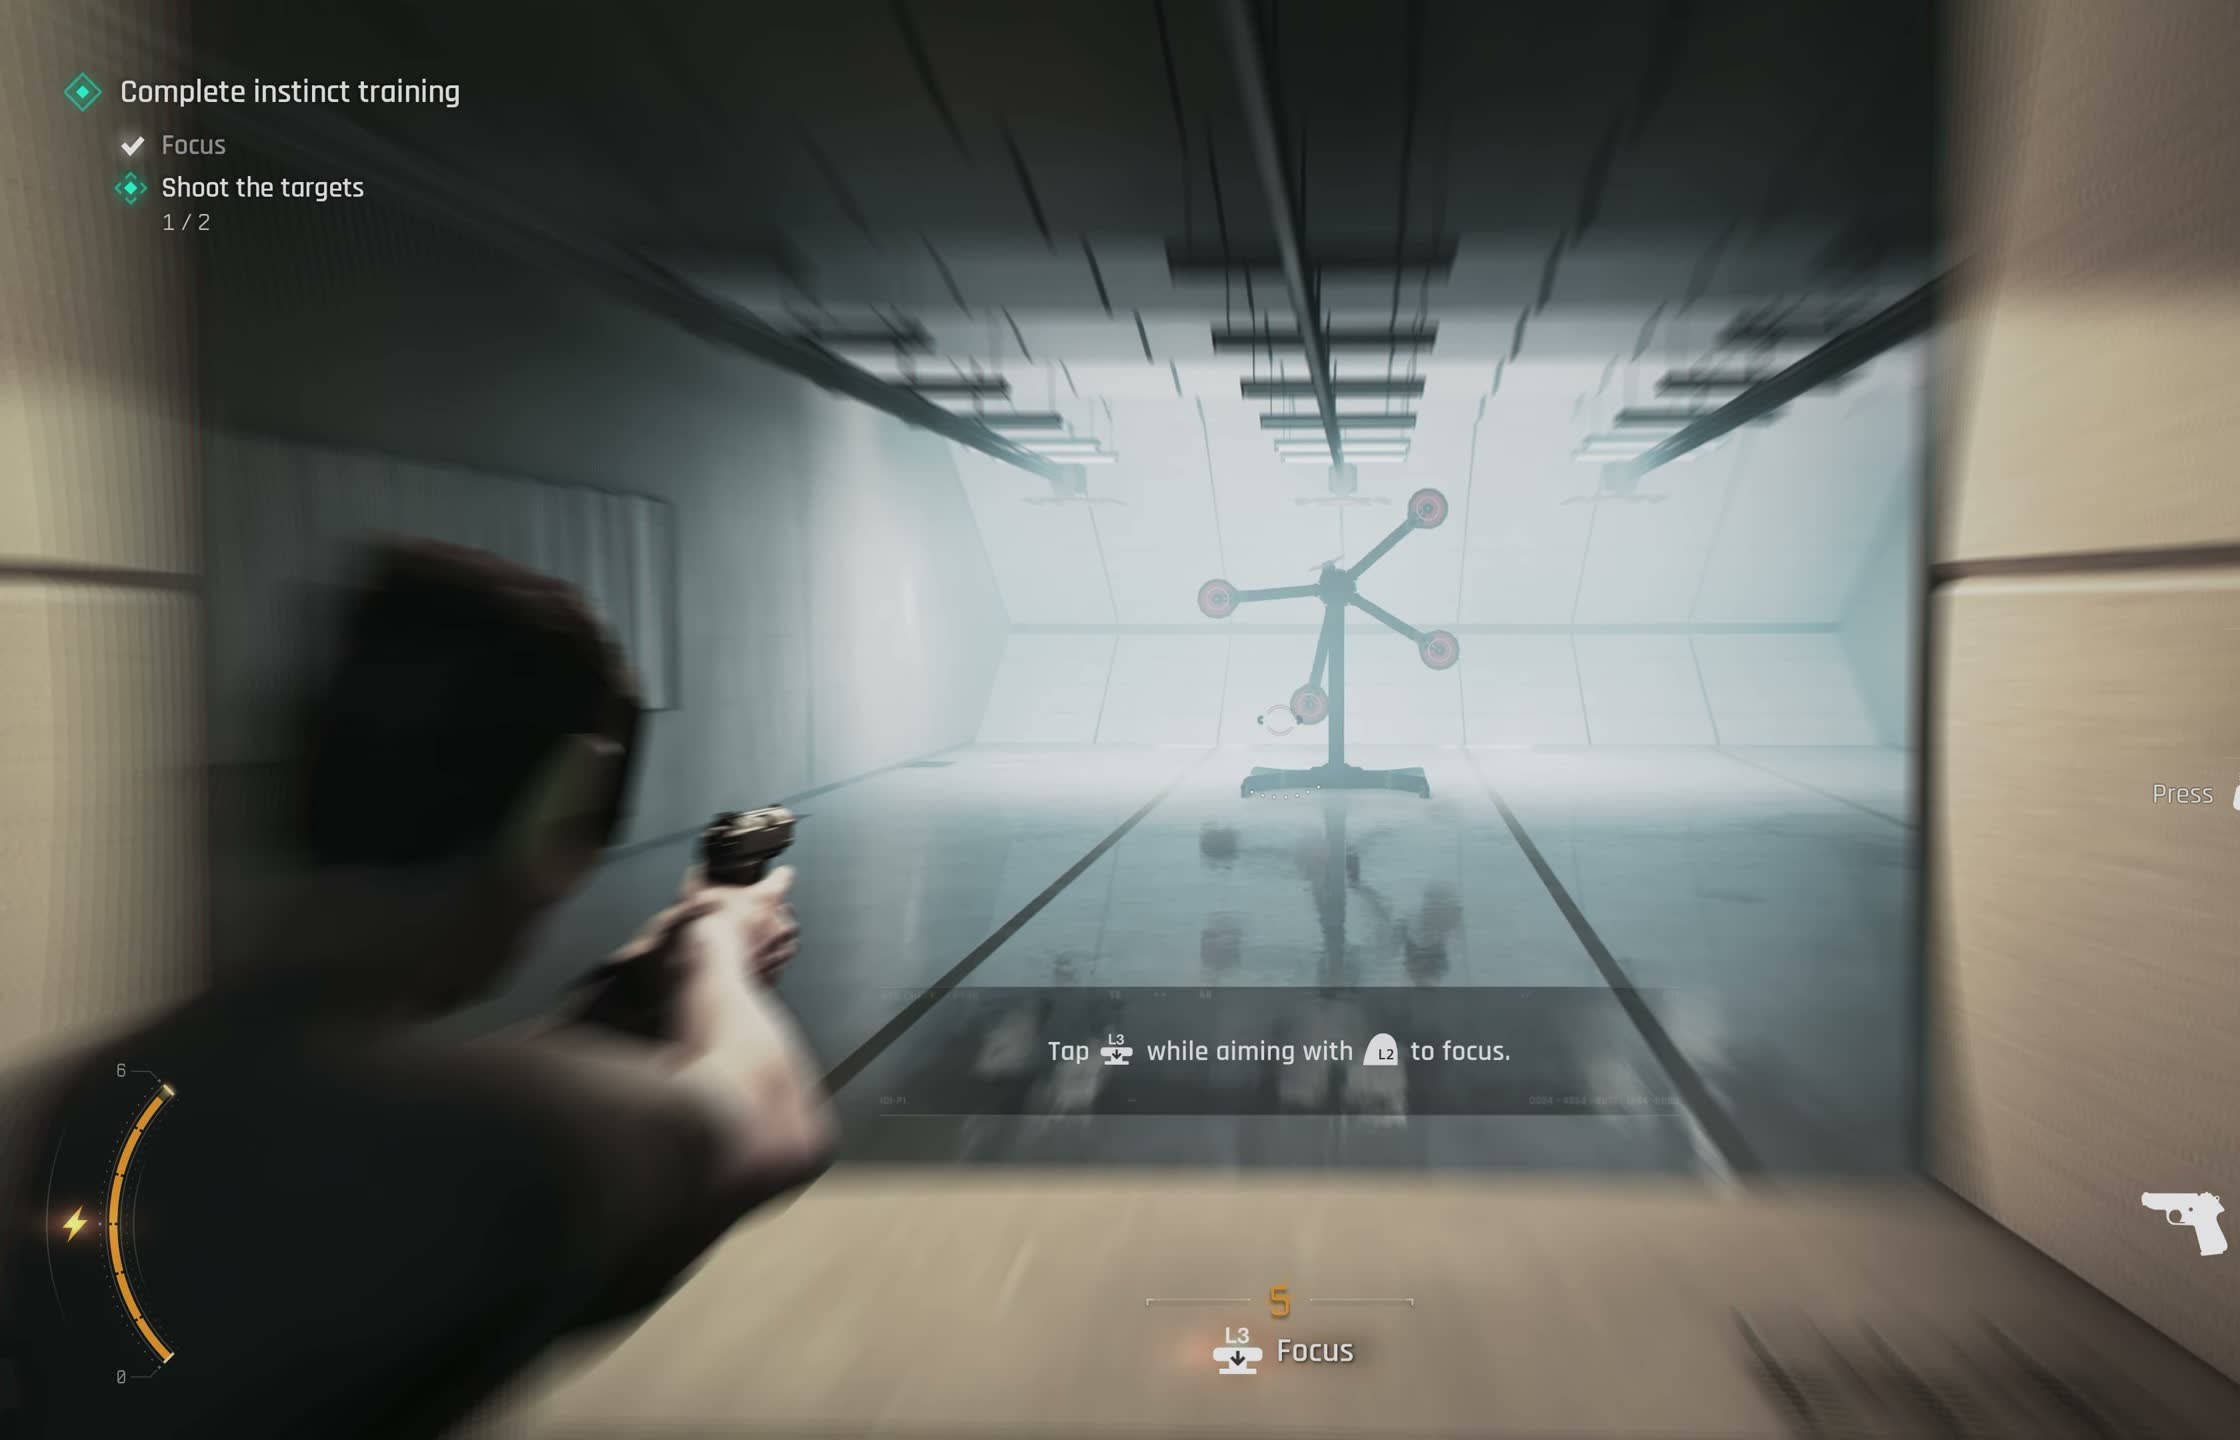
The stress phase is the part where most players fail their Gold attempt. The lights dim to red, strobes kick in, and targets pop up with only a brief window to identify and shoot them. The key isn't raw speed — it's target identification speed.
You need to distinguish hostile targets from hostages almost instantly. The final target in this phase appears at the far end of the range and moves sideways fast. You'll need to lead the shot by roughly a body width to connect.
After completing the standard course, talk to the instructor again — he offers an optional advanced phase with faster targets at longer range. It's not required, but completing it awards a permanent accuracy bonus for silenced weapons.
Module 3: Close-Quarters Combat Training
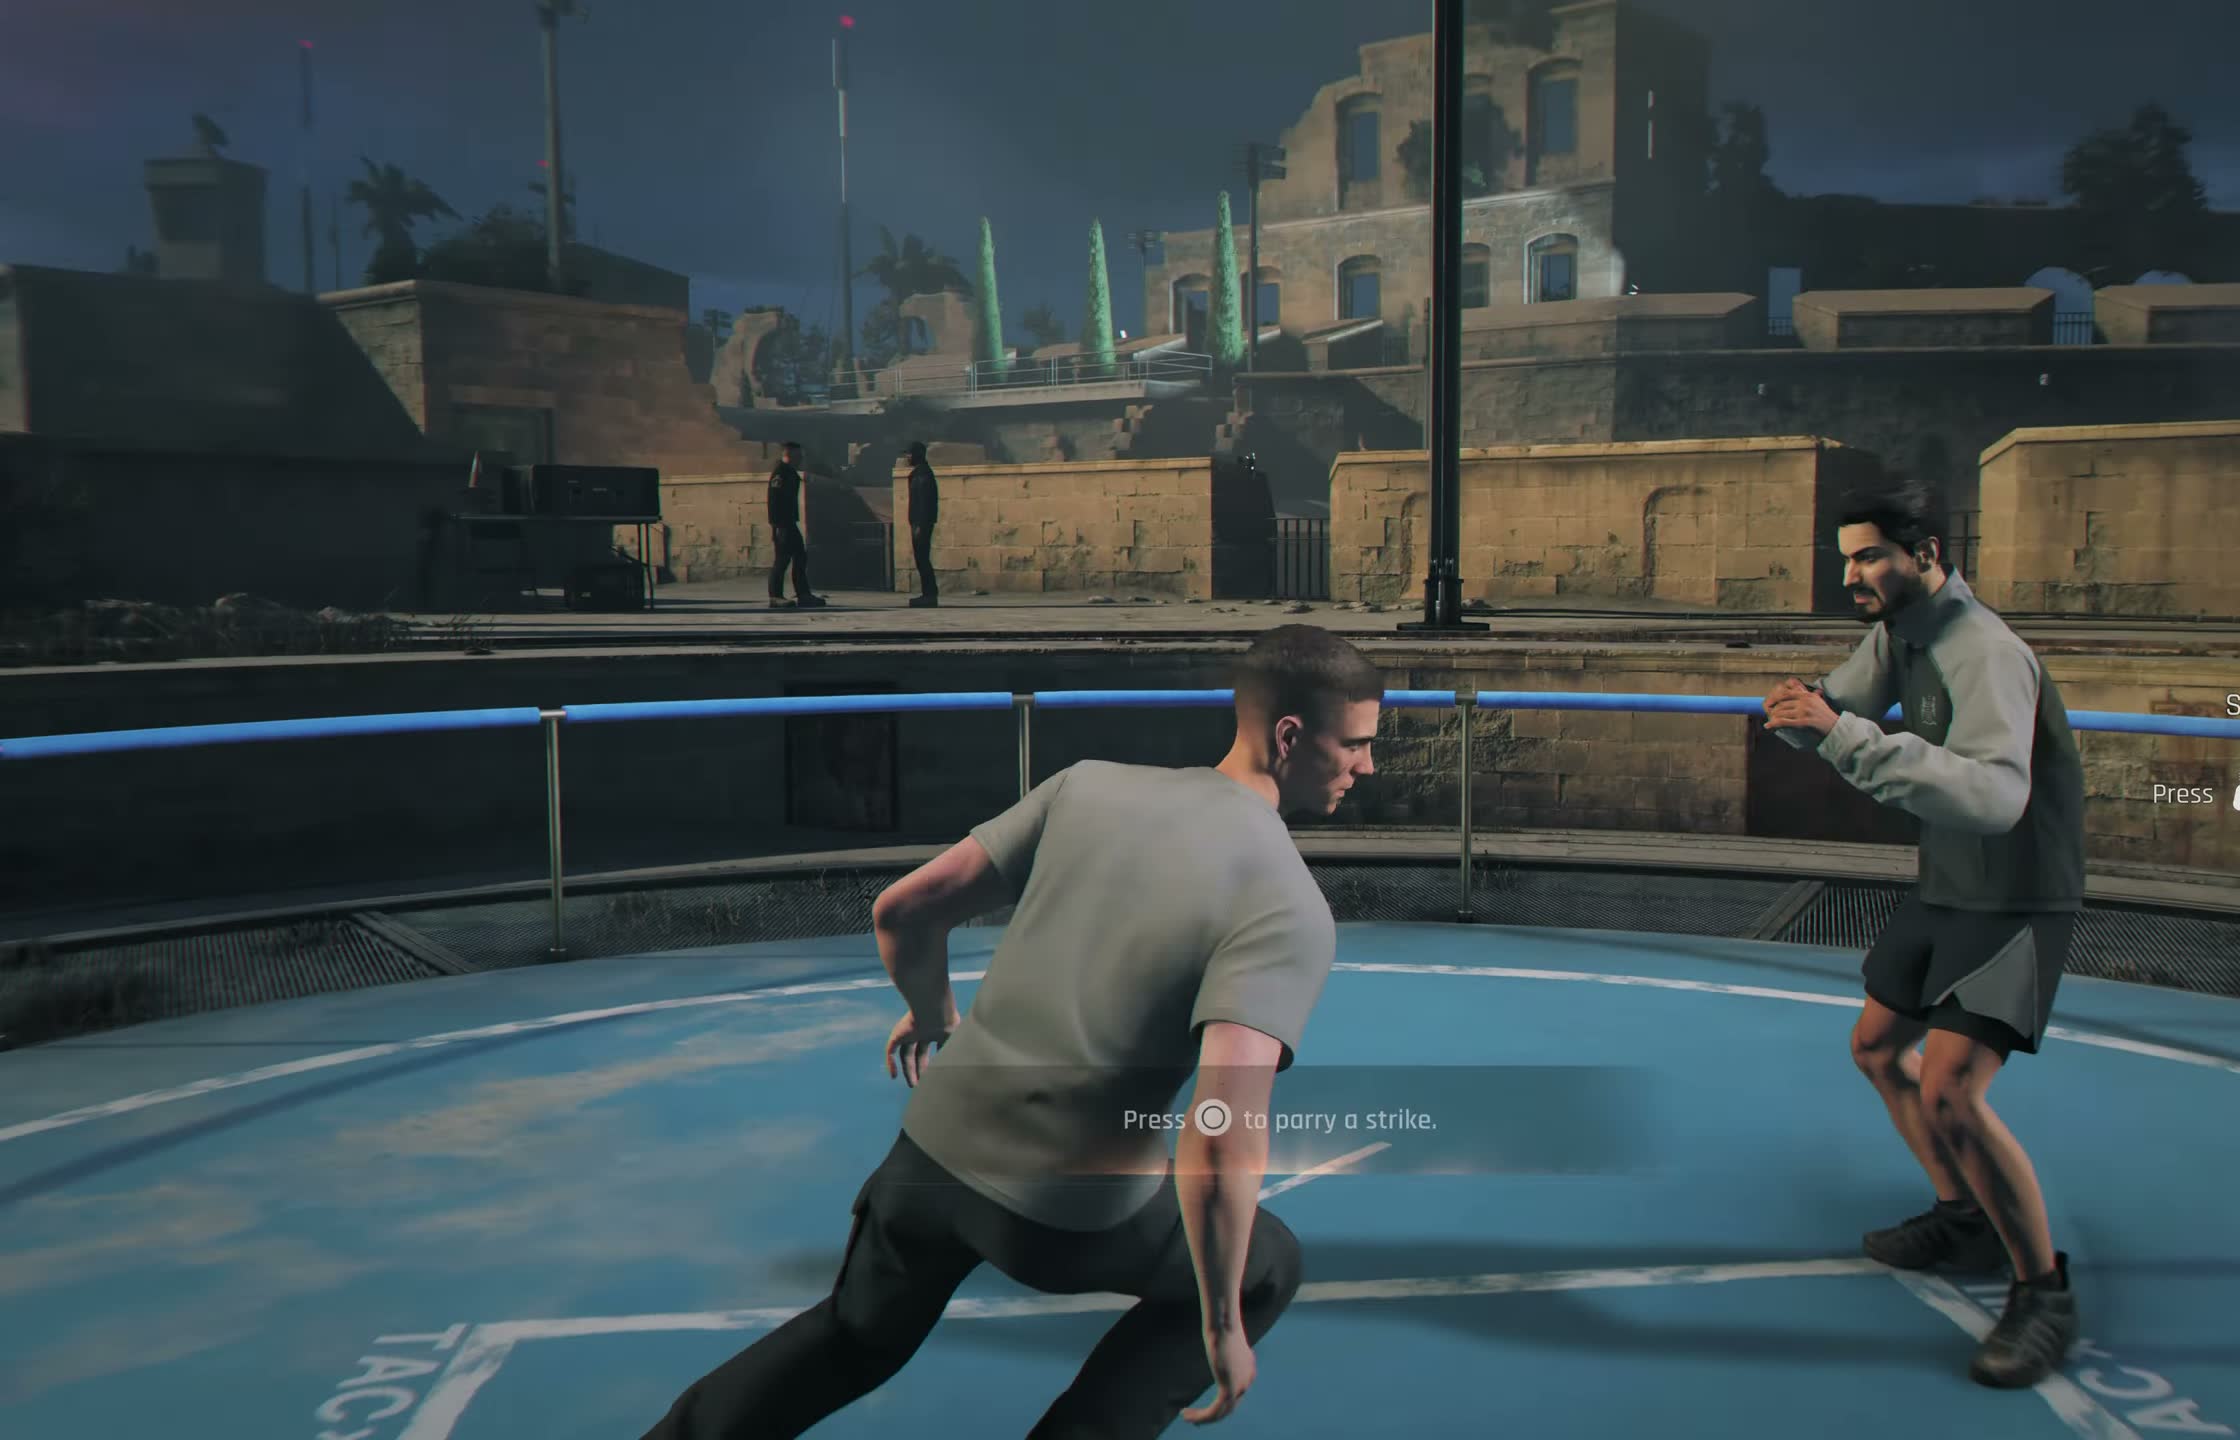
The CQB module takes place in a padded training room with environmental objects scattered around the perimeter — a bench, an equipment rack, and a support pillar in the center. Your opponent is Chief Instructor Hale, a Royal Marines veteran who does not hold back. The combat system is built around timing rather than button-mashing.
There are two defensive moves: Parry, triggered by a gold flash indicator, and Dodge, triggered by a red flash. Parry works against high attacks like hooks and overhead strikes. Dodge is for low attacks like sweeps and kicks, or for heavy wind-up attacks that can't be blocked.
Get these wrong and you take full damage. Hale attacks in combos of two to four strikes. After successfully defending a combo, he's briefly vulnerable to a counterattack. The module also introduces grabs, throws, and environmental takedowns — throwing Hale into the bench or equipment rack deals bonus damage and interrupts his combo.
CQB Module: Finishing Moves and Round Two
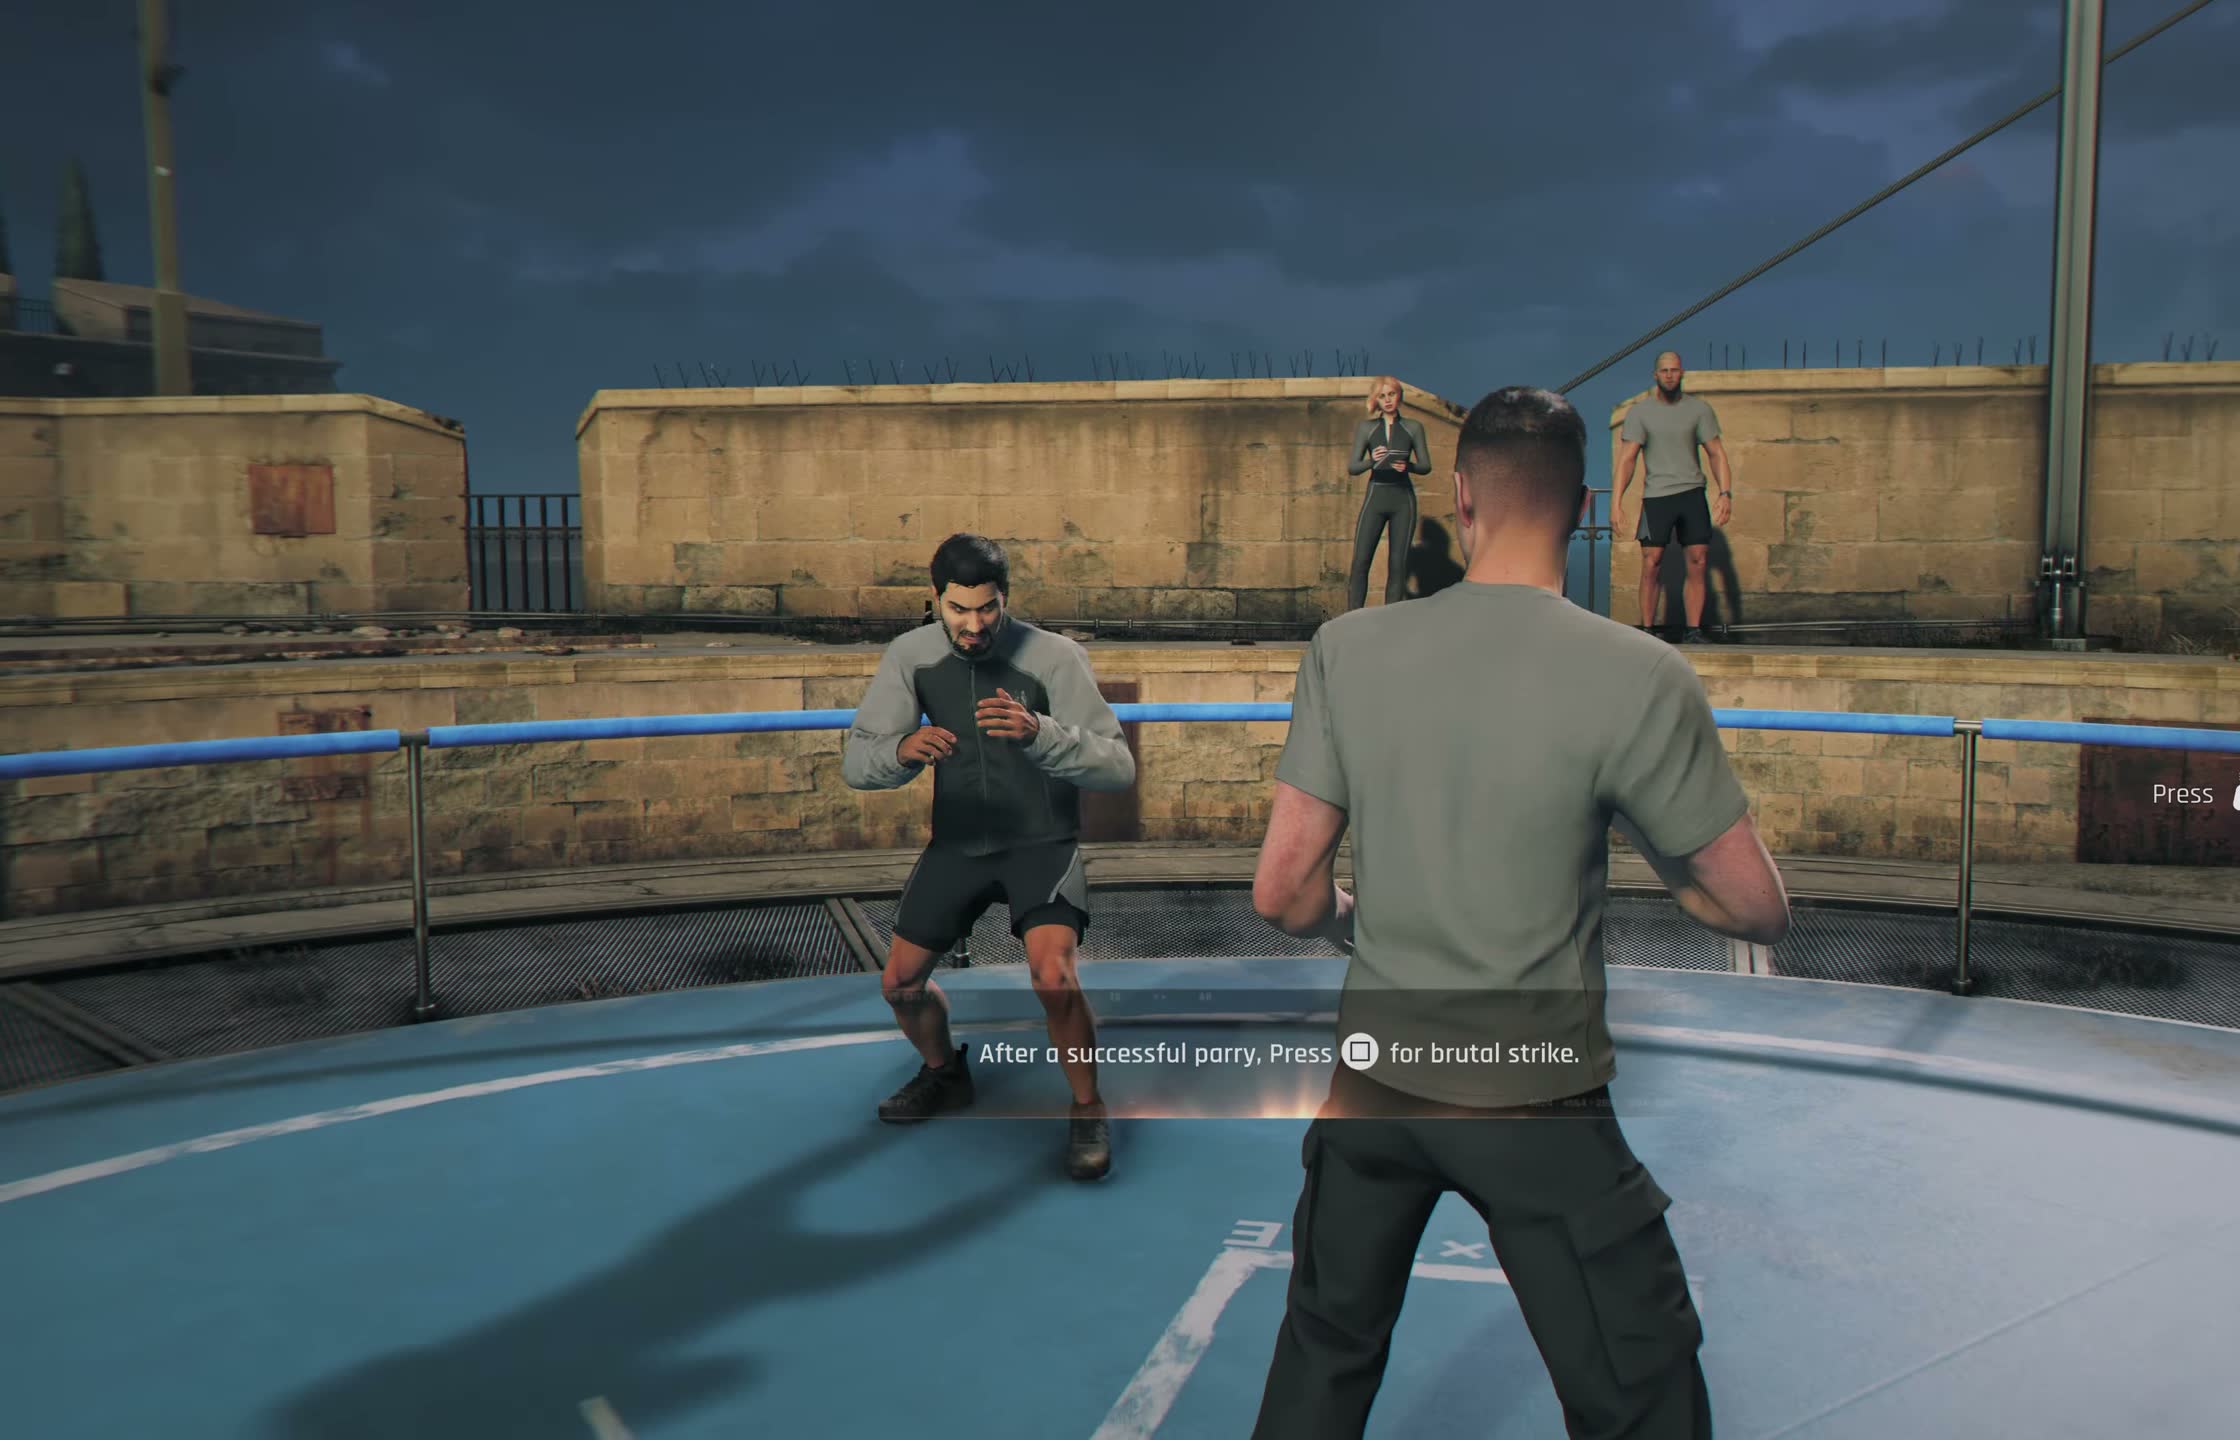
When you deplete Hale's stamina, he staggers and you get a prompt for a finishing move. The basic standing finisher works fine, but environmental finishers are better — drag him toward the bench, equipment rack, or the mirror on the north wall for a faster takedown that triggers the end-of-fight cutscene immediately. After you beat Hale the first time, he gets back up for a second round.
This is intentional — the second round is where he tests whether you can adapt. He uses new combos that he didn't show in round one, including a feint where the indicator flashes gold but the actual attack is a low sweep. The second round is where most players lose their Gold rating, so stay focused.
Module 4: Tactical Driving Assessment
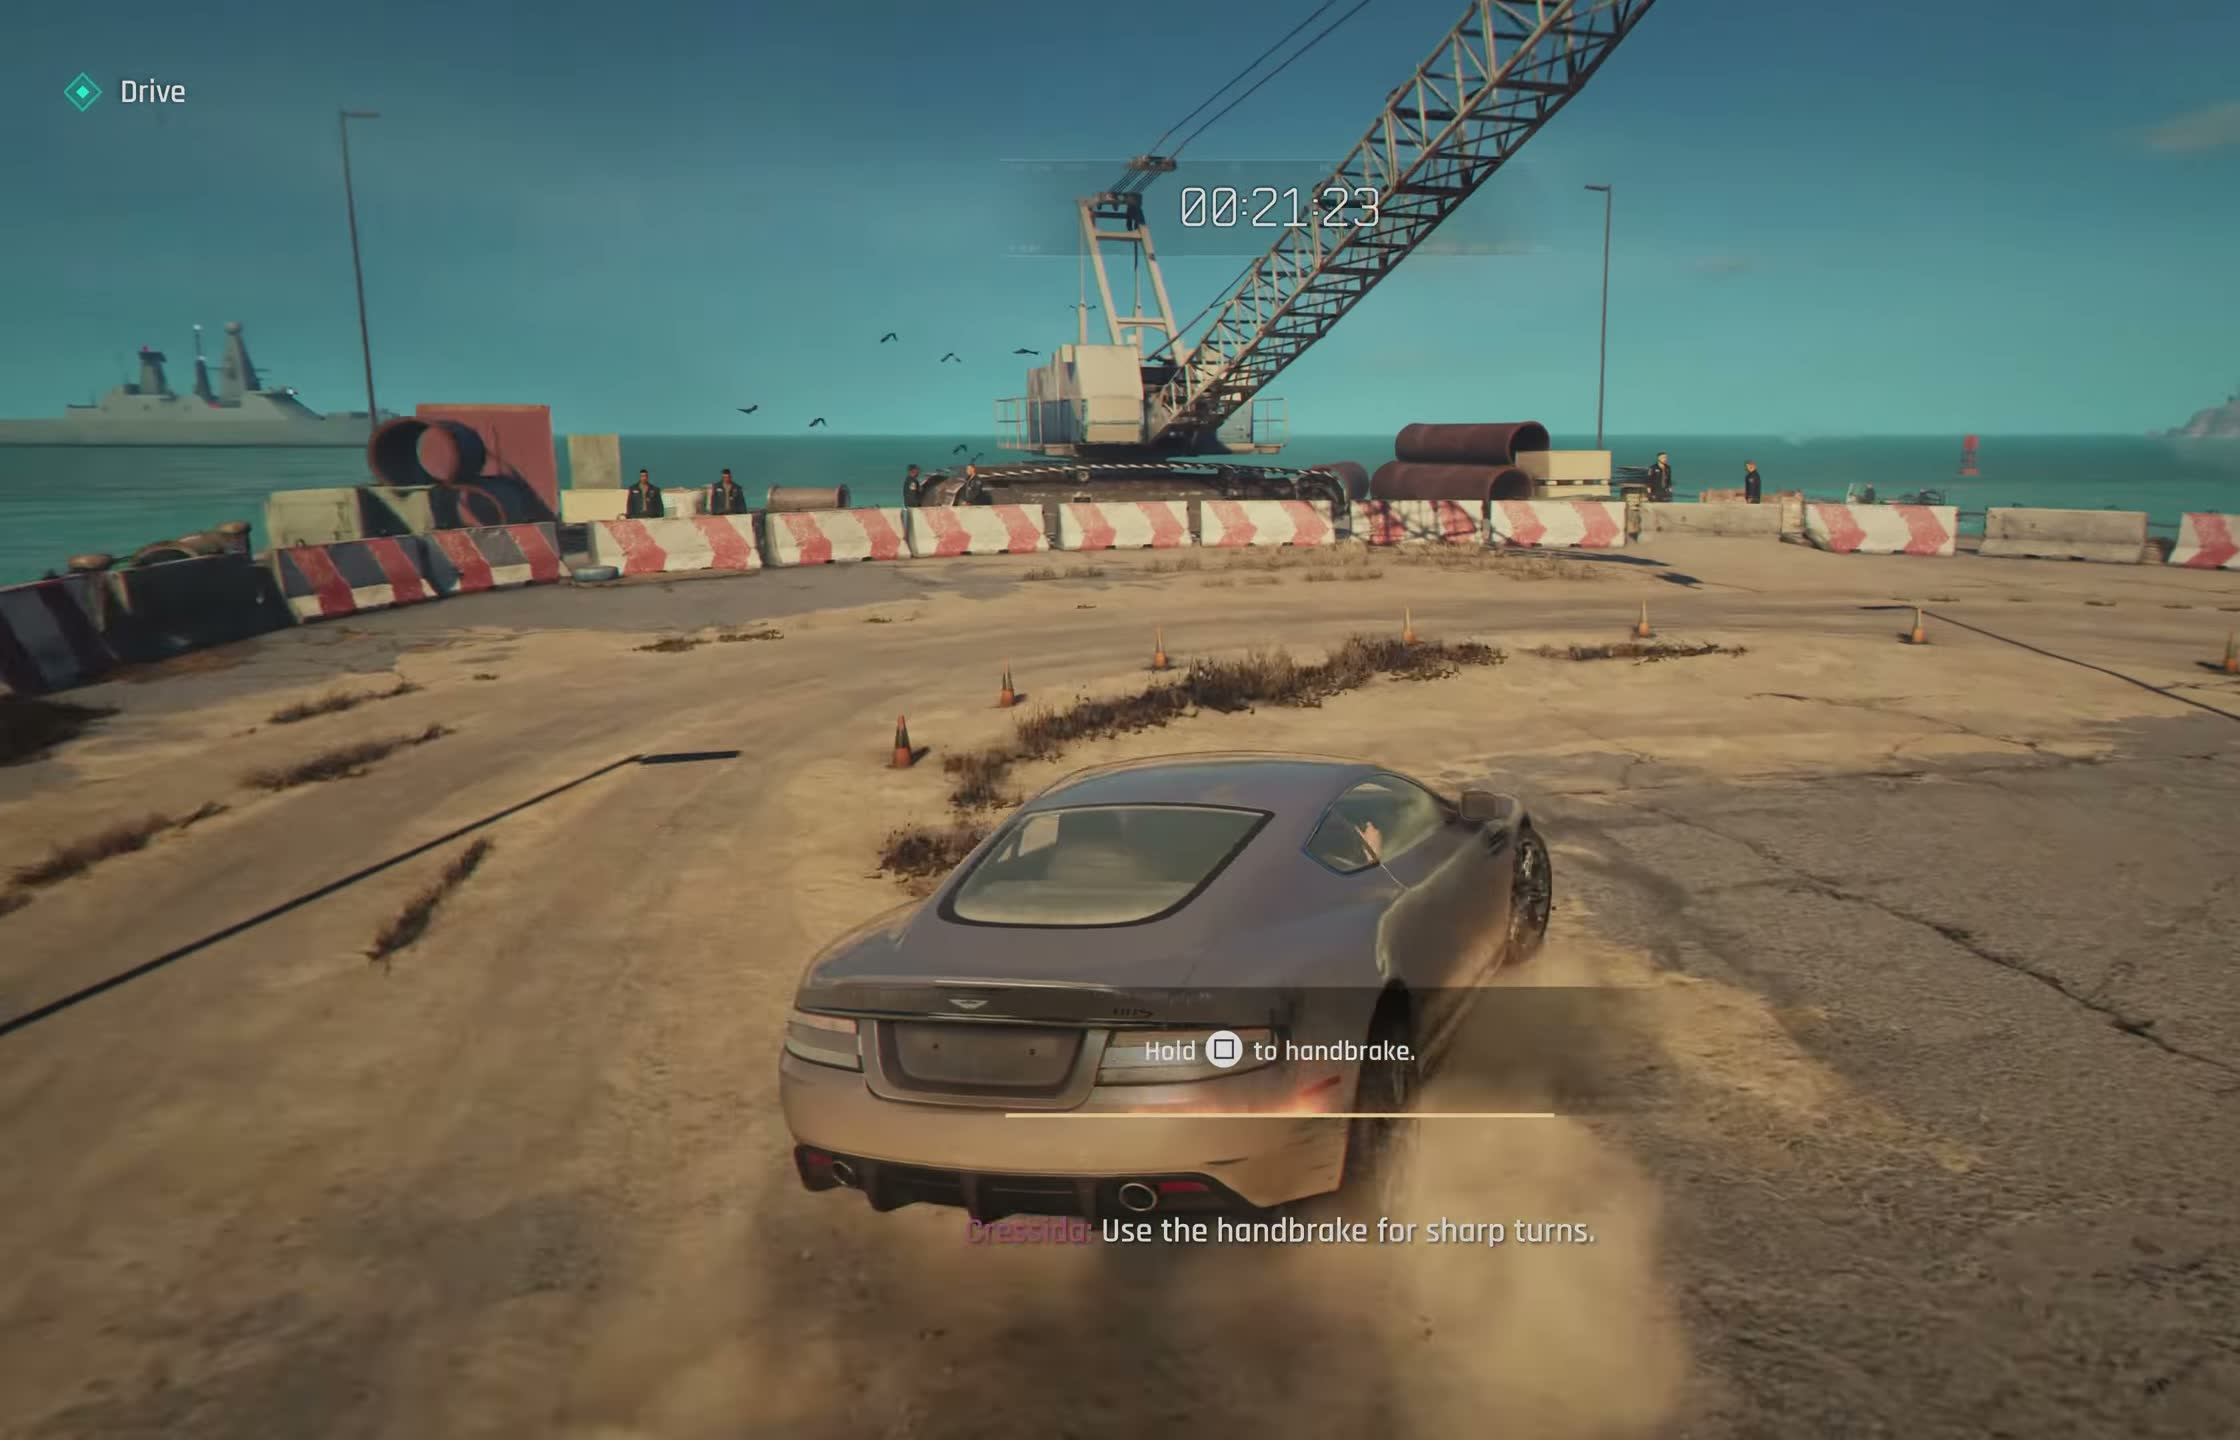
The driving test takes place on a closed road along the Maltese coast. You're handed the keys to an Aston Martin — fast, responsive, and equipped with a machine gun for the weapons phase. The driving model in 007 First Light leans toward arcade rather than simulation.
There's weight transfer and tire grip to manage, but the game includes a stability assist that prevents most spins. This was a deliberate design choice — the goal is to make driving feel exciting, not punishing. The module has three segments.
First, a familiarization lap with no weapons to learn the course. Second, a timed lap where cardboard targets pop up and you shoot them while driving. Third, the evasive phase — explosives on the track and pursuit vehicles chasing you.
Driving Module: Weapons and Pursuit Phase
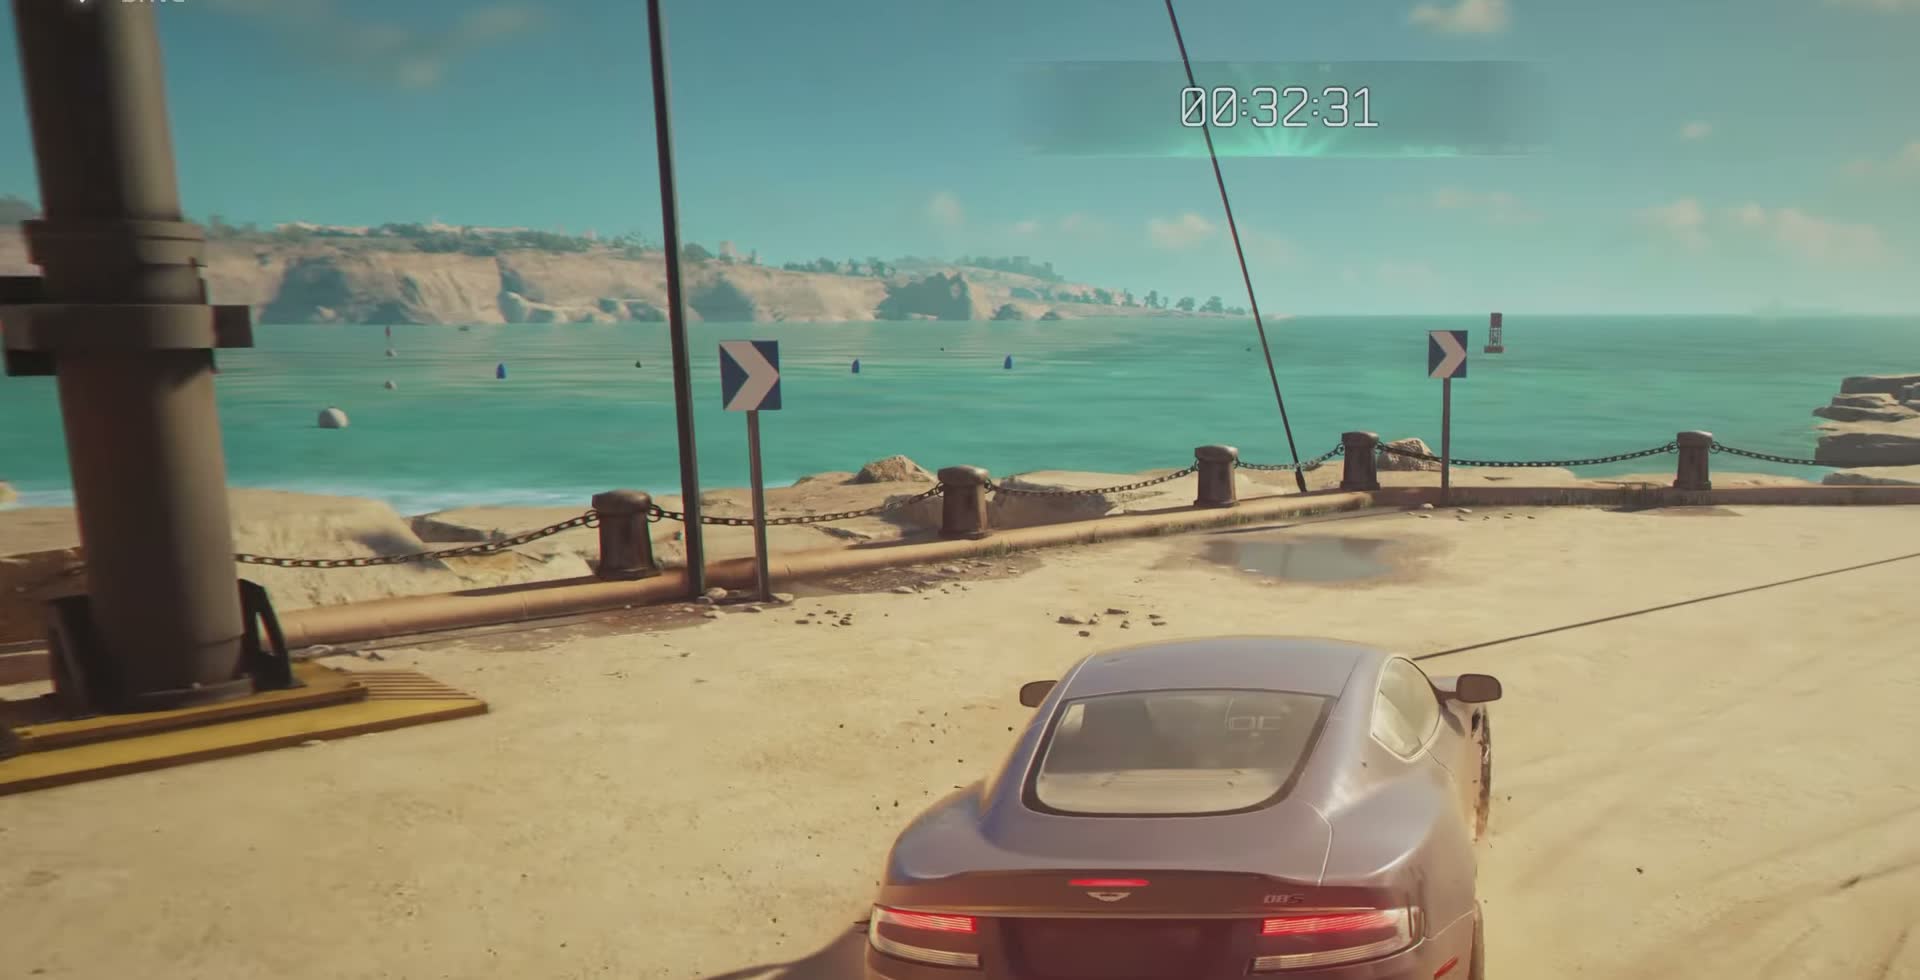
On the second lap, targets start appearing at fixed points along the course. They come in a set order, so once you learn the sequence you can pre-aim before they pop up. A moving target on one of the straights crosses from right to left — lead your shot by about a car length.
The final chicane section has five targets in quick succession, which is the hardest part of the weapons phase. After the targets, the pursuit phase begins. Three black SUVs chase you.
They don't have weapons, but they're aggressive about ramming. You can outrun them by maintaining high speed on the straights, or shoot their tires to take them out of the chase. A shot to either front tire causes them to spin out immediately.
Q Branch: Your First Gadgets
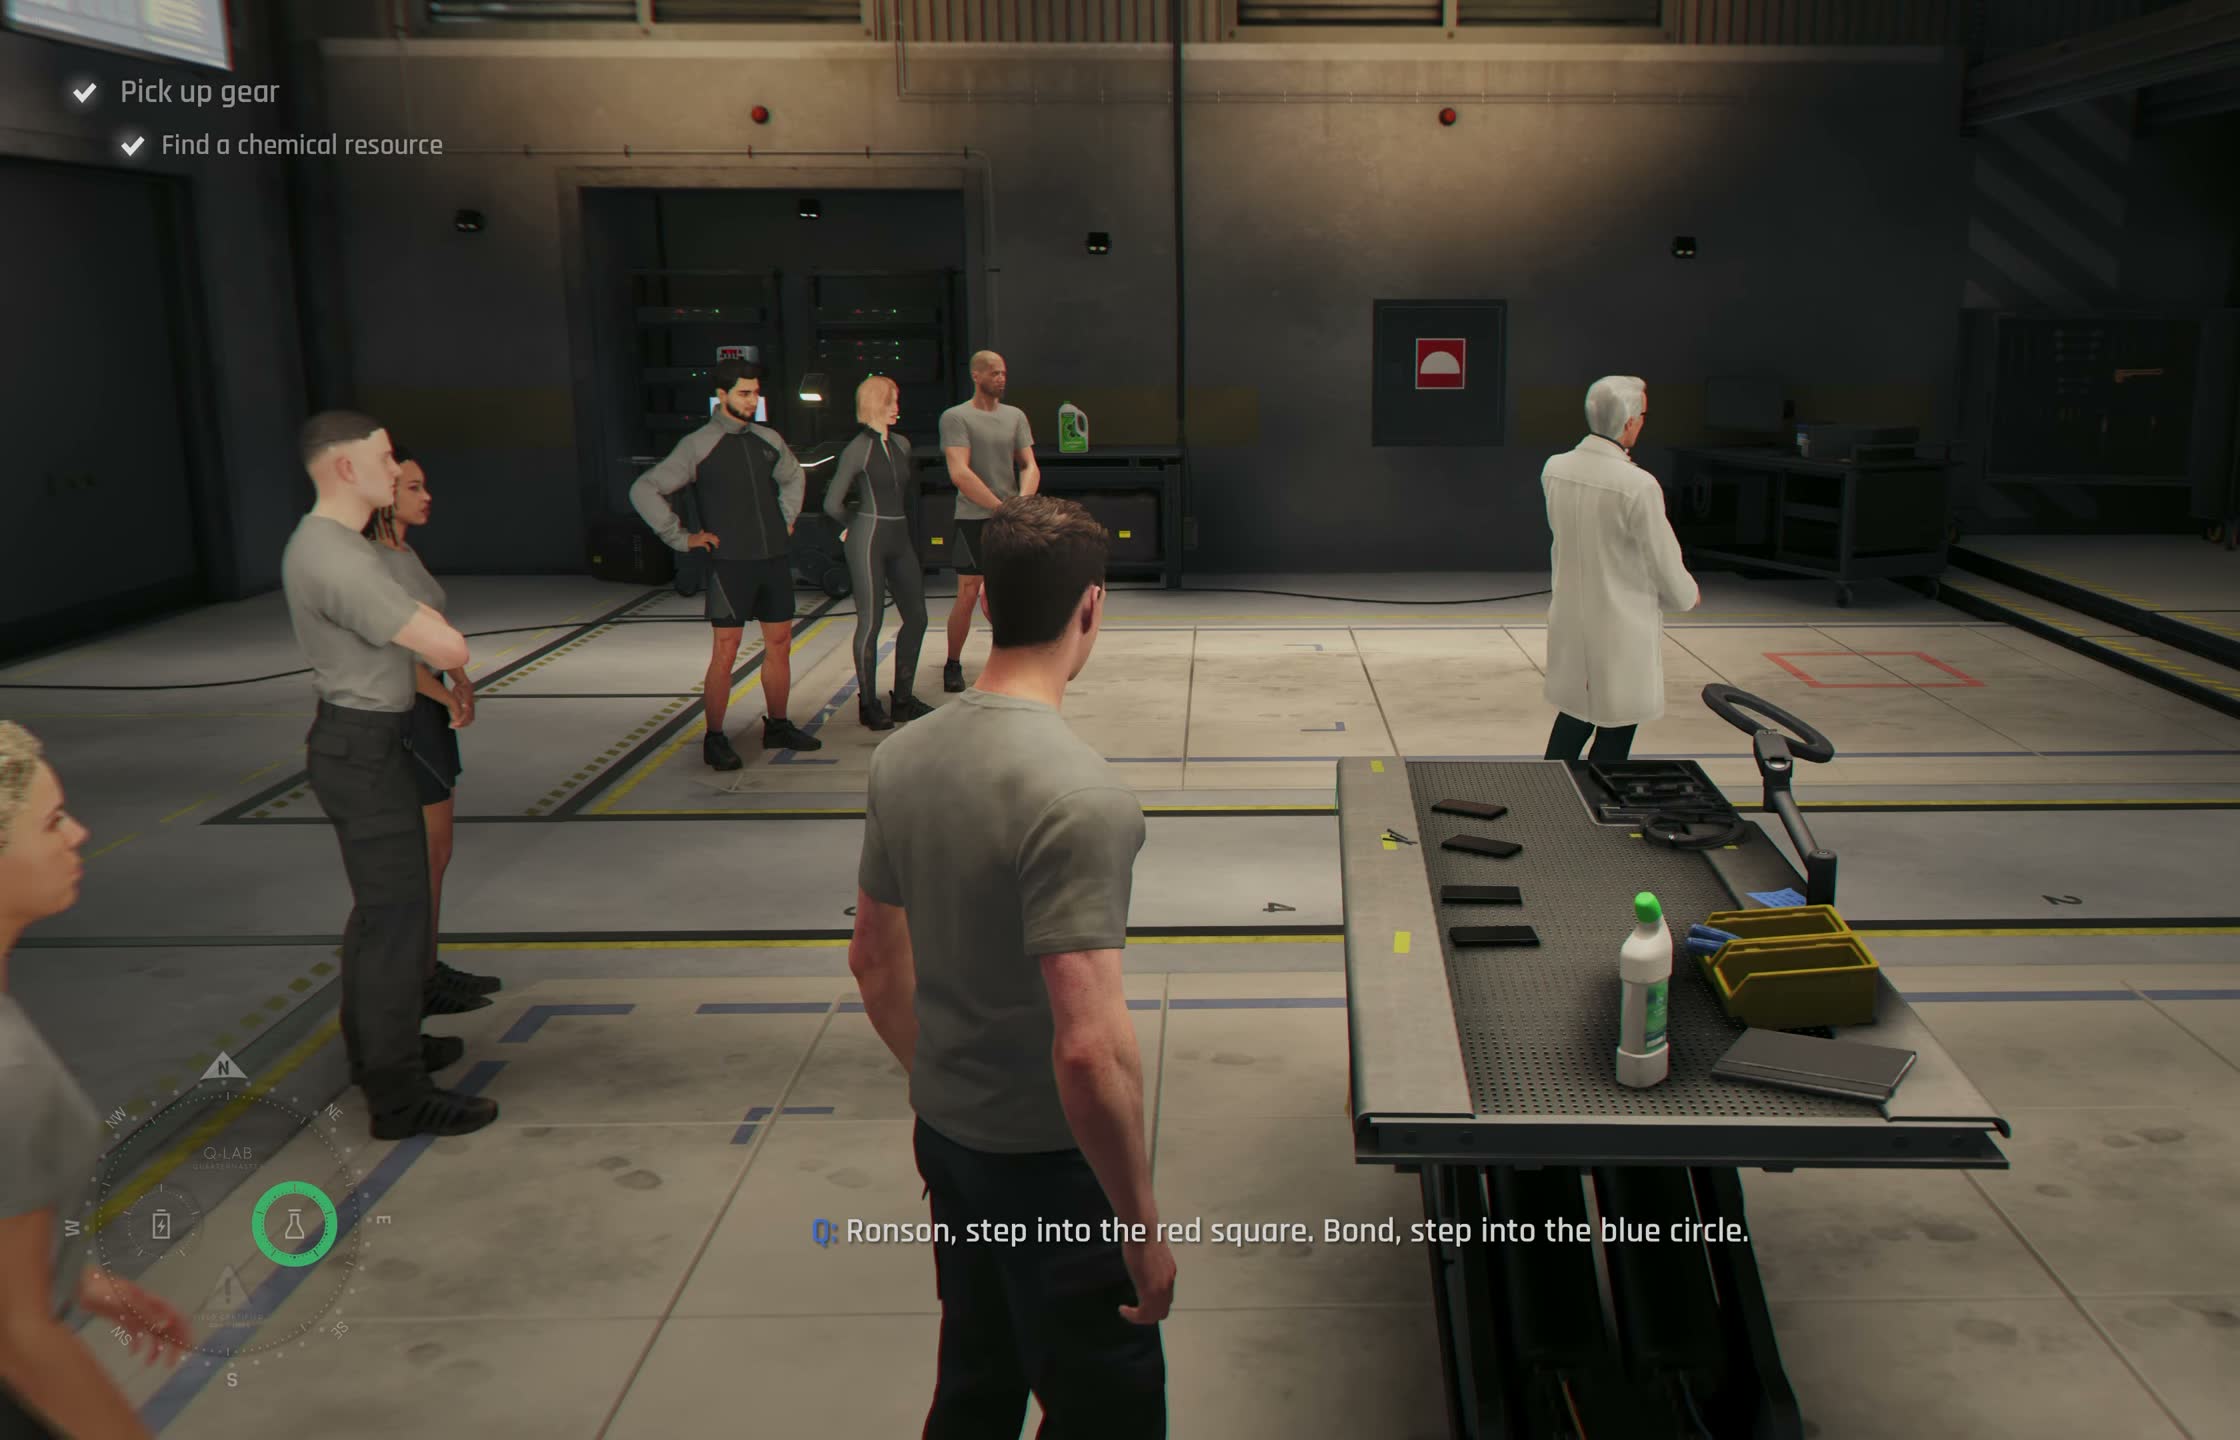
After finishing all four modules, you're taken to a Q Branch outpost inside the facility. This is where you meet Q for the first time — younger and drier-humored than the film version, with a clear disdain for trainees. He walks you through three gadgets that form your core toolkit.
The Q-Watch is your multi-tool: it handles hacking, has a mini-camera, an EMP pulse for disabling electronics, and a taser wire for non-lethal takedowns at close range. The Dart Phone is a disguised smartphone that fires tranquilizer darts and can emit a sonic distraction. The Smoke Pod creates a smoke screen for breaking line of sight.
You can test each one in the demo range before moving on. Q's parting line sets the tone for the rest of the game: he tells you not to lose the watch, because it's worth more than you are.
Assessment Results and What Comes Next

The chapter wraps up back in the assessment hall, where Selina Tan goes over your scores. Your performance across the four modules determines your starting rating and equipment. The other recruits get their scores too — Cressida and Monroe are both present, and their results play into the story going forward.
After the ceremony, there's a closing cutscene: Bond stands on the cliff balcony looking out over the Mediterranean, and M calls on the Q-Watch to summon him to London. The iconic Bond theme plays as the screen fades. This chapter might feel like a tutorial, but it's laying the groundwork for everything that comes next. The mechanics you learn here — stealth movement, Focus aiming, parry timing, driving lines — all come back in harder, more complex combinations in every subsequent mission.
Chapter Tips
Collectibles in This Chapter
Explore each section thoroughly to find all hidden items. Check the tips above for specific collectible locations.