The Heart of the Matter
Bond reports back to M for a frank conversation about his future in the service, then descends deep beneath MI6 headquarters to Q Branch — the beating heart of British intelligence. It's here that he meets the eccentric quartermaster who will equip him for every mission to come.
M's Verdict
The chapter opens in M's office at Vauxhall Cross. The room is the same wood-panelled space you saw in Chapter 2, but the mood is different. Where the recruitment meeting had the energy of an opportunity being extended, this meeting feels like a reckoning. M doesn't stand on ceremony. She's reviewed Bond's file from Malta, and while he passed the assessments, the report flagged a pattern: Bond doesn't just bend rules — he ignores them when he thinks the situation demands it. In Iceland, he disobeyed a direct extraction order. In Malta, he deviated from the CQB protocol to take down a hostile faster than the exercise allowed.
M is neither angry nor impressed. She's pragmatic. She tells Bond that the 00 programme doesn't exist for agents who follow the book — it exists for agents who know when the book is wrong. But she also makes it clear that instinct without discipline is just recklessness, and recklessness gets agents killed — usually along with anyone standing nearby.
You have dialogue choices here. You can push back against the criticism, acknowledge it, or deflect with dry humour. None of these change the outcome — Bond is staying in the programme — but they do set a tone for how M sees you. She respects agents who can defend their decisions, but she has no patience for arrogance masked as confidence.
Going Underground: The Descent to Q Branch
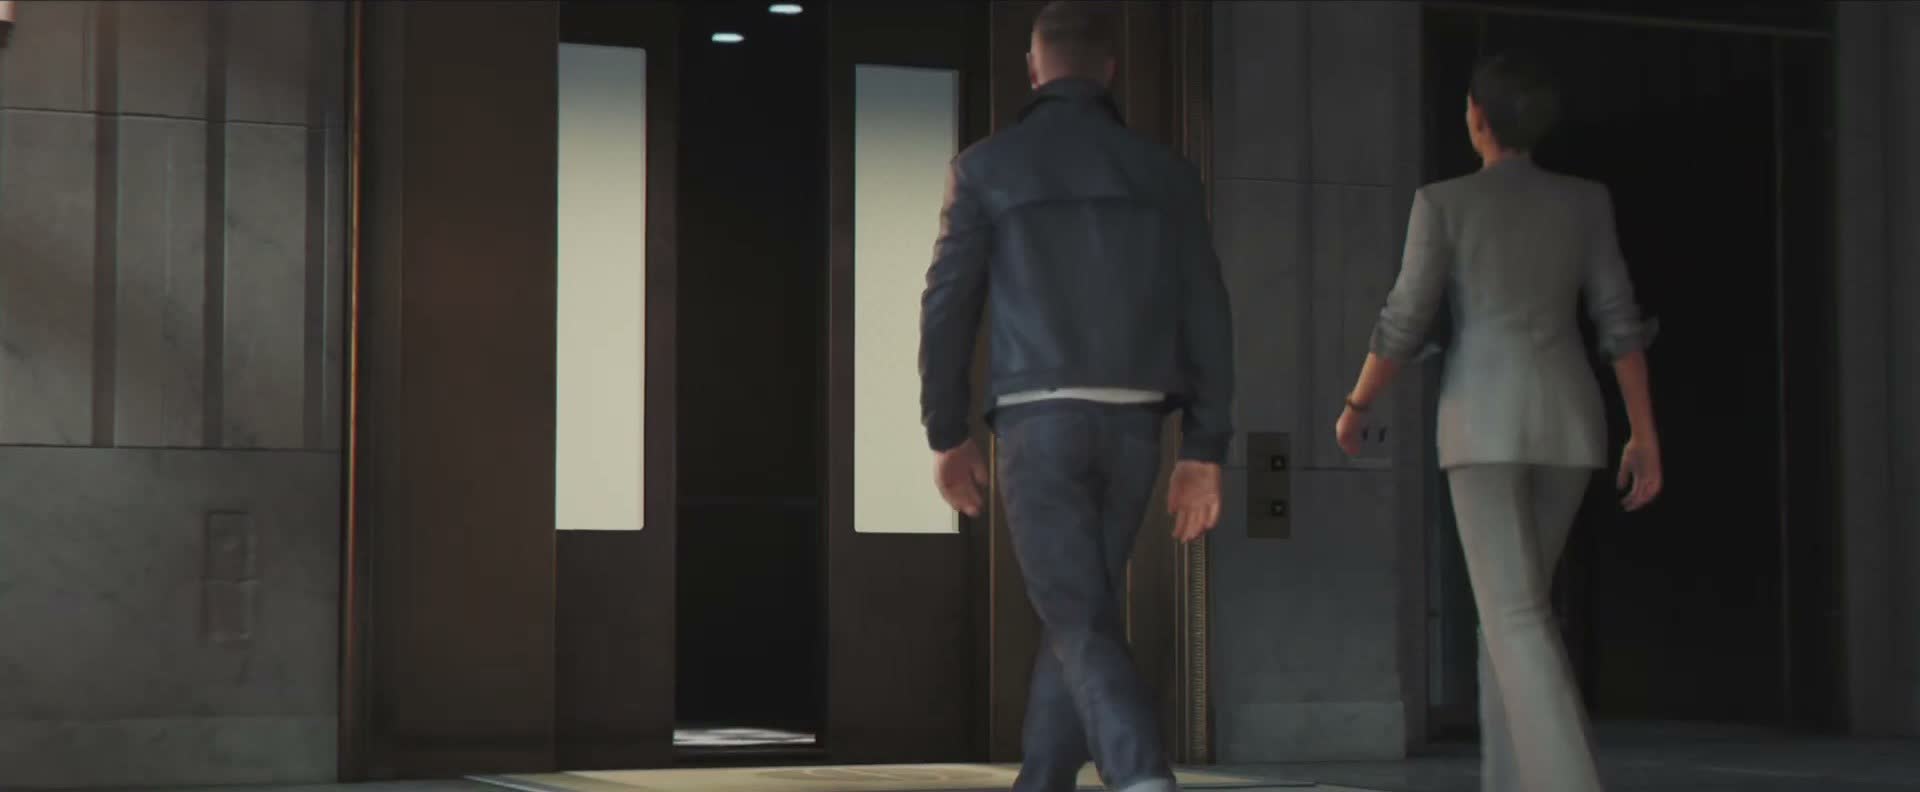
When the meeting ends, Moneypenny is waiting outside. She doesn't say much — just a look that says she knows exactly how that conversation went — and tells you to follow her. This is where the chapter opens up. You'll walk with her out of the executive corridor and into a lift. Watch the floor indicator as you descend: 9, 8, 7... and keeps going down. Past the numbered floors, past B1, B2, B3. The lift finally stops at B4 — four levels below the Thames, carved into the London clay.
The corridor that opens up when you exit the lift feels different from anywhere else in MI6. The wood panelling and leather chairs of the executive floors are gone. This is concrete and steel, LED lighting, the faint hum of machinery through the walls. You'll follow Moneypenny through a series of security doors — each one requiring biometric clearance that she handles with a keycard and a thumbprint — and along a tunnel that curves gently downward. The air gets cooler as you walk.
About halfway down the tunnel, Moneypenny stops and turns to you. She tells you that Q Branch isn't like the rest of MI6. Upstairs, everything is about protocol, chain of command, covering your back. Down here, the quartermasters have their own rules. They're the ones who build the tools that keep agents alive, and they don't suffer fools lightly. Her advice is simple: be polite, listen more than you talk, and don't touch anything unless Q hands it to you first.
First Look: The Q Lab Main Floor
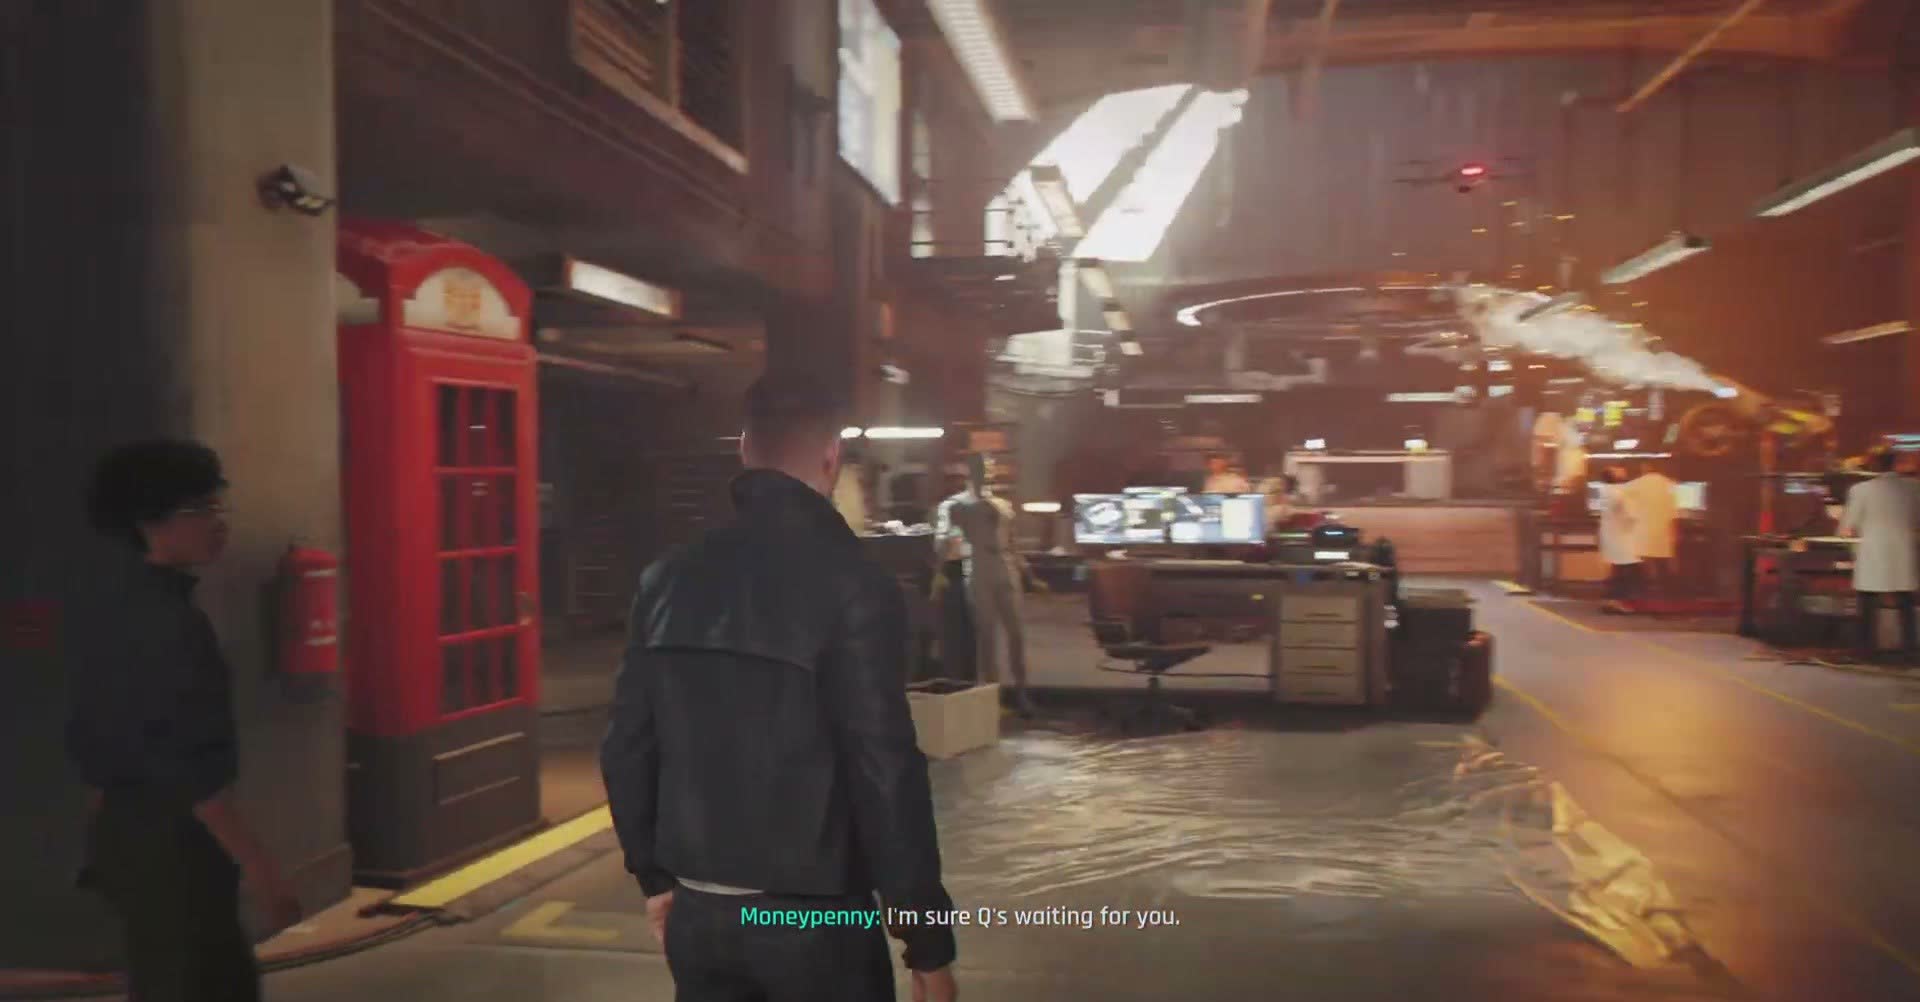
The doors at the end of the corridor open onto the main floor of Q Branch, and it's genuinely impressive. This is a vast, multi-level workshop carved out of what looks like an abandoned Underground station or a massive underground bunker. Gantries and catwalks crisscross two storeys above you. Scientists and technicians in white lab coats move between workstations. There's a low, constant sound of welding, electronics testing, and muttered conversation.
Moneypenny leaves you at the entrance with a nod — she doesn't come in. Q Branch is Q's domain, and even M's personal secretary doesn't wander around unescorted. You're on your own.
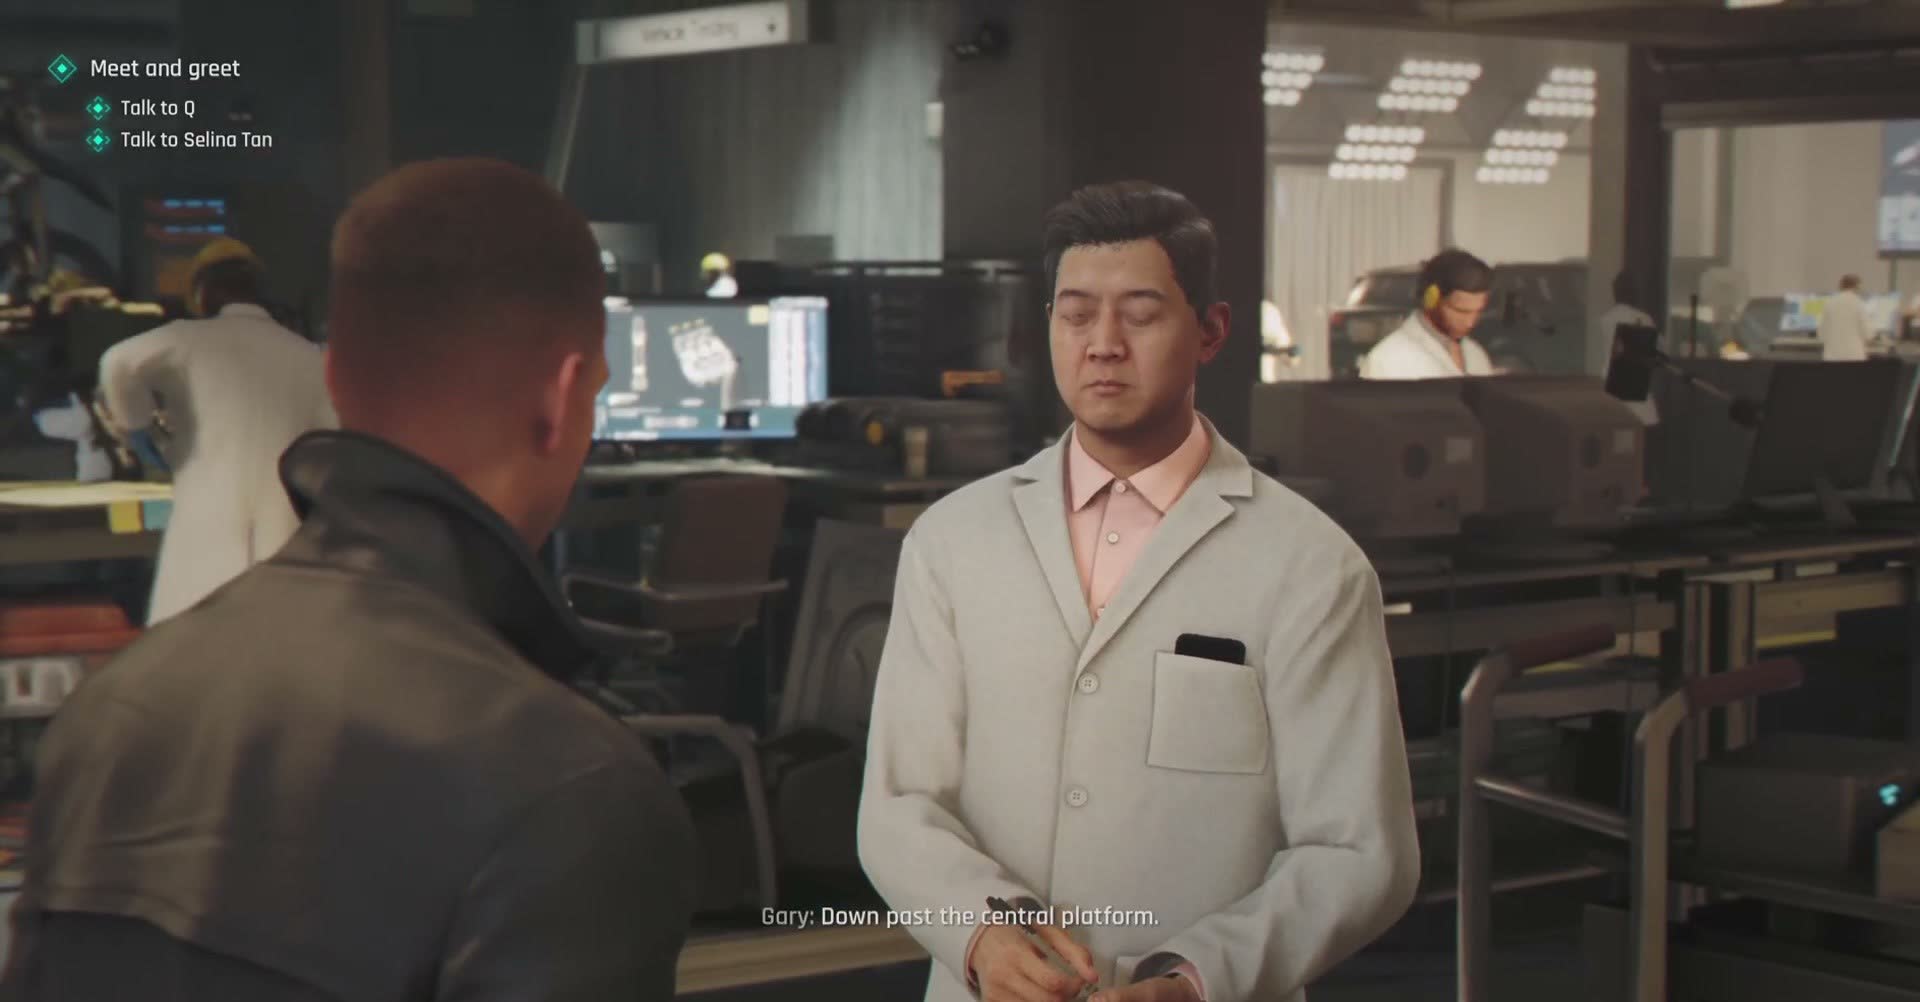
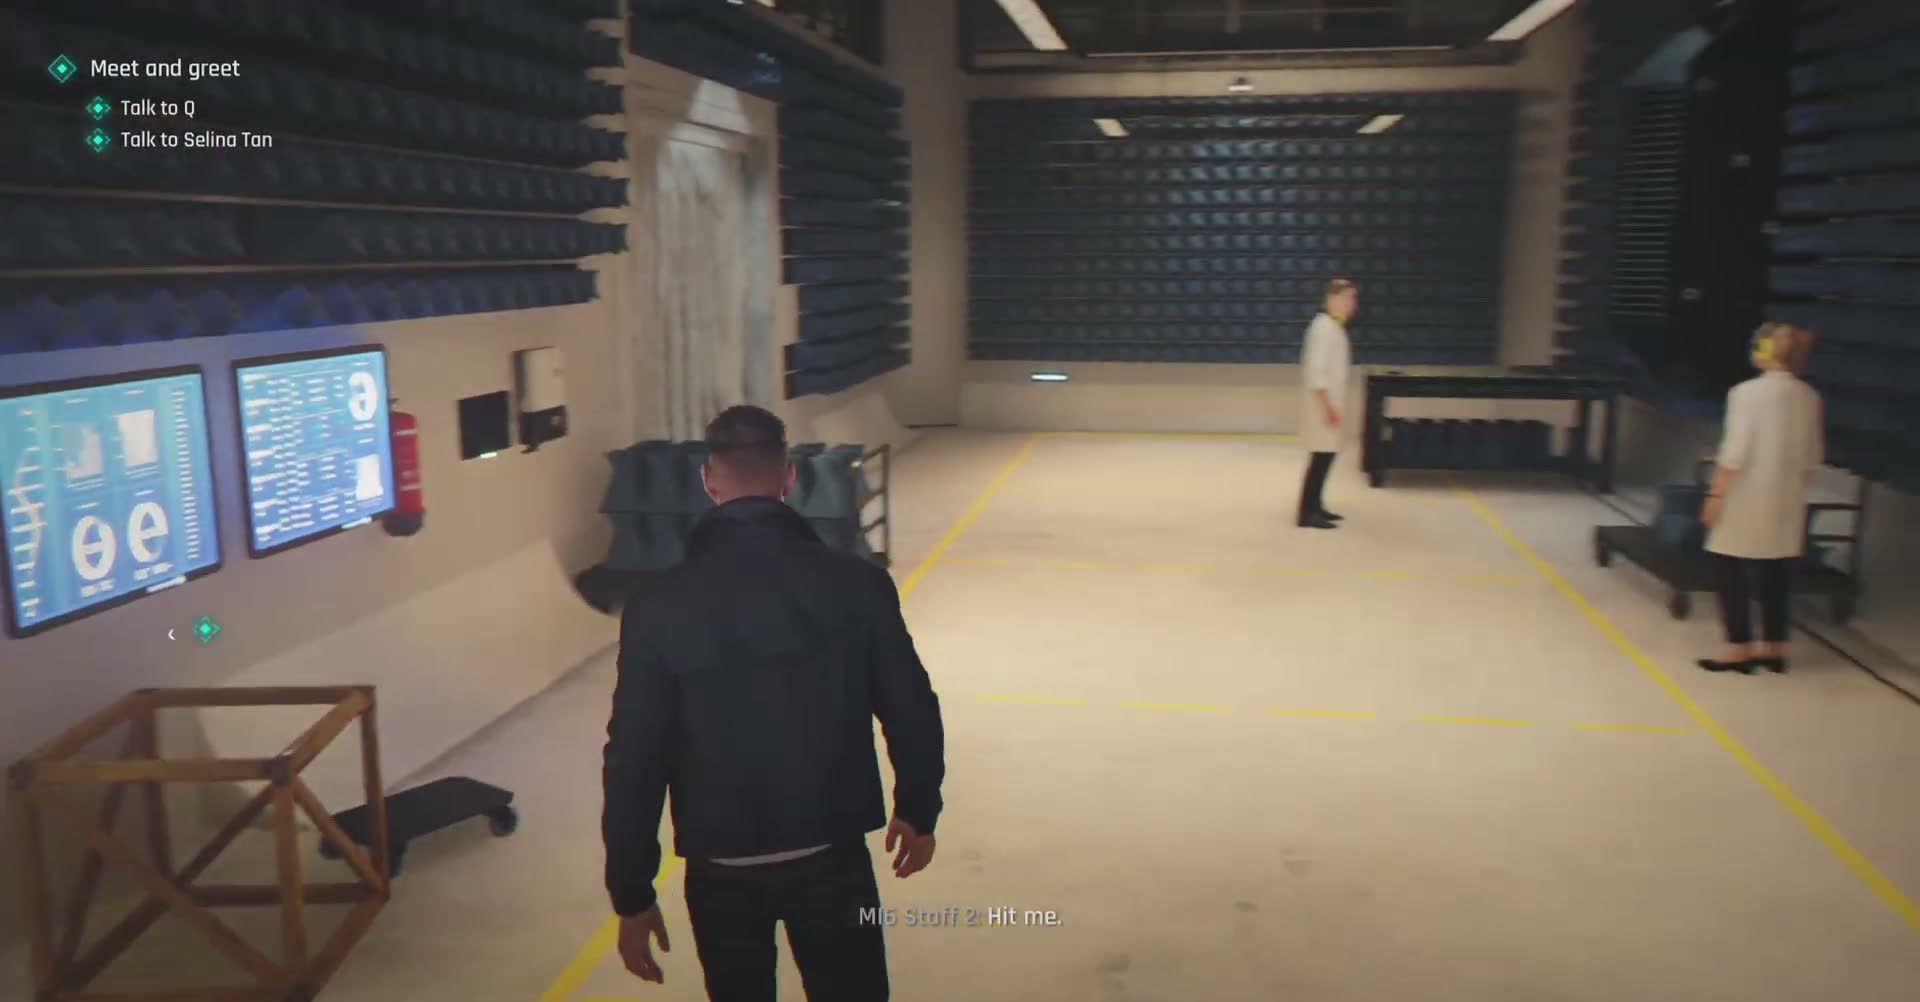
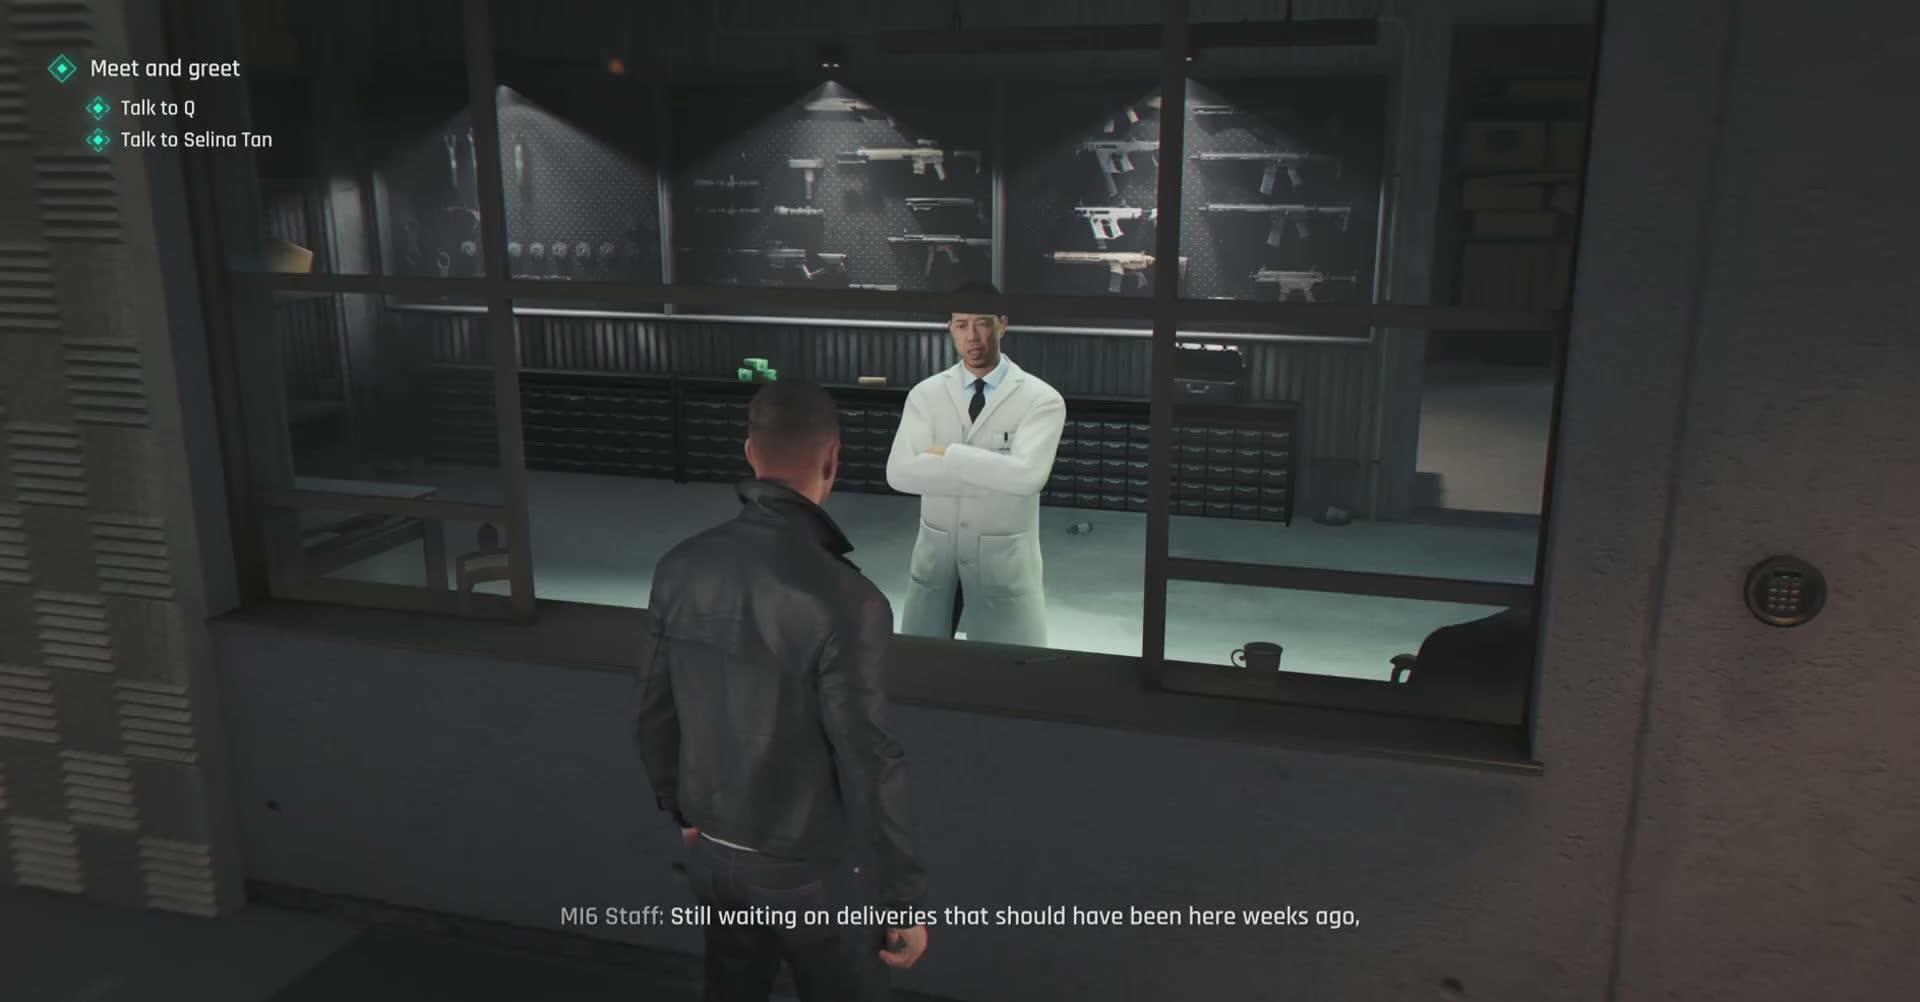
At this point, you get your objectives: Meet and greet. Specifically, you need to find and talk to two people before Q will see you: Q himself (obviously), and a woman named Selina Tan. There are no enemies, no stealth sections, no time pressure. You can walk around and explore at your own pace, and you absolutely should. The Q Lab is packed with environmental detail that rewards curiosity.
As you enter, you'll see the main floor spread out in front of you. Workstations with monitors displaying schematics line the left wall. Straight ahead, the room opens into a larger space where vehicle testing happens. To your right is a raised area with desks and a leather sofa that looks wildly out of place among the equipment. Take your time to walk around before heading to your objectives.
The Vehicle Bay
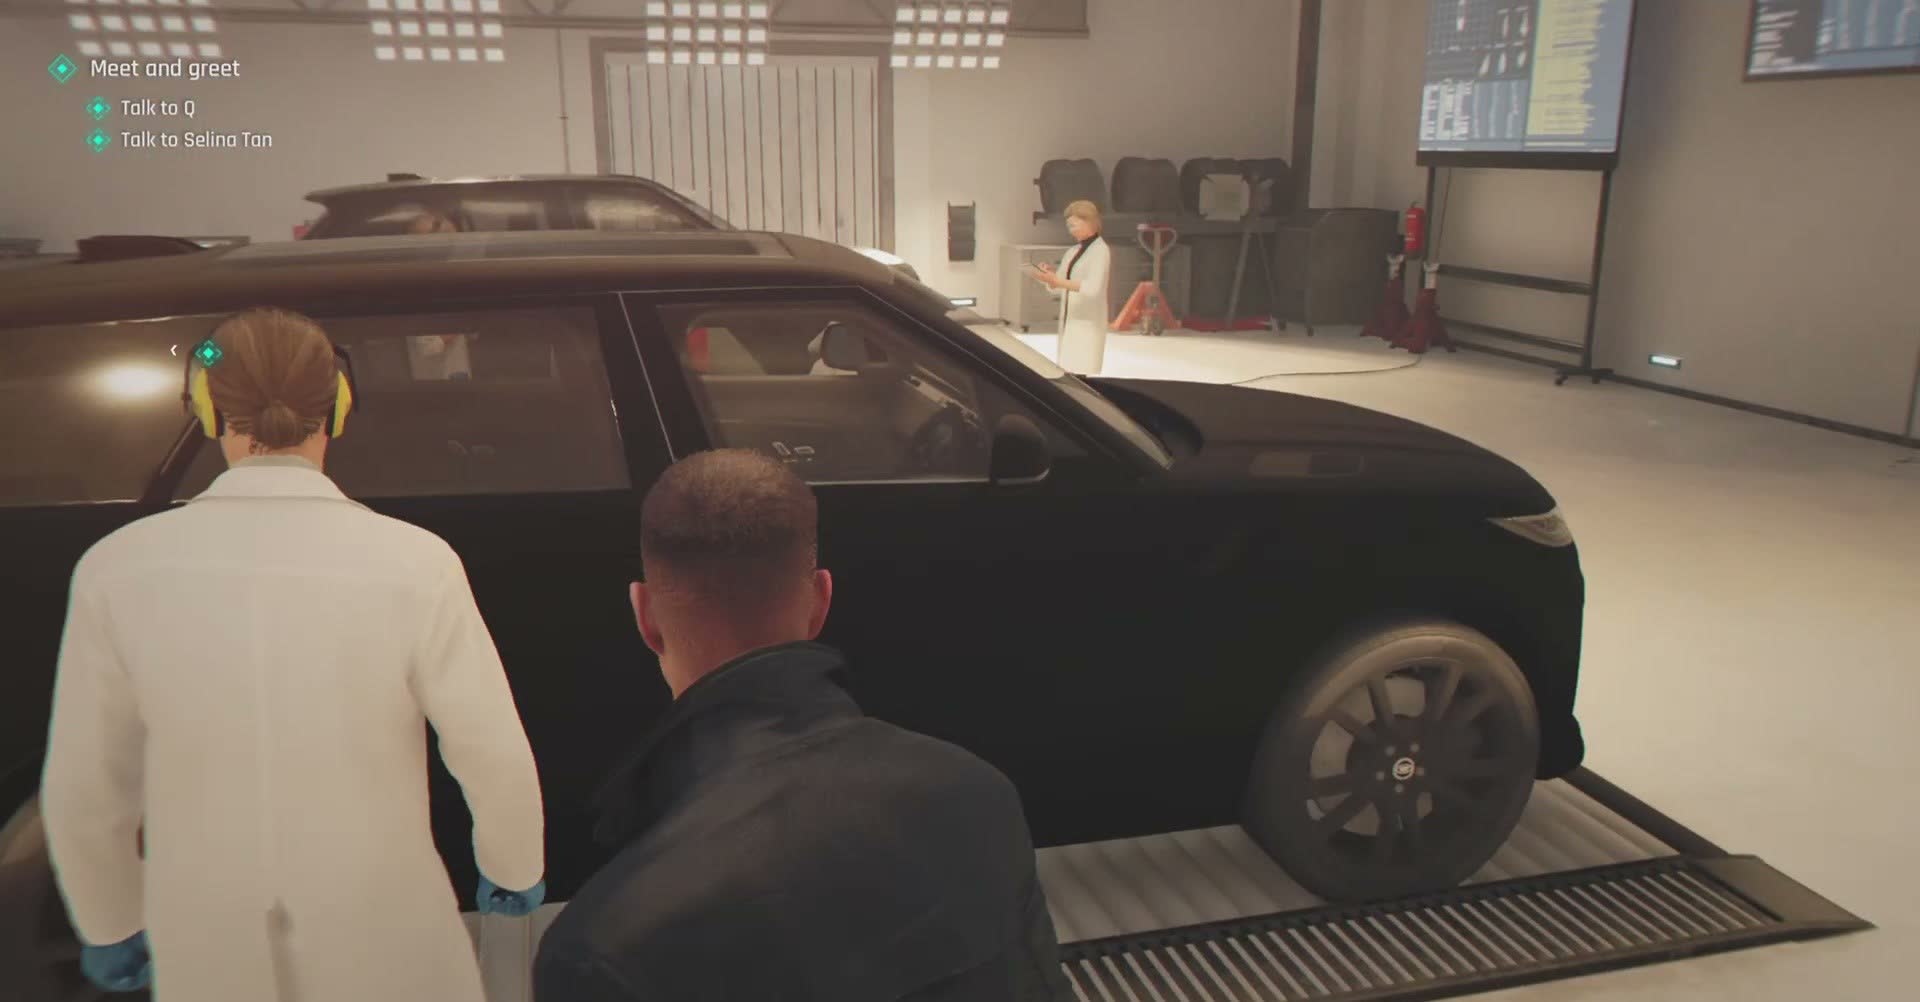
The most striking area of the Q Lab on your first visit is the vehicle bay, which opens off the main floor to your left. This is where Q Branch develops and tests the service's automotive hardware, and it's dominated by a car on a hydraulic lift: a dark grey Aston Martin, draped partially in a protective cover, surrounded by diagnostic equipment and two technicians who are clearly in the middle of something complicated.
You can walk up to the car and examine it, though you can't interact with it in any meaningful way yet — the technicians will politely but firmly tell you it's not ready. What's interesting is what's around the car: stacks of tyres with performance ratings written on the sidewalls in chalk, a workbench with stripped-down engine components, a wall of licence plates from different countries, and schematics on monitors showing what looks like defensive systems (reinforced plating, oil dispensers, something labelled 'passenger safety countermeasure' that absolutely is not an ejector seat, whatever Q says later).
The vehicle bay also connects to a ramp that leads up to a concealed exit — you can see the heavy blast door at the top. This is how Q gets cars in and out of the facility without anyone in London seeing what MI6 is building.
Meeting Selina Tan
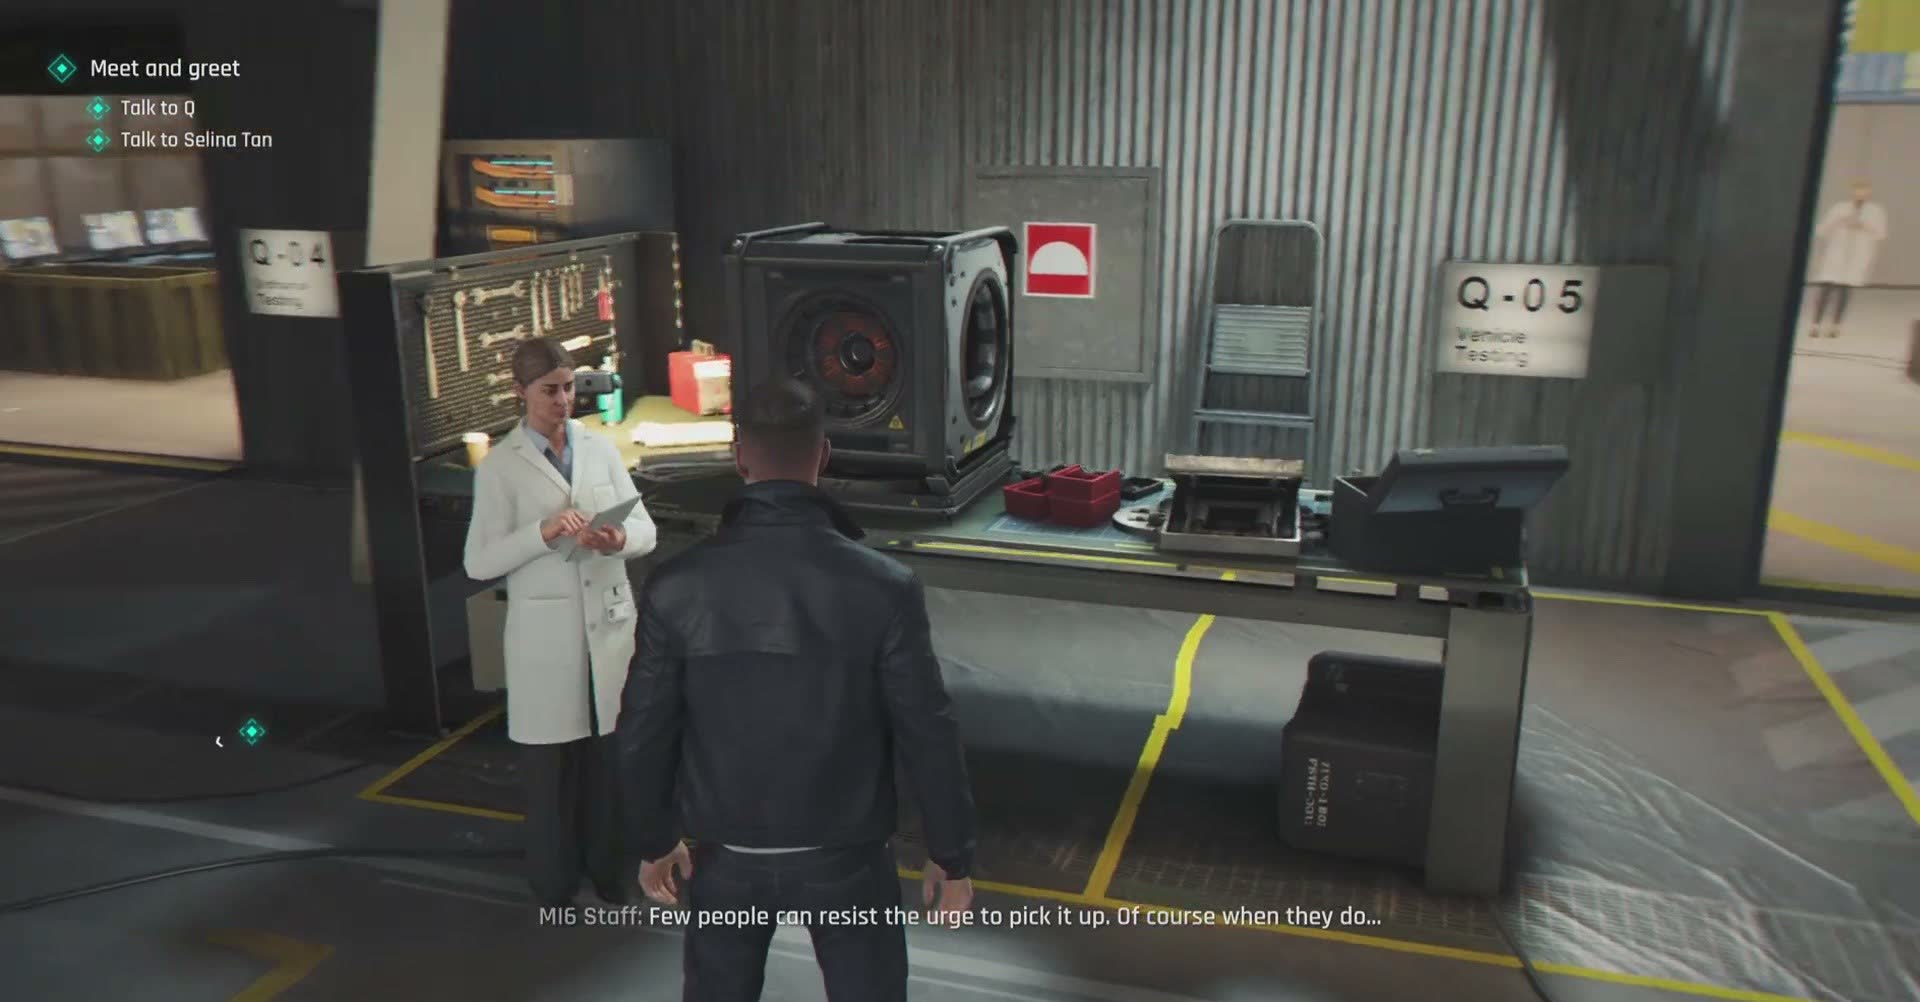
One of your two mandatory conversations is with Dr. Selina Tan, who you'll find in a medical assessment area off the main workshop floor — look for the clean white walls and medical equipment that stand out against the industrial aesthetic of the rest of the lab. She's a woman in her forties, wearing a lab coat over scrubs, and she doesn't waste time on pleasantries.
Selina is MI6's head of medical and psychological evaluation for field agents. She's the person who decides whether you're physically and mentally fit for 00 status, and she's already reviewed every file they have on you. The conversation is part assessment, part warning. She takes your vitals (a quick interaction, no minigame) while she talks, and her questions are pointed but fair. She asks about the Iceland incident not to judge you, but to understand how you process decisions under stress.
What's interesting about this conversation is the subtext. Selina has evaluated other 00 candidates — she mentions Cressida Bright and Lennox Monroe, the two other trainees you've heard referenced — and she makes it clear that the fitness assessment isn't just about whether you can run fast and shoot straight. It's about whether you can make the hard call and live with the consequences. She's seen agents who couldn't.
Approaching Q
After talking to Selina, your objective updates and Q's location is marked. You'll find him in a raised glass-walled office overlooking the main floor, accessible via a metal staircase at the far end of the workshop. As you walk toward him, take a moment to absorb the atmosphere of the lab at work. This is the calm before the storm — every gadget you see being tested here is something you might be relying on to stay alive in later missions.
The area around Q's workspace is a fascinating mess. There are half-dismantled gadgets on every surface, components soldered to circuit boards that are still warm, walls covered in schematics with sticky notes attached in multiple colours. The sofa you noticed from the entrance is here too — brown leather, well-worn, positioned so Q can look out over the lab while he thinks. It's the kind of organised chaos that only comes from someone who is brilliant enough to keep track of everything simultaneously.
As you approach, Q doesn't look up from whatever he's working on. He knows you're there — you get the sense he knew you were in the building before you even reached B4 — but he finishes what he's doing before acknowledging you. It's not rudeness. It's focus.
Meeting the Quartermaster

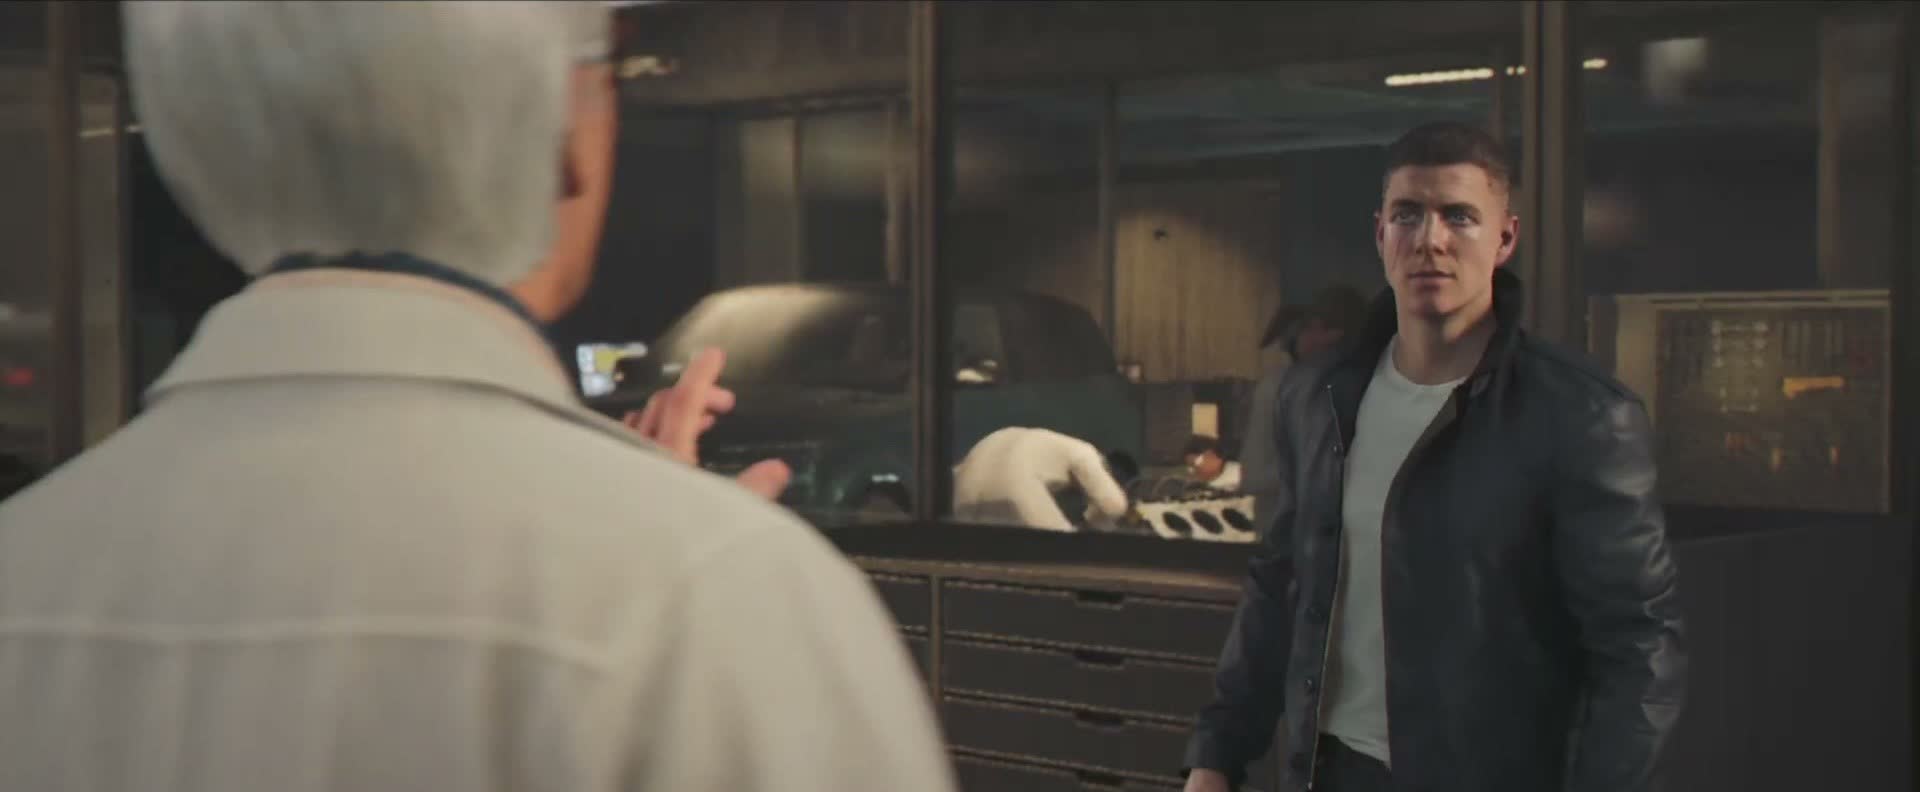
When Q finally turns to face you, you get your first proper look at him. He's older than you might expect — white hair, glasses perched on his nose, a lab coat over a waistcoat and cravat that suggests he dresses for himself, not for MI6 dress code. His eyes are sharp and miss nothing. He looks at Bond the way a watchmaker looks at a new movement: with professional interest, already assessing where the weak points might be.
The conversation that follows is one of the best character moments in the game. Q is not like M — he's not interested in lectures or authority. He's interested in whether Bond understands what equipment actually is. He says something that stays with you: agents tend to think of gadgets as toys or advantages. They're not. They're tools, and a tool is only as good as the person holding it. A bad agent with the best equipment in the world is still a bad agent.
Q asks you a question that feels like a test: what's the most important piece of equipment a field agent can carry? Whatever you answer — gun, knife, comms, watch — he shakes his head. It's your brain. Everything else can be taken away. He pauses, then adds: 'That said, a good watch helps.'
Q's Demonstration: Your First Equipment
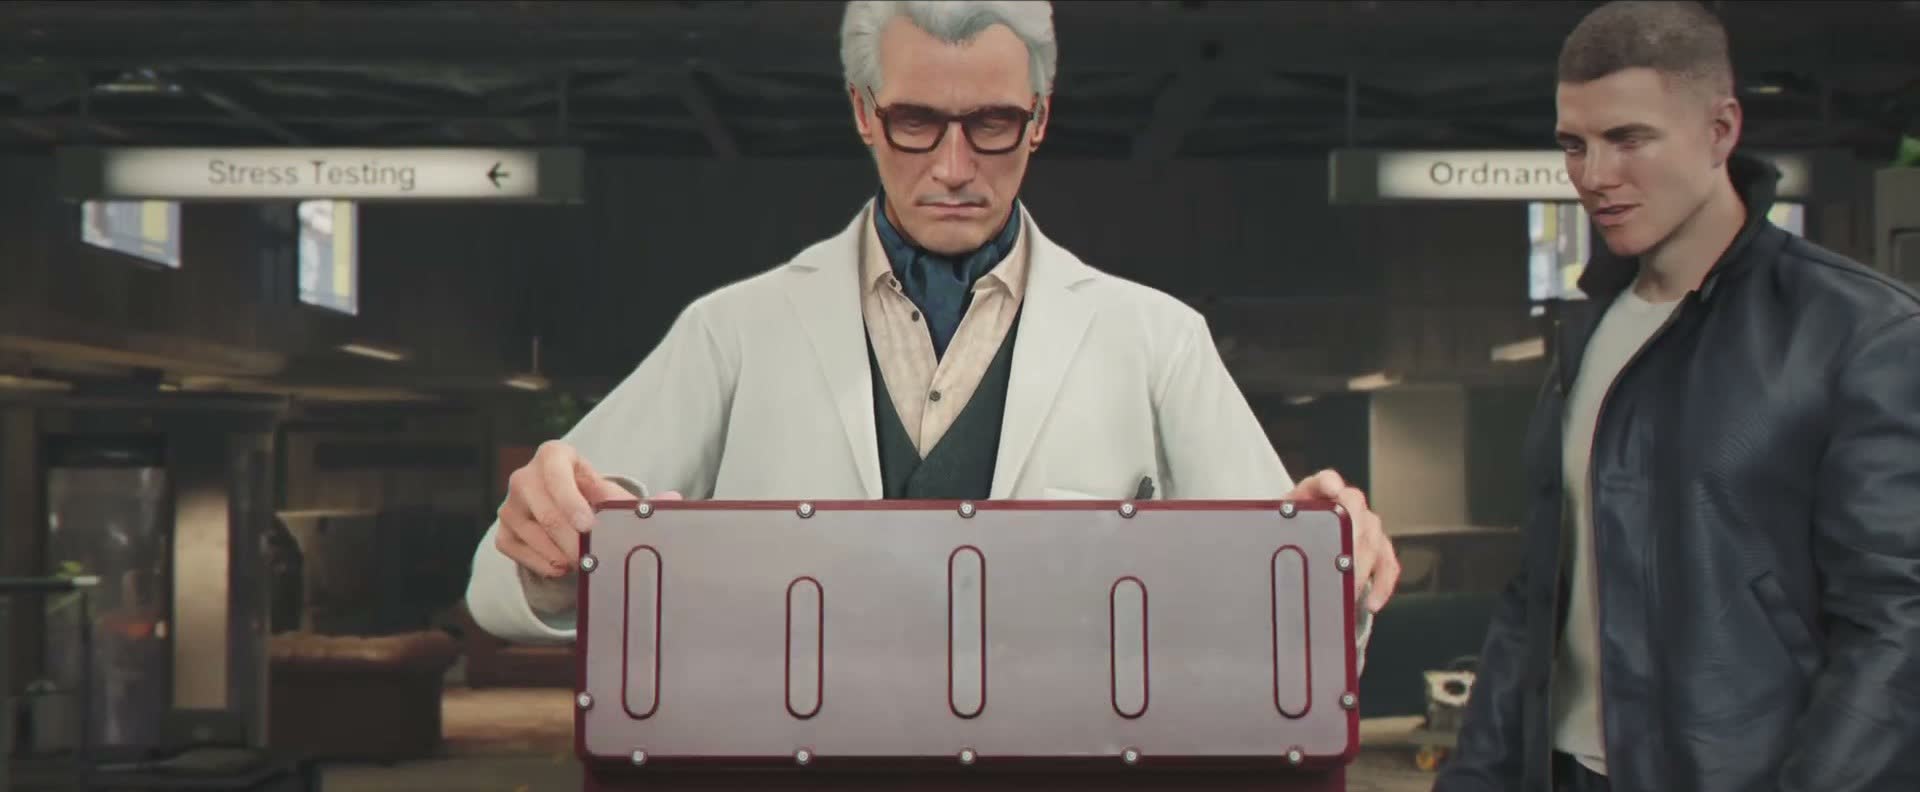
After the initial conversation, Q walks you through some of the equipment that will be available to you. This isn't a shopping trip — he decides what you take based on the mission, not the other way around — but he uses this introduction to show you the kind of thinking that goes into Q-Branch design. He picks up a smartwatch from his bench and demonstrates its functions. It tells the time, obviously. It also monitors vitals, connects to MI6 networks, and has what he calls a 'short-range electromagnetic pulse function' — useful for disabling electronics at close quarters. He's quick to add that the battery on the EMP is single-use and takes two hours to recharge, so don't waste it.
Next he shows you the sidearm you'll be issued for field work — a suppressed Walther PPK variant, modified by Q Branch with a custom grip and what he describes as 'subtle improvements' to the trigger mechanism. He warns you that the suppressor is optimised for subsonic ammunition, which means reduced stopping power in exchange for quiet. Choose your shots.
He also mentions a vehicle — the Aston Martin you saw in the bay — but says it's not ready yet. 'When it's ready, you'll know. And you'll probably be the second person to touch it after me.' He says it with dry affection, like he's talking about a stubborn pet.
Ending: The Lift Back Up
The chapter wraps up with Q telling you that you'll be contacted when your first proper field assignment is ready. He doesn't say when or where — that's need-to-know, and you don't need to know yet. What he does say is: 'When I give you equipment, use it properly. When I give you instructions, follow them. And if you break something, at least have the decency to tell me how.' It sounds like a warning, but there's warmth underneath it. Q is already invested, in his own understated way.
You exit Q's office and walk back through the lab. The scientists and technicians don't pay you any special attention now — you're just another agent who'll either live or die based on how well you use what they've built. Moneypenny is waiting for you at the security door by the lift, and she asks how it went. You can tell her Q was exactly what you expected or nothing like you expected; either way, she smiles and says that means you survived the first meeting, which puts you ahead of most.
The lift ride back up is a mirror of the descent, but it feels different now. You came down here a recruit who'd passed some training exercises. You're going back up as someone who's seen the machinery behind the service — the people and the places that make a 00 agent more than just a person with a gun.
Chapter Tips
Collectibles in This Chapter
Explore each section thoroughly to find all hidden items. Check the tips above for specific collectible locations.