A Night Out
Infiltrate a London nightclub to extract information from arms dealer Joshua Pike. A night out turns into a full-blown operation as Bond navigates social stealth, a bathroom brawl, three possible routes to the VIP section, and an extraction that goes sideways. Two collectibles to find: the Cocktail Napkin memento and the Ober of Bells playing card.
Step 1 — Arriving at the Club

A Night Out opens with a cinematic cutscene. Bond and the other 00-section trainees are enjoying a night out at a fashionable London nightclub when MI6 activates them mid-evening. Phones buzz across the dance floor — an urgent assignment.
Whatever was supposed to be a relaxed trainee night is about to become operational. The camera sweeps across the club: neon lights, pounding music, crowds on the dance floor, and Bond receiving his brief. You get your first look at the venue before control is handed to you: multi-level, with a ground-floor dance floor and bar area, and a restricted VIP section visible on an upper balcony.
The target is Joshua Pike, a man with intelligence value, and he is inside the VIP area. Your job: get to him, extract what he knows, and get out before things turn ugly. After the opening cinematic finishes, you gain control inside the club.
Step 2 — The Dance Floor and Finding Your Contact
Once you have control, you are on the ground floor near the main bar area. The club is bathed in deep blue and purple neon lighting, the music is thumping, and dancers fill the floor. Your first objective is to find your MI6 contact who is already inside the venue and has the details on Pike.
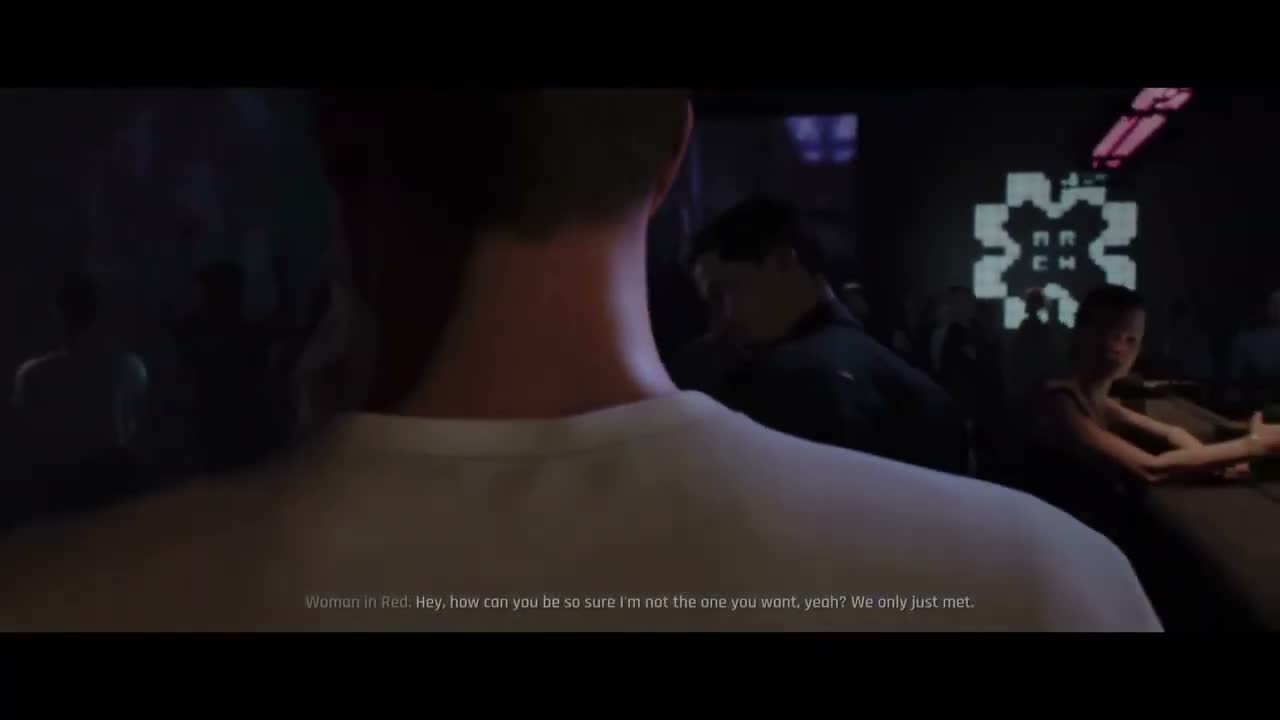
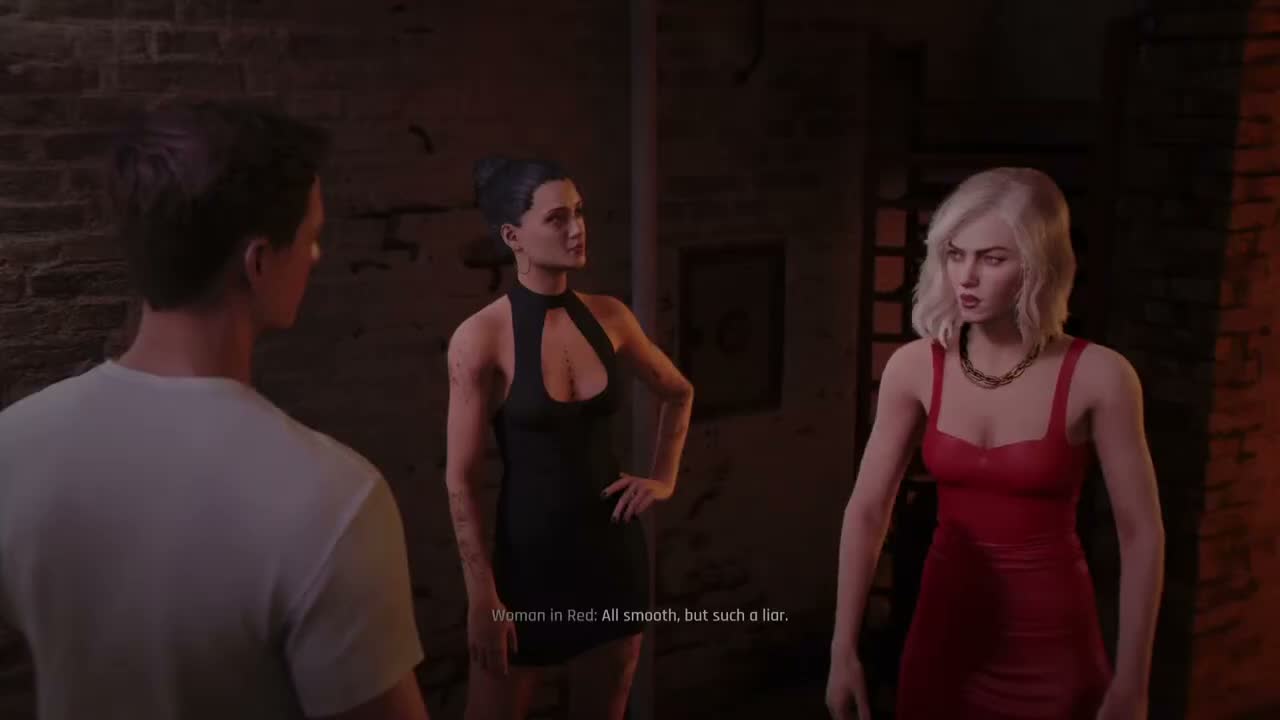
The contact is using a passphrase system to identify themselves — you need to find the right person among the crowd. Approach people at the bar and on the edges of the dance floor and listen for clues. The woman in the red dress at the bar is the obvious first approach; she is a false lead and will react with irritation if you deliver the passphrase to her.
The actual contact is a man in a red shirt positioned at the far corner of the bar, further to the left from the woman in red. When you deliver the correct passphrase, he gives you the clue that directs you to the restrooms: “X marks the spot.”
Step 3 — The Dance Floor: Read the Room
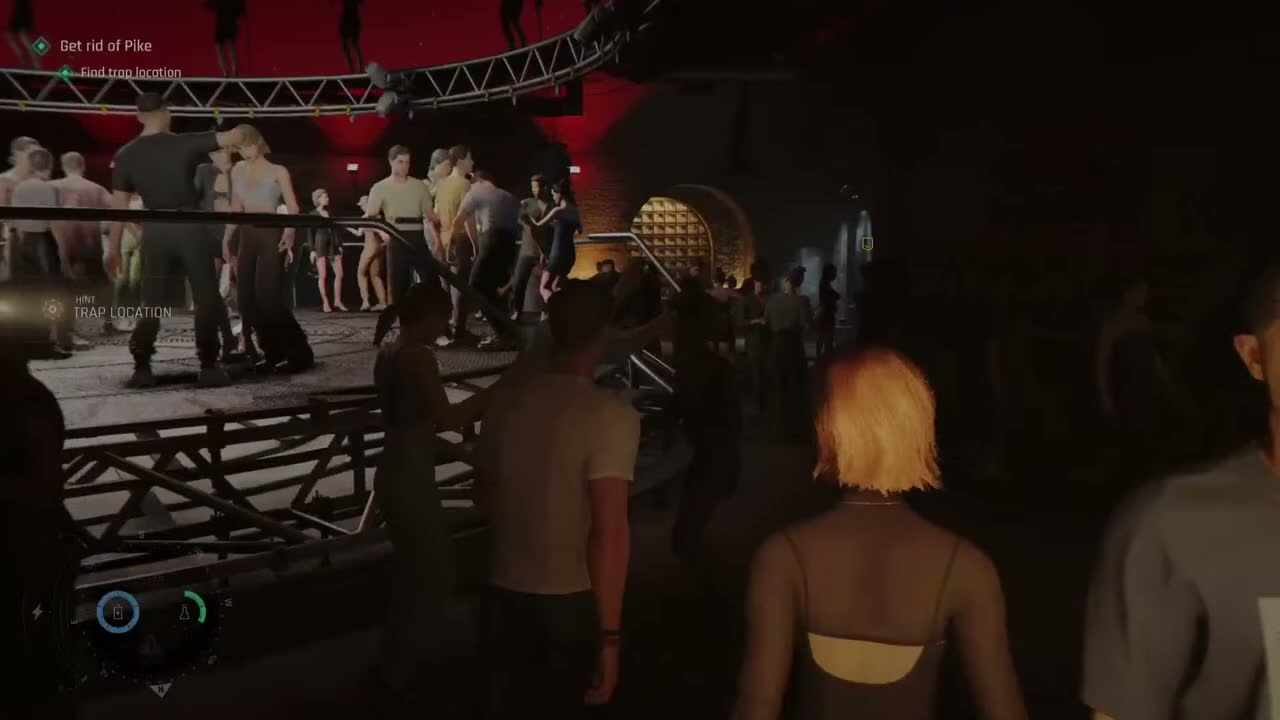
Before heading straight to the bathroom, take a moment to understand the club’s layout from the dance floor. The ground floor is roughly circular: a large dance floor dominates the centre, a long bar wraps around one side, a DJ booth sits elevated at the far end, and corridors lead off to restrooms, backstage areas, and stairs. Blue neon lights bathe most of this area.
Bouncers in dark suits are posted at key chokepoints — particularly the stairs leading up to the VIP area, which are your eventual destination. They will stop you from going up directly; you need a way to bypass or distract them. The bartenders behind the bar are interactable NPCs; the one on the right can be distracted with the Dart Phone later. Pay attention to the general flow of people: clubgoers move in loose patterns between the bar, dance floor, and restrooms, and you can use this crowd movement as cover.
Step 4 — The Bar and Contact Dialogue
The bar area is where you will spend the early part of the mission. It is long, curved, and lit with a mix of red neon and warm accent lighting that contrasts with the blue of the dance floor. Multiple NPCs are positioned along it — the bartenders, patrons, your red-herring contact in the red dress, and your real contact further down.
Listen to ambient conversations at the bar: some clubgoers are talking about the VIP event upstairs, complaining about the bouncers, or discussing the chess tournament tie-in that brings wealthy guests to the club. The bartender on the left side is key for later: he can be distracted. After the contact gives you the “X marks the spot” clue, your objective updates and points you toward the restrooms at the back of the venue.
Step 5 — The Bathroom Meeting
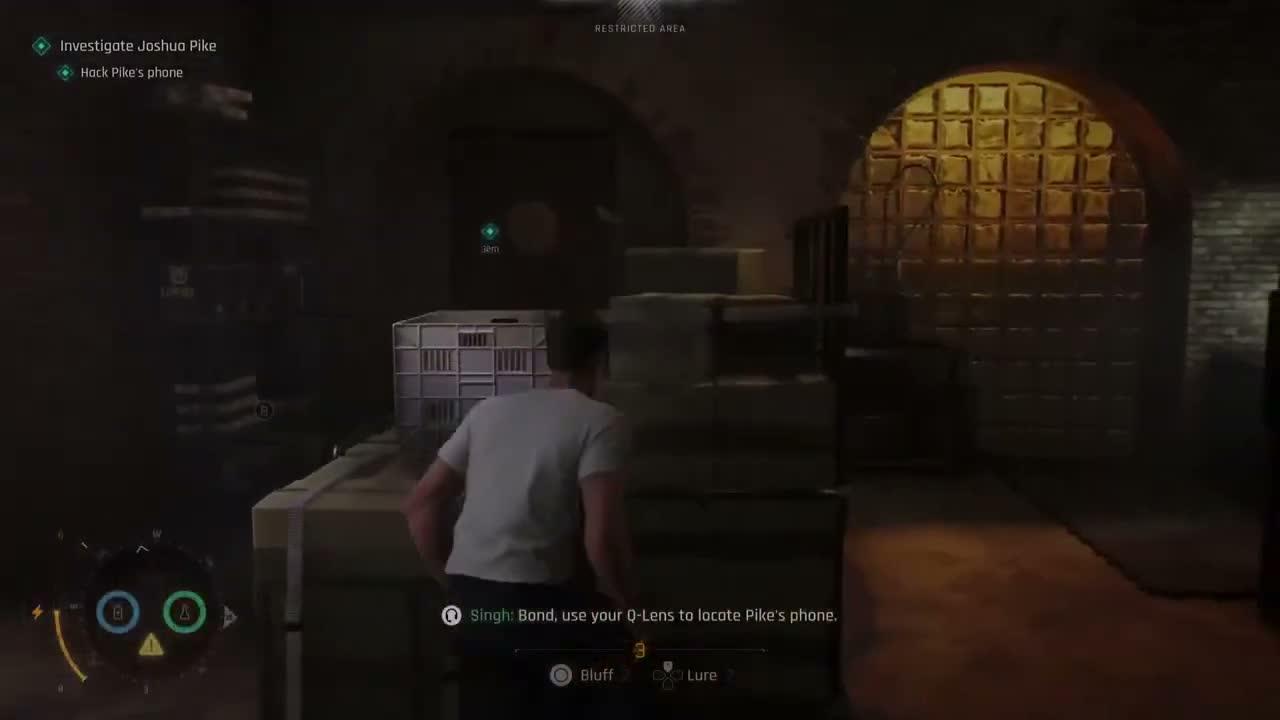
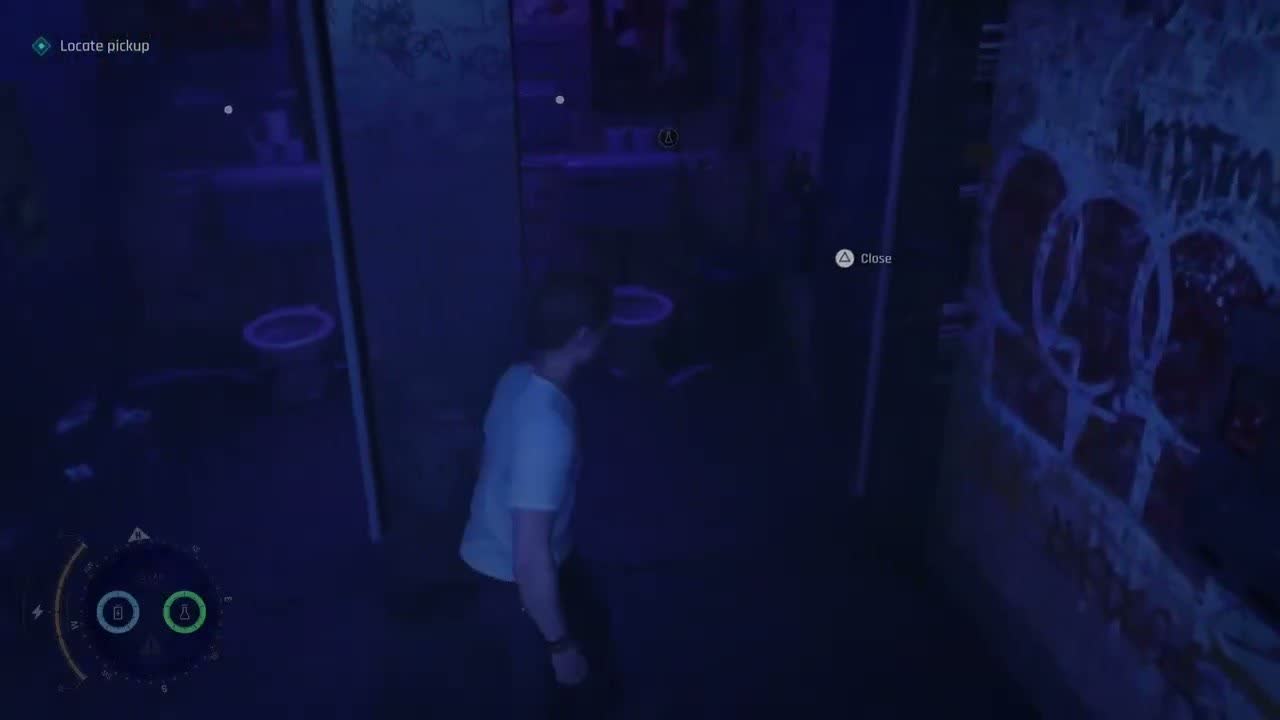
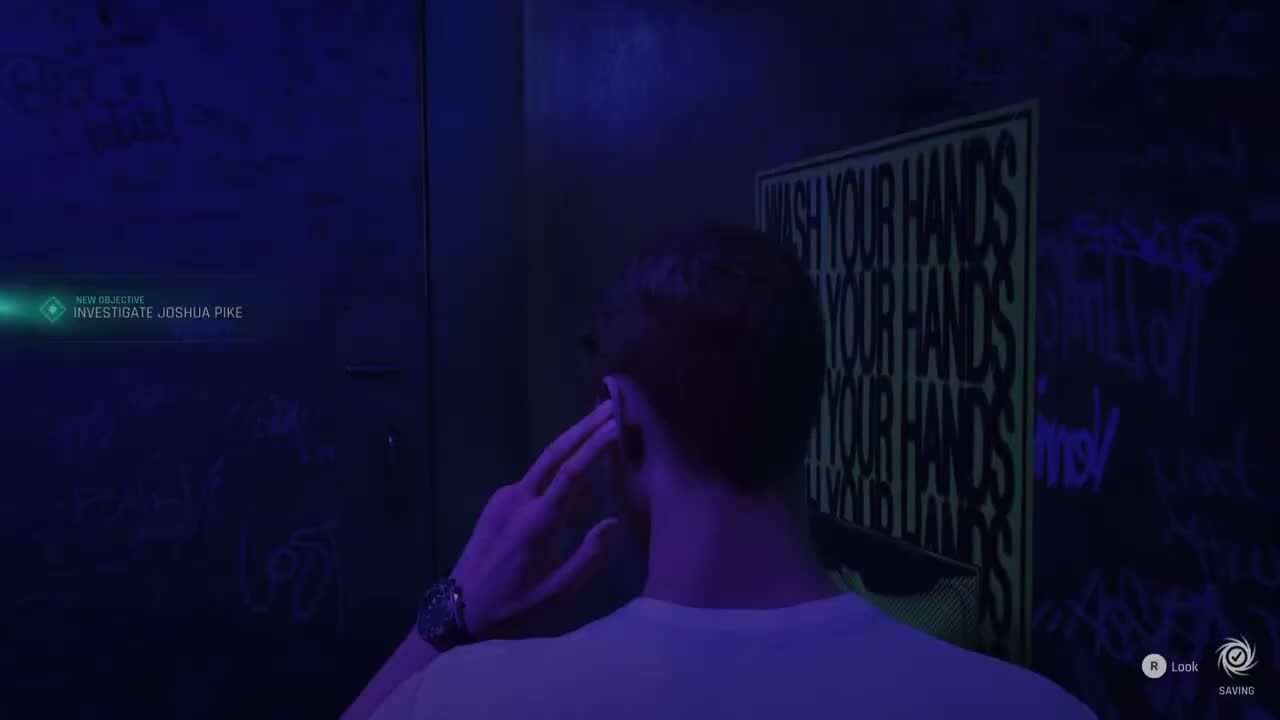
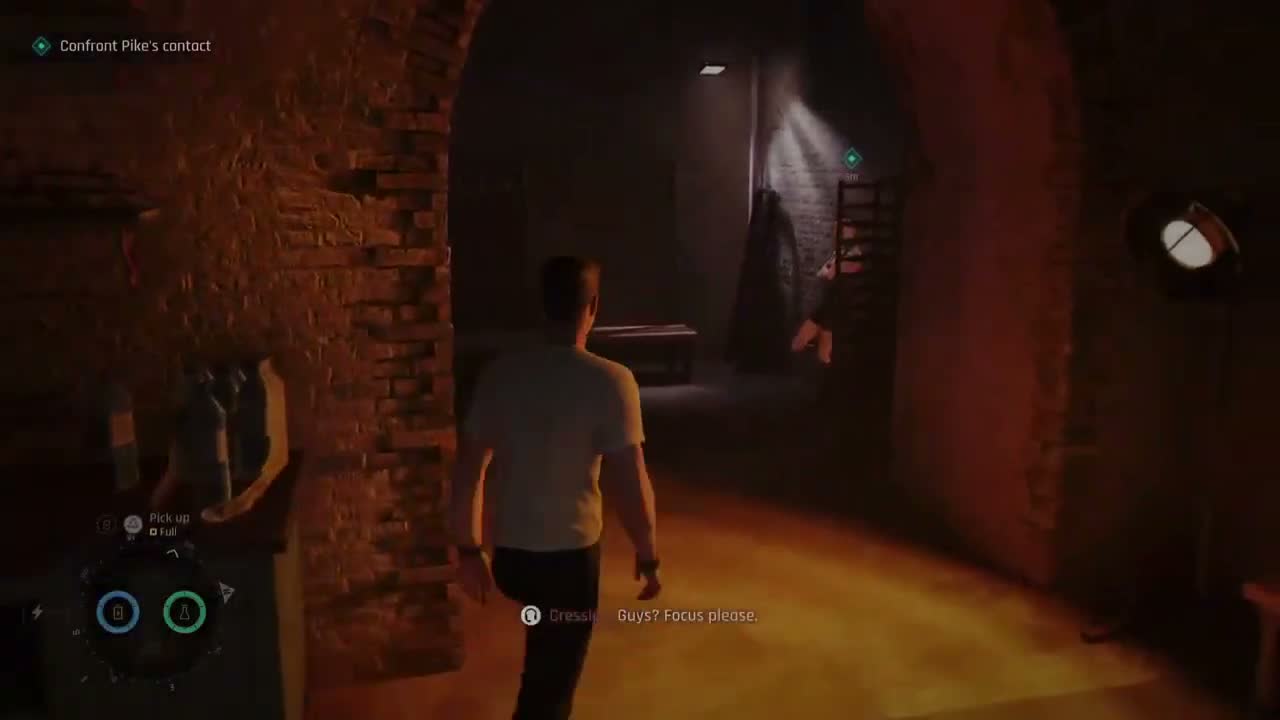
Follow the corridor from the bar area back toward the restrooms. The lighting shifts to harsher red and white fluorescent as you leave the club floor — this makes the restroom corridor feel exposed, but there are almost no NPCs back here. Look for the stall door with an “X” graffiti tag on it — this is the spot your contact referenced.
Open the stall door and interact with the cabinet inside. You receive a tablet with the assignment details: Pike’s position in VIP, the security layout, and confirmation that an extraction needs to happen tonight. This is also where the mission takes its first violent turn.
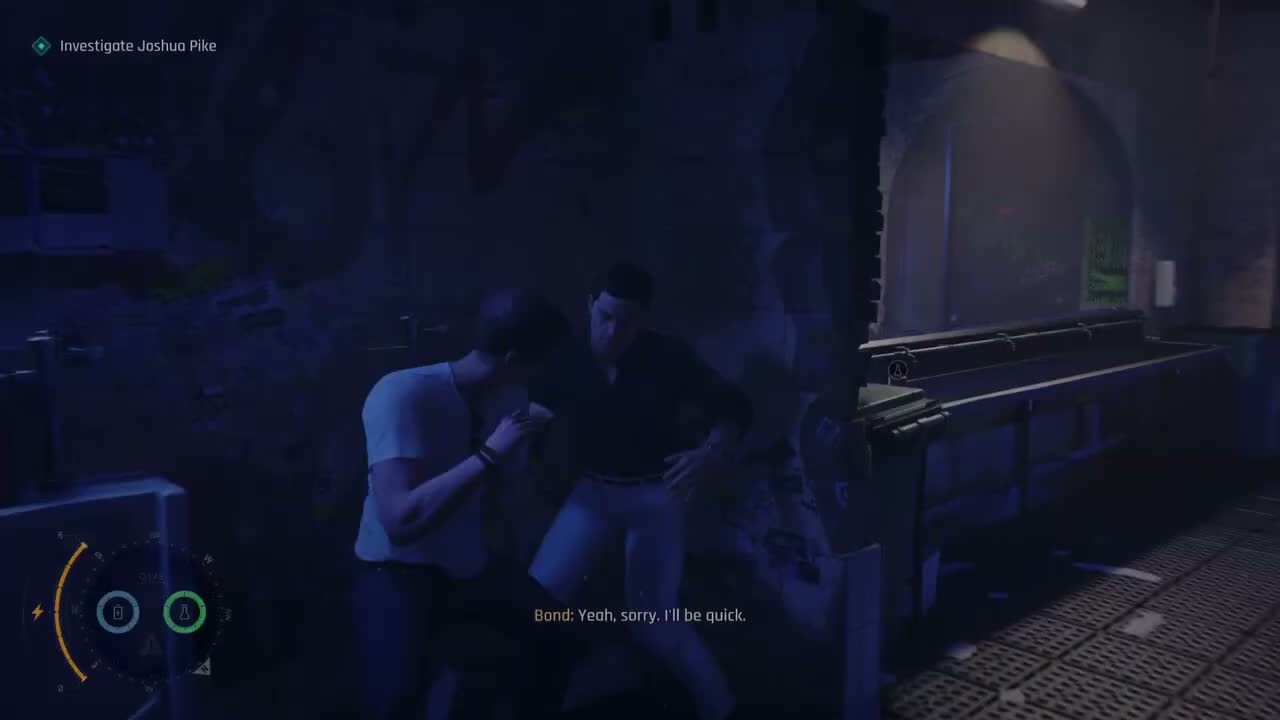
As you exit the bathroom stall, the jealous boyfriend of the woman in the red dress (the false contact from the bar) confronts Bond in the corridor, assuming you were making a move on his girlfriend. A melee fight triggers.
Step 6 — Bathroom Corridor Fight
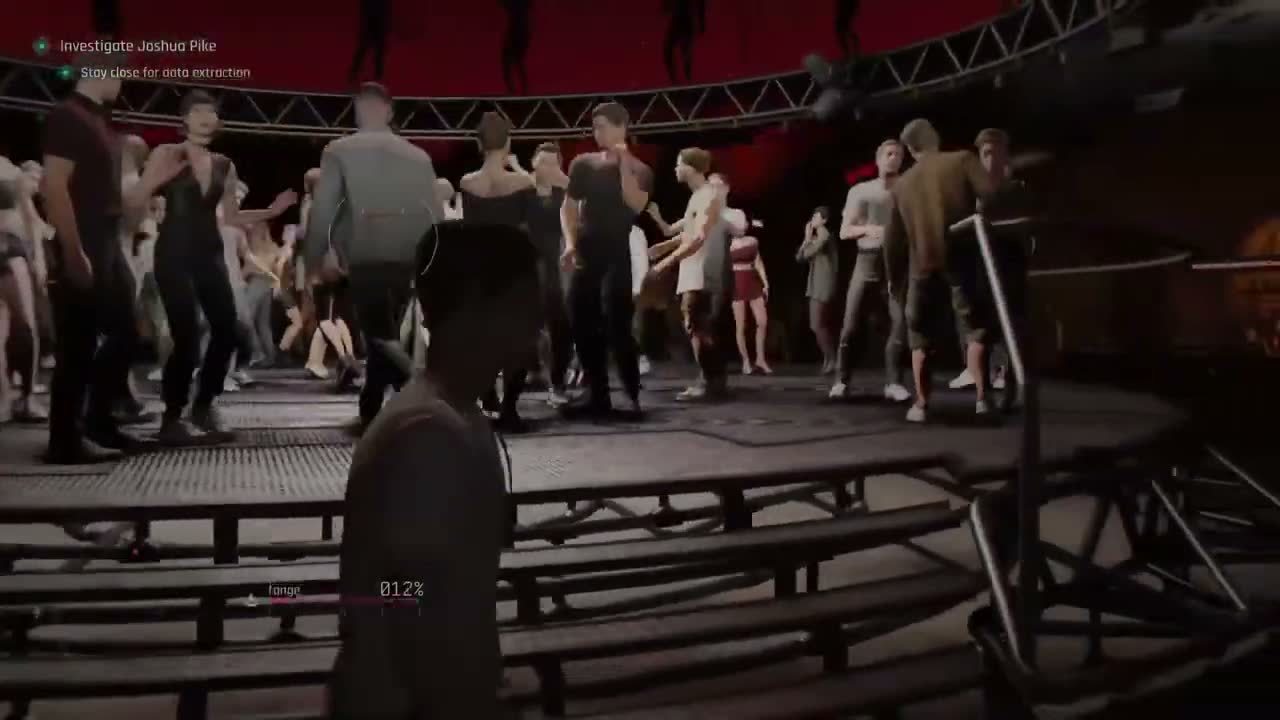
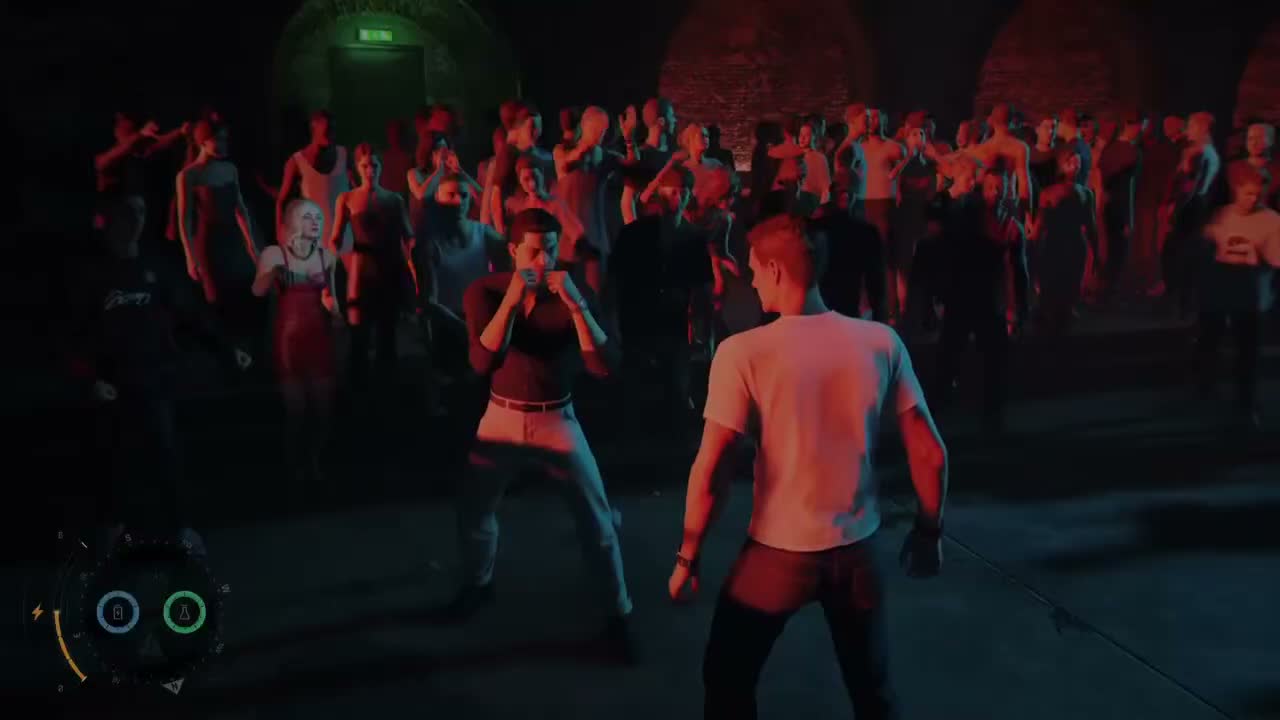
The boyfriend confrontation is your first combat encounter in the chapter. This is a hand-to-hand brawl in the tight bathroom corridor — no guns, just fists and environmental objects. The fight uses the same melee system introduced in training (Chapter 7’s CQB room, though in narrative order this encounter comes before it).
Use parries to block the boyfriend’s wild swings, then follow up with strikes. The corridor is narrow but has several environmental takedown opportunities: the sink, the stall door, the hand-dryer on the wall, and a mop bucket against the far wall. Throwing him into these objects ends the fight much faster than trading punches. After you put him down, Nash — Bond’s assigned partner for the evening — appears in the corridor, having watched the entire fight with dry amusement.
Step 7 — Nash and the Upstairs Plan
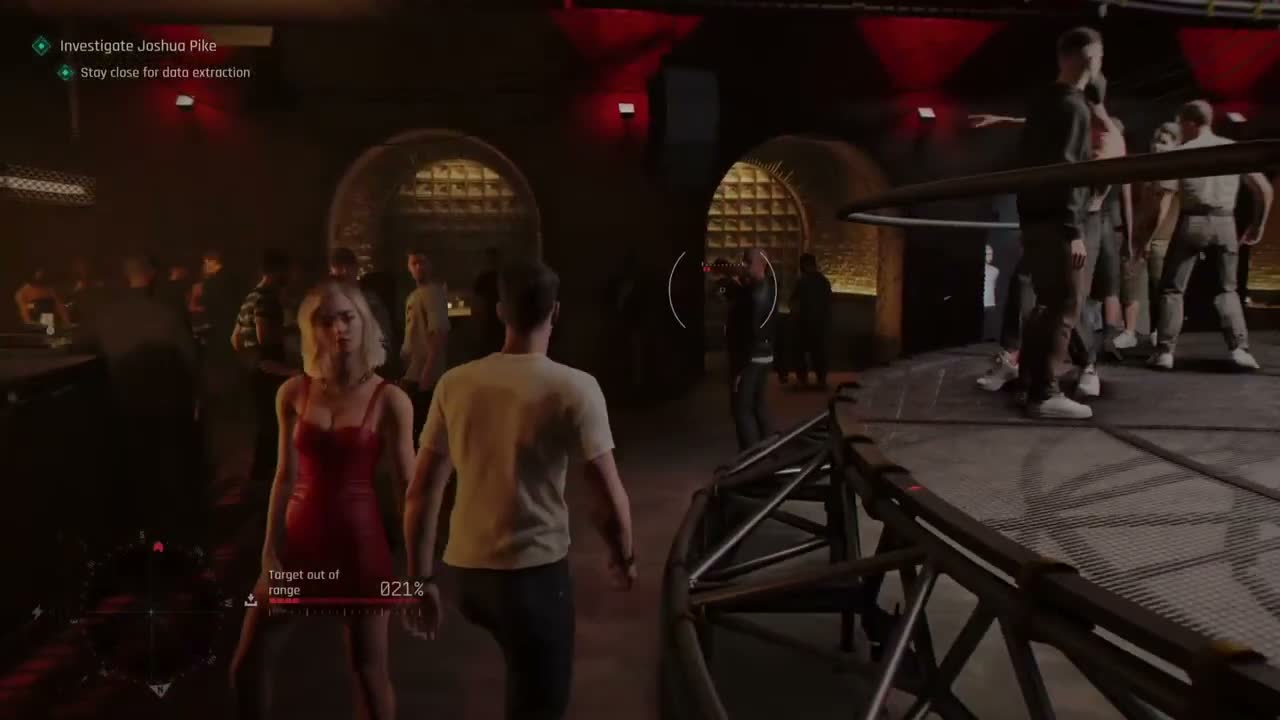
Nash fills Bond in on the situation. Joshua Pike is in the VIP lounge on the upper floor, accessible only via guarded stairs or alternative routes. Security is tight: bouncers at the main stairs, additional guards patrolling the upper balcony, and Pike himself is in a private booth.
Nash proposes they split up and find a way up independently. Bond has three distinct routes to reach the VIP area. The first is the direct approach: create a distraction big enough to pull the bouncers away from the main stairs, then walk up.
The second is via the DJ booth and overhead scaffolding: climb up behind the DJ booth, follow the scaffolding gantry across the ceiling, and drop down onto the upper balcony. The third is through the backstage/service corridor: sneak through the staff areas behind the bar, past kitchens or storage rooms, and emerge via a service entrance near the VIP section. All three paths are viable; your choice depends on playstyle.
Step 8 — Social Stealth and Club Interactions
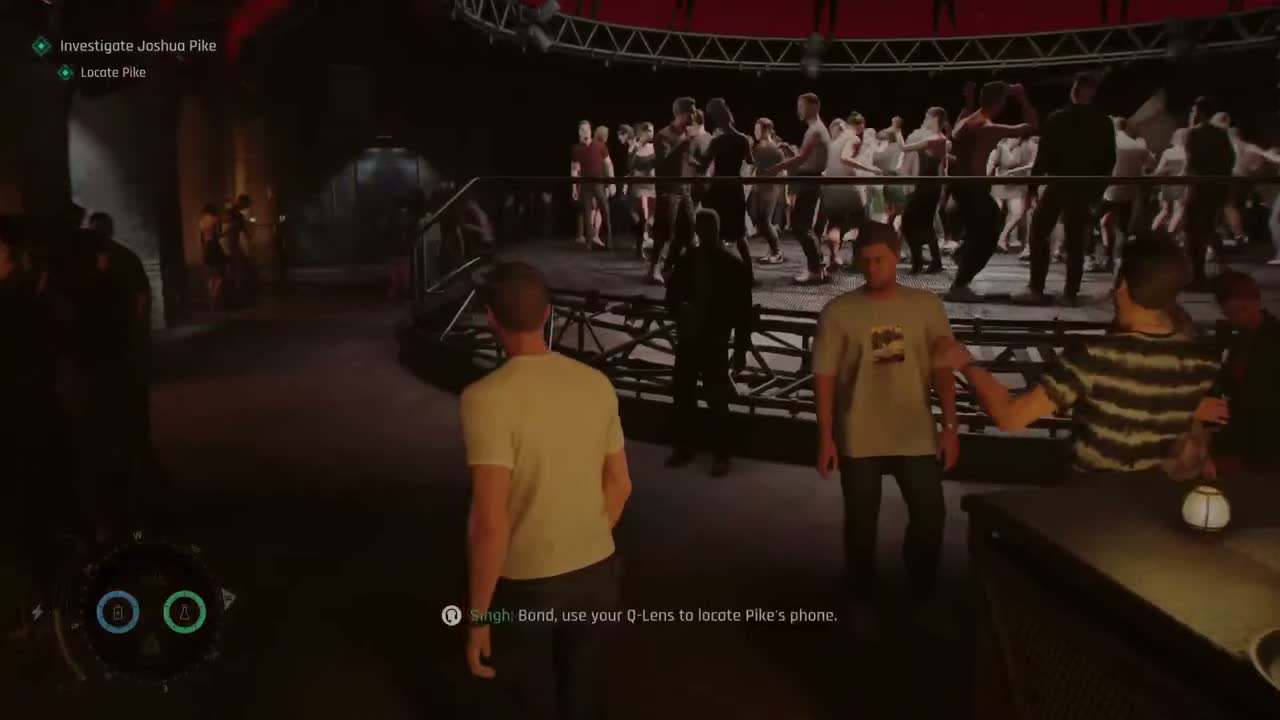
A Night Out is one of the more social-stealth-heavy chapters in the early game, and it rewards observation as much as it rewards action. Unlike the training facility in Chapter 7 or the combat gauntlets later in the game, the club is a civilian space where drawing a weapon is an immediate failure state. Instead, your tools are conversation, distraction, and environmental awareness.
NPCs fall into several categories: clubgoers (oblivious unless you cause trouble), bartenders (attentive but manipulable), bouncers/security (suspicious and armed with radios), and key contacts (marked by dialogue prompts and the game’s subtle objective highlighting). The Dart Phone gadget you receive at the start of the chapter is the single most useful tool here: it can be placed on a surface to create a noise distraction, or used to call specific numbers that draw particular NPCs away (like the bartender). Pay attention to dialogue prompts when you approach NPCs — wrong dialogue choices do not fail the mission, but they burn bridges with that character and may force you to find a different route.
Step 9 — The VIP Section
The VIP area on the upper floor feels like a different club entirely. The pounding music gives way to a lower, bass-heavy thrum, the lighting shifts to warm amber and deep red, and the crowd is thinner, wealthier, and more attentive. Pike is seated in a private booth at the far end, flanked by two bodyguards and surrounded by his entourage.
A small bar on the upper level serves only VIP guests, and waiters circulate with champagne flutes. Your goal is to get close enough to Pike to plant a hacking device (the smartwatch/Q-gadget you received from briefing) on him or his phone. This is not a kill mission — Pike is an asset to be exploited, not eliminated.
The challenge is that Pike’s security detail is professional and alert; they watch everyone who approaches the booth. The easiest approach is to pose as waitstaff: grab an empty champagne tray from the bar, approach the booth, and offer drinks. Pike’s guards will wave you in if you look the part. Once close enough, the hacking prompt appears as a contextual interaction.
Step 10 — Confronting Pike
Once the hack is planted, the game triggers a conversation with Pike rather than an immediate extraction. Pike is not the cartoon villain you might expect; he is nervous, aware he is being watched, and trying to broker a deal. The dialogue gives you a choice of approaches: you can pose as a rival buyer, threaten him openly, or identify yourself as MI6 and offer him protection in exchange for information.
Your choice affects how the rest of the scene plays out but not the ultimate outcome — Pike reveals that he has been selling classified weapons technology to an extremist cell operating out of Slovakia, and that a buy is imminently scheduled at a disused nuclear bunker complex. Before you can extract him, Pike’s own security detail detects the hack (or spots you, depending on your approach) and the club erupts. This is the turning point of the mission: the music cuts out, lights flash red, and Pike’s men draw weapons. Pike is grabbed by his bodyguards and rushed toward a back exit.
Step 11 — The Trap and Fighting Your Way Out
The extraction goes sideways immediately. The club’s lights cut to emergency red, the music dies, and panic spreads through the VIP floor. Pike is rushed toward a private exit by his bodyguards while additional armed men pour into the VIP area to cover his escape.
You are now in open combat on the upper floor. Take cover behind the VIP booths and bar counter immediately. These enemies are more dangerous than the jealous boyfriend from the bathroom — they carry suppressed pistols and are trained to flank.
Nash reappears to provide covering fire from across the room, which takes pressure off you but does not win the fight alone. Clear the immediate VIP area first (typically three to four guards), then push toward the exit Pike was taken through. The corridor behind the VIP area leads to a service stairwell and backstage storage.
More guards wait here, including one posted at a choke point with a shotgun. Use the pillars and storage crates for cover, and use the environment where possible — there are fire extinguishers that explode when shot and electrical panels that can be triggered to stun nearby enemies.
Step 12 — Escape Through Backstage
After clearing the service corridor, you descend through backstage areas of the club: storage rooms with liquor crates, a small kitchen, and a loading dock that leads toward the rear exit. Additional guards funnel in through the back as club security mobilises. This is a linear but intense combat stretch — you cannot double back to the main club floor.
Use kitchen counters and stacked crates as cover, and watch for guards who try to flank through side doors. Nash is close behind you through this section and provides occasional commentary as you fight your way through. Eventually you reach a back exit that opens into an alley behind the club.
A short cutscene triggers: police sirens wail in the distance, MI6 extraction is inbound, but Pike is gone — his people got him out before you could reach him. The mission is a partial success: you planted the hack and obtained the Slovakia intel (which sets up Chapter 7’s briefing at Q Branch), but Pike himself slipped the net. Bond and Nash are pulled out by MI6 as police arrive.
Collectibles Recap and Chapter Tips
A Night Out has two collectibles to find in a single playthrough if you know where to look. The Cocktail Napkin (Memento) is behind the bar on the ground floor, accessible after the bathroom fight when you return to distract the bartender with the Dart Phone. The Ober of Bells (Playing Card) is on the scaffolding above the dance floor near the DJ booth — approach from behind the DJ booth, climb the blue-marked crates, and follow the gantry left; the card is on the walkway before the balcony drop.
Neither collectible blocks progress and both are missable if you rush the mission. On higher difficulties, the club has more guards, civilians react more quickly to suspicious behaviour, and the boyfriend fight is harder (he takes more punches and telegraphs less). For a first playthrough on Agent difficulty, take your time on the ground floor, explore, talk to NPCs, and do not rush upstairs. The nightclub is one of the most atmospheric chapters in the early game and rushing it means missing most of what makes it distinctive.
Chapter Tips
Collectibles in This Chapter
Explore each section thoroughly to find all hidden items. Check the tips above for specific collectible locations.