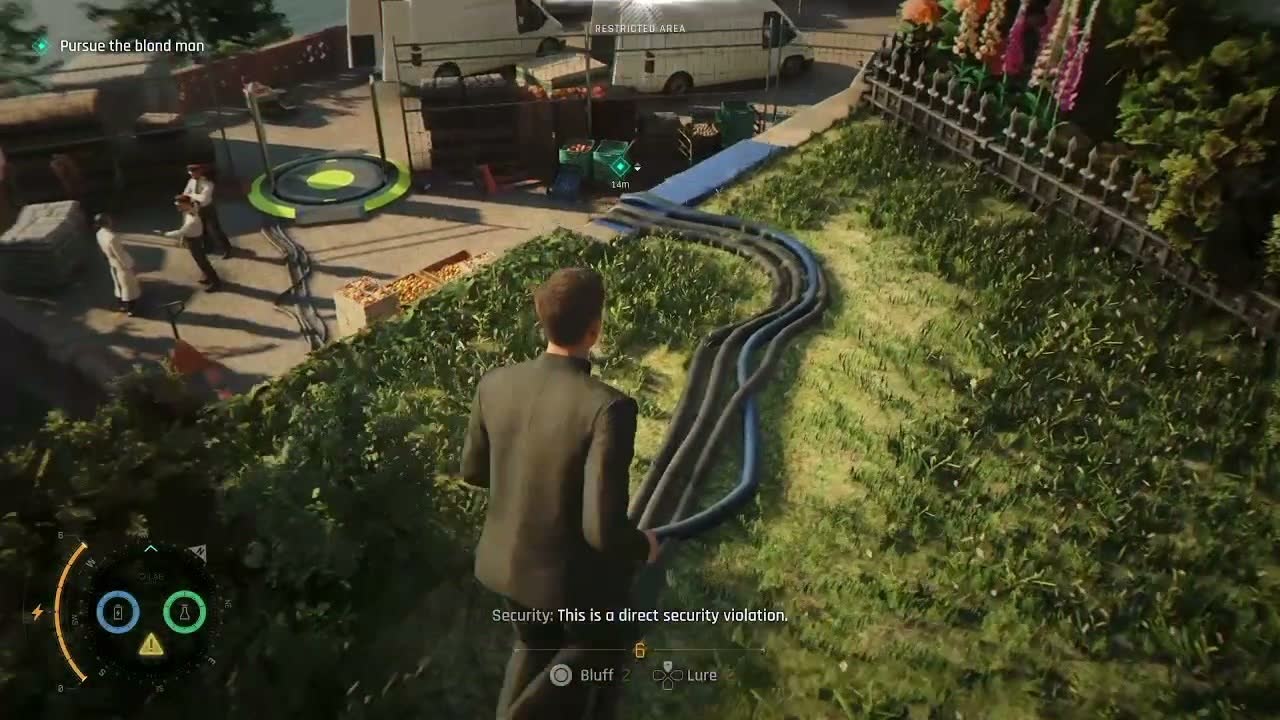
A Matter of Considerable Delicacy
After the nightclub extraction goes sideways, Bond faces M's wrath at MI6 headquarters. What follows is a sprawling chapter spanning M's office, the Q Branch firing ranges and gadget labs, the Operations floor, and a tense final briefing that sets the Slovakia mission in motion.
Step 1 — M's Office: The Morning After
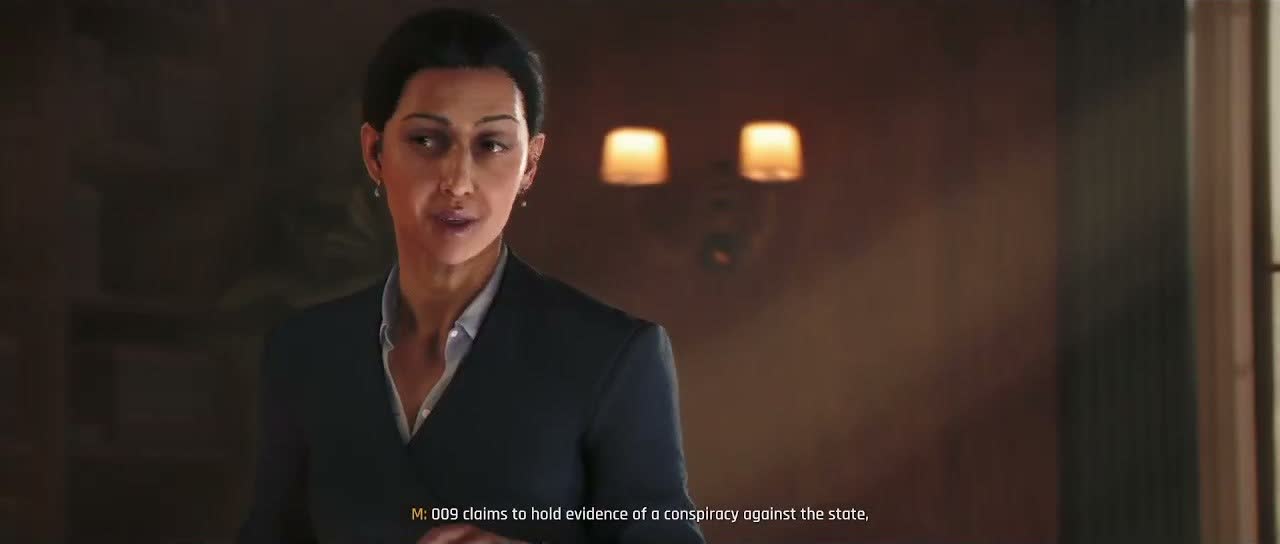
The chapter opens with a cinematic cutscene in M's wood-panelled office the morning after the nightclub extraction. M is not pleased about the missed window, and makes that abundantly clear in her usual blunt fashion. The conversation pivots quickly from a dressing-down to operational intelligence: 009 — a rogue 00-section agent previously assumed dead — has resurfaced and is attempting to broker some kind of deal.
M gives Bond his marching orders: he is being sent to investigate a high-profile target, and Q is already prepping equipment. After the cutscene ends you regain control in M's office. Before leaving, take a moment to look around — this is one of the few times you get to explore this space freely, with environmental details that add context to later story beats.
Step 2 — Through MI6 with Monroe
Monroe is waiting outside M's office to escort Bond down to Q Branch. Follow her through the MI6 corridors. This is not a combat section — treat it as an exposition walk.
Monroe fills Bond in on what has been happening while he was at the nightclub: intel on 009 is fragmentary, Greenway is already on-site doing prep, and Q has been working through the night on the field kit. The route takes you through the main MI6 concourse, past the memorial wall, and down via the secure elevator to the Q Branch sublevel. Cressida joins up partway through the walk for a three-way conversation that does a lot of character work. The dialogue here is worth listening to in full rather than sprinting past — it establishes the working dynamic of the team and plants seeds for the Slovakia operation.
Step 3 — Q Branch Firing Range
Before reporting to Q, you have access to the firing range. This is where the chapter opens up into actual gameplay rather than guided walking. The range is a standard MI6 underground shooting bay with multiple lanes, pop-up targets, and a weapons station.
Your Walther PPK is already drawn when you enter the range area — this is the first time in the chapter you have a weapon in first-person view. Work through the lanes as prompted. The range uses pop-up targets that simulate both stationary and moving hostiles; the scoring is not strict (you cannot fail the training), but it is a good opportunity to get comfortable with shooting mechanics.
Headshots register with a satisfying audio cue and targets drop faster. Once you have spent enough time on the range, the objective marker updates and points you toward the CQB training room next door.
Step 4 — CQB Training Room
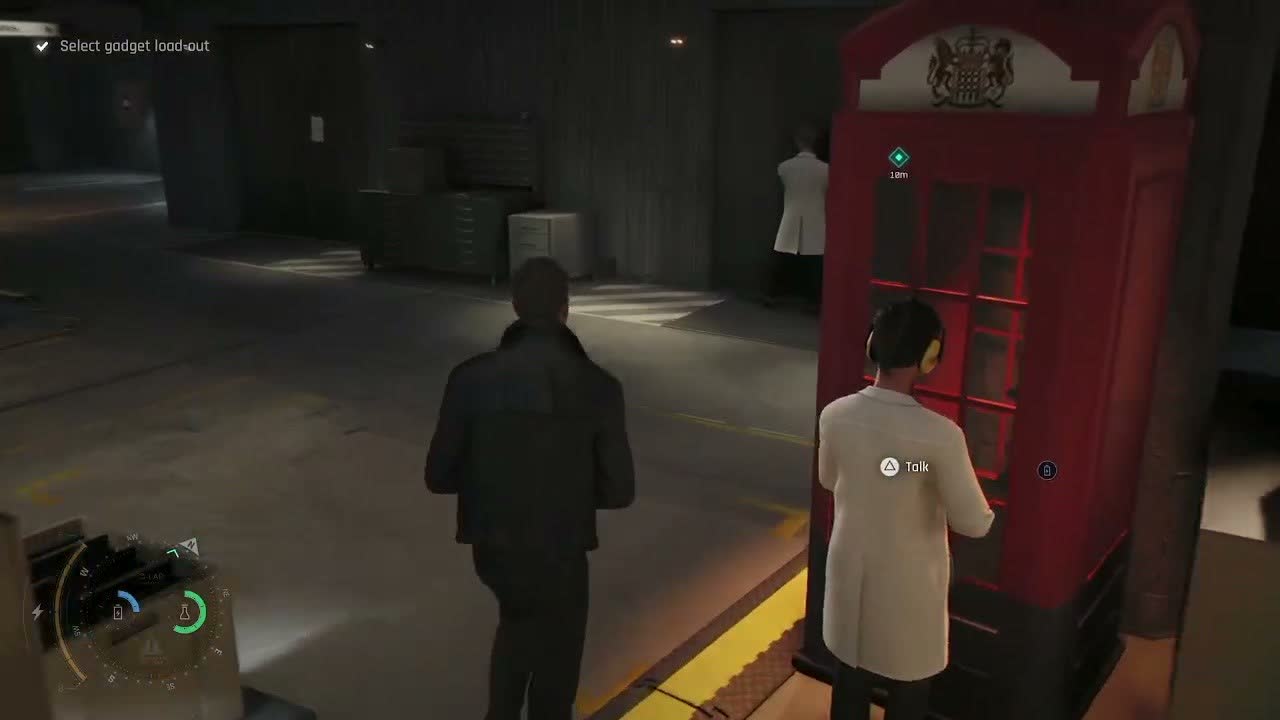
Next door to the firing range is the close-quarters battle (CQB) training room: a modular padded enclosure with pop-up dummies, simulated hostage scenarios, and melee practice dummies. The game walks you through takedown mechanics here — silent takedowns from behind, environmental kills using nearby objects, and the Dagger Shoes kick mechanic Bond receives shortly after. The CQB section is not a real fight; dummies do not fight back.
But it teaches mechanics essential in the hotel infiltration where open gunfire is a last resort. Pay particular attention to environmental takedown prompts — these trigger near railings, doors, and heavy objects, and are the fastest way to deal with guards in close quarters without raising an alarm.
Step 5 — Meeting Q: The Wearables Section
After training, follow the objective marker to Q in the Wearables section — the corner of the lab with mannequins, clothing displays, and tailoring equipment. The cutscene is the main equipment briefing for Slovakia. Q walks Bond through the chauffeur disguise, the Dagger Shoes (spring-loaded blade in the toe cap, activated with a kick), and gives a dry rundown of why everything he builds Bond will inevitably break, lose, or misuse.
After the cutscene, control returns to Bond standing at the table directly in front of Q. The Dagger Shoes are sitting on the table — interact with them to pick them up (Legacy Item collectible). Q then directs you further into the lab for gadget testing in room Q-02.
Step 6 — Q Lab Q-02: Gadget Testing
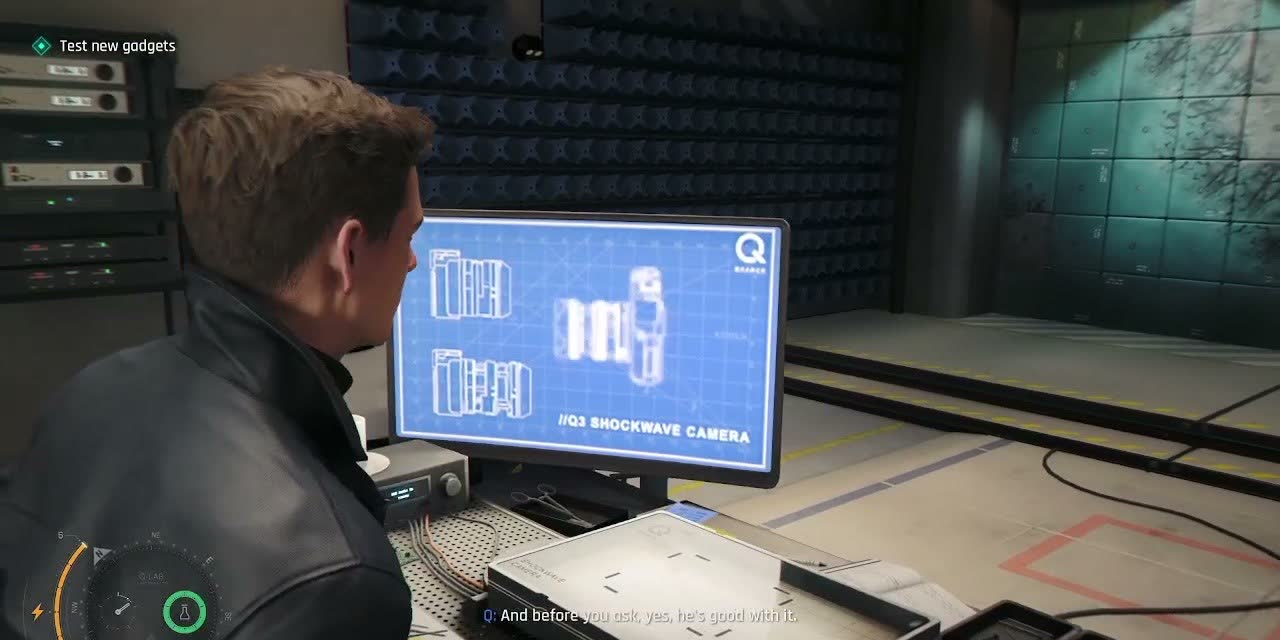
Follow Q into room Q-02 for gadget testing — the longest single gameplay section in the chapter. The room has three stations and you go through them in sequence, though you can linger and experiment. First: the Shockwave Camera.
Pick it up and aim it at Arthur, Q's crash-test dummy. Firing emits a concussive shockwave that knocks the dummy off its feet and rattles nearby objects. Q explains it knocks enemies off balance, destroys weakened structures, and forces open jammed doors.
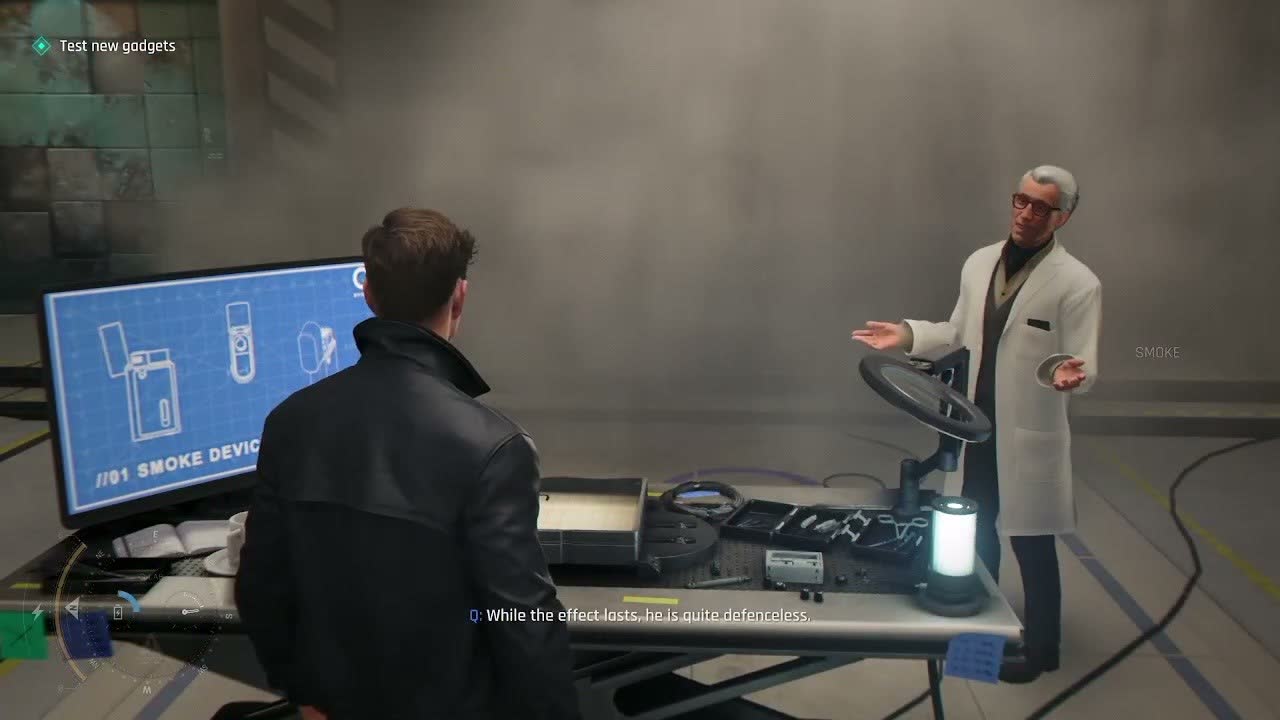
Test it on Arthur and on a reinforced door panel at the side of the room. Second station: the Smoke Grenade. Pick it up and throw it into the designated test area.
Smoke billows out, demonstrating how it blocks NPC line of sight — guards will not enter or fire into dense smoke, and Bond can move through it undetected while crouched. Third station: the Q-Watch (already on Bond's wrist). Q walks through the hacking beam, distraction chime, and basic map overlay.
Step 7 — Gadget Loadout Selection
After testing all three gadgets, Q directs you to the loadout selection desk on the left side of Q-02. Choose two gadgets to take to Slovakia from: Shockwave Camera, Smoke Grenade, and Dart Phone. The Q-Watch is permanently equipped regardless of your choice.
This choice matters — the gadgets you select are what Bond carries into the Grand Carpathian Hotel, and you cannot change loadout mid-mission. After confirming, Q gives Bond the Walther PPK and a final dry word about not breaking the toys. There is no wrong answer, but some combinations are more forgiving than others. Smoke Grenade plus Dart Phone is the stealth-focused pairing; Shockwave Camera plus Dart Phone gives non-lethal crowd control plus ranged distraction; Shockwave Camera plus Smoke Grenade suits players who expect open confrontation.
Step 8 — Exploring Q Branch
Before leaving Q Branch you are free to explore. The lab area is larger than just Q-02 and Wearables — there are workbenches, storage rooms, and a secondary corridor looping back toward the elevator. Easter eggs throughout reference both Bond canon and IO Interactive's previous work.
Look at the workbenches: prototype gadgets, dismantled weapons, and items that are clearly never going to be field-ready but are fun to inspect. You can overhear Q-Branch technicians talking about ongoing projects; some conversations foreshadow gadgets appearing in later chapters. When ready, the objective marker directs you back to the elevator and up to the Operations floor.
Step 9 — Operations Floor and Moneypenny
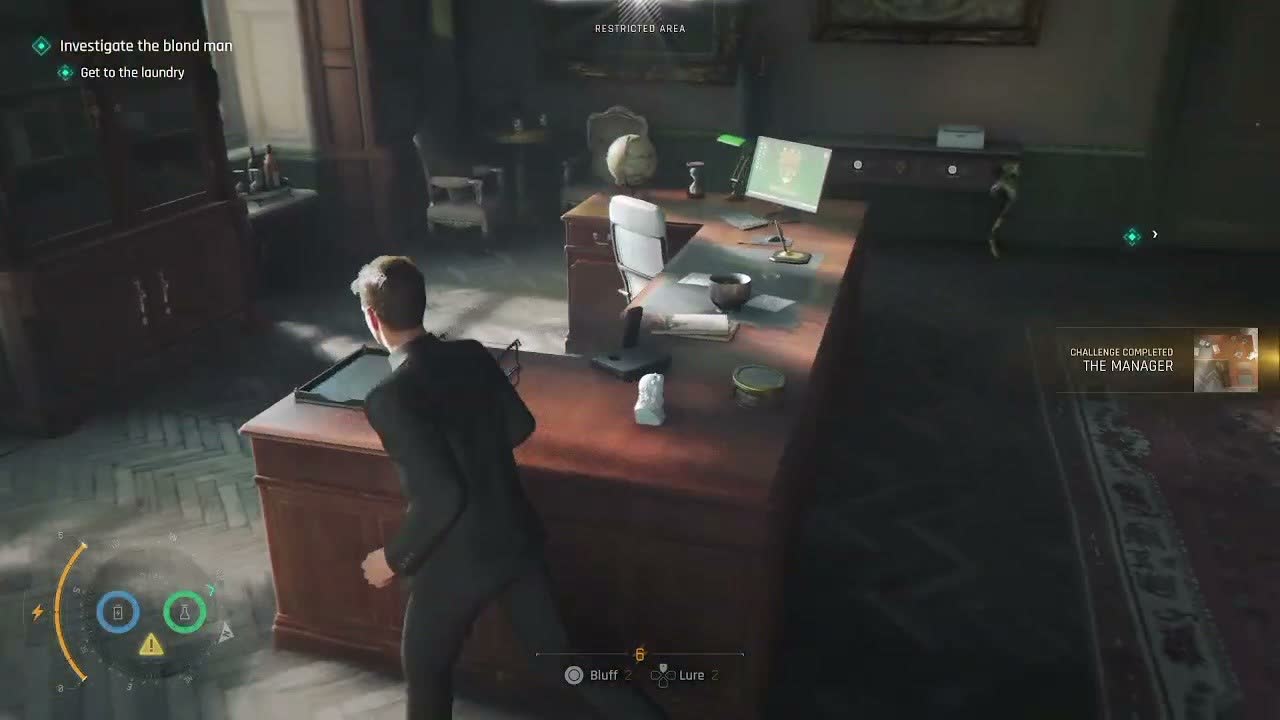
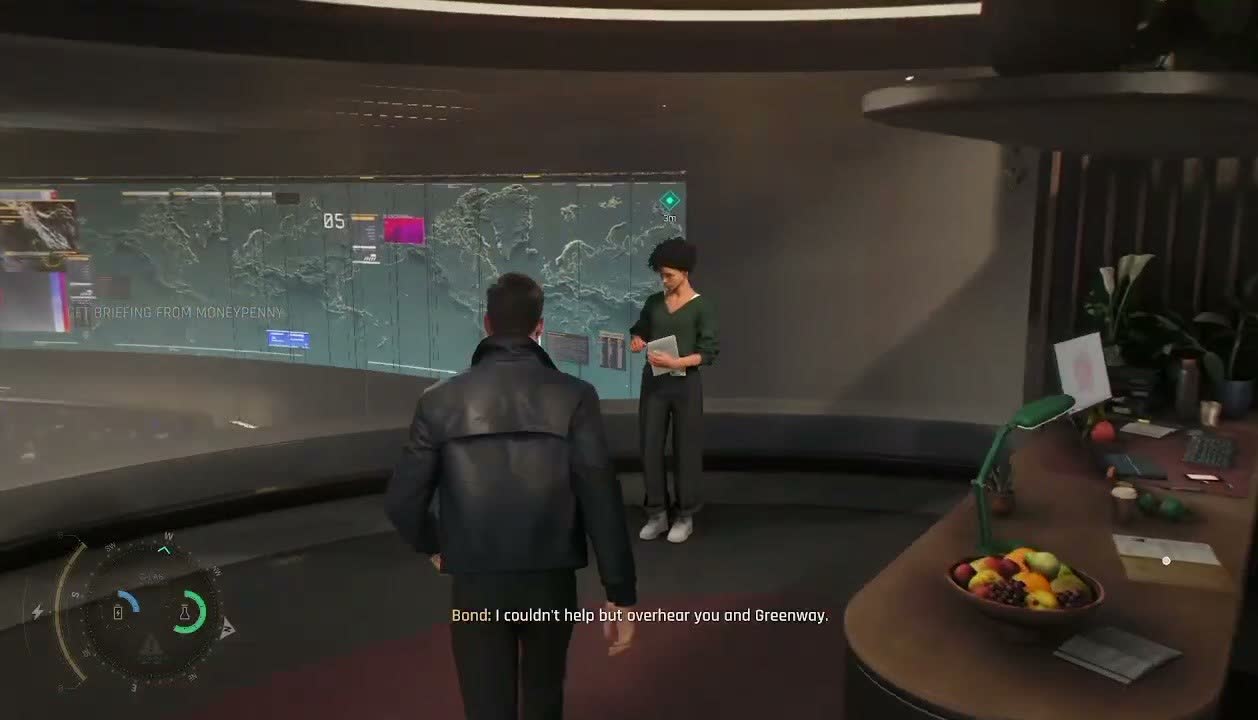
The elevator takes Bond up to the Operations floor — MI6's open-plan intelligence hub where Moneypenny has her desk, analysts monitor live feeds, and briefings are coordinated. The objective marker points to Moneypenny initially. Talk to her and she gives Bond the Slovakia intelligence pack: target details on the Grand Carpathian Hotel, a dossier on the 009 lead, and a warning that Greenway is already in-country and frustrated.
After the conversation you can walk around. Cressida is here doing final prep; talking to her triggers a conversation about cover identities and high-society chess event behaviour. Monroe is going through equipment manifests near the elevator. There is no combat or time pressure here — soak in atmosphere and collect anything missed.
Step 10 — The Mission Briefing
After collecting the intel pack and talking to Cressida, the objective updates to a briefing room off the main Operations floor. A cutscene plays with M, Q, Moneypenny, Cressida, and Monroe all present. Mission parameters: Bond goes into the Grand Carpathian Hotel in the High Tatras, Slovakia, under chauffeur cover.
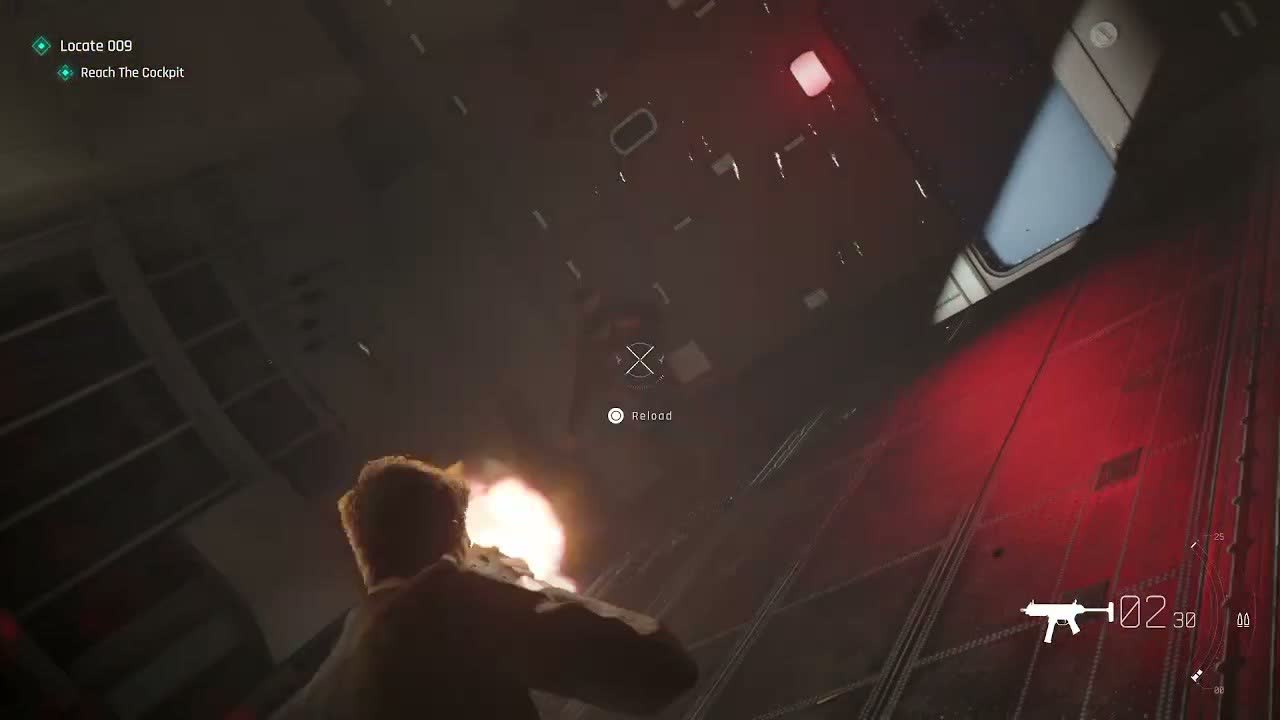
A World Chess Championship is hosted at the hotel, providing high-society cover for the 009 meeting. Bond's job: get inside, locate 009, determine what deal is being brokered, and extract (or terminate if necessary). Q walks through hotel security, and M gives a final warning that this is off-book as far as Slovakia is concerned. After the briefing you regain control for one last walk through MI6 — a dim service corridor down to the garage level where a car waits.
Step 11 — Travel and Arrival
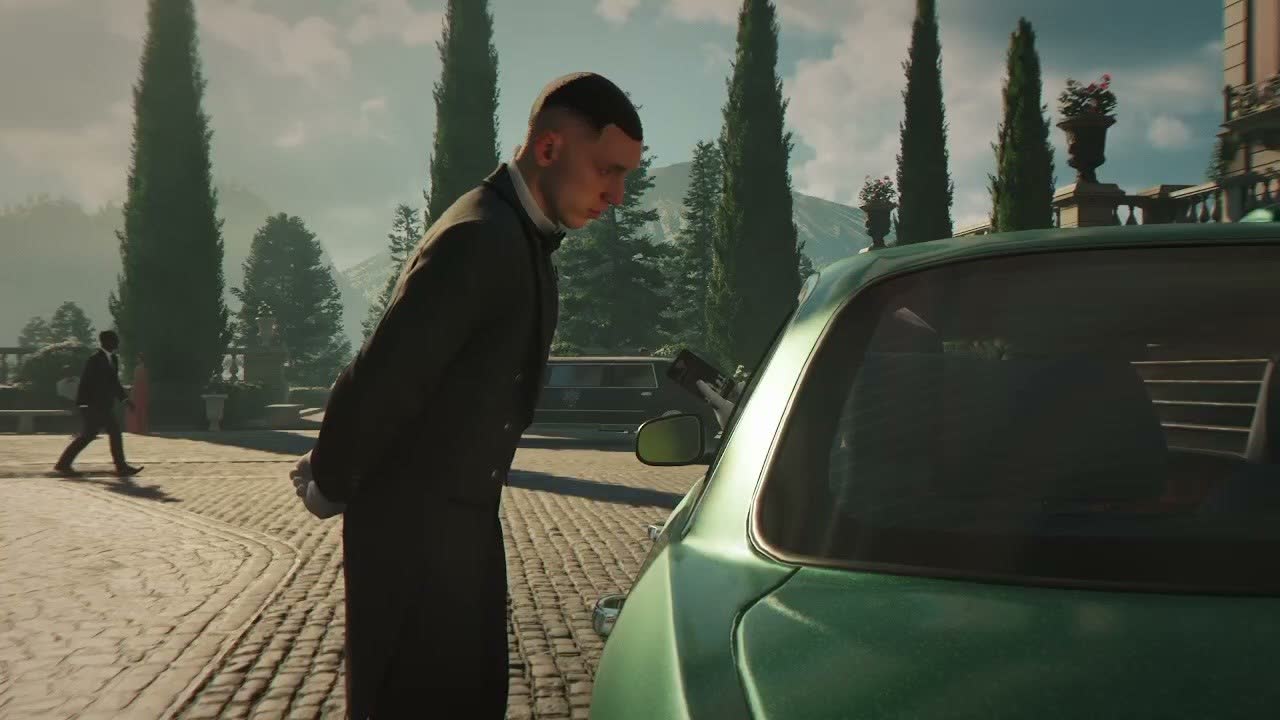
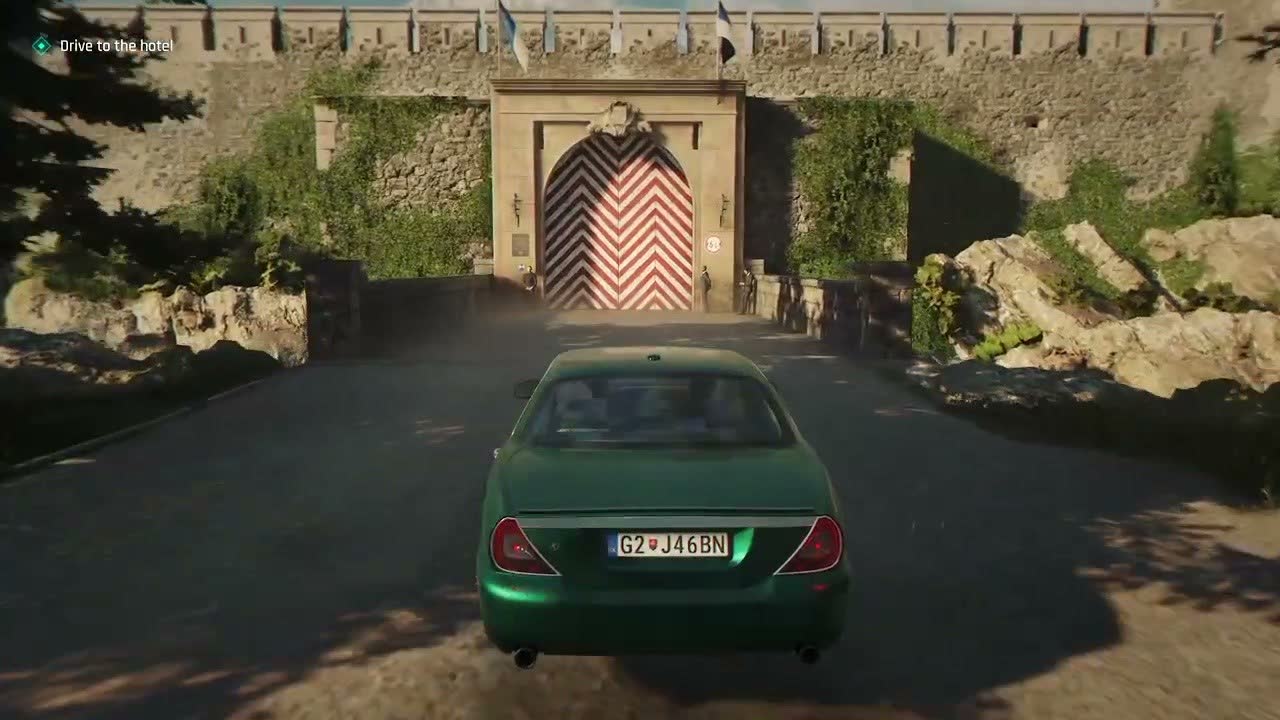
A cinematic travel sequence follows: Bond drives across Europe toward Slovakia, the landscape shifting from grey British motorway to central European forests and mountains as night falls over the High Tatras. Dialogue covers the cover identity and the importance of maintaining it from arrival onward. The montage ends with the car pulling up to the Grand Carpathian Hotel at twilight — the grand facade lit up against snow-covered mountains.
Control returns to Bond outside the vehicle. This is the transition into Chapter 8 (All the Time in the World), but you remain in Chapter 7 until entering the hotel. A very short first-person section lets you stand by the car and get your bearings — look up at the facade (useful for spotting window layouts and cameras), check equipment, then move toward the entrance.
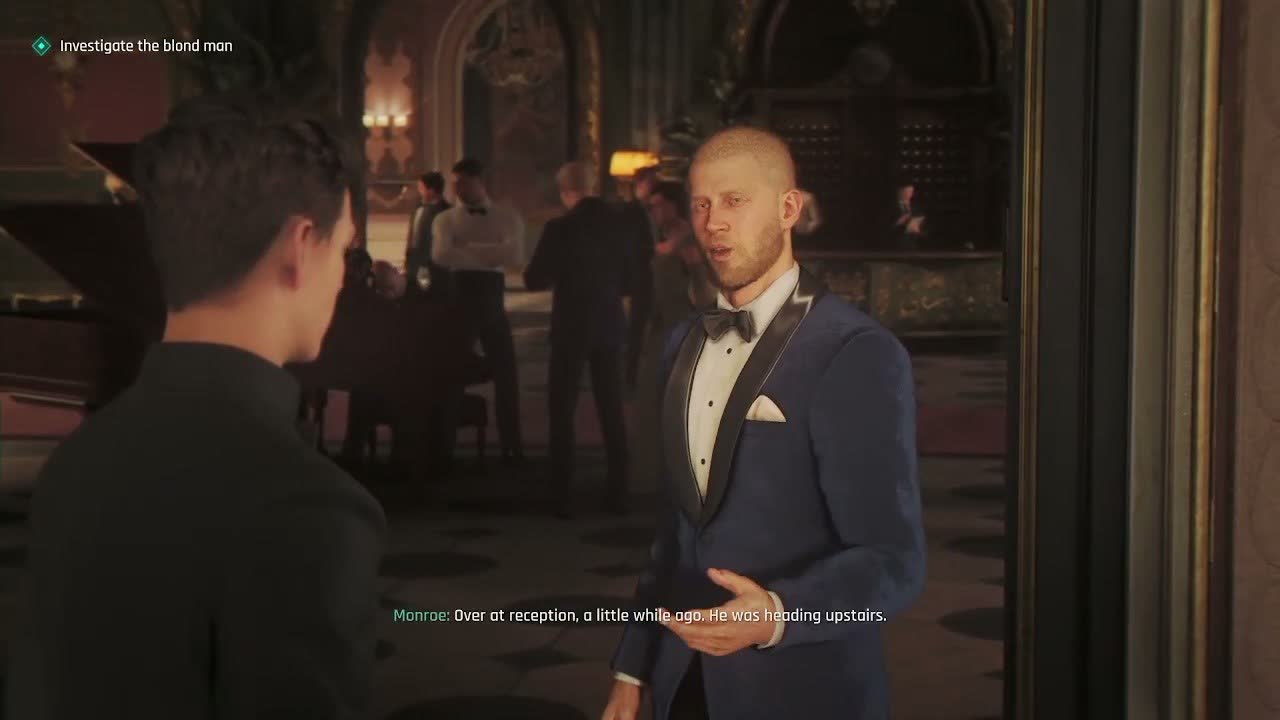
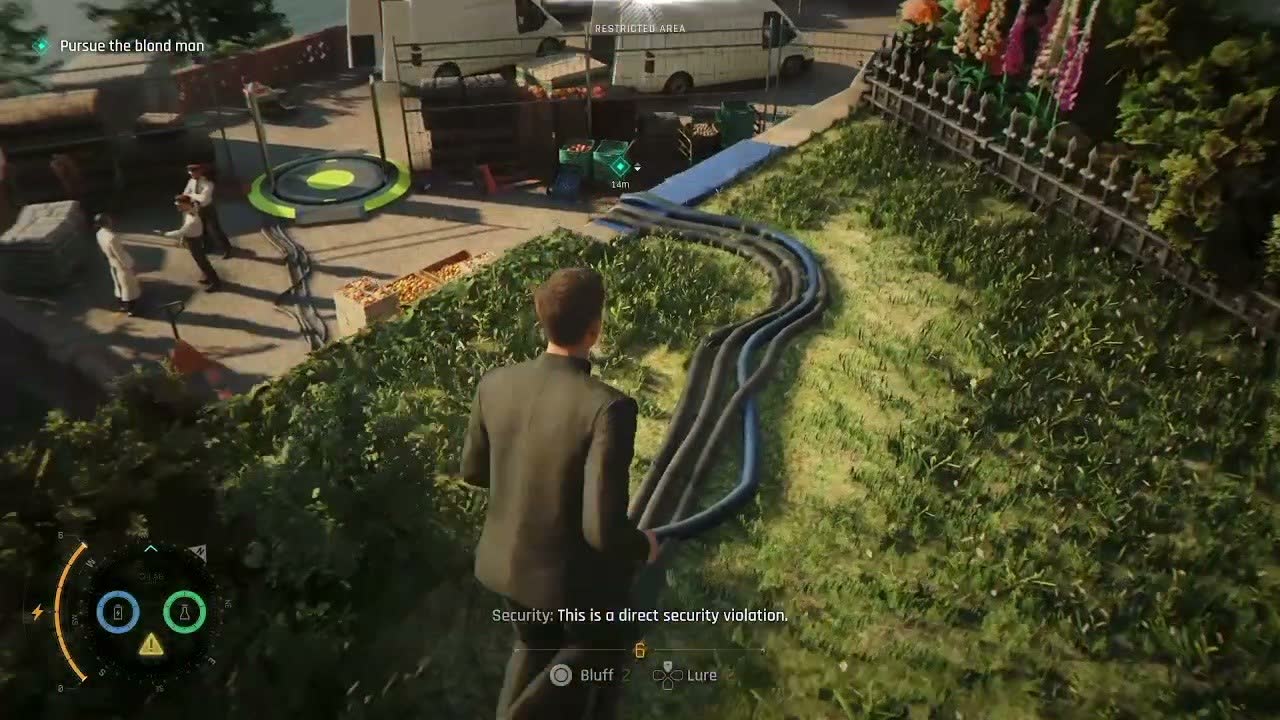
As you approach, a blond bellhop crosses your path behaving suspiciously. This is the scripted Ch8 trigger: noticing him, Bond disobeys Greenway's instruction to stay with the car and follows the bellhop inside.
General Tips
Treat this chapter as the calm before the storm. After the nightclub brawl and before the hotel infiltration, A Matter of Considerable Delicacy is deliberately paced: it gives you time to learn Bond's full toolkit, collect key intel on 009, and absorb the MI6 environment. Rushing players finish in under half an hour; players who listen to dialogue, read collectibles, and explore Q Branch and Operations can easily spend an hour here and leave far better prepared for Slovakia. The difficulty spike to Chapter 8 is real — the hotel is one of the game's largest and most complex levels, and the equipment choices made here directly shape how hard that chapter feels.
Chapter Tips
Collectibles in This Chapter
Explore each section thoroughly to find all hidden items. Check the tips above for specific collectible locations.