All the Time in the World
8

All the Time in the World

Bond infiltrates the Grand Carpathian Hotel in Slovakia during the World Chess Championship to track the rogue agent 009. One of the longest chapters in the game, spanning hotel social stealth, three puzzle rooms, a secret fireplace passage, a twin boss fight, a burning hotel escape, a car chase, and a freefall set-piece.

Hard~55-60 min9 Collectibles

Step 1 — Arrival in the High Tatras

All the Time in the World — Step 1 — Arrival in the High Tatras

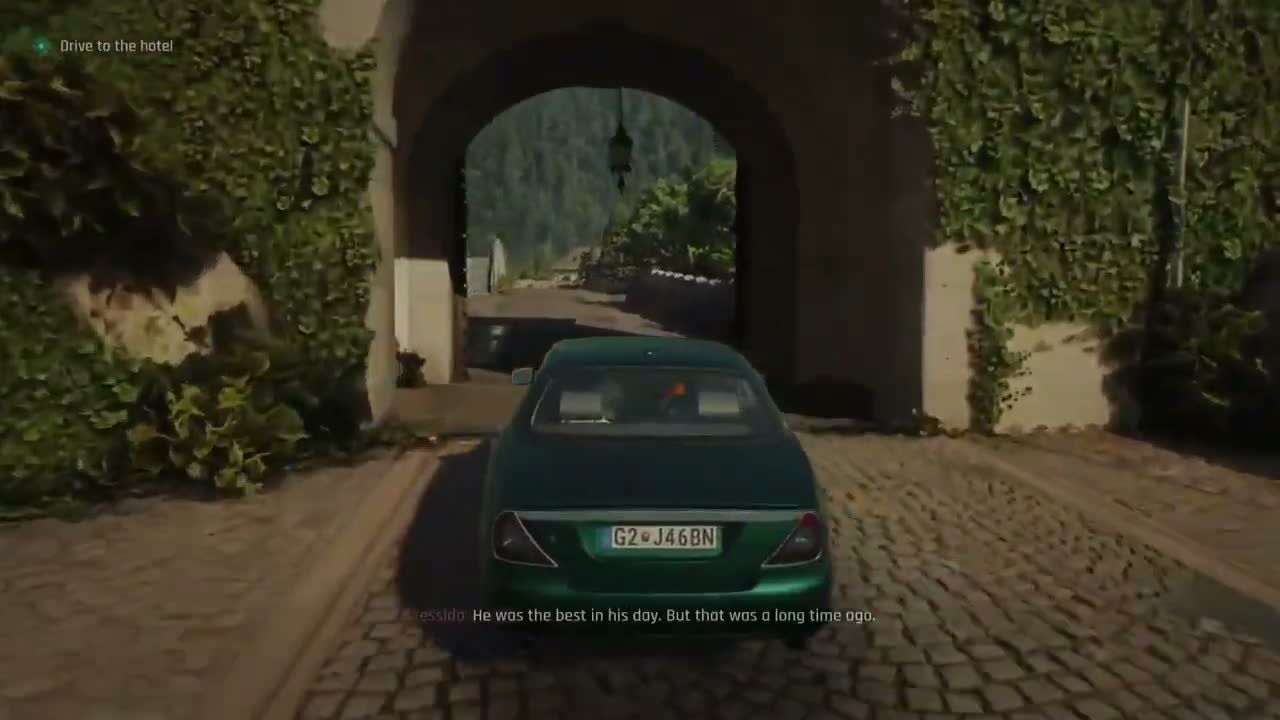
All the Time in the World opens with a driving cinematic. Bond is assigned chauffeur duty for Cressida and Monroe, who are attending the World Chess Championship at the Grand Carpathian Hotel in the Slovakian High Tatras as cover. The drive through snow-dusted mountain roads sets a very different tone from the London nightclub of the previous chapter — this is classic Bond: an isolated luxury hotel in a hostile environment, full of wealthy guests, staff who may not be who they say, and more security than a chess tournament reasonably needs.

The camera sweeps across the hotel facade: a sprawling alpine structure with steep roofs, chess banners at the entrance, and luxury cars at the valet. MI6 believes 009 — the rogue agent connected to the Pike arms deal — is inside. Greenway runs the operation from the car and the initial order is simple: stay with the vehicle, observe, do not go inside. That does not last.

The establishing drive cinematic is worth watching. It reinforces how isolated the hotel is — no easy extraction if things go wrong.
Greenway explicitly says the tournament is cover for a high-level meeting. Multiple guests are part of the arms network; eavesdropping throughout the chapter pays off.
The chapter title references On Her Majesty’s Secret Service. Expect tonal echoes from that story as the chapter unfolds.

Step 2 — The Bellhop and Getting Inside
All the Time in the World — Step 2 — The Bellhop and Getting Inside

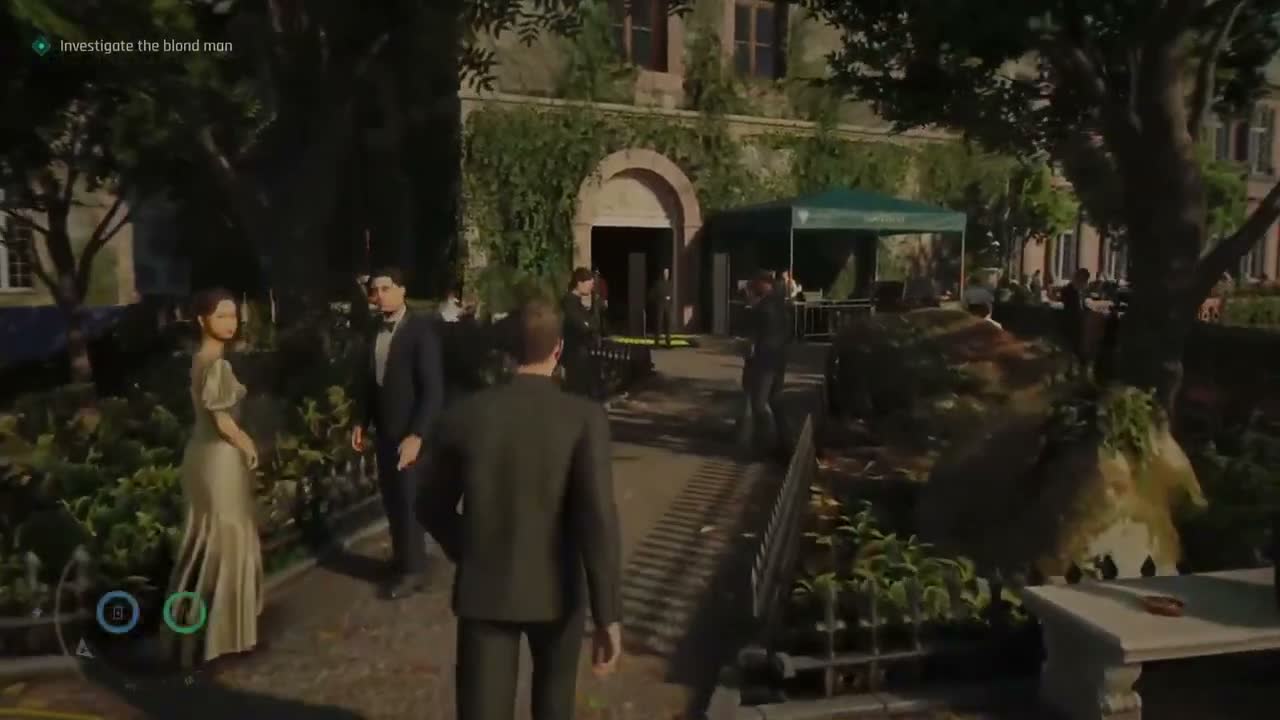
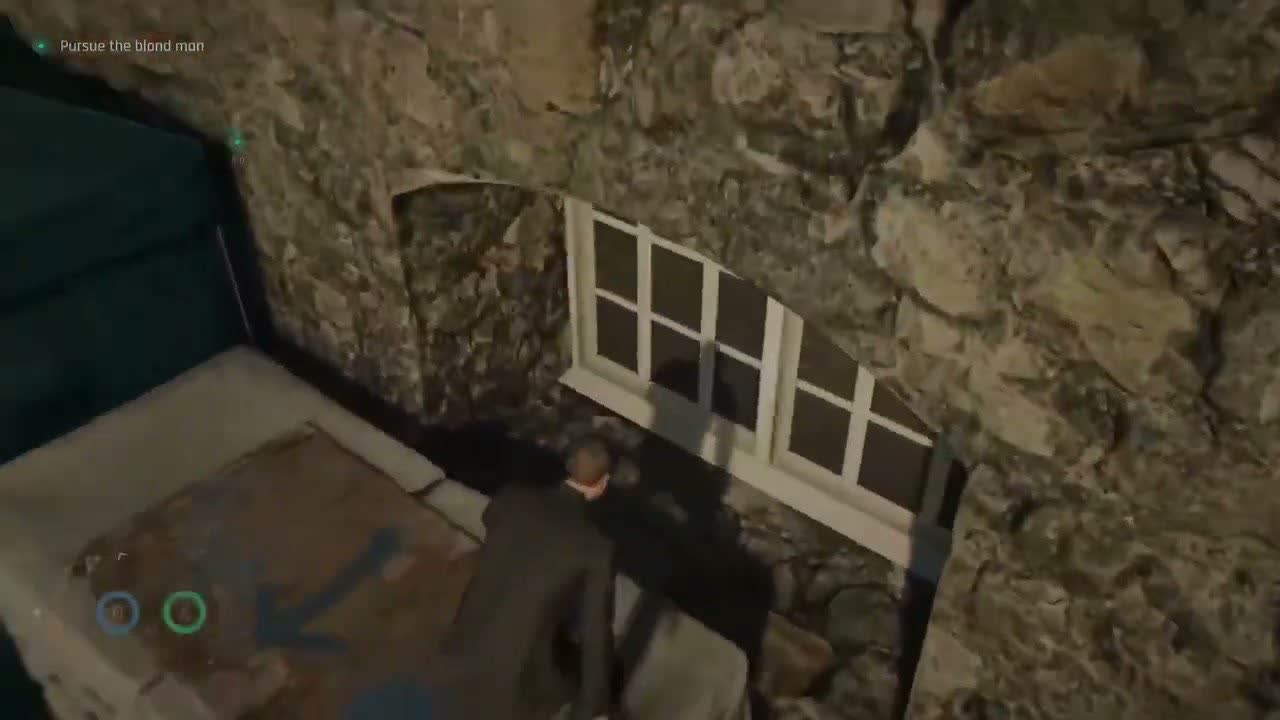
After the opening cinematic, you have control of Bond by the car outside the hotel. The instruction is to stay put, but you quickly spot something off: a blond bellhop moving furtively near the staff entrance, watching arriving guests too intently, then slipping inside through a side door. This is your trigger.

Bond follows him in against Greenway’s orders. Getting into the hotel without a press badge is the first real puzzle. You can create a distraction at the main entrance (knock over a luggage trolley, trigger a car alarm, draw the doorman away) and slip through while staff are occupied, or follow the bellhop route via the side entrance through a brief stealth sequence around the building exterior.

The doorman turns you away if you walk straight up. Do not waste time trying to charm or bluff past him.
The luggage trolley near the entrance is the easiest distraction: nudge it and the porter rushes over, leaving the door unattended for a few seconds.
Following the bellhop around the side takes longer but lets you overhear a staff conversation that gives a backstage access code for later.
Once inside, Greenway re-tasks you: find the bellhop, identify what he is carrying, and work out what is happening at this tournament.

Step 3 — The Lobby and Coatroom

All the Time in the World — Step 3 — The Lobby and Coatroom

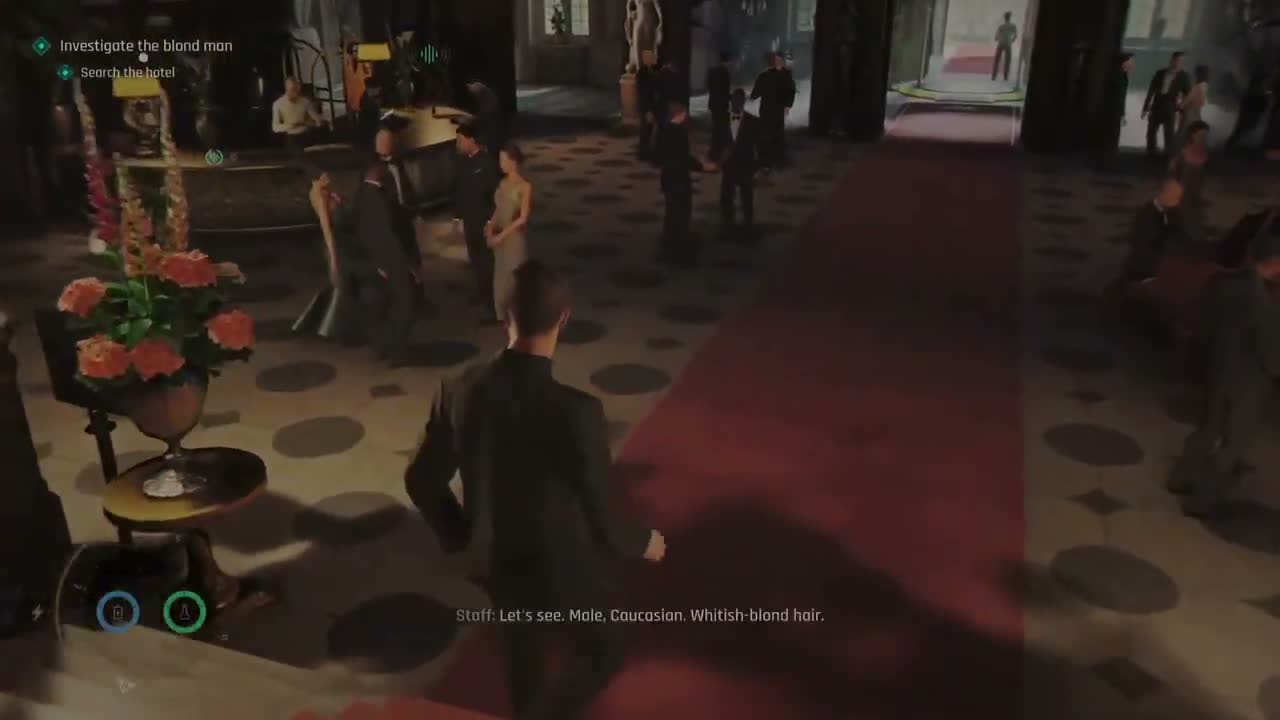
The Grand Carpathian lobby is stunning: vaulted ceilings, wood panelling, a massive stone fireplace, chess-themed decor everywhere (banners, statues, a giant chessboard floor), and guests in evening wear between the check-in desks and the lounge. This is classic IOI crowded-public-space design — lots of NPCs, lots of sight lines, security in formal dress patrolling the edges, and staff following predictable routines. Your first priority is to blend in.

The bellhop disappeared through a Staff Only door behind check-in. To open it you need either the key or a distraction that gets the concierge away from his post. Before going for the objective, explore the lobby: there are eavesdropping opportunities, collectibles, and environmental storytelling that makes the hotel feel alive.

Collectible — Ace of Acorns (Playing Card): on the coatroom shelves to the left as you enter, partially hidden behind a fur coat.
Collectible — Pillow Mint (Memento): inside the Staff Only room behind the counter. Steal the key from the concierge belt (distract him first), then the mint is in a wooden cabinet on the left.
Eavesdrop on the couple by the fireplace. They mention a guest in Room 207 who has not left all day — one of your later objectives.
Use Q-Lens (instinct mode) liberally in the lobby. It highlights interactive objects and patrol routes, making the space much easier to read.

Step 4 — The Bellhop and Moving Upstairs
All the Time in the World — Step 4 — The Bellhop and Moving Upstairs

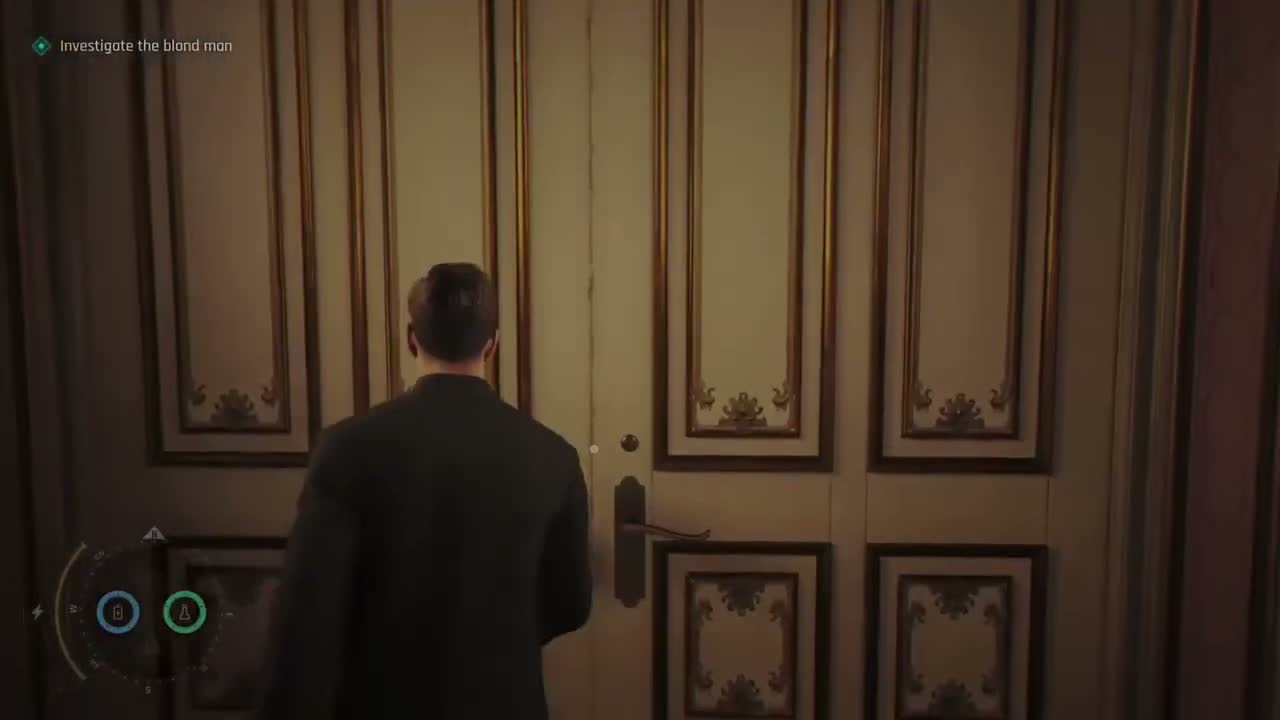
Once through the Staff Only door, you catch up to the suspicious bellhop in a back corridor. A short, tense conversation follows — he is not the primary threat; he is a low-level courier moving a weapons case to the upper floors on behalf of the Murto twins, the Finnish arms dealers the intelligence community has been tracking. He gives up what he knows quickly when confronted: the package is for a meeting in the cellar below the restaurant, 009 has been seen but his exact location is unknown, and the entire upper floor of guest rooms has extra security posted.

After the conversation you can either knock him out and take his uniform (useful for blending in upstairs) or let him go and proceed without a disguise. The uniform makes the corridor sections easier but is not strictly required.

If you take the bellhop uniform, your cover holds as long as you do not run, do not loiter too long in one place, and carry an object (like a luggage bag) to sell the role. Running breaks the disguise instantly.
Letting the bellhop go means you will encounter him again later in the chapter in a more hostile context. Knocking him out is the safer option for a stealth playthrough.
The back corridor where you confront him has a staff noticeboard with a map of the upper floor. Read it — it marks the positions of Rooms 205, 206, and 207 before you get upstairs.
From the back corridor you can take the service elevator directly to the guest floor, bypassing the main elevator and its camera entirely.

Step 5 — The Guest Floor Corridor

All the Time in the World — Step 5 — The Guest Floor Corridor

The upper floor has a very different feel from the lobby: darker, quieter, plush carpet, numbered rooms, and housekeeping carts. Guards patrol in pairs and maids challenge you if caught out of place. The core puzzle centres on Rooms 205, 206, and 207, each with a different challenge.

The floor also connects to a backstage maintenance area overlooking the tournament hall, leading to the Championship Badge collectible. Moving between rooms without being seen requires timing patrols and using environmental cover.

Housekeeping carts are excellent cover. Crouch behind one as a guard passes and you will not be spotted. Pull linen off to create a noise distraction.
Waiters and maids follow tight loops. Watch a full cycle before moving — timing is tight and cutting across mid-patrol is the easiest way to get seen.
If a guard hits yellow suspicion, do not run. Walk calmly away or slip into an unlocked room. Running from yellow goes straight to red alert.
The service elevator at the end of the corridor is less patrolled but makes a bell noise when it arrives. Be ready.

Step 6 — Room 205: The Housekeeping Trick
All the Time in the World — Step 6 — Room 205: The Housekeeping Trick

Room 205 is the easiest room to access but has a layered puzzle. The door is locked and guards pass by periodically. Sabotage the suit of armour at the end of the corridor to create a loud clang, drawing guards away; sabotage the grandfather clock for a second distraction that pulls anyone remaining.

Once clear, flip the "Do Not Disturb" sign on the door — in this hotel, the sign triggers a maid to come clean within about thirty seconds. When she arrives with her master key, slip in behind her or enter after she leaves the door propped.

Collectible — Slovakia Postcard (Postcard): on the nightstand inside Room 205, visible immediately upon entering.
The armour distraction works on a delay. Sabotage it, retreat around a corner; the clang pulls both guards but they will not see you if out of sight.
If you forget the Do Not Disturb sign you can pick the lock, but it takes longer and makes more noise.
The connecting bathroom has an unlocked window leading to an exterior ledge shared with Room 206 — your entry to 206 without going back into the corridor.

Step 7 — Room 206: Six Clues

All the Time in the World — Step 7 — Room 206: Six Clues

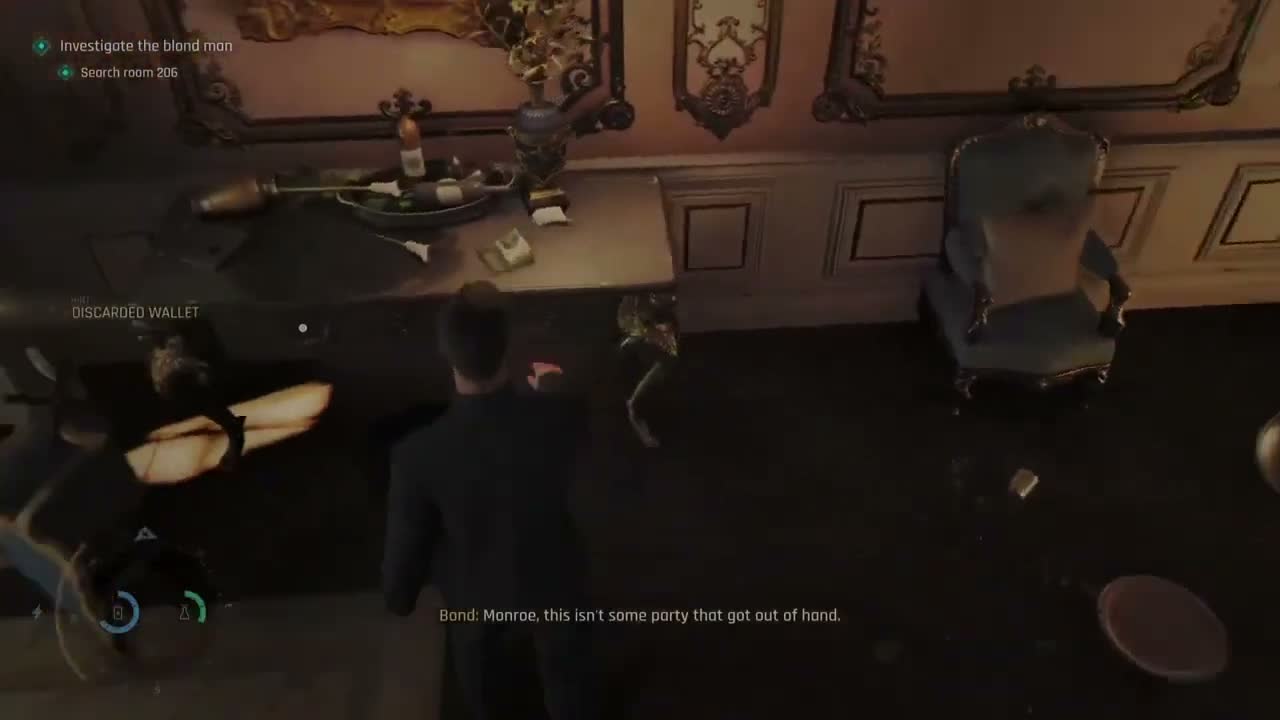
Room 206 is the investigation centrepiece of the upper floor. This is where 009 (or someone connected to him) was staying; the room has been tossed: papers scattered, drawers open, signs of hasty exit. You must find six clues: a keycard under the pillow, security documents on the desk, a newspaper clipping in the top drawer, a note on the room-service cart, a lost wallet behind the fireplace, and a suit on the bathroom rack containing a hotel receipt.

Finding all six updates your objective toward the restaurant and the secret passage. Enter via the shared bathroom window from Room 205 or by picking the corridor lock.

Scan with Q-Lens first. Each clue glows gold, but you must interact with them for the deduction to register.
The newspaper clipping is inside the drawer, not on the desk with the other papers. Pull the drawer all the way open.
The wallet behind the fireplace requires kneeling. Look for a small gap between the fireplace and wall.
Once all six clues are found, Bond deduces the guest was using the alias "Mr. Franklin" and meeting the Murto twins in the cellar below the restaurant.

Step 8 — Room 207: The Ledge Climb

All the Time in the World — Step 8 — Room 207: The Ledge Climb

Room 207 plays differently from 205 and 206. The door is triple-locked and the guest refuses to leave. You cannot pick or trick your way in from the corridor.

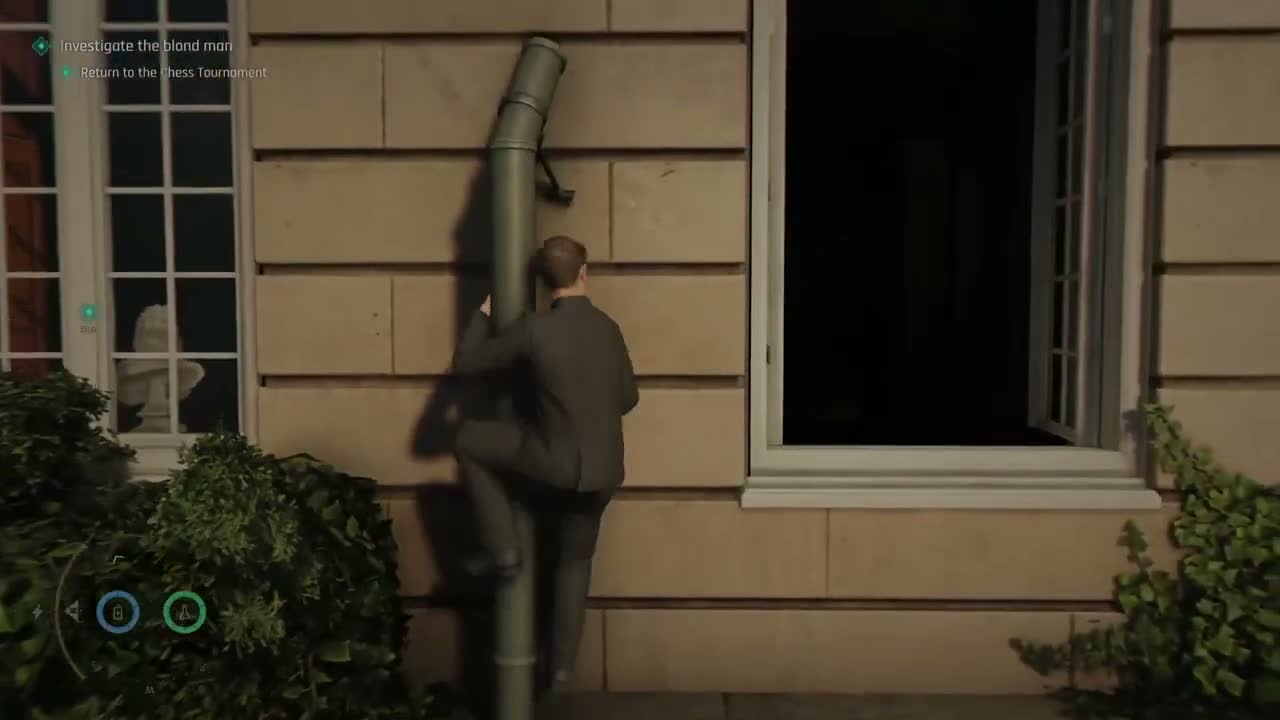
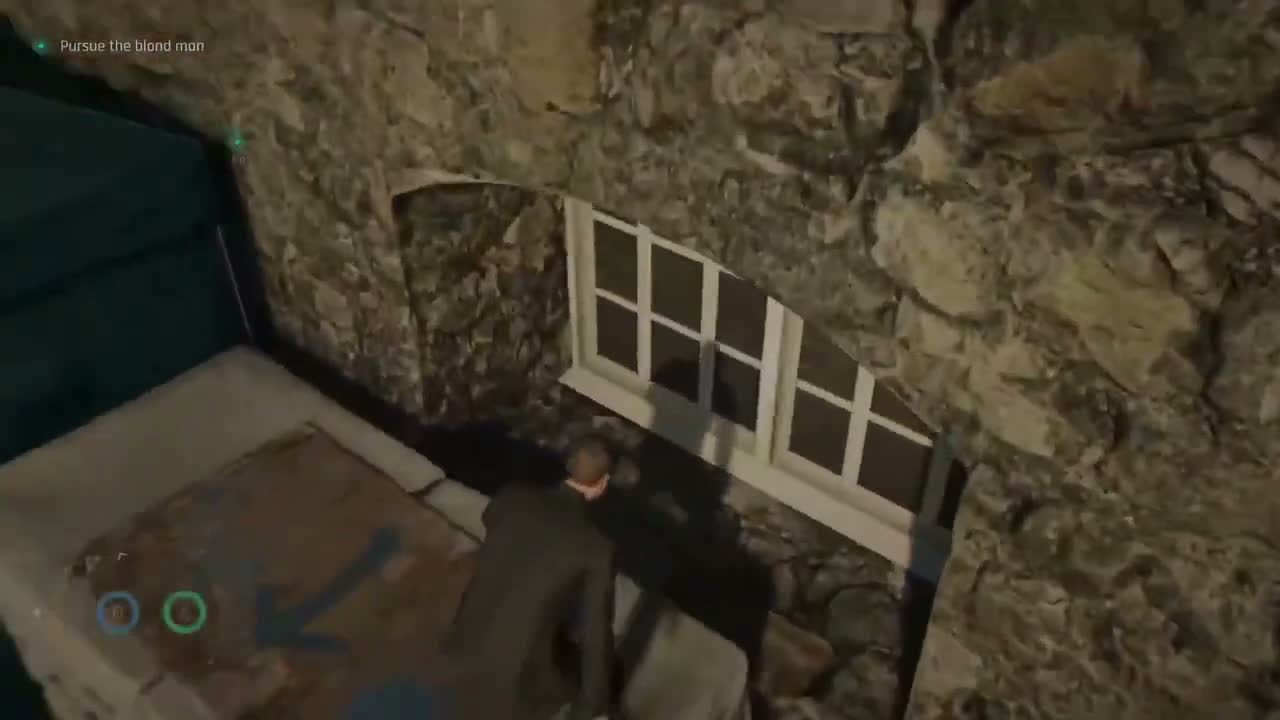
Climb out a corridor window onto the exterior stone ledge and edge along the building to reach the 207 balcony. The ledge is narrow; move slowly and do not over-correct. When you reach the balcony, kick the door in. Inside you find a bellhop uniform and a weapons cache — confirming the bellhop network.

Collectible — 6 of Acorns (Playing Card): on the exterior ledge between a window and the 207 balcony. Step slightly off the main path to grab it.
Move gently on the ledge. Sprint input causes Bond to lose balance; there is no fall damage but you restart the section.
When you kick the door in, be ready for a short fight: the occupant is a hired gun who reaches for a weapon.
After clearing 207, the balcony connects to a fire escape leading down to the tournament hall backstage.

Step 9 — Tournament Hall and Backstage
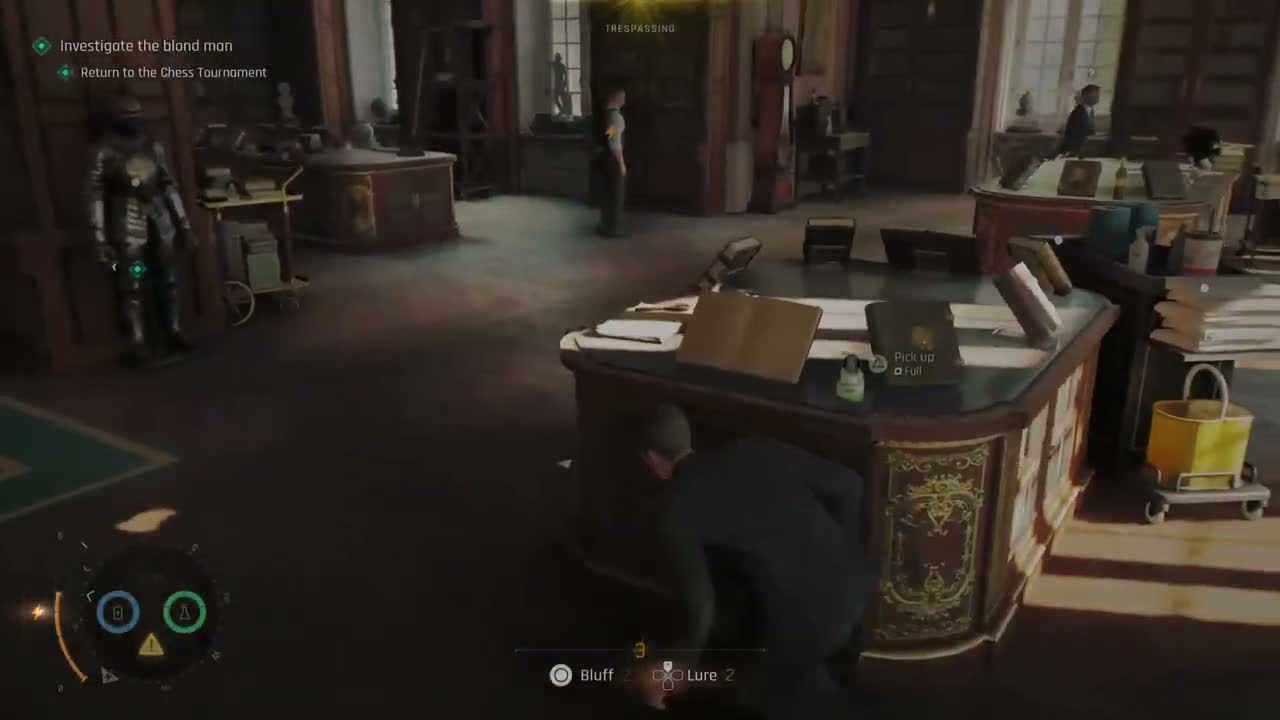
All the Time in the World — Step 9 — Tournament Hall and Backstage

Back down on the ground floor, the main tournament hall is where the chess championship is in session: a large room with a giant screen broadcasting the board, spectators in tiered seating, press photographers, and security at every exit. You need to get backstage to access the cellar route. Squeeze through the gap behind the left-hand big screen to find a backstage corridor that runs behind the tournament stage.

This area has dressing rooms, equipment storage, and a staircase down to the cellar level. Be careful here — backstage staff are more alert than lobby guests, and there are security cameras covering key junctions.

Collectible — Championship Badge (Memento): in a black equipment case in the backstage corridor behind the screen.
Collectible — Chess Biography (Legacy Item): from the ground floor, turn left downstairs, go right past the NPC, and look on the coffee table in the first lounge.
Security cameras in backstage can be disabled by shooting them (noisy, causes alerts) or by using the Dart Phone on the electrical panel around the corner to cause a temporary blackout.
If you are still wearing the bellhop uniform, you can walk through most of backstage unchallenged — staff assume you are there to move equipment.

Step 10 — The Cellar

All the Time in the World — Step 10 — The Cellar

The cellar under the hotel is cold, damp, and only dimly lit by bare bulbs. It feels immediately wrong: stacked crates that are too new and clean for a wine cellar, wiring running along the walls that does not belong, and the faint smell of diesel. This is where the arms deal is being set up.

You will find disassembled weapons in crates, stacks of cash, and communications equipment. The cellar is patrolled by armed guards in tactical gear rather than hotel security — a clear sign you have penetrated the real operation. Move slowly, use crates and pillars for cover, and use your silenced PPK for any takedowns (no loud weapons; this is still a populated hotel above you).

Collectible — 7 of Bells (Playing Card): in the deepest part of the cellar, on a barrel near a stack of weapons crates.
The cellar guards have flashlights and their cones are visible on the floor. Time your movement between flashlight sweeps; if a beam lands on you, the alert triggers instantly.
Do not shoot the wine bottles. They shatter loudly and alert every guard in the cellar. Environmental takedowns using the stone walls and heavy wooden beams are silent.
A tunnel at the back of the cellar leads up to the restaurant via a mechanism hidden behind the fireplace — this is the secret passage you read about in Room 206.

Step 11 — The Restaurant

All the Time in the World — Step 11 — The Restaurant

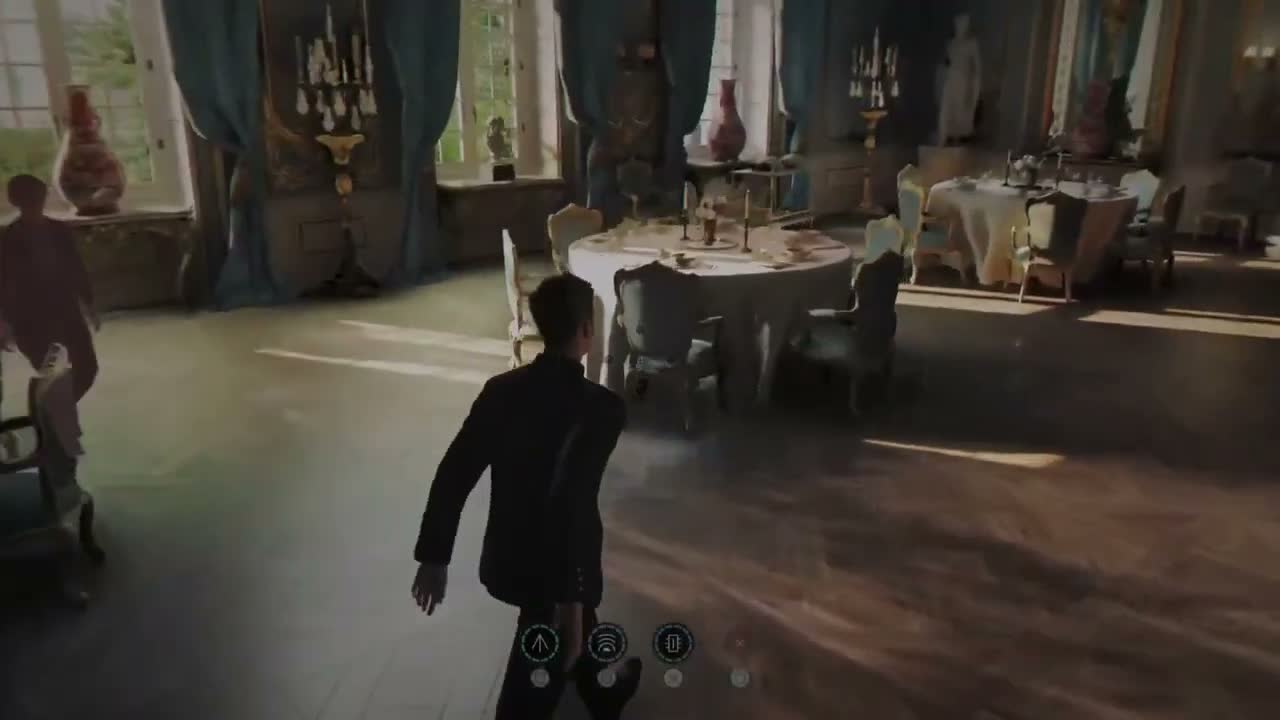
Back upstairs, the hotel restaurant is a warm, wood-panelled dining room with a roaring fire, white tablecloths, and wealthy guests who have no idea what is happening beneath their feet. The restaurant is a social-stealth space similar in feel to the nightclub in A Night Out but with a more mature, quieter rhythm. Waiters move between tables, a pianist plays near the bar, and a group of guests who are clearly part of the arms network (wrong build for chess fans, too aware of the exits) are dining at a corner table. Eavesdrop on their conversation and you learn that the meeting is imminent and that the "special room" is accessed through the fireplace.

The waiters are useful cover. Pick up a tray from the service station near the kitchen door and you can walk through the restaurant without being challenged — as long as you keep moving like staff.
The pianist is actually playing dynamically and you can stop to listen; this is a nice atmospheric touch and also lets you observe the corner table from a short distance without seeming suspicious.
If you cause a disturbance in the restaurant (a dropped tray, a fight, a gunshot), the arms guests in the corner immediately leave through a back door and the rest of the chapter becomes a forced combat chase instead of a stealth infiltration.

Step 12 — The Fireplace Puzzle

All the Time in the World — Step 12 — The Fireplace Puzzle

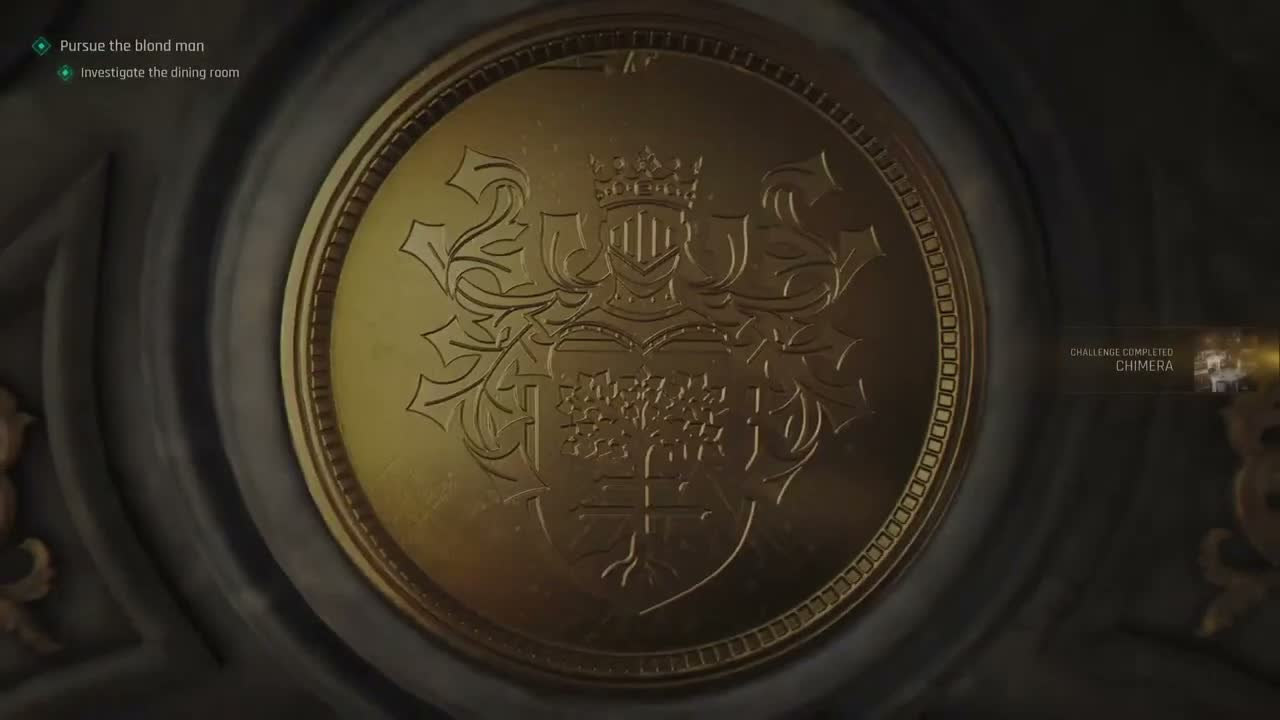
The secret passage is hidden behind the dining room fireplace, directly referencing the From Russia with Love novel and film (a deliberate Fleming homage on IO part). To open it you need to solve the Chimera Challenge: three animal symbols set into the stone mantelpiece that must be pressed in the correct order. The clue is on a torn page from a chess book resting on a service cart near the kitchen door.

The correct sequence is Lion, then Goat, then Snake — the three heads of the Chimera myth. Press them in the wrong order and nothing happens; reset and try again. Once entered correctly, the fireplace grate slides open with a heavy grinding sound, revealing a narrow stone staircase leading down.
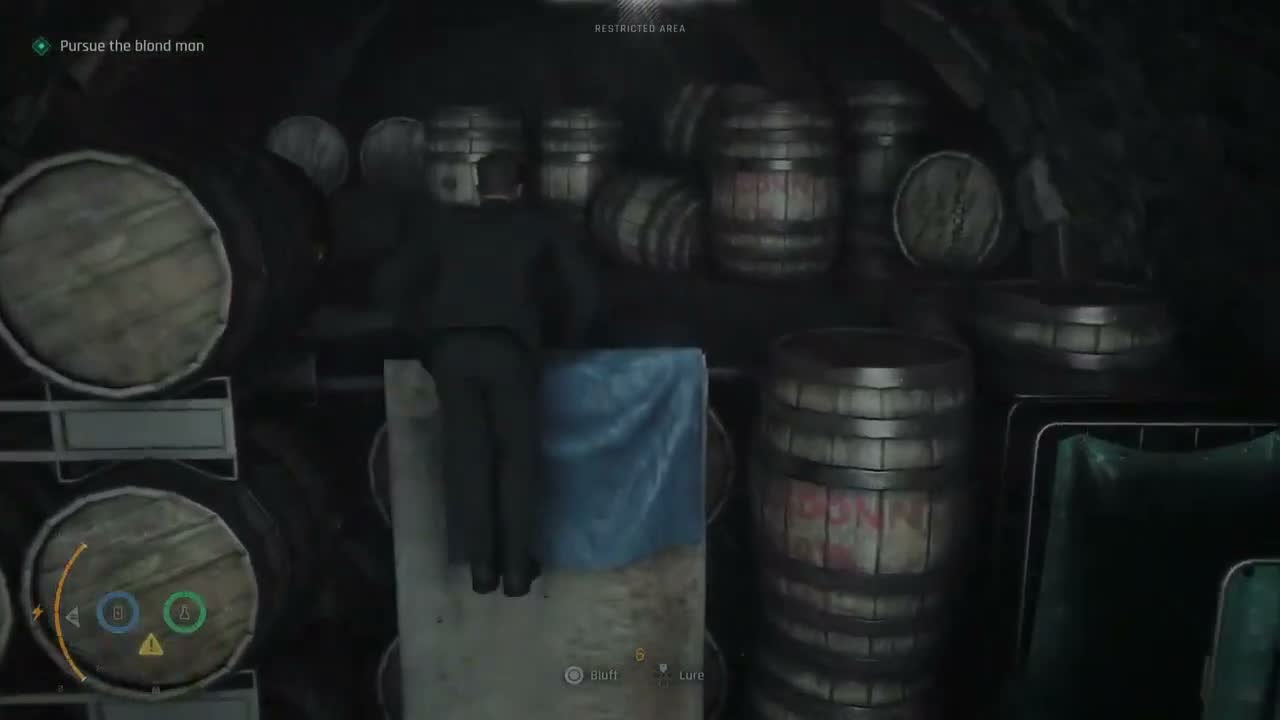
The torn page on the service cart is easy to miss if you are heading straight for the fireplace. It is on the cart closest to the kitchen door, partially covered by a wine list.
The Lion is the leftmost symbol, Goat is in the centre, Snake is on the right. Each symbol clicks visibly when pressed correctly.
After the fireplace opens, wait a few seconds before entering. The grinding noise attracts a waiter to investigate; hide in the shadow inside the fireplace until the waiter returns to his duties, then proceed down.
The secret passage is a one-way door. Once you go down into the cellar chamber you cannot return to the restaurant, so make sure you have collected everything you want from the ground floor before solving the puzzle.

Step 13 — The Hidden Chamber

All the Time in the World — Step 13 — The Hidden Chamber

The staircase descends to a stone chamber beneath the restaurant, part old wine cellar and part command centre. Maps are pinned to the walls, monitors display CCTV feeds from across the hotel, and there is a table set for a meeting that has not yet started. This is where the arms deal was supposed to happen.

Explore the room before the cutscene triggers — there are intel files on the table that fill in background on the Murto twins and their connection to 009. There is also a weapons case you can open to resupply. After you examine the central map, a cutscene triggers: Bond discovers he has walked into a trap.

The intel on the table is worth reading in full. It names the Murto twins (Niko and Tero), identifies their background as ex-Finnish military turned mercenary arms dealers, and confirms they are here to sell a weapons system rather than buy one.
Resupply from the weapons case before triggering the cutscene. You go straight into a boss fight and will want full ammunition for the Walther and any secondary weapon you prefer.
If you did not already grab the 7 of Bells card in the main cellar, there is no second chance after this cutscene — the fire starts during the fight and the cellar becomes inaccessible.
Notice the chess board on the side table in the chamber. It is set up to the exact position of the tournament game being played upstairs at this moment, a small detail that shows the twins have been watching the event live.

Step 14 — The Murto Twins

All the Time in the World — Step 14 — The Murto Twins

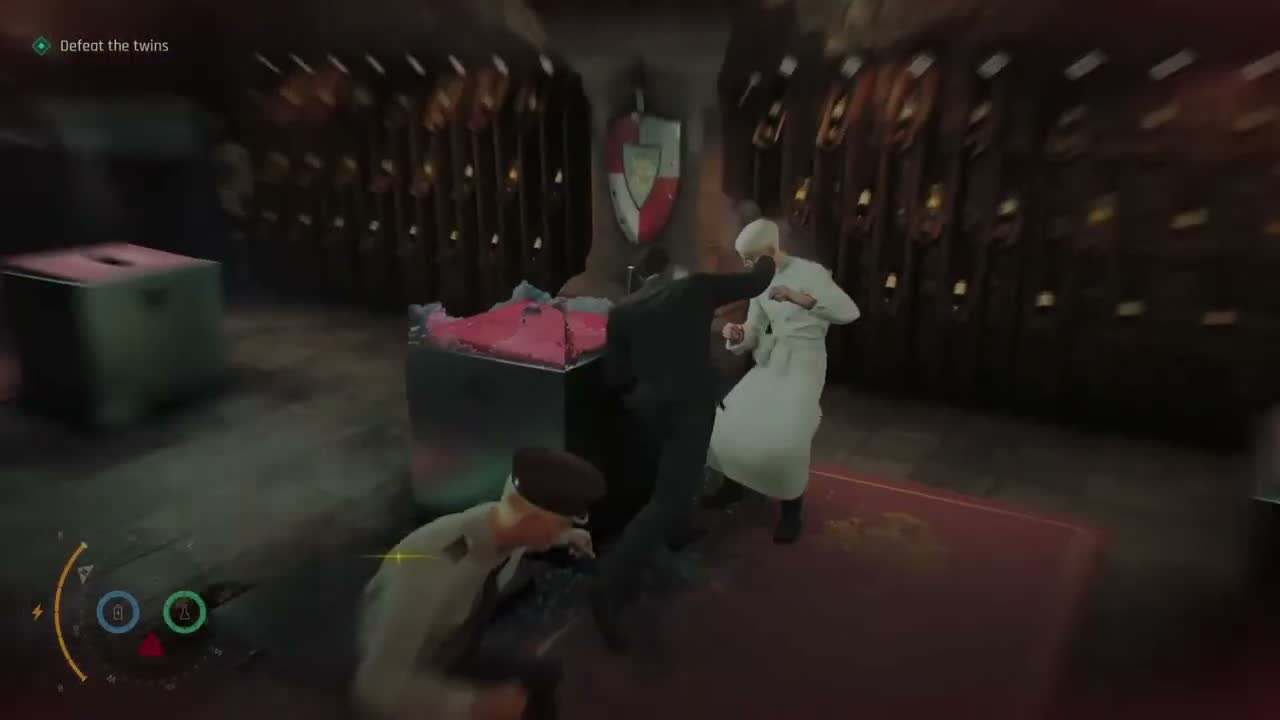
The boss fight against the Murto twins is the combat centrepiece of the chapter. When the cutscene ends, both Niko and Tero enter the chamber from opposite sides and attack. This is a multi-phase melee-and-firearms fight in a tight stone room with breakable environmental objects.

Glass display cabinets line the walls, heavy wooden chairs are scattered around, and there are pillars you can use for line-of-sight breaks. The fight works in phases: first you fight Niko one-on-one, then Tero joins and you face both, and finally one twin falls and the remaining twin goes into a berserk rage. Use environmental throws (grab a bottle, a chair, a broken bottle from the cabinets) to deal bonus damage and end phases faster.

Glass cabinets are your best friend here. Throwing a twin into a cabinet deals heavy damage and stuns them for a free combo. The cabinets restock visually as you use them but there are effectively three per side.
When both twins are active, focus fire on one to bring him down fast. Trying to split your damage evenly makes the second phase longer and more dangerous.
The berserk phase (one twin remaining) has that twin attacking faster and taking less damage from bare punches. Use a weapon or environmental object for every hit in this phase; fist strikes barely register.
You cannot stealth this fight. It is scripted to trigger when you examine the map, so commit to it and do not waste ammunition trying to end it early before the phases resolve.

Step 15 — The Burning Hotel

All the Time in the World — Step 15 — The Burning Hotel

During the fight, a lantern is knocked over and a fire starts in the chamber. The flames spread quickly along old wooden beams and bottled alcohol, and within minutes the cellar and ground floor of the hotel are on fire. This is an escape sequence rather than a combat section.

Bond must fight his way back up through the burning hotel as guests evacuate, alarms blare, and sprinklers create a chaotic mix of water, smoke, and fire. The route up is not the same as the route down — the fireplace passage is blocked by fallen debris, so you must navigate through the kitchen, the staff corridors, and finally the lobby as the fire spreads. Be careful of burning ceiling timbers that fall without warning; look for the glow and avoid standing under them.

The smoke reduces visibility significantly. Follow the emergency exit signs (illuminated green) rather than trying to memorise the route — the fire changes the layout and some corridors that were open on the way in are now blocked.
Guests and staff are running for the exits. You do not need to fight anyone in this section except for a couple of the Murtos remaining men who are trying to grab intel on their way out; most guards are fleeing like everyone else.
Stay low. The smoke rises and crouch-walking lets you breathe and see better. Standing upright causes Bond to cough and slow down.
When you reach the lobby, a cutscene triggers: Bond sees 009 getting into a car outside and peeling away. The chase is on.

Step 16 — The Car Chase

All the Time in the World — Step 16 — The Car Chase

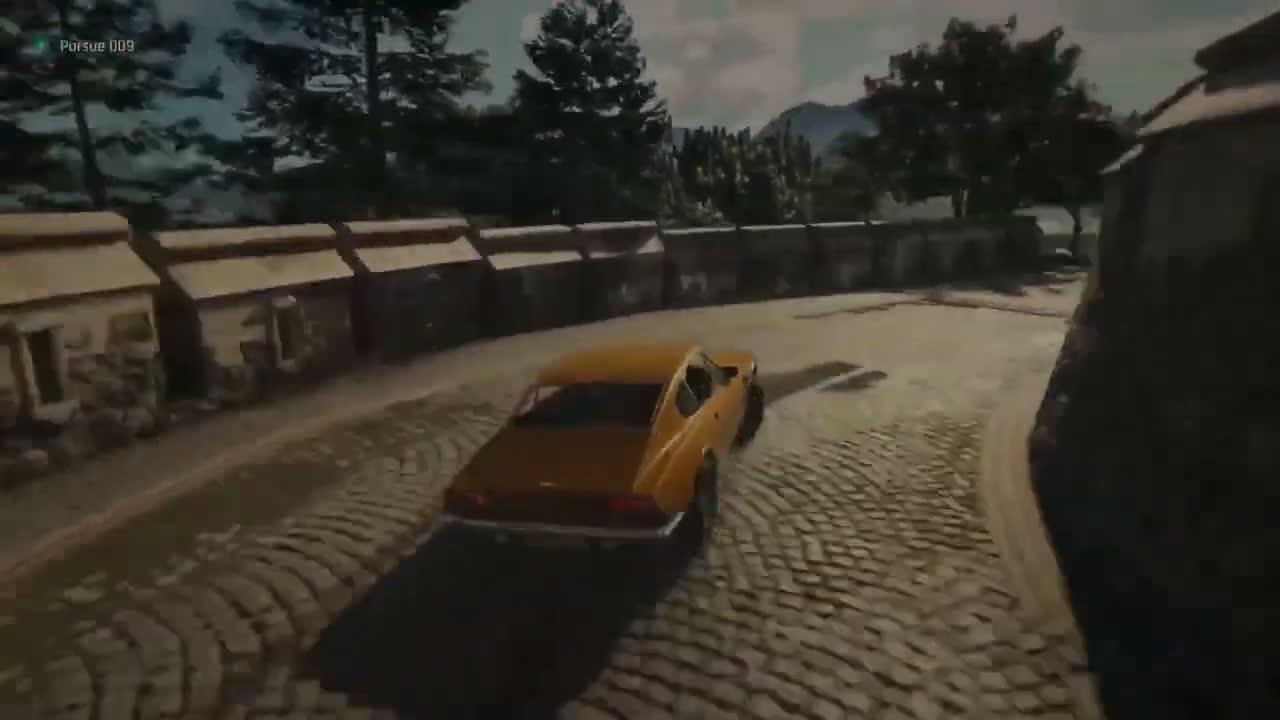
The car chase through Slovakian mountain roads is a major action set-piece. Bond steals a guest car (an Aston Martin, naturally) and pursues 009 vehicle along snow-dusted, winding alpine roads. The driving is arcade-style rather than simulation: you have machine guns mounted to the car (Q-branch toys) and a limited missile system, but the real challenge is the road itself — oncoming traffic, tight hairpin bends, black ice on bridges, and 009 men in chase vehicles trying to run you off the road.

Focus on staying on the road first, weapons second. The chase culminates at a small mountain airstrip where 009 plane is waiting.

Machine guns overheat if you hold the trigger down too long. Fire in short bursts and let the barrels cool between groups of enemy vehicles.
Missiles are limited (three shots). Save them for the armoured SUV that appears halfway through the chase — regular gunfire barely damages it.
Black ice on the bridges is invisible until you hit it. When you see a bridge sign, let off the accelerator and do not brake hard; coast across and you will maintain control.
You do not need to destroy every enemy vehicle. Disabling a couple and focusing on staying close to 009 is enough to reach the airstrip.

Step 17 — The Airstrip

All the Time in the World — Step 17 — The Airstrip

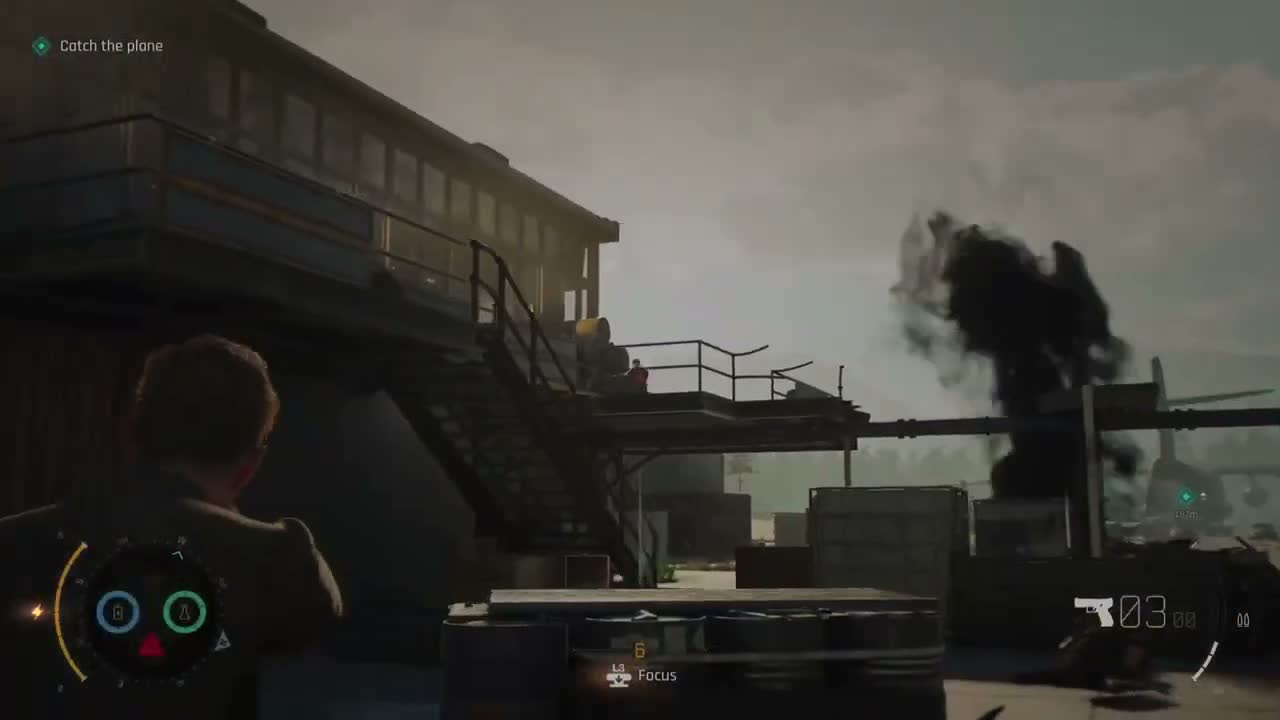
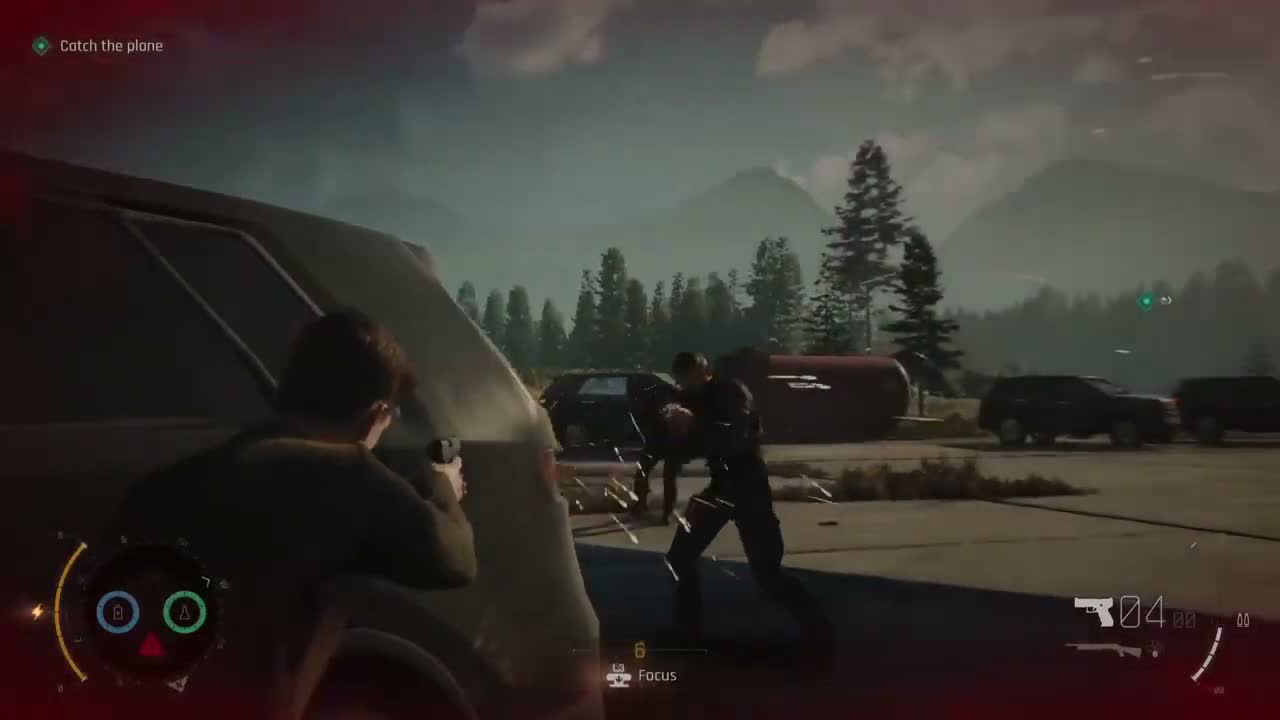
At the airstrip, 009 is already boarding a cargo plane. His remaining security detail is positioned between you and the plane, using fuel drums, jeeps, and stacked cargo crates for cover. This is a straightforward combat section but elevated by the setting: the plane is warming its engines (visible prop wash and noise), snow is blowing across the strip, and you are on a clock — the plane will begin its takeoff roll shortly.

Push forward aggressively using cover; there is no stealth option here. Enemy numbers are not huge but they are well-armed and the open ground means flanking is hard.

Shoot the fuel drums near clusters of enemies for chain explosions. This is the fastest way to clear groups and saves ammunition for the plane sequence.
Move between cover points quickly when the plane engines rev louder — that audio cue means the plane is about to start taxiing and you need to be close to the boarding ramp.
If you take too long clearing the airstrip, the plane begins to roll and you get one chance for a running jump onto the cargo ramp. It is easier (and safer) to clear the guards before that happens.

Step 18 — Inside the Plane

All the Time in the World — Step 18 — Inside the Plane

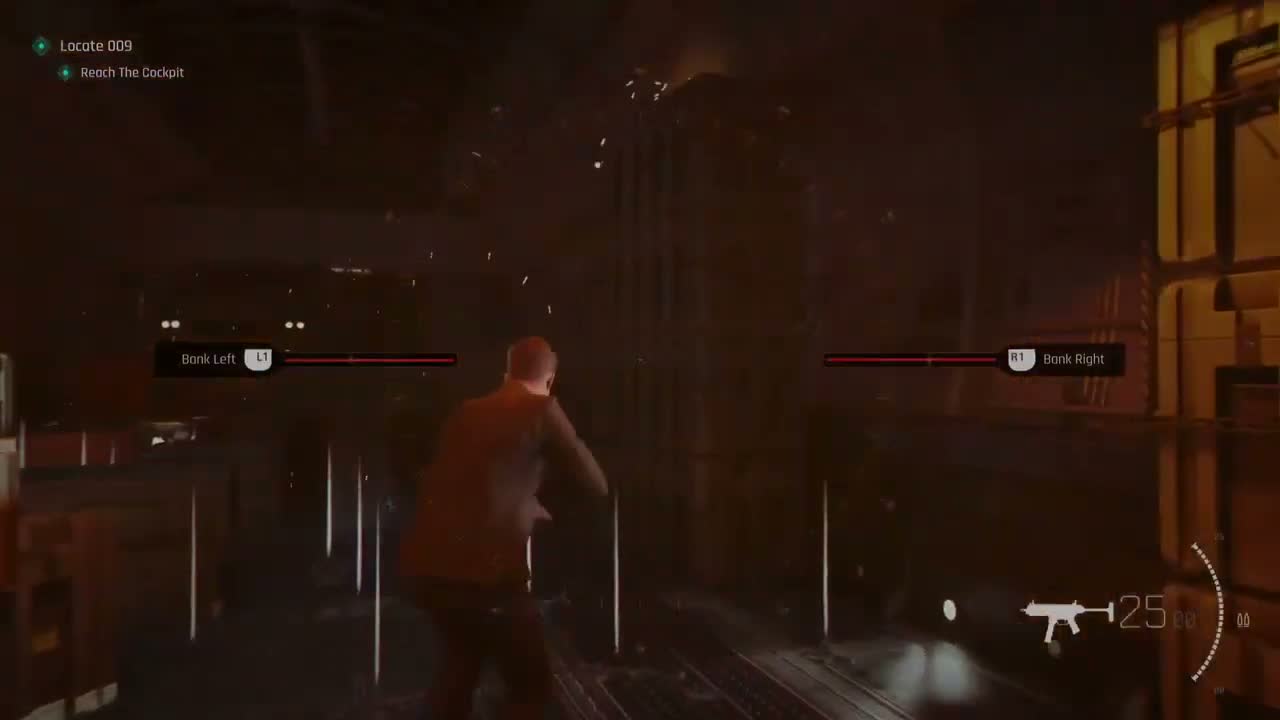
Once on board the cargo plane, the sequence splits into two halves: a fight through the cargo hold while the plane is climbing, and then a freefall sequence when the rear ramp opens. The cargo hold is full of secured vehicles, weapons crates, and more of 009 men. The plane banks and tilts as it climbs, periodically throwing everything to one side — use these tilt moments to your advantage by being braced against a wall while enemies lose their footing.

You can also cut the straps securing vehicles to send them sliding into groups of enemies. At the end of the cargo hold, Bond reaches the cockpit area but 009 is not there — he has already bailed out with a parachute.

Travelling Light challenge: throw three enemies out of the open cargo ramp during the plane sequence. When enemies are near the open rear, grapple them and steer them into the slipstream.
Cutting vehicle straps creates devastating slides but also leaves you without cover from that direction. Do it when you have other cover to fall back to.
The plane tilts on a fixed timing loop. You can learn the rhythm — each tilt is preceded by a metallic groan a second before it happens. That is your cue to brace.
You do not fight 009 directly on the plane. He is long gone by the time you reach the forward section; the real climax is the freefall.

Step 19 — Freefall and Landing

All the Time in the World — Step 19 — Freefall and Landing

The final sequence of the chapter is a freefall chase. Bond dives out of the cargo plane after 009, and you must catch up to him in mid-air while avoiding other skydivers (009 remaining men have followed him out) and debris. The controls switch to a freefall system: you steer Bond body position, streamline to fall faster, spread out to brake, and can engage enemies with a pistol in freefall (short, inaccurate shots, but effective at close range).

When you get close to 009, a struggle ensues and Bond manages to plant his Q-watch on 009 before being thrown off. 009 parachute opens, but Bond own chute has been damaged in the struggle. You must deploy the reserve, navigate away from the mountain face, and land in a snowfield. The chapter closes with Bond on the ground, watch signal active, tracking 009 as he lands somewhere ahead in the mountains.

Streamline (head-down) to gain on 009 quickly but you cannot aim or shoot while falling that fast. Extend into a neutral position to fire.
Enemy skydivers shoot at you on the way down. Weave slightly by tilting left and right; you are a small target but a few bullets will connect if you fall straight.
The Q-watch attachment is a QTE/prompts sequence when you get close to 009. Do not rush the button presses; one wrong input and you miss the plant.
After deploying the reserve parachute, steer away from the mountain face to the right (the snowfield is to your left visually but the wind pushes you toward rocks). The landing is scripted once you clear the cliff.

Chapter Tips

The establishing drive cinematic is worth watching. It reinforces how isolated the hotel is — no easy extraction if things go wrong.
Greenway explicitly says the tournament is cover for a high-level meeting. Multiple guests are part of the arms network; eavesdropping throughout the chapter pays off.
The chapter title references On Her Majesty’s Secret Service. Expect tonal echoes from that story as the chapter unfolds.
The doorman turns you away if you walk straight up. Do not waste time trying to charm or bluff past him.
The luggage trolley near the entrance is the easiest distraction: nudge it and the porter rushes over, leaving the door unattended for a few seconds.
Following the bellhop around the side takes longer but lets you overhear a staff conversation that gives a backstage access code for later.
Once inside, Greenway re-tasks you: find the bellhop, identify what he is carrying, and work out what is happening at this tournament.
Collectible — Ace of Acorns (Playing Card): on the coatroom shelves to the left as you enter, partially hidden behind a fur coat.
Collectible — Pillow Mint (Memento): inside the Staff Only room behind the counter. Steal the key from the concierge belt (distract him first), then the mint is in a wooden cabinet on the left.
Eavesdrop on the couple by the fireplace. They mention a guest in Room 207 who has not left all day — one of your later objectives.
Use Q-Lens (instinct mode) liberally in the lobby. It highlights interactive objects and patrol routes, making the space much easier to read.
If you take the bellhop uniform, your cover holds as long as you do not run, do not loiter too long in one place, and carry an object (like a luggage bag) to sell the role. Running breaks the disguise instantly.
Letting the bellhop go means you will encounter him again later in the chapter in a more hostile context. Knocking him out is the safer option for a stealth playthrough.
The back corridor where you confront him has a staff noticeboard with a map of the upper floor. Read it — it marks the positions of Rooms 205, 206, and 207 before you get upstairs.
From the back corridor you can take the service elevator directly to the guest floor, bypassing the main elevator and its camera entirely.
Housekeeping carts are excellent cover. Crouch behind one as a guard passes and you will not be spotted. Pull linen off to create a noise distraction.
Waiters and maids follow tight loops. Watch a full cycle before moving — timing is tight and cutting across mid-patrol is the easiest way to get seen.
If a guard hits yellow suspicion, do not run. Walk calmly away or slip into an unlocked room. Running from yellow goes straight to red alert.
The service elevator at the end of the corridor is less patrolled but makes a bell noise when it arrives. Be ready.
Collectible — Slovakia Postcard (Postcard): on the nightstand inside Room 205, visible immediately upon entering.
The armour distraction works on a delay. Sabotage it, retreat around a corner; the clang pulls both guards but they will not see you if out of sight.
If you forget the Do Not Disturb sign you can pick the lock, but it takes longer and makes more noise.
The connecting bathroom has an unlocked window leading to an exterior ledge shared with Room 206 — your entry to 206 without going back into the corridor.
Scan with Q-Lens first. Each clue glows gold, but you must interact with them for the deduction to register.
The newspaper clipping is inside the drawer, not on the desk with the other papers. Pull the drawer all the way open.
The wallet behind the fireplace requires kneeling. Look for a small gap between the fireplace and wall.
Once all six clues are found, Bond deduces the guest was using the alias "Mr. Franklin" and meeting the Murto twins in the cellar below the restaurant.
Collectible — 6 of Acorns (Playing Card): on the exterior ledge between a window and the 207 balcony. Step slightly off the main path to grab it.
Move gently on the ledge. Sprint input causes Bond to lose balance; there is no fall damage but you restart the section.
When you kick the door in, be ready for a short fight: the occupant is a hired gun who reaches for a weapon.
After clearing 207, the balcony connects to a fire escape leading down to the tournament hall backstage.
Collectible — Championship Badge (Memento): in a black equipment case in the backstage corridor behind the screen.
Collectible — Chess Biography (Legacy Item): from the ground floor, turn left downstairs, go right past the NPC, and look on the coffee table in the first lounge.
Security cameras in backstage can be disabled by shooting them (noisy, causes alerts) or by using the Dart Phone on the electrical panel around the corner to cause a temporary blackout.
If you are still wearing the bellhop uniform, you can walk through most of backstage unchallenged — staff assume you are there to move equipment.
Collectible — 7 of Bells (Playing Card): in the deepest part of the cellar, on a barrel near a stack of weapons crates.
The cellar guards have flashlights and their cones are visible on the floor. Time your movement between flashlight sweeps; if a beam lands on you, the alert triggers instantly.
Do not shoot the wine bottles. They shatter loudly and alert every guard in the cellar. Environmental takedowns using the stone walls and heavy wooden beams are silent.
A tunnel at the back of the cellar leads up to the restaurant via a mechanism hidden behind the fireplace — this is the secret passage you read about in Room 206.
The waiters are useful cover. Pick up a tray from the service station near the kitchen door and you can walk through the restaurant without being challenged — as long as you keep moving like staff.
The pianist is actually playing dynamically and you can stop to listen; this is a nice atmospheric touch and also lets you observe the corner table from a short distance without seeming suspicious.
If you cause a disturbance in the restaurant (a dropped tray, a fight, a gunshot), the arms guests in the corner immediately leave through a back door and the rest of the chapter becomes a forced combat chase instead of a stealth infiltration.
The torn page on the service cart is easy to miss if you are heading straight for the fireplace. It is on the cart closest to the kitchen door, partially covered by a wine list.
The Lion is the leftmost symbol, Goat is in the centre, Snake is on the right. Each symbol clicks visibly when pressed correctly.
After the fireplace opens, wait a few seconds before entering. The grinding noise attracts a waiter to investigate; hide in the shadow inside the fireplace until the waiter returns to his duties, then proceed down.
The secret passage is a one-way door. Once you go down into the cellar chamber you cannot return to the restaurant, so make sure you have collected everything you want from the ground floor before solving the puzzle.
The intel on the table is worth reading in full. It names the Murto twins (Niko and Tero), identifies their background as ex-Finnish military turned mercenary arms dealers, and confirms they are here to sell a weapons system rather than buy one.
Resupply from the weapons case before triggering the cutscene. You go straight into a boss fight and will want full ammunition for the Walther and any secondary weapon you prefer.
If you did not already grab the 7 of Bells card in the main cellar, there is no second chance after this cutscene — the fire starts during the fight and the cellar becomes inaccessible.
Notice the chess board on the side table in the chamber. It is set up to the exact position of the tournament game being played upstairs at this moment, a small detail that shows the twins have been watching the event live.
Glass cabinets are your best friend here. Throwing a twin into a cabinet deals heavy damage and stuns them for a free combo. The cabinets restock visually as you use them but there are effectively three per side.
When both twins are active, focus fire on one to bring him down fast. Trying to split your damage evenly makes the second phase longer and more dangerous.
The berserk phase (one twin remaining) has that twin attacking faster and taking less damage from bare punches. Use a weapon or environmental object for every hit in this phase; fist strikes barely register.
You cannot stealth this fight. It is scripted to trigger when you examine the map, so commit to it and do not waste ammunition trying to end it early before the phases resolve.
The smoke reduces visibility significantly. Follow the emergency exit signs (illuminated green) rather than trying to memorise the route — the fire changes the layout and some corridors that were open on the way in are now blocked.
Guests and staff are running for the exits. You do not need to fight anyone in this section except for a couple of the Murtos remaining men who are trying to grab intel on their way out; most guards are fleeing like everyone else.
Stay low. The smoke rises and crouch-walking lets you breathe and see better. Standing upright causes Bond to cough and slow down.
When you reach the lobby, a cutscene triggers: Bond sees 009 getting into a car outside and peeling away. The chase is on.
Machine guns overheat if you hold the trigger down too long. Fire in short bursts and let the barrels cool between groups of enemy vehicles.
Missiles are limited (three shots). Save them for the armoured SUV that appears halfway through the chase — regular gunfire barely damages it.
Black ice on the bridges is invisible until you hit it. When you see a bridge sign, let off the accelerator and do not brake hard; coast across and you will maintain control.
You do not need to destroy every enemy vehicle. Disabling a couple and focusing on staying close to 009 is enough to reach the airstrip.
Shoot the fuel drums near clusters of enemies for chain explosions. This is the fastest way to clear groups and saves ammunition for the plane sequence.
Move between cover points quickly when the plane engines rev louder — that audio cue means the plane is about to start taxiing and you need to be close to the boarding ramp.
If you take too long clearing the airstrip, the plane begins to roll and you get one chance for a running jump onto the cargo ramp. It is easier (and safer) to clear the guards before that happens.
Travelling Light challenge: throw three enemies out of the open cargo ramp during the plane sequence. When enemies are near the open rear, grapple them and steer them into the slipstream.
Cutting vehicle straps creates devastating slides but also leaves you without cover from that direction. Do it when you have other cover to fall back to.
The plane tilts on a fixed timing loop. You can learn the rhythm — each tilt is preceded by a metallic groan a second before it happens. That is your cue to brace.
You do not fight 009 directly on the plane. He is long gone by the time you reach the forward section; the real climax is the freefall.
Streamline (head-down) to gain on 009 quickly but you cannot aim or shoot while falling that fast. Extend into a neutral position to fire.
Enemy skydivers shoot at you on the way down. Weave slightly by tilting left and right; you are a small target but a few bullets will connect if you fall straight.
The Q-watch attachment is a QTE/prompts sequence when you get close to 009. Do not rush the button presses; one wrong input and you miss the plant.
After deploying the reserve parachute, steer away from the mountain face to the right (the snowfield is to your left visually but the wind pushes you toward rocks). The landing is scripted once you clear the cliff.

Collectibles in This Chapter

9 Collectibles

Explore each section thoroughly to find all hidden items. Check the tips above for specific collectible locations.