Out of the Ashes
After the Slovakia operation goes sideways, Bond returns to MI6 headquarters in London for a tense debrief with M. Between equipment sessions in Q Branch, conversations with colleagues, and a critical intelligence briefing, this interlude chapter sets the stage for the hunt that follows.
The Debrief — M's Verdict on Slovakia
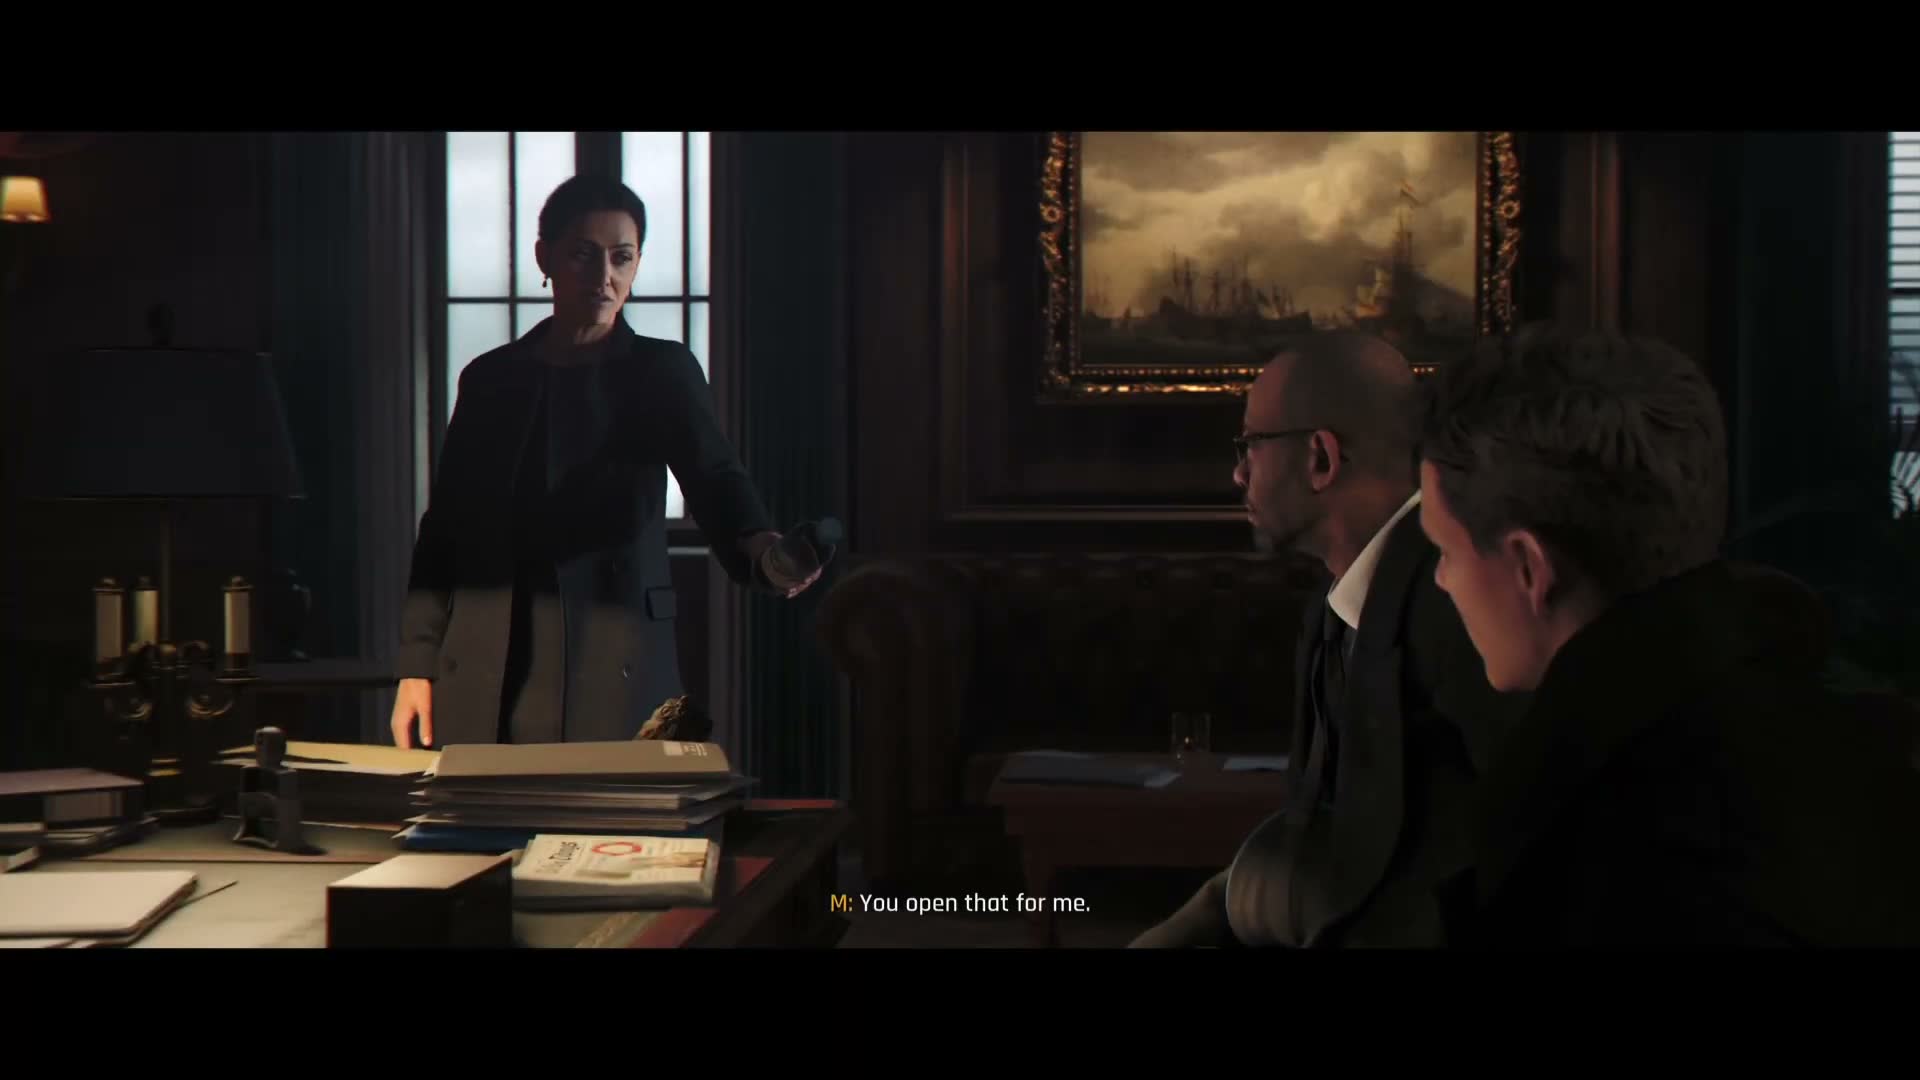
The chapter opens inside M's wood-panelled office at Vauxhall Cross. The atmosphere is heavy. Bond sits across from M, who is flanked by Moneypenny standing at the edge of the desk.
M lays out the hard truths: the Slovakia mission was a failure, 009 is still at large, and the whole operation has raised uncomfortable questions within the service. The dialogue reveals that 009 is acting on a personal vendetta — M uses the phrase "archaic vendetta against MI6," which suggests the rogue agent has history with the service that predates the current crisis. Despite the mess, M makes it clear that Bond is not being benched.
The intelligence recovered in Slovakia — specifically the connection to the Arrowhead network and whatever was uncovered about the Murto twins — gives them a thread worth pulling. M authorises Bond to follow the lead, but it's clear he's operating on a short leash and under intense scrutiny. This is a pure cinematic sequence with the classic letterbox framing, so there are no gameplay mechanics here. Just sit through it and pay attention to the dialogue — it establishes the stakes and motivation for everything that happens next.
Walking the Halls of Vauxhall Cross
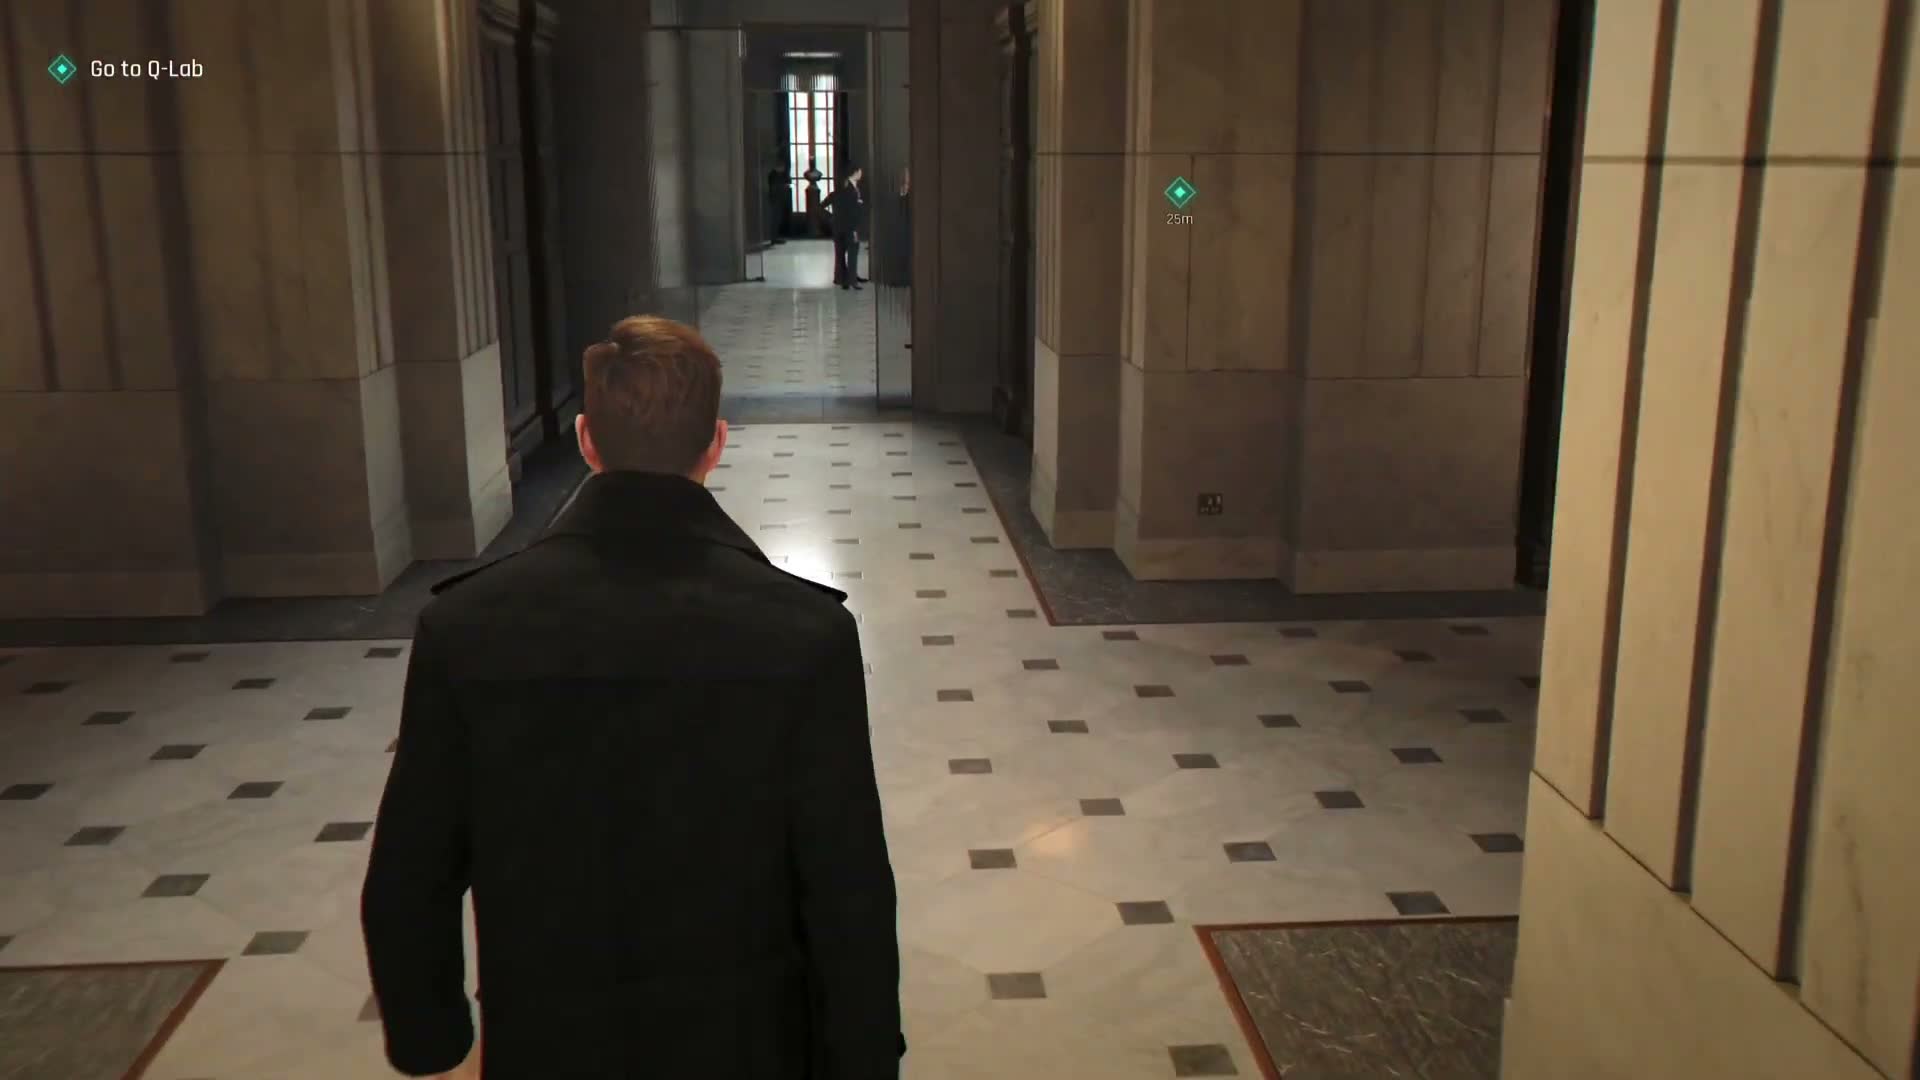
After the debrief ends, you take control of Bond as he leaves M's office and navigates the corridors of MI6 headquarters. The first section is the older part of the building — dark wood panelling, plush red carpet, wall-mounted lamps, and heavy wooden doors. It feels like stepping back into a different era of espionage.
As you move forward, the aesthetic shifts into the more modern, concrete-and-glass sections of the building. Analysts and officers hurry past you in the hallways, some stopping to glance in your direction — news of Slovakia has clearly spread through the building. The objective marker eventually leads you to an elevator bank.
Watch for the floor indicators as you descend: Q Branch is on level B2, deep below the river. The elevator ride is brief, but the transition is dramatic — the warm wood and carpet give way to cold industrial metal, exposed piping, and the faint hum of machinery. This is where MI6 keeps the tools that do the real work.
There are no enemies or stealth sections here — just walk at your own pace and take in the environment. If you want to linger and read the background details (whiteboards, monitor screens, paperwork on desks), there's no rush.
Q Branch — New Hardware from Major Boothroyd
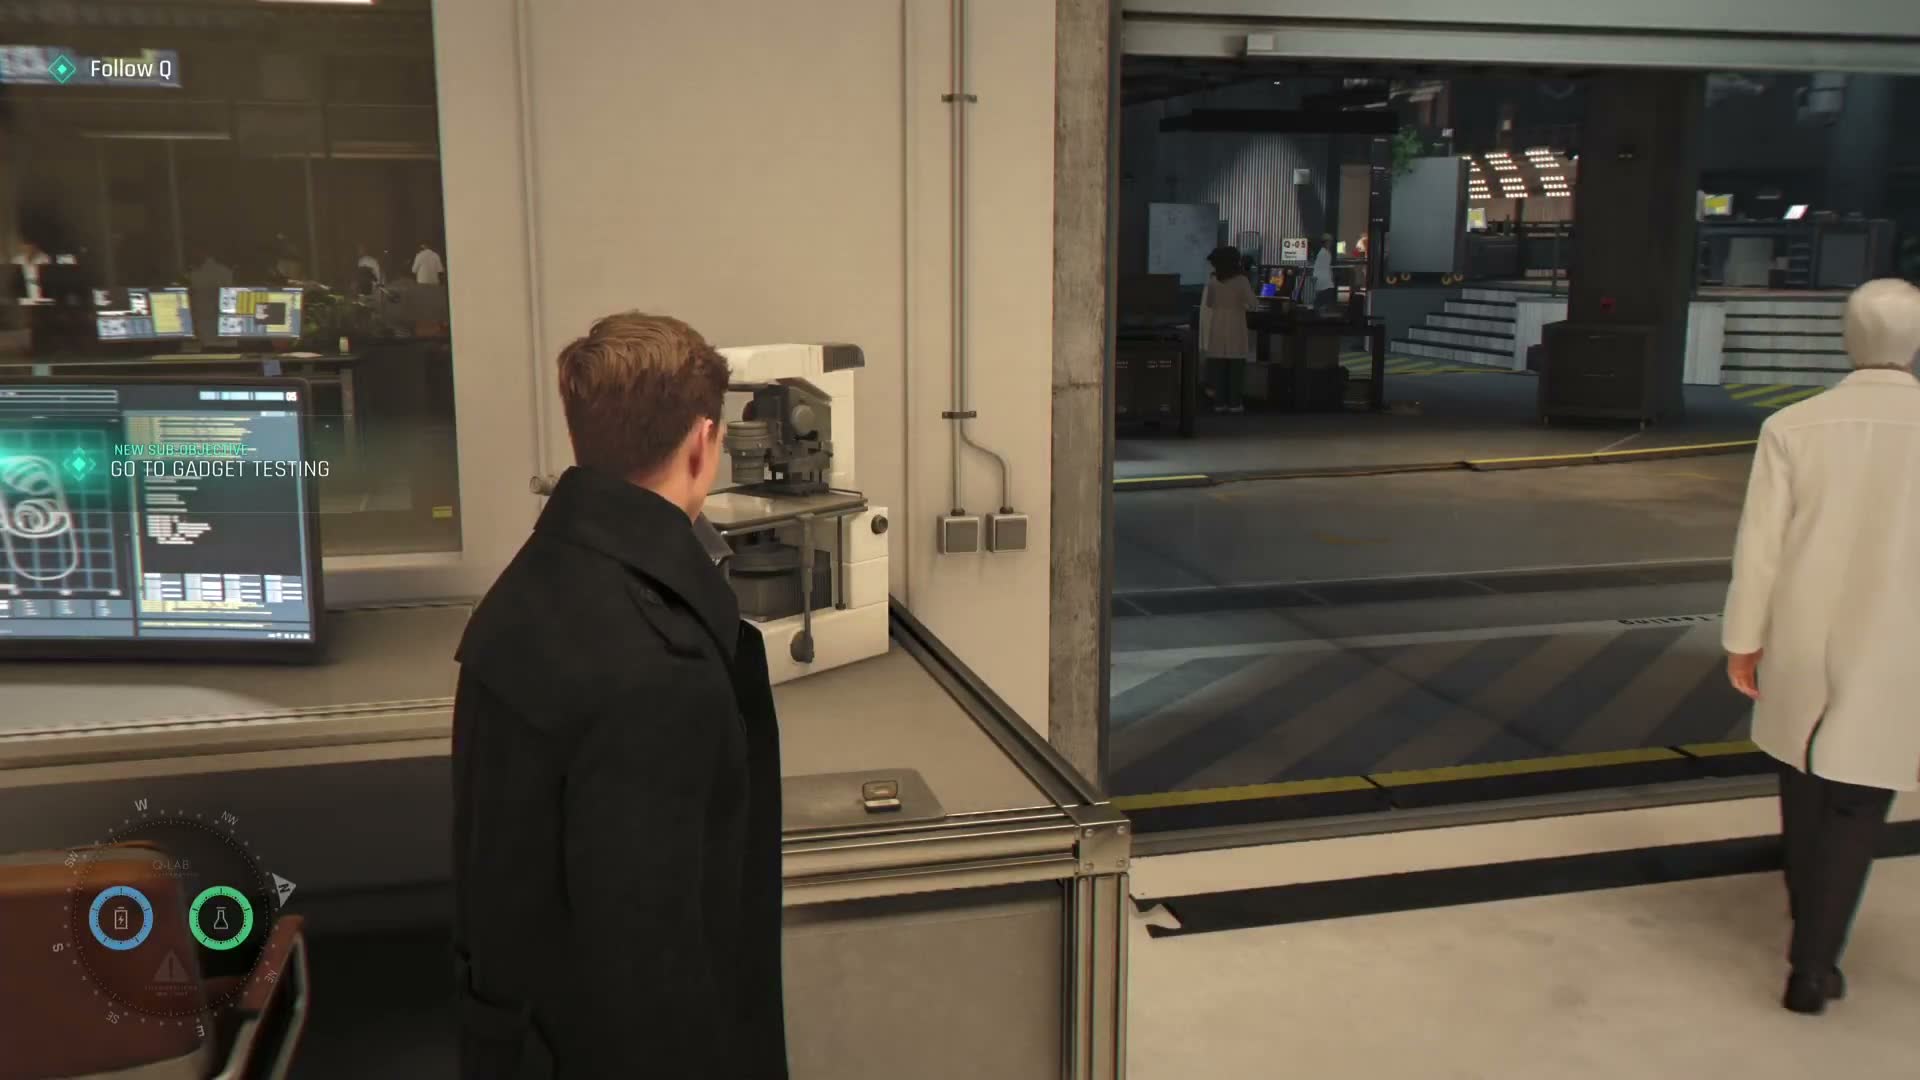
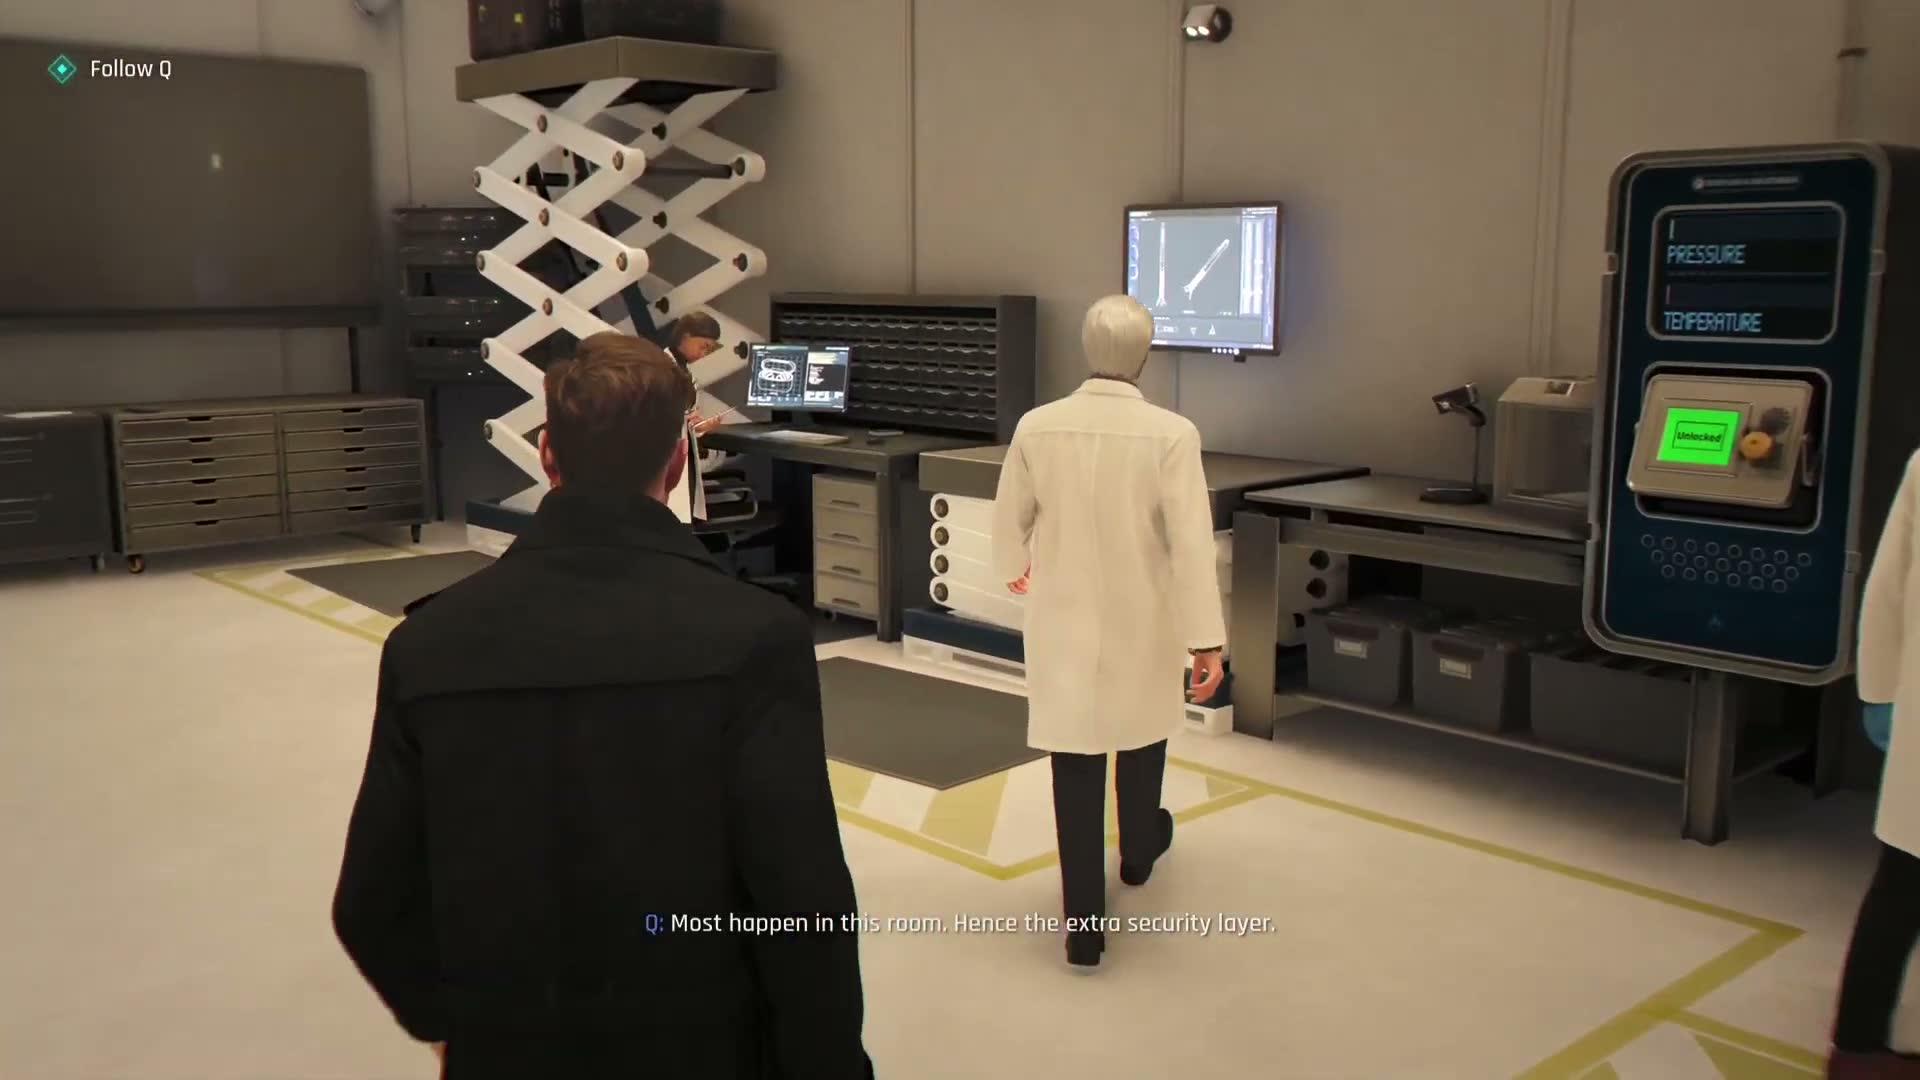
The elevator opens onto B2 and you step into Q Branch: a sprawling, high-tech workshop that feels part laboratory, part armory, part garage. Q himself — the sharp-eyed white-haired quartermaster in his signature white lab coat — is waiting for you near the entrance. He greets you with his characteristic mix of dry wit and professional exasperation, then gestures for you to follow him deeper into the lab.
The first stop is the gadget demonstration area. Q walks you through a new earpiece he's developed — a bone-conductive microphone that sits invisibly against the jawbone, eliminating the need for visible wires or earpieces. He demonstrates it himself, speaking normally while the device transmits crystal-clear audio.
"Your new earpiece," he says simply, as if handing you a pen rather than a piece of bleeding-edge surveillance hardware. As you follow Q through the main lab floor, you'll pass workstations where Q's technicians are busy building and testing equipment — robotic arms assemble components on tables, monitors display CAD schematics, and various prototype gadgets sit in various states of disassembly. The lab feels genuinely alive and functional, not just a set piece. Q will pause at several stations to give you context, but these are mostly conversational beats rather than tutorials.
The Armory — Gadget Loadout and Weapons Demo
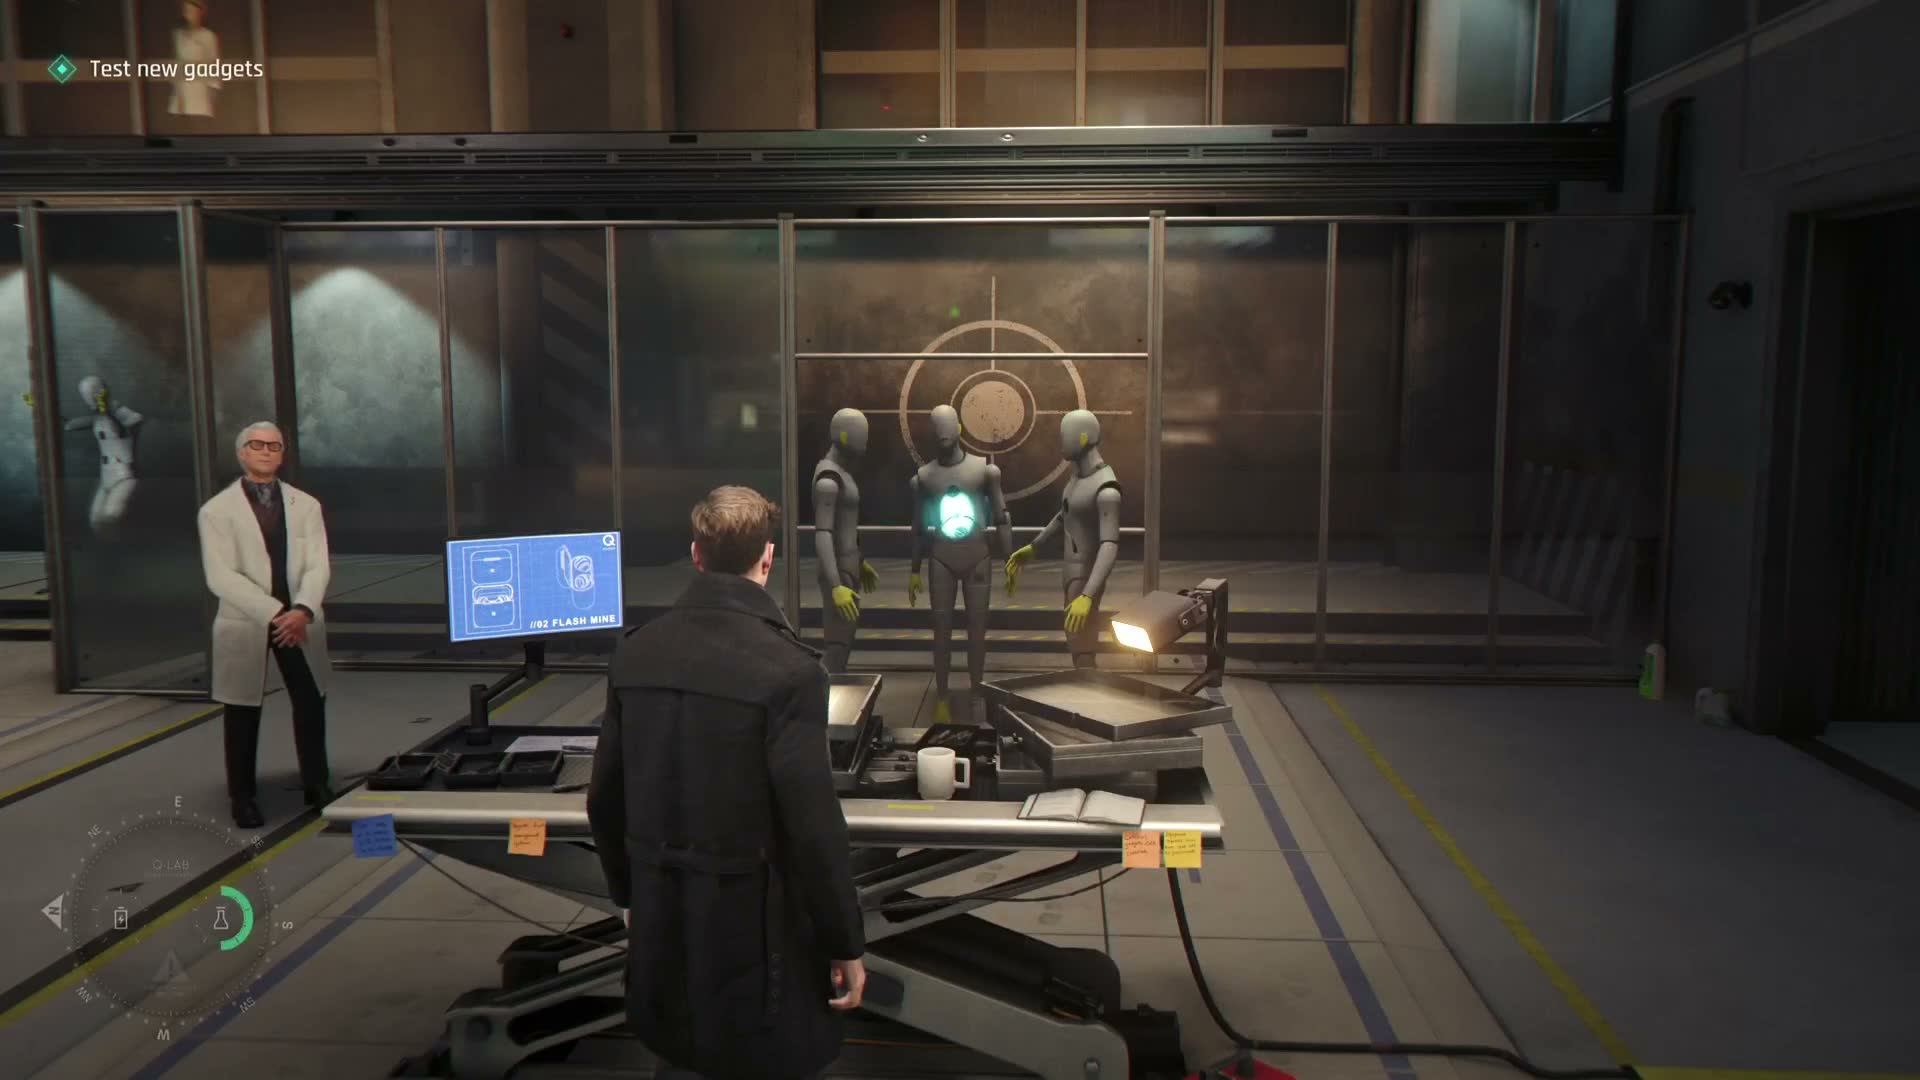
Q eventually leads you to a viewing gallery overlooking an indoor test range. Through the reinforced glass you can see Q's technicians running live-fire tests on new equipment. One demo is particularly impressive — a remote-triggered charge that sends a shower of sparks and a concussive blast across the range, vaporizing targets in a controlled display of destructive force.
After the demo, you're directed to an equipment station where you can review your gadget loadout on a large screen interface. The loadout wheel shows your available equipment: the Smoke Grenade Camera (a smoke canister with a built-in camera for remote reconnaissance), the Smoke Pod (a deployable smoke device for area denial and visual cover), and the Laser Strap (a wrist-mounted cutting tool that can breach locks and weak points). Take a moment to familiarise yourself with what each gadget does — the game presents them here as a reference, but you won't get a formal tutorial until you use them in the field.
A female Q Branch technician will approach you during this section for a brief exchange about equipment calibration. She's part of the team that built your loadout, and her dialogue reinforces that the gear is custom-tuned for Bond's operational style. You can also interact with a few consoles in this area to pull up technical readouts, though these are mostly flavour.
Firing Range — Testing the Service Pistol
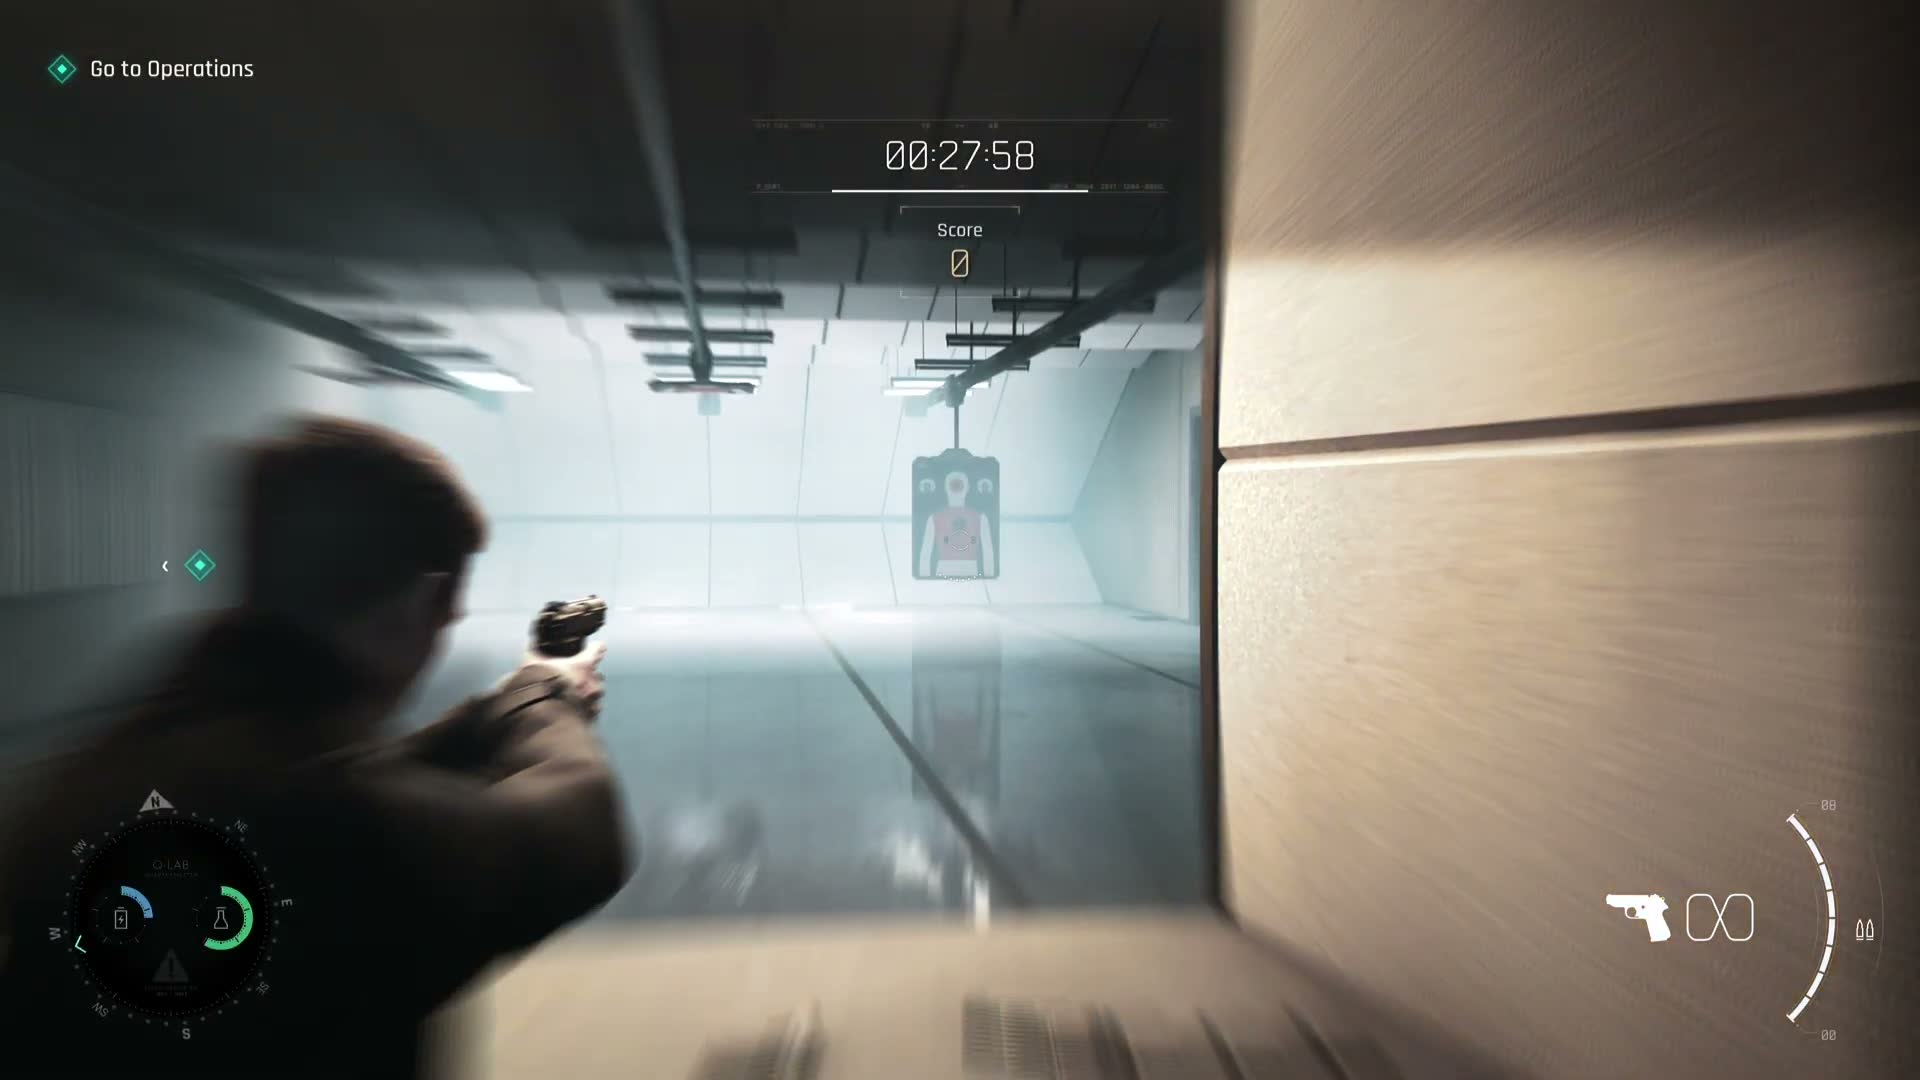
After reviewing your gadgets, you proceed to the actual firing range for live practice. This is the only proper gameplay challenge in the chapter. Step up to the firing line and draw your pistol — the range is set up with pop-up targets at various distances down a long, brightly lit corridor.
A timer starts counting down (displayed at the top of the screen), and you need to hit targets as they appear. The targets are standard silhouette shapes — some static, some that pop up and down on mechanical rigs. This is straightforward shooting gallery mechanics: aim down sights, squeeze off shots, and track the pop-ups as they appear.
You'll notice that Bond's pistol handles with a satisfying weight — recoil is manageable but present, and headshots register with a distinct audio cue. The range doesn't track a score or penalise you for misses — it's purely a familiarisation exercise. When you've had enough (or when you've hit enough targets to satisfy the sequence), the practice session ends and Q calls you over to the next area. Even if you're already comfortable with shooter mechanics, it's worth spending a minute here getting used to the aim sensitivity and trigger response, as the combat in later chapters is less forgiving.
CQB Training, the Garage, and Q's Final Brief
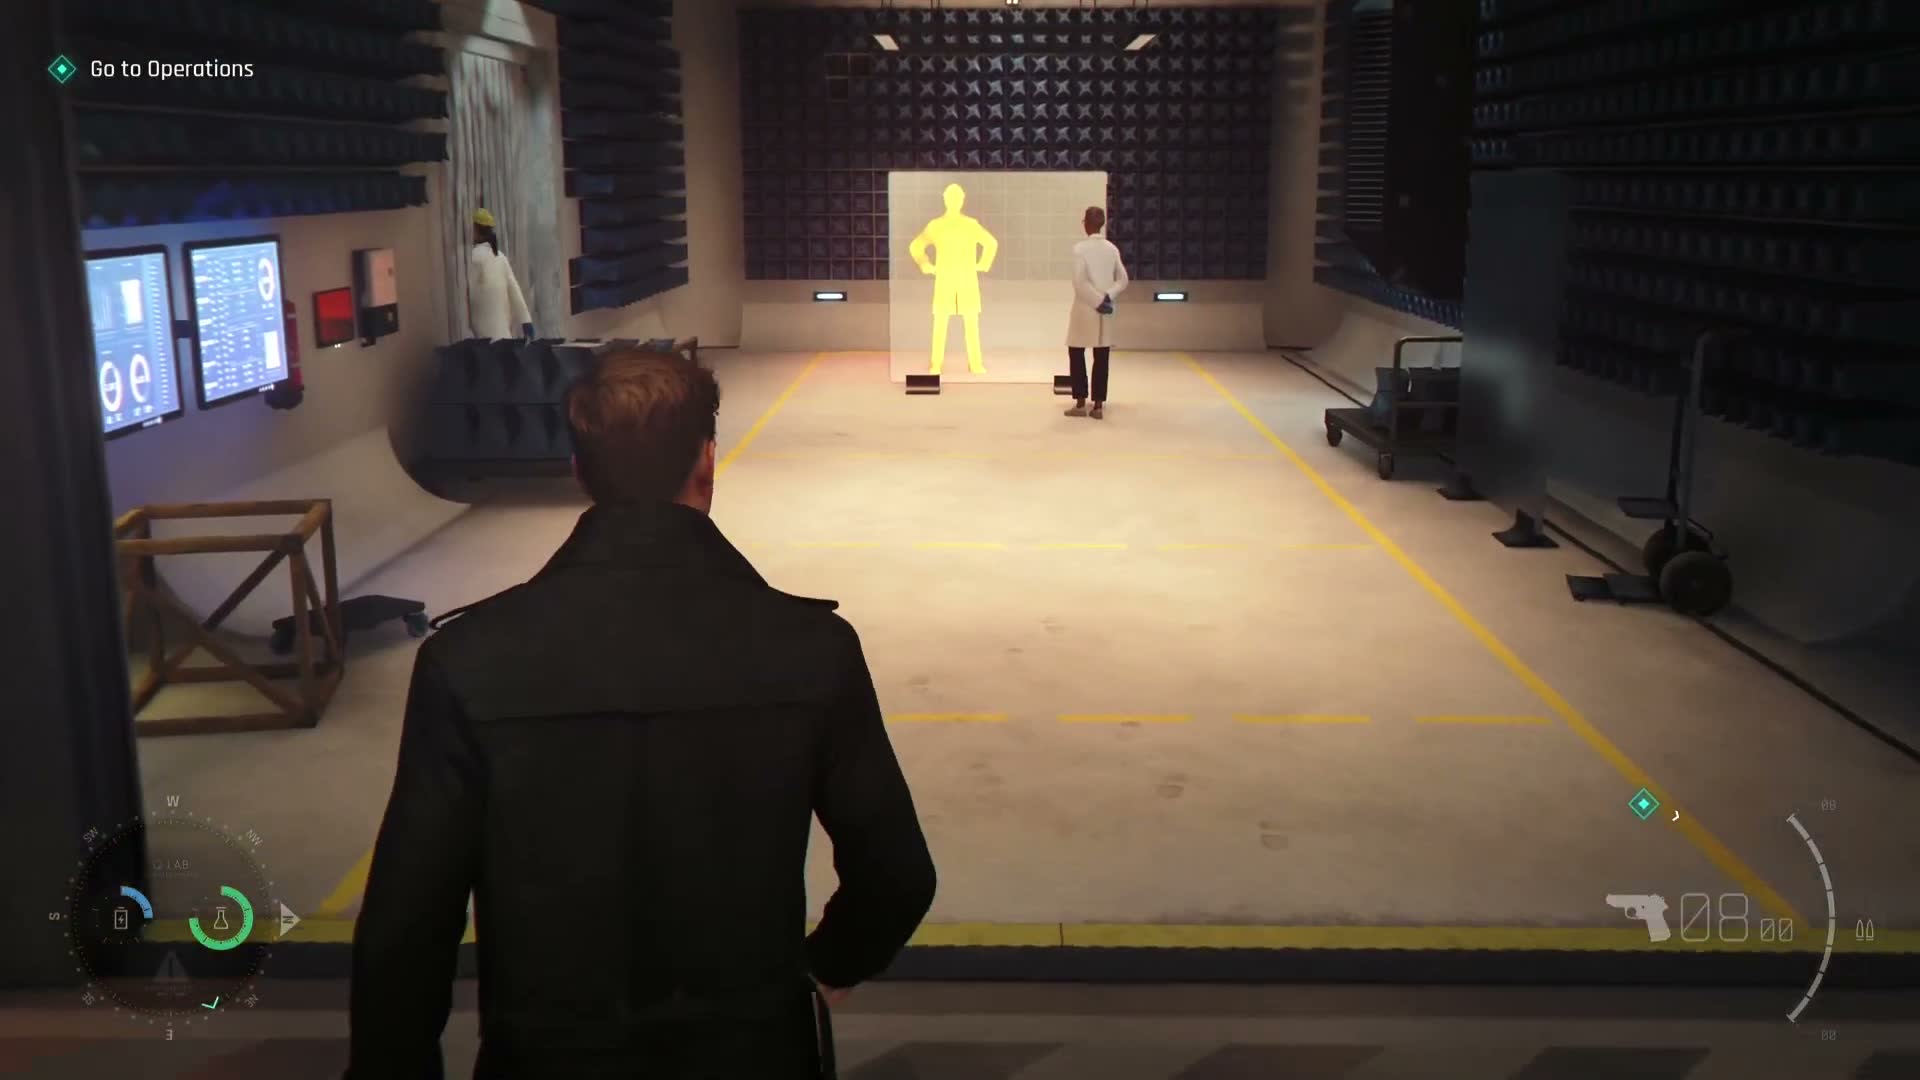
Beyond the firing range, Q Branch opens up into a series of specialised training and preparation areas. First is the close-quarters battle (CQB) training room — a dimly lit space with mannequin targets and soft lighting, designed for practising room-clearing and takedown techniques. You can walk through it but there's no active training sequence triggered here; it's mostly atmospheric.
Next you'll pass through the wardrobe and prep area, where white-coated technicians lay out suits, tactical gear, and field equipment on glass tables. Two Q Branch staff — a man and a woman, both in lab coats — stand by the prep table making final adjustments to Bond's field kit. Past the wardrobe is the vehicle bay: a gleaming black SUV sits parked in a clean white garage, connected to diagnostic equipment.
This is likely your ride for the upcoming operation. Further into the workshop area, a motorcycle is mounted on a stand with a robotic arm positioned beside it — clearly in development but not yet cleared for field use. After you've explored these areas, the objective leads you back to Q's personal workspace, where he sits at a cluttered desk surrounded by multiple monitors displaying schematics, maps, and operational data. This is the final Q Branch conversation: he gives you a concise, no-nonsense rundown of what to expect in the field, reminds you that the gear is prototype and not to treat it roughly, and sends you on your way with typical Q detachment.
Back to the Bullpen — Colleagues and Water-Cooler Intelligence
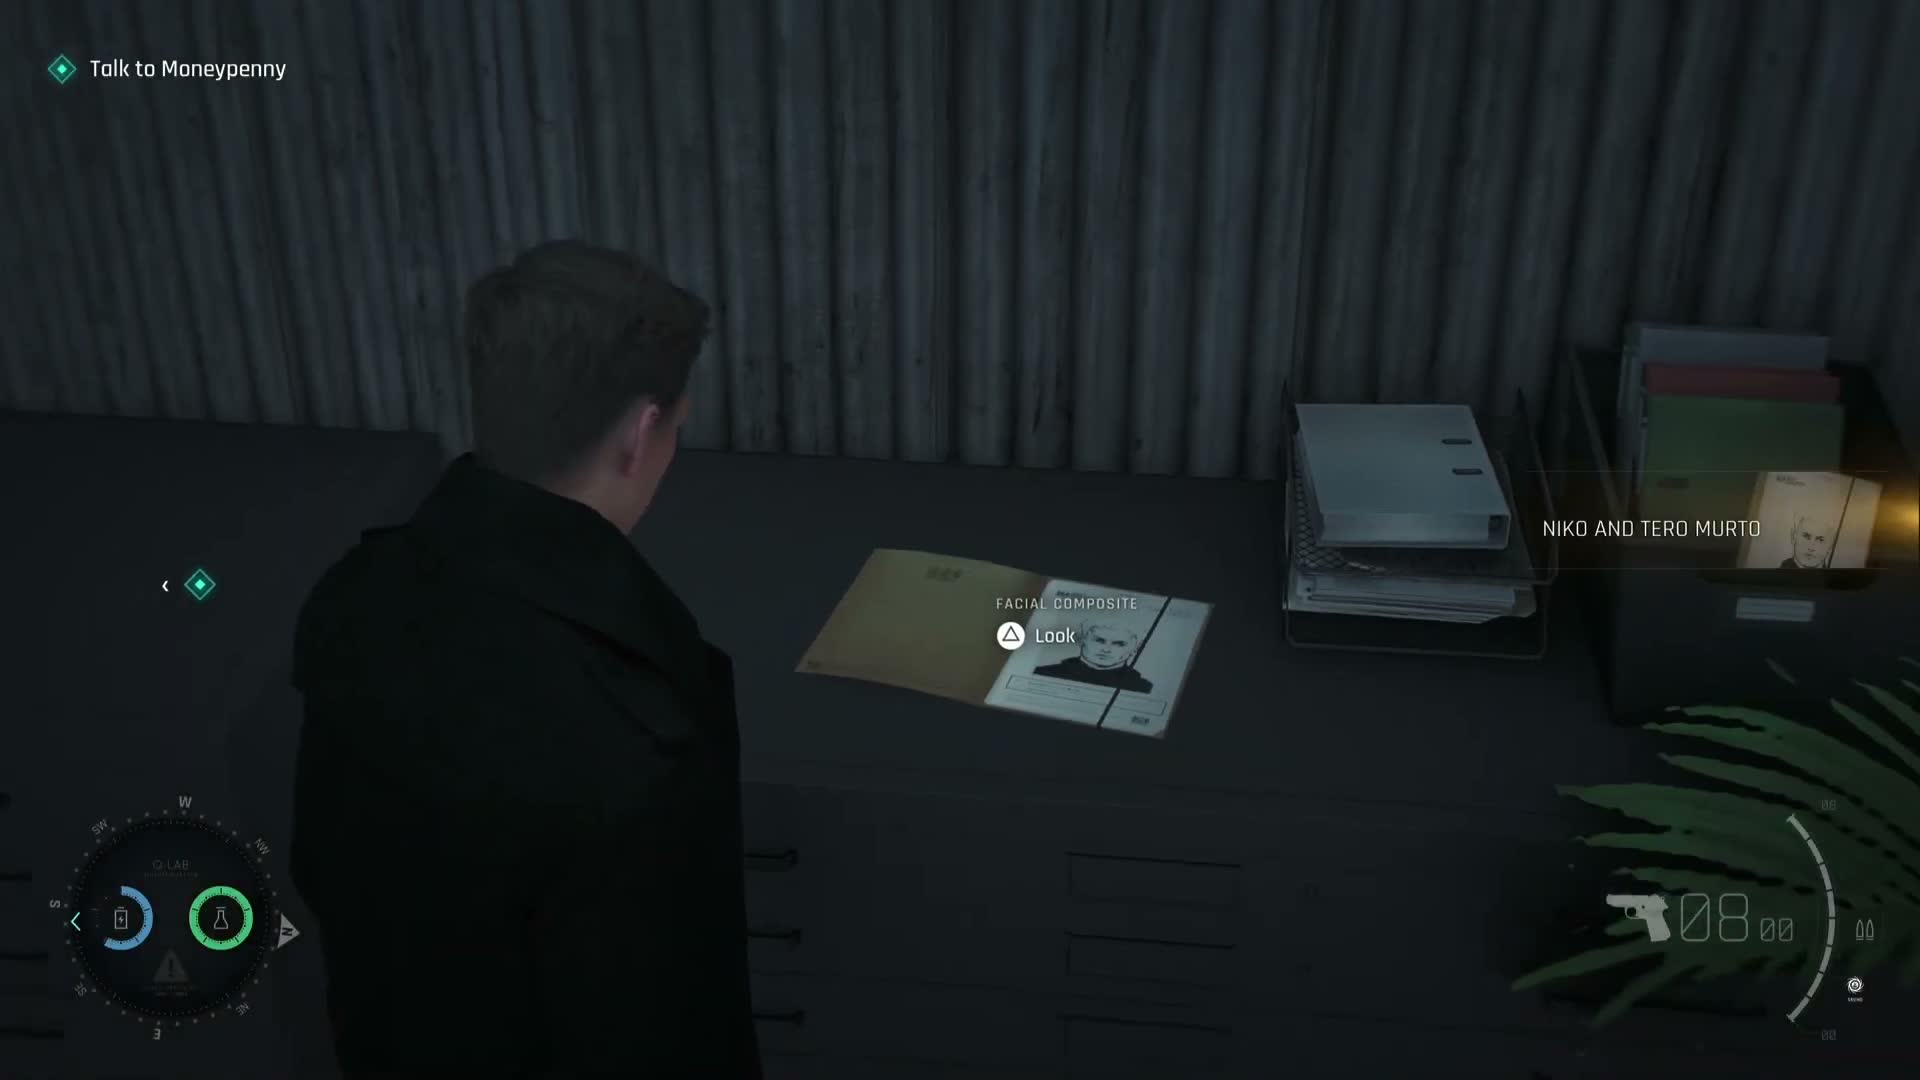
Leaving Q Branch, you take the elevator back up to the main MI6 floors and emerge into the open-plan bullpen area. This is where the analysts and case officers work — rows of desks with multiple monitors, stacks of files, potted plants, and the constant low hum of intelligence work. The first person you encounter is Tanner, seated at his desk with a tablet and a keyboard in front of him.
He looks up as you approach, and the two of you have a brief exchange about the Slovakia fallout. Tanner is more sympathetic than M — he acknowledges that the operation was always going to be messy, and his tone suggests he's in Bond's corner. As you walk further into the bullpen, you'll pass Bancroft and another colleague (both in shirtsleeves, no jackets) standing by a desk having a conversation.
Their dialogue is revealing: "Which would have gone a lot worse if James hadn't been there," one says to the other. It's a small moment, but it tells you that opinion within the building is divided — not everyone sees Slovakia as a total failure. You can also overhear snippets of other conversations as you walk past desks, though these are ambient rather than interactive.
A young female staff member near the briefing room entrance will also exchange a few words with you as you pass. The objective marker during this section points toward the briefing room, so follow it when you're ready to move on.
The Briefing — Connecting the Dots to Mauritania
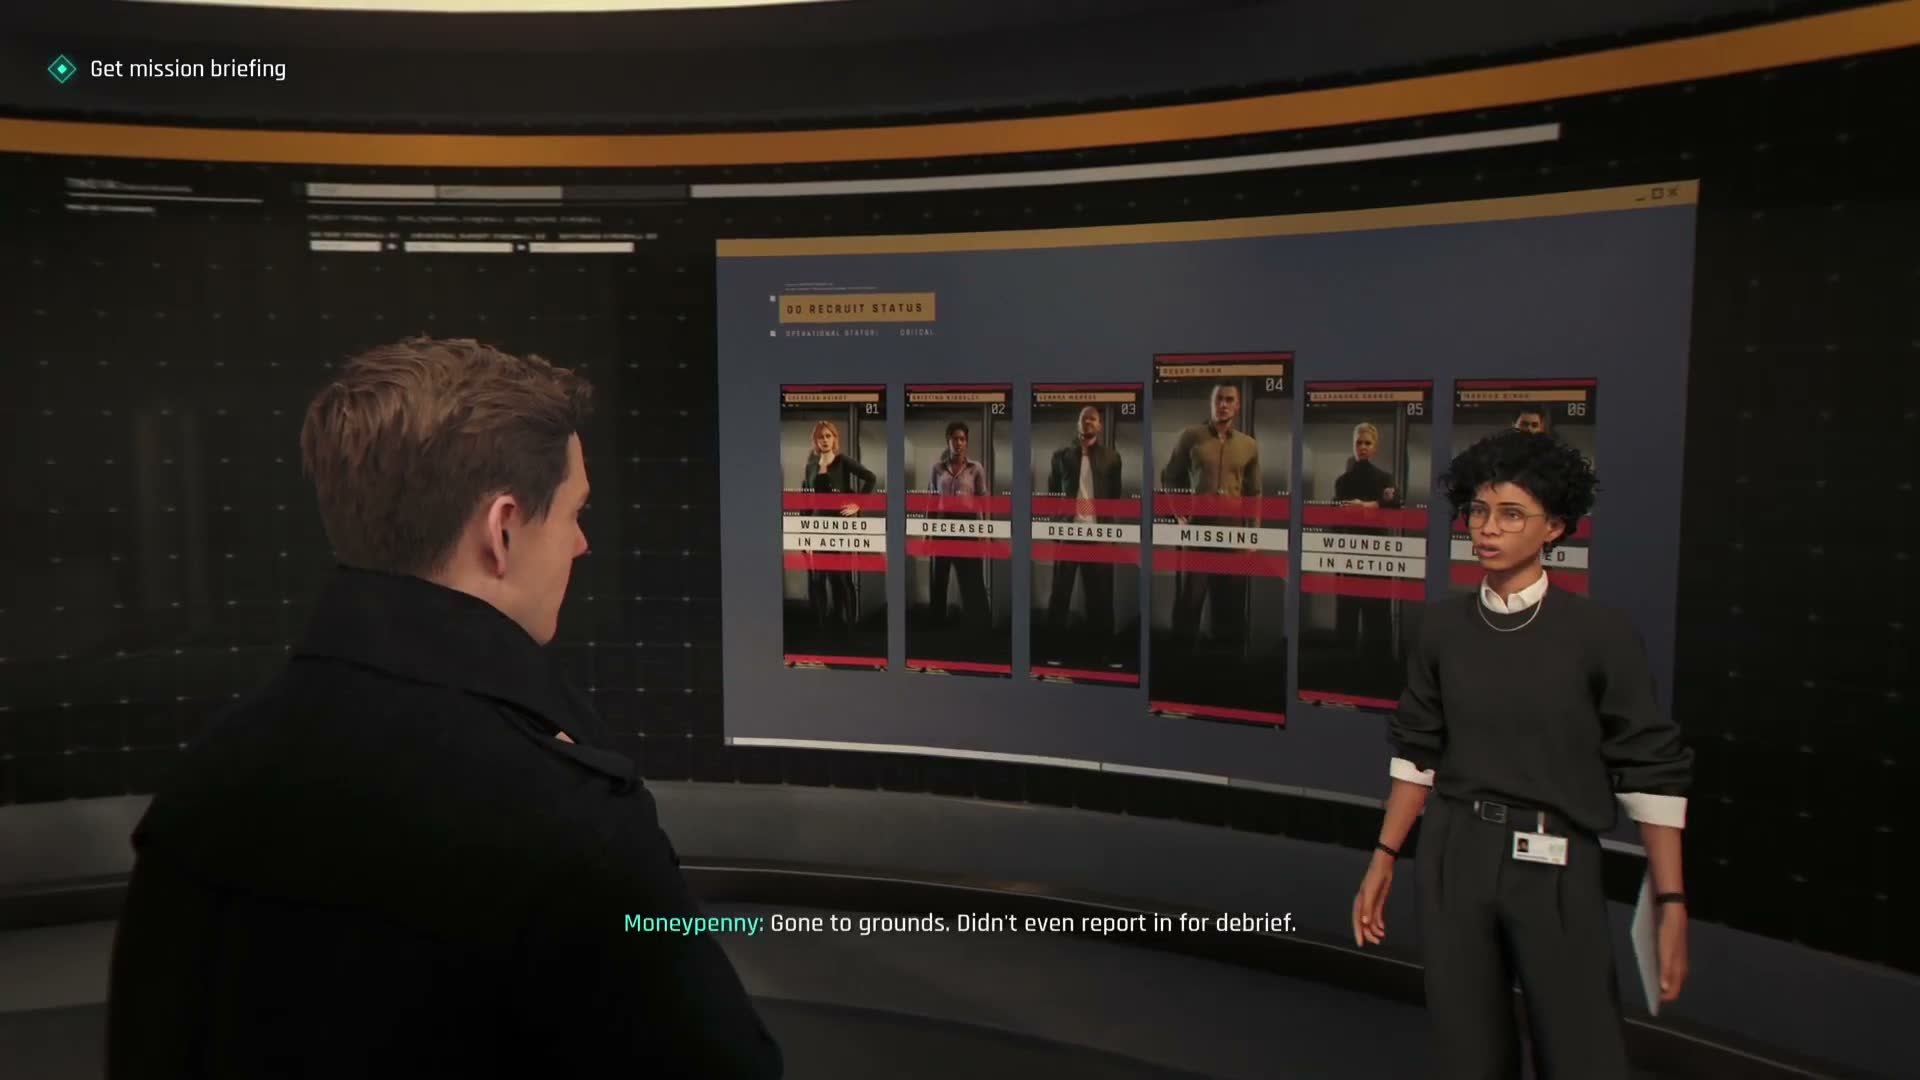
The chapter culminates in the main briefing room — a dark, windowless space dominated by a massive curved screen at the front. A young intelligence analyst (short curly hair, dark sweater over a white collared shirt) is already there, waiting to present. She walks Bond through the intelligence picture that has emerged from Slovakia and previous operations.
The big screen cycles through several displays: first, a row of surveillance photos and dossier images — suspect profiles marked with large numerals, with "09" highlighted prominently. These appear to be persons of interest connected to the Arrowhead network. Next, she brings up geographic intelligence — satellite imagery and thermal mapping that narrows the trail to West Africa.
A highlighted region on the map corresponds to Mauritania, and more specifically to the area around a desert settlement and border hub. As she continues, Moneypenny enters the briefing and adds her own analysis, noting that the network has connections to "rebel groups and criminal organisations alike" — confirming that this isn't just an arms-smuggling ring but something with broader reach and more dangerous implications. The final screen shows a detailed thermal and satellite overlay with route markers and operational overlays, bringing the target area into sharp focus.
The briefing makes it clear: Bond is going to Mauritania, to the black market city of Aleph, to pick up the trail where Slovakia went cold. As the briefing concludes and the screen fades to the AGENT 009 dossier display, the chapter ends. You're as ready as you'll ever be. The hunt moves to Africa.
Chapter Tips
Collectibles in This Chapter
Explore each section thoroughly to find all hidden items. Check the tips above for specific collectible locations.