The Past Never Dies
Bond and Greenway infiltrate Aleph, a sprawling shipwreck black market in Mauritania, to track the Arrowhead gang and cross paths with the flamboyant arms dealer Bawma.
Arriving in Aleph — The Ship Graveyard Market
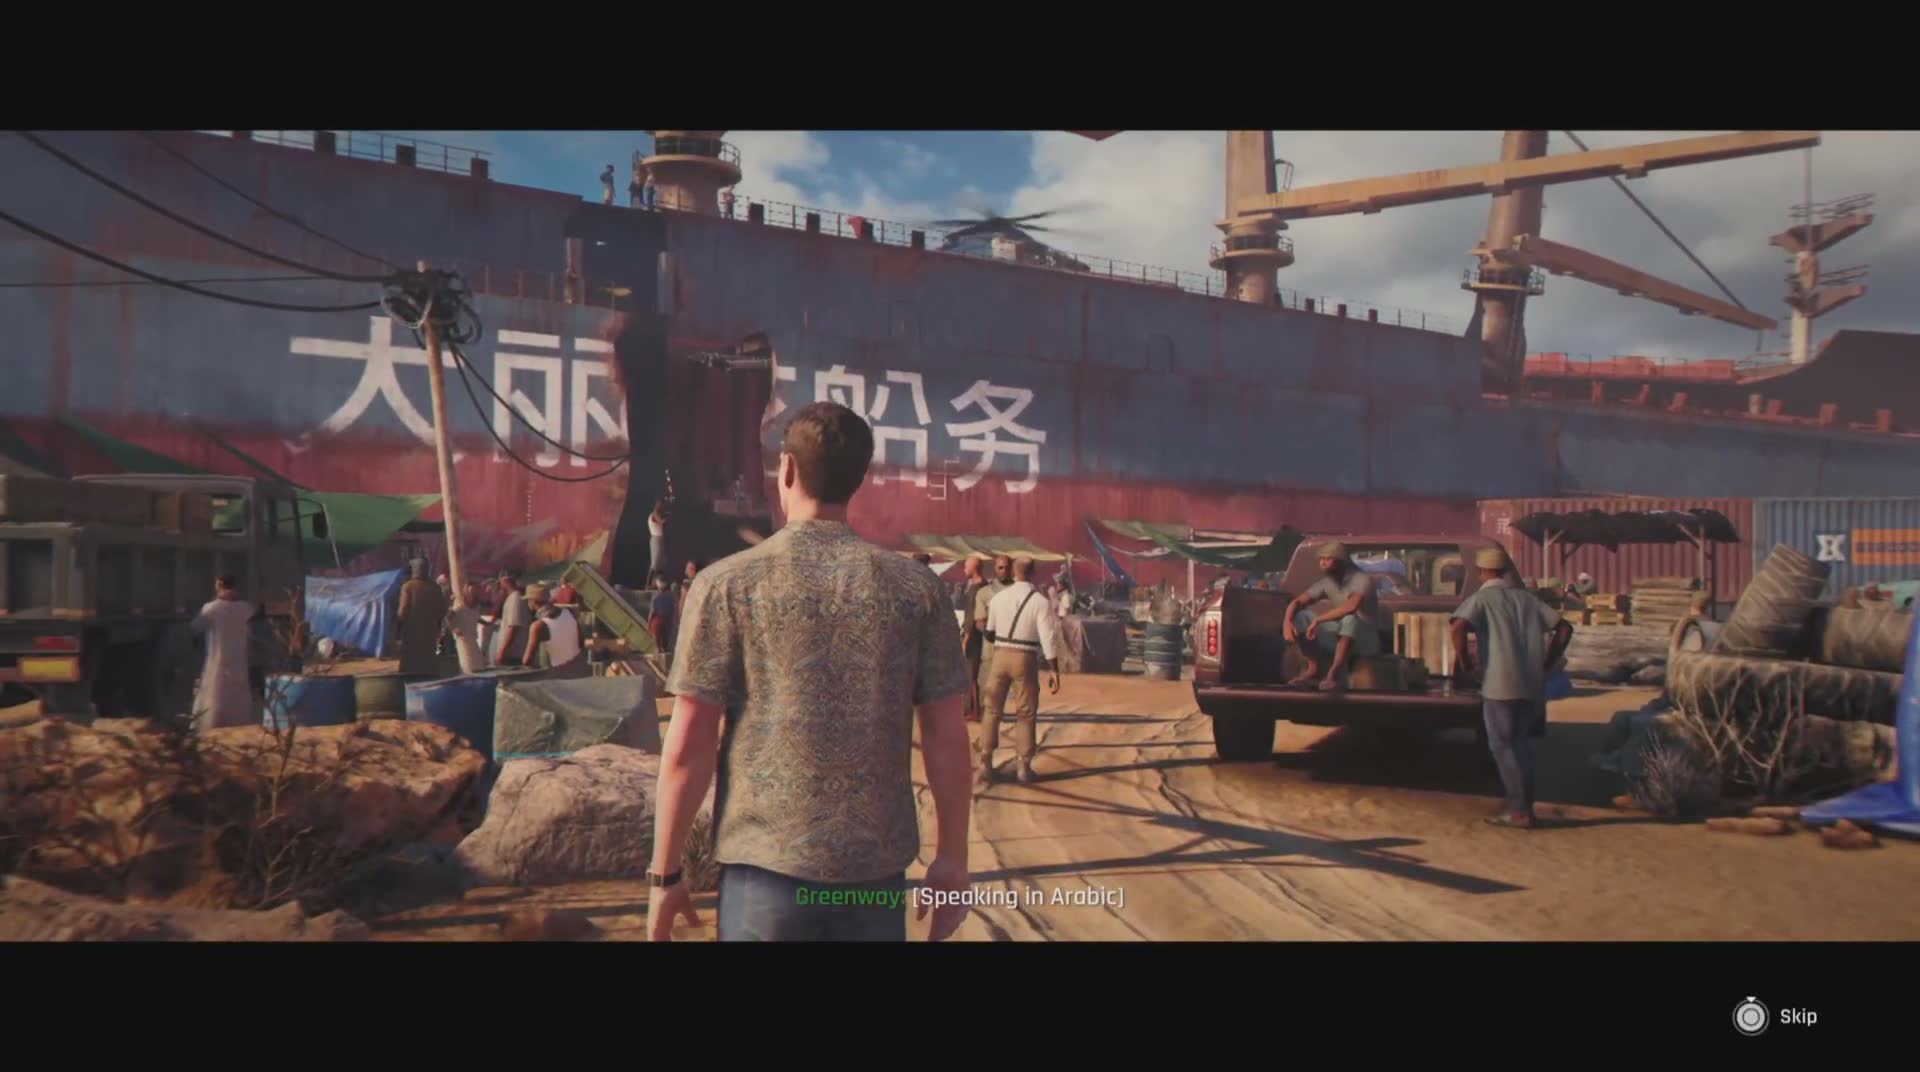
The chapter opens with a ride into Aleph, a lawless black market built inside and around a fleet of beached cargo ships on the Mauritanian coast. From the moment you step out of the vehicle, you're in one of the densest, most visually rich environments in the game — rusted hulls draped with Chinese characters, helicopter rotors turning above the superstructure, makeshift stalls spilling out onto the sand, and crowds of civilians, smugglers, and armed men everywhere.
Greenway is your partner for this mission and she does the talking at the entry checkpoint, bantering in Arabic to get you past the guards. Follow her through the initial corridor into the ship's interior market. This first stretch is almost entirely non-combat — it's world-building, pure and simple. Take a moment to soak in the atmosphere: vendors haggling, TVs playing fight promos, fish tanks built into bulkheads, the whole place buzzing with life.
Once you reach the red-painted corridor deeper inside the ship, Greenway will brief you on what you're after: an invitation to an underground arms auction happening somewhere within Aleph, and information on Bawma — the man running the show. This is also where the open-ended stealth gameplay really begins. From here on out, you can approach almost every encounter as a ghost or as a blunt instrument, and the level supports both styles well.
The Interior Market — Greenway's Intel and First Blood
Inside the ship's main market deck, Greenway peels off to handle her own contact and sends Bond to do some reconnaissance alone. The first few rooms are full of NPCs who are technically civilians but connected to Bawma's network — they won't attack on sight but they're not friendly either. Move through the crowded floor past the stacks of RATION boxes and the wall-mounted TV showing fight posters.
You'll encounter your first group of Bawma's men in a side room near the aquarium — a heavily tattooed thug in a tank top who demands to know who you are. This is your first opportunity for a stealth takedown. Wait until he turns his back (or until his buddy walks into the adjacent room), grab him, and drag the body behind the crates. There's an ELECTRONICS loot crate in this room that contributes to your overall gadget economy — crack it open.
From here you'll climb a metal stairwell up to a vantage point overlooking a larger outdoor area. Take a second to use this overlook to scout the layout below: you can mark enemies through Bond's watch radar and plan your route. The key to the early ship section is patience — enemies patrol in predictable loops and the narrow corridors give you plenty of cover for grab-and-drag takedowns. If you do get spotted, the tight spaces actually work in your favour — enemies can't flank you easily and you can fall back through doorways to funnel them.
The Burner Phone and Outskirts Takedowns
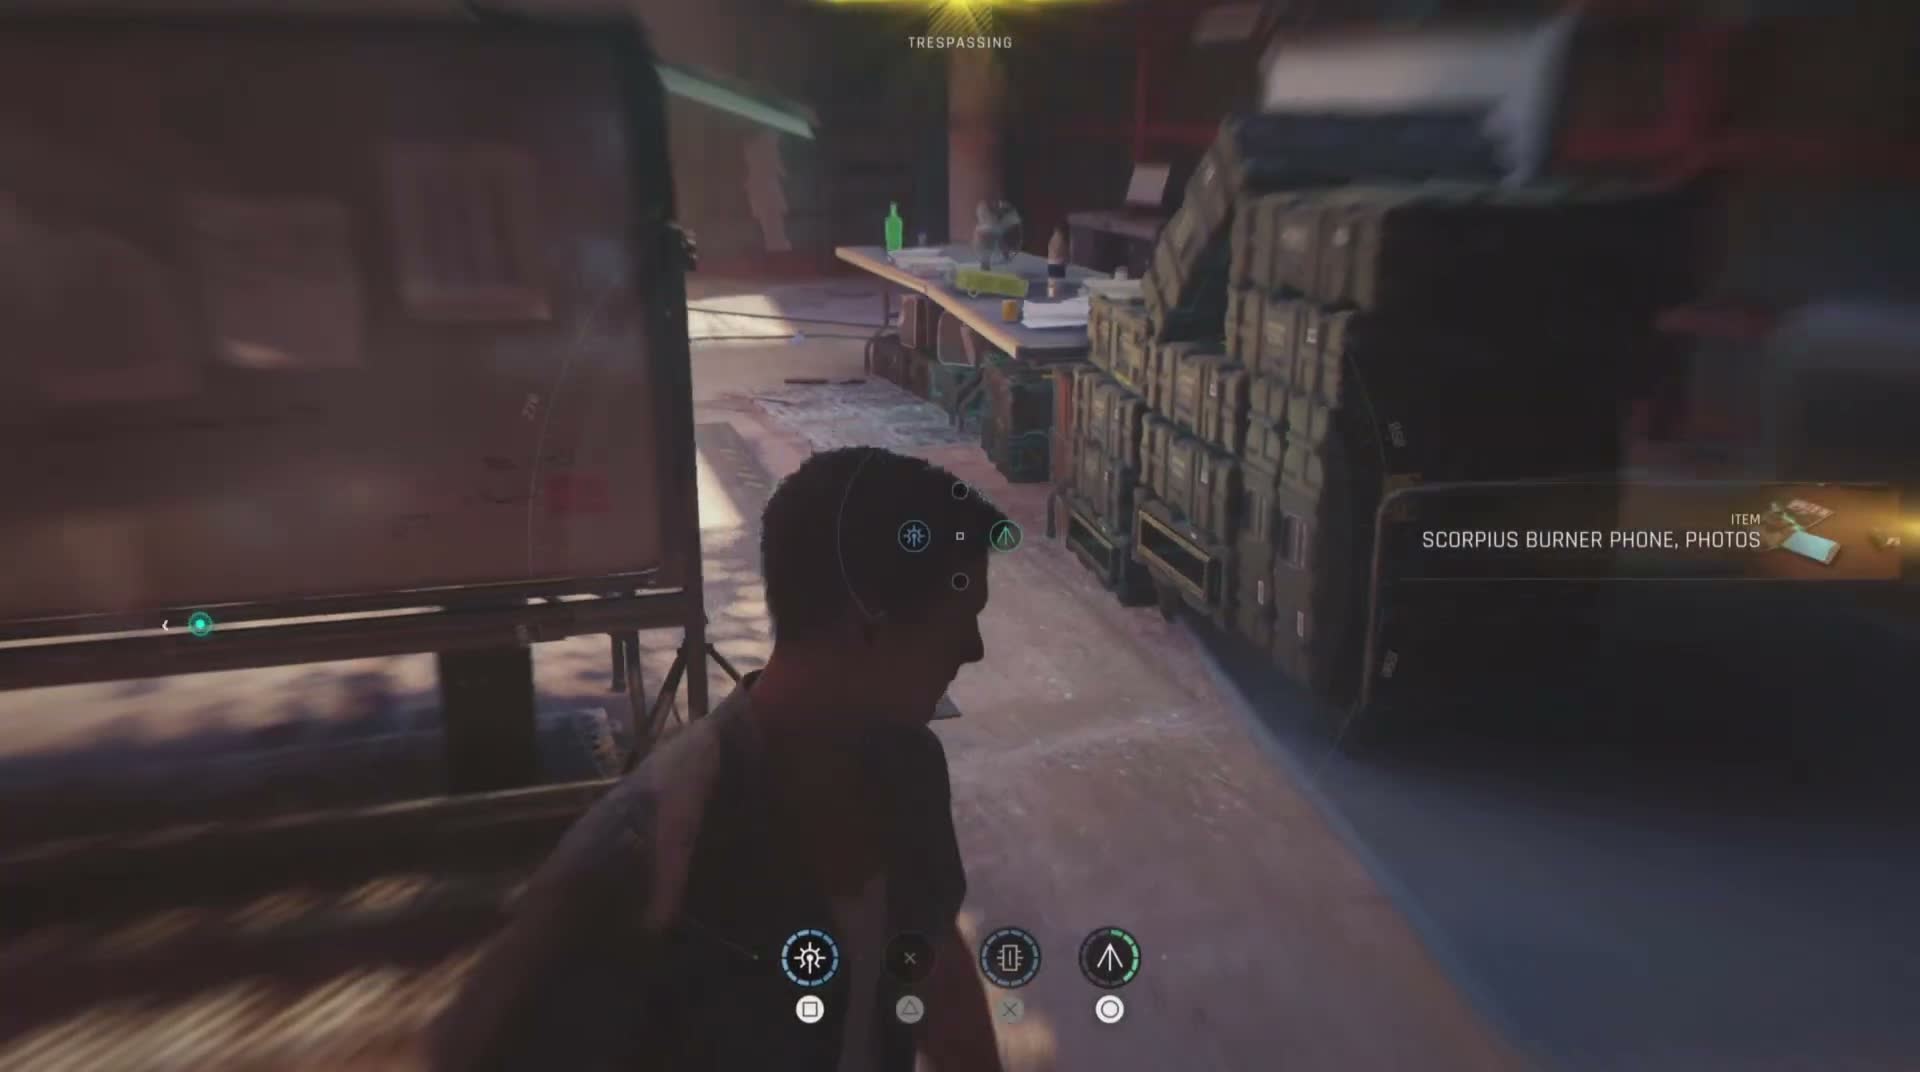
Once you exit the ship onto the outer walkways, the mission opens up considerably. The first thing to look for is the Burner Phone — you'll spot it on a crate or table in a shaded alley area, and picking it up is a story beat that gives you access to Bawma's text messages and reveals more about his network. The phone interface shows an incoming thread that fills in details about the auction pass you need to acquire.
Beyond the phone is a chain-link fence overlooking a dirt yard where an enemy is standing guard over another man who's already been knocked out. This is your first proper outdoor takedown. Vault the fence or go around the side, sneak up behind the guard, and take him down quietly. From here the path leads past a parked forklift and into a yellow-curtained tent structure that looks like a makeshift office or storage hut.
Inside the tent you'll find the CABINET — interact with it for supplies and story intel. After looting it, be ready: there's an enemy patrolling just outside who may have rotated into view by the time you exit. Listen for footsteps before stepping out, and use the tent flap as cover. Once you clear this area, the path deposits you into the main open-air market square — a wide, sunlit plaza that is one of the chapter's signature spaces.
Postcard Collectible and the Open Market
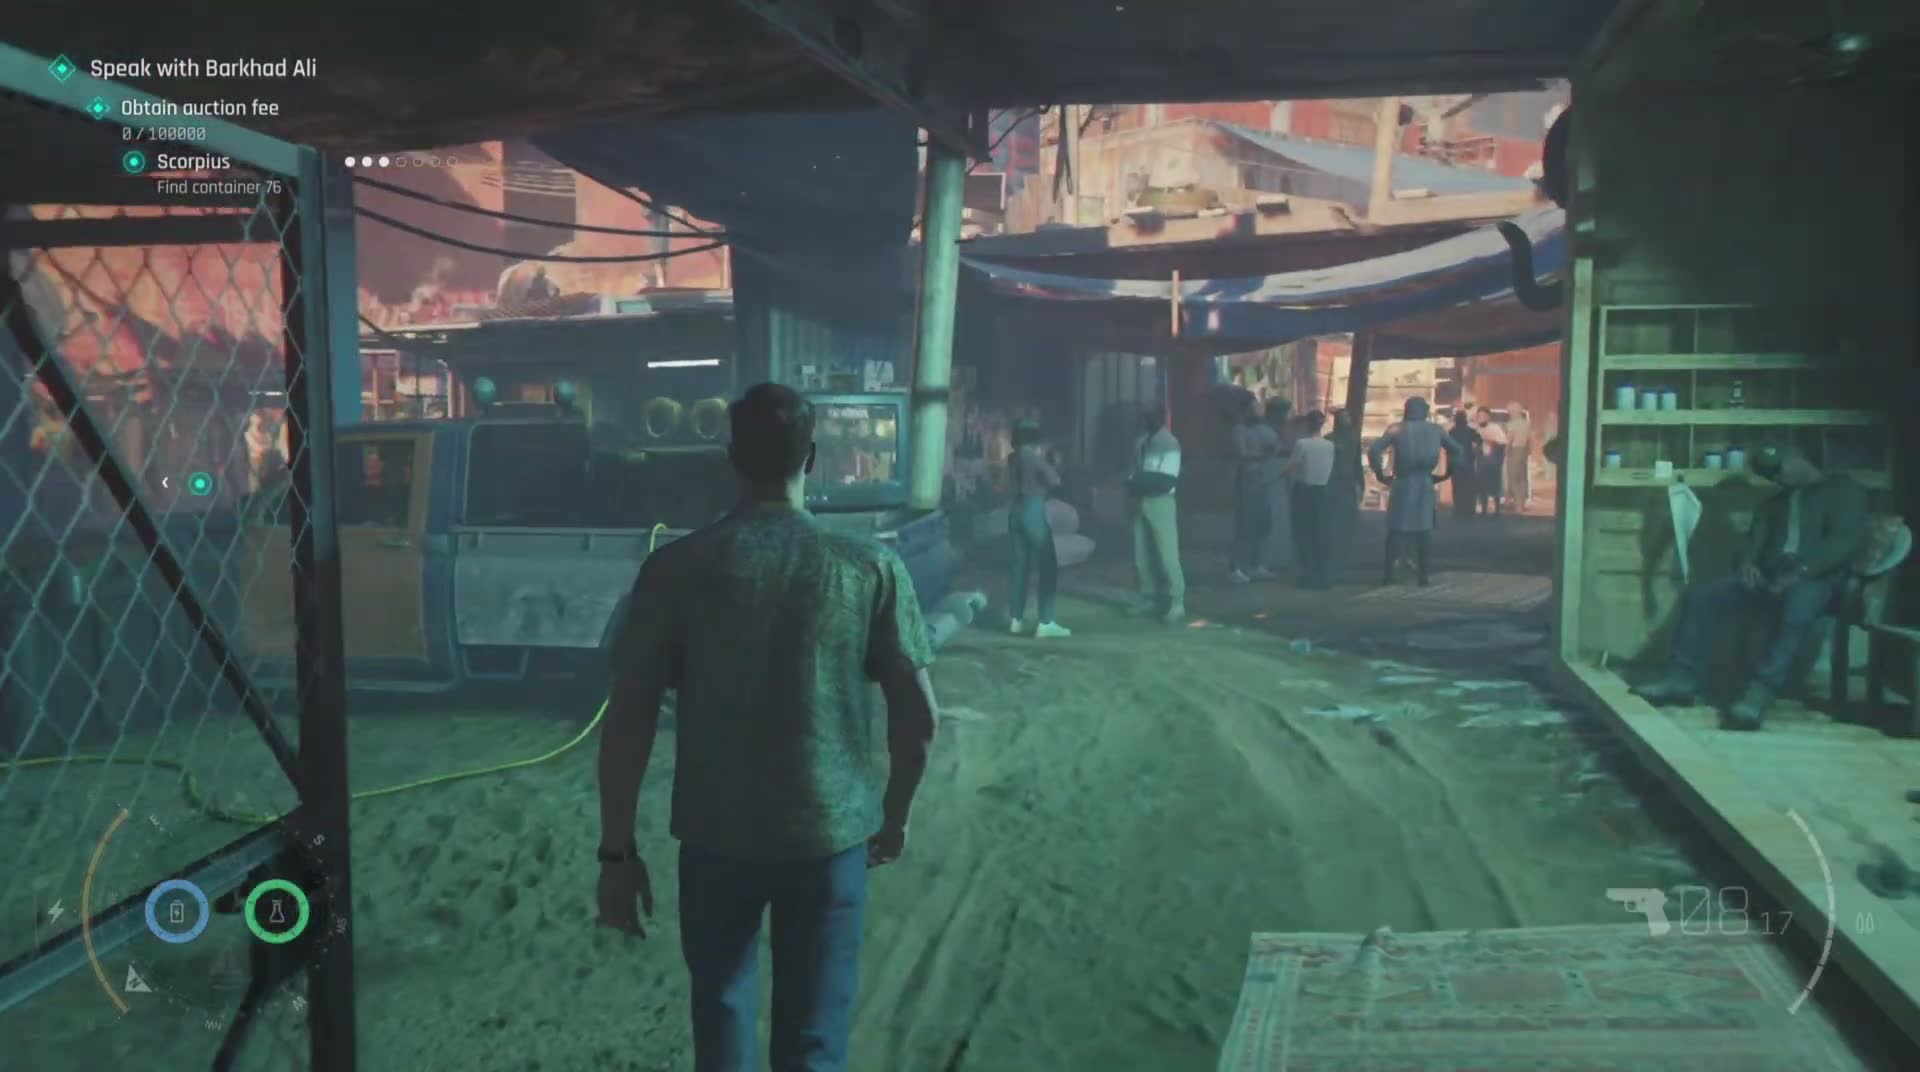
The Postcard collectible for this chapter (Postcard 1/1) is found in this outskirts-to-market transition area, around the fenced yard / forklift zone. It's sitting on a surface near the action — you'll see the collectible prompt appear when you get close. This is a one-shot collectible (only one Postcard in the chapter rather than the six Tarot Cards), so make sure you grab it before pushing forward into the market.
The open market square itself is a vibrant, chaotic space — red umbrellas, stalls selling electronics and food, civilians in colourful clothing going about their day, and armed men interspersed throughout the crowd. This is where the mission's stealth design is at its best: you can lose yourself among the civilians (to a degree — enemies will still investigate suspicious behaviour), use stalls as cover, and pick your targets carefully.
The area around the market square also features a second ELECTRONICS crate, this one near some blue-lit stalls with neon signage. Crack it open whenever you get a clear window without eyes on you. After navigating the square, you'll be directed toward a meeting with Barkhad Ali — one of Bawma's lieutenants who controls access to the auction.
The Missile Truck and Neon Shop — Finding Barkhad Ali
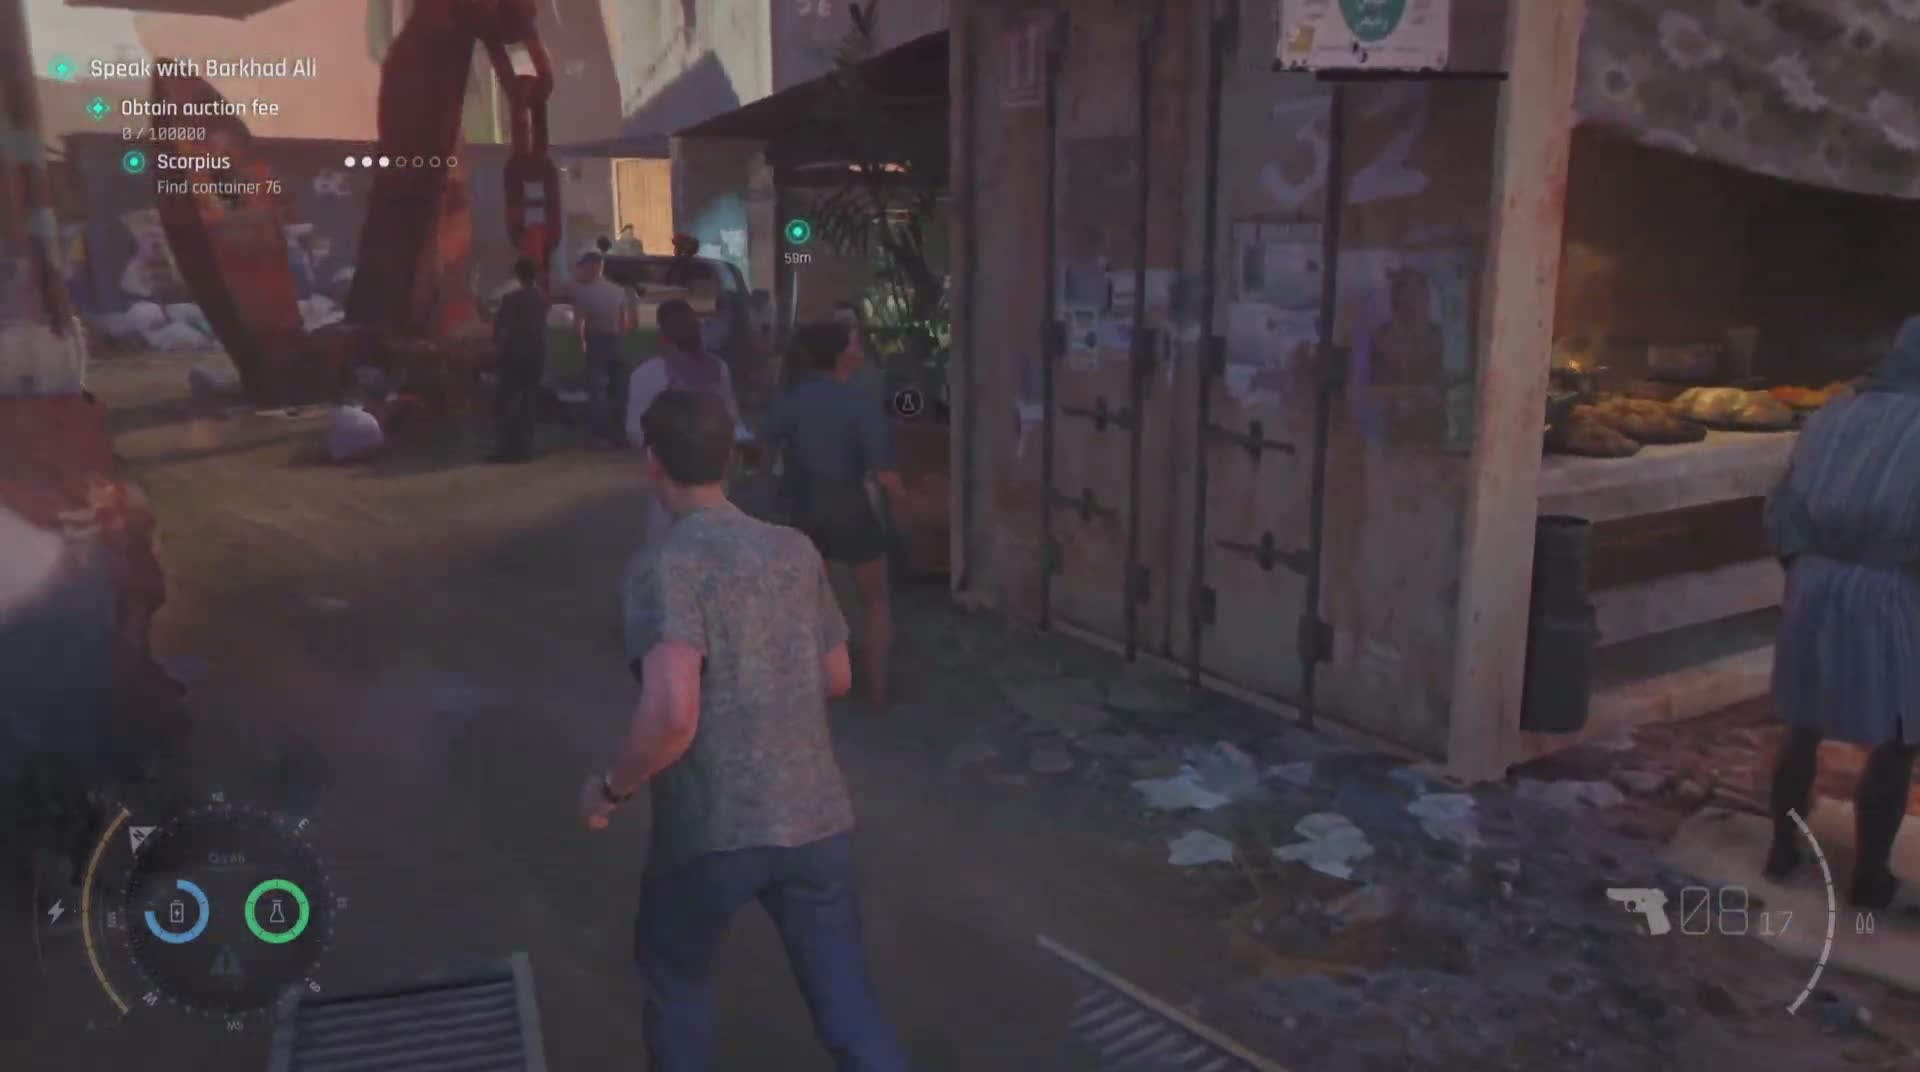
One of the more striking sights in the market district is a pickup truck with a live missile mounted in its bed, parked on the main thoroughfare. This isn't a set piece you need to interact with directly — it's environmental storytelling that tells you exactly what kind of hardware is being bought and sold here — but it's a good visual landmark for navigation. A man in a navy blue t-shirt leans against the truck and will engage you in conversation if you get close.
Your objective in this section is to find and speak with Barkhad Ali. His location is marked by a diamond waypoint ("Speak with Barkhad Ali") and he's inside or near a shopfront decorated with neon lights and stacked electronics. When you approach him, he'll demand an invitation and 100,000 — this is the entry fee for the auction you need to infiltrate. You don't actually pay him directly; the conversation instead triggers the next gameplay loop where you must earn or steal an invitation by disrupting Bawma's operations around Aleph.
While in the neon shop area, be on the lookout for the Poster collectible — there are fight posters on the walls (including one advertising "THE HAMMER" and "BULLSEYE BONANZA"). These aren't just set dressing; one of them is a collectible Poster pick-up. Scan the walls as you move through the shop interiors.
The Container Yards — Stealth and Takedowns
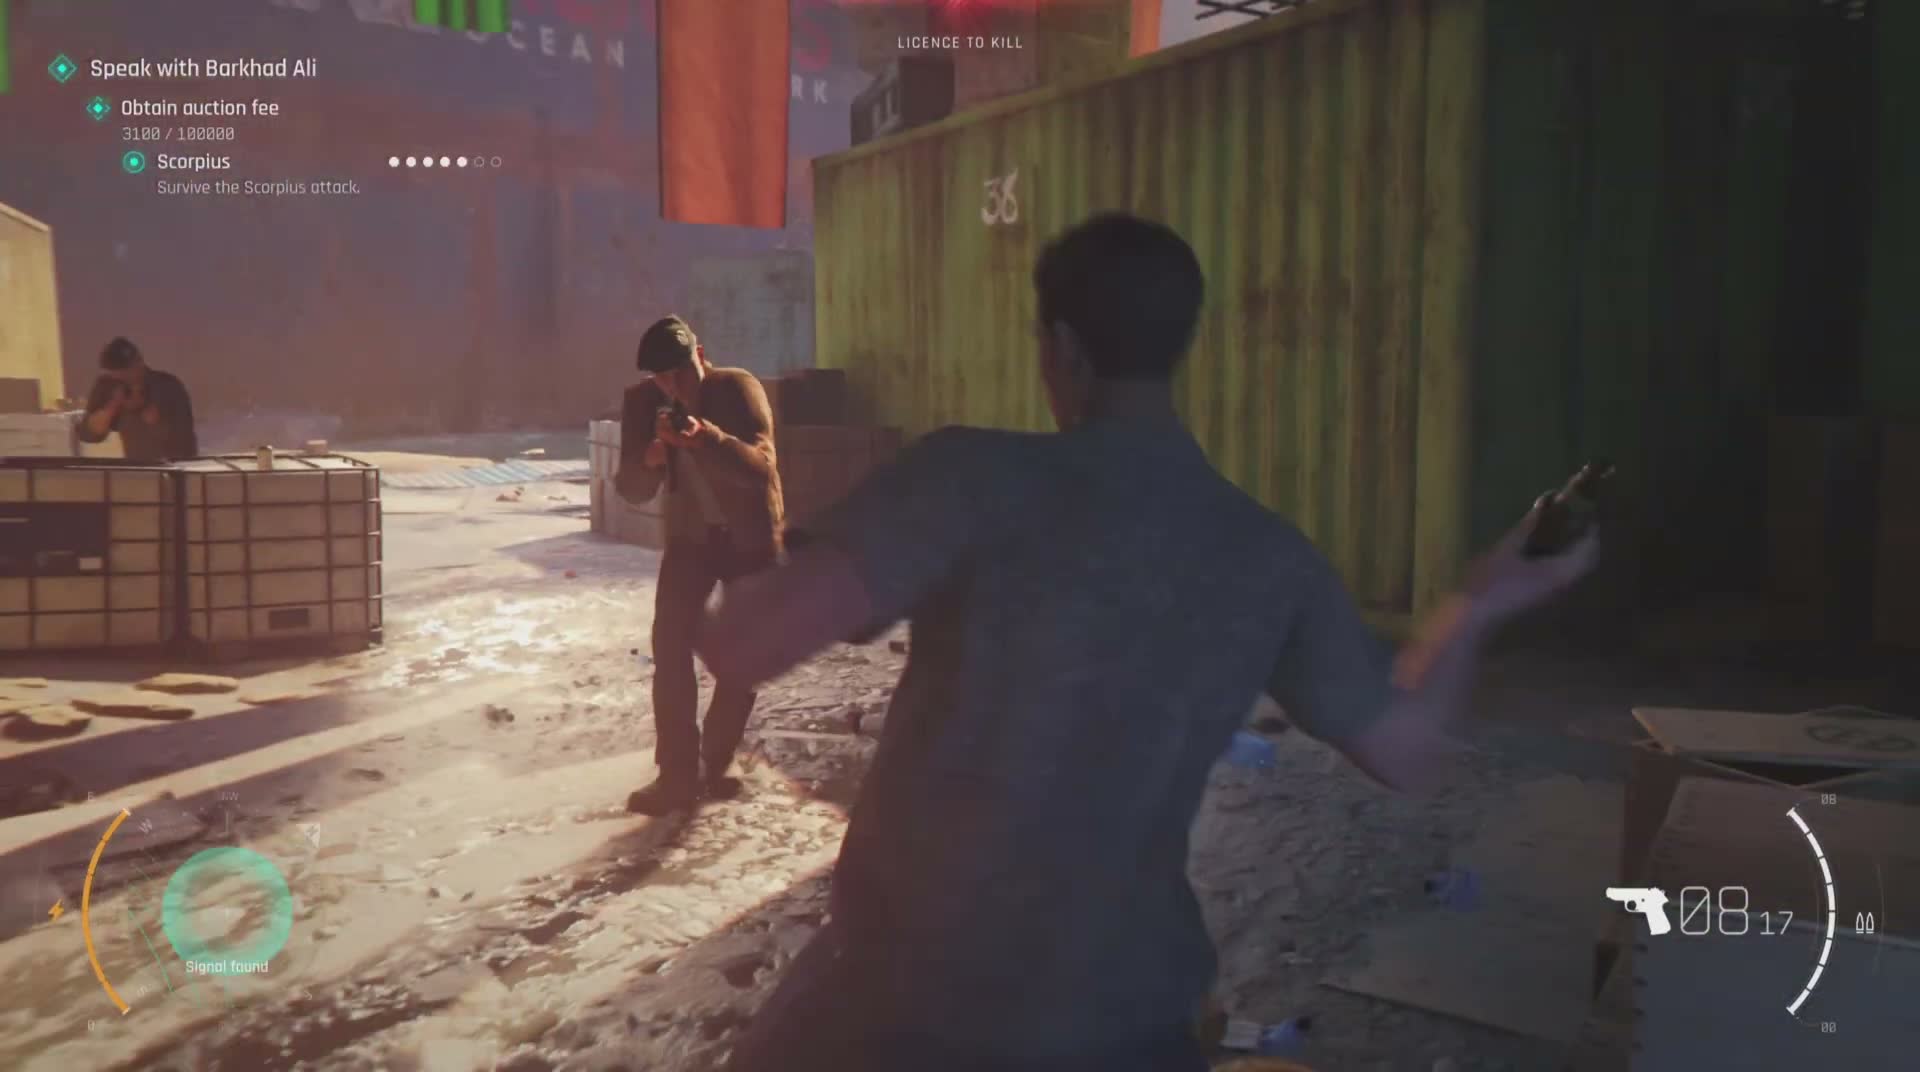
After dealing with Barkhad Ali, the route winds through a series of shipping container yards stacked high with rusted cargo boxes in green, red, and blue. This section is pure stealth gameplay — there are no civilians here, only armed guards patrolling the narrow gaps between containers. The environment is essentially a maze, and enemies have overlapping fields of fire if you're not careful.
The key to getting through the container yards is to move from cover to cover methodically. Bond's crouch-walk is silent, and the containers cast deep shadows even in daylight. Wait for guards to turn their backs or walk to the end of their patrol routes before moving. Takedowns from behind are always an option, but bodies can be spotted if you leave them out in the open — drag them into gaps between containers or behind stacks of crates.
About halfway through the yard you'll emerge into a small open area with yellow-painted weapons crates and, eventually, a section of the market with red umbrellas again — signalling that you're circling back toward the more populated part of Aleph. The H5 marking on some containers (spray-painted in white) is a good navigation marker; head toward it when you're unsure which way to go. You'll also pass through an area with green metal walkways and grating floors that clatter underfoot — move slowly here because the noise can attract attention.
The Stair Climb and Catwalk — Entering the Auction Hangar
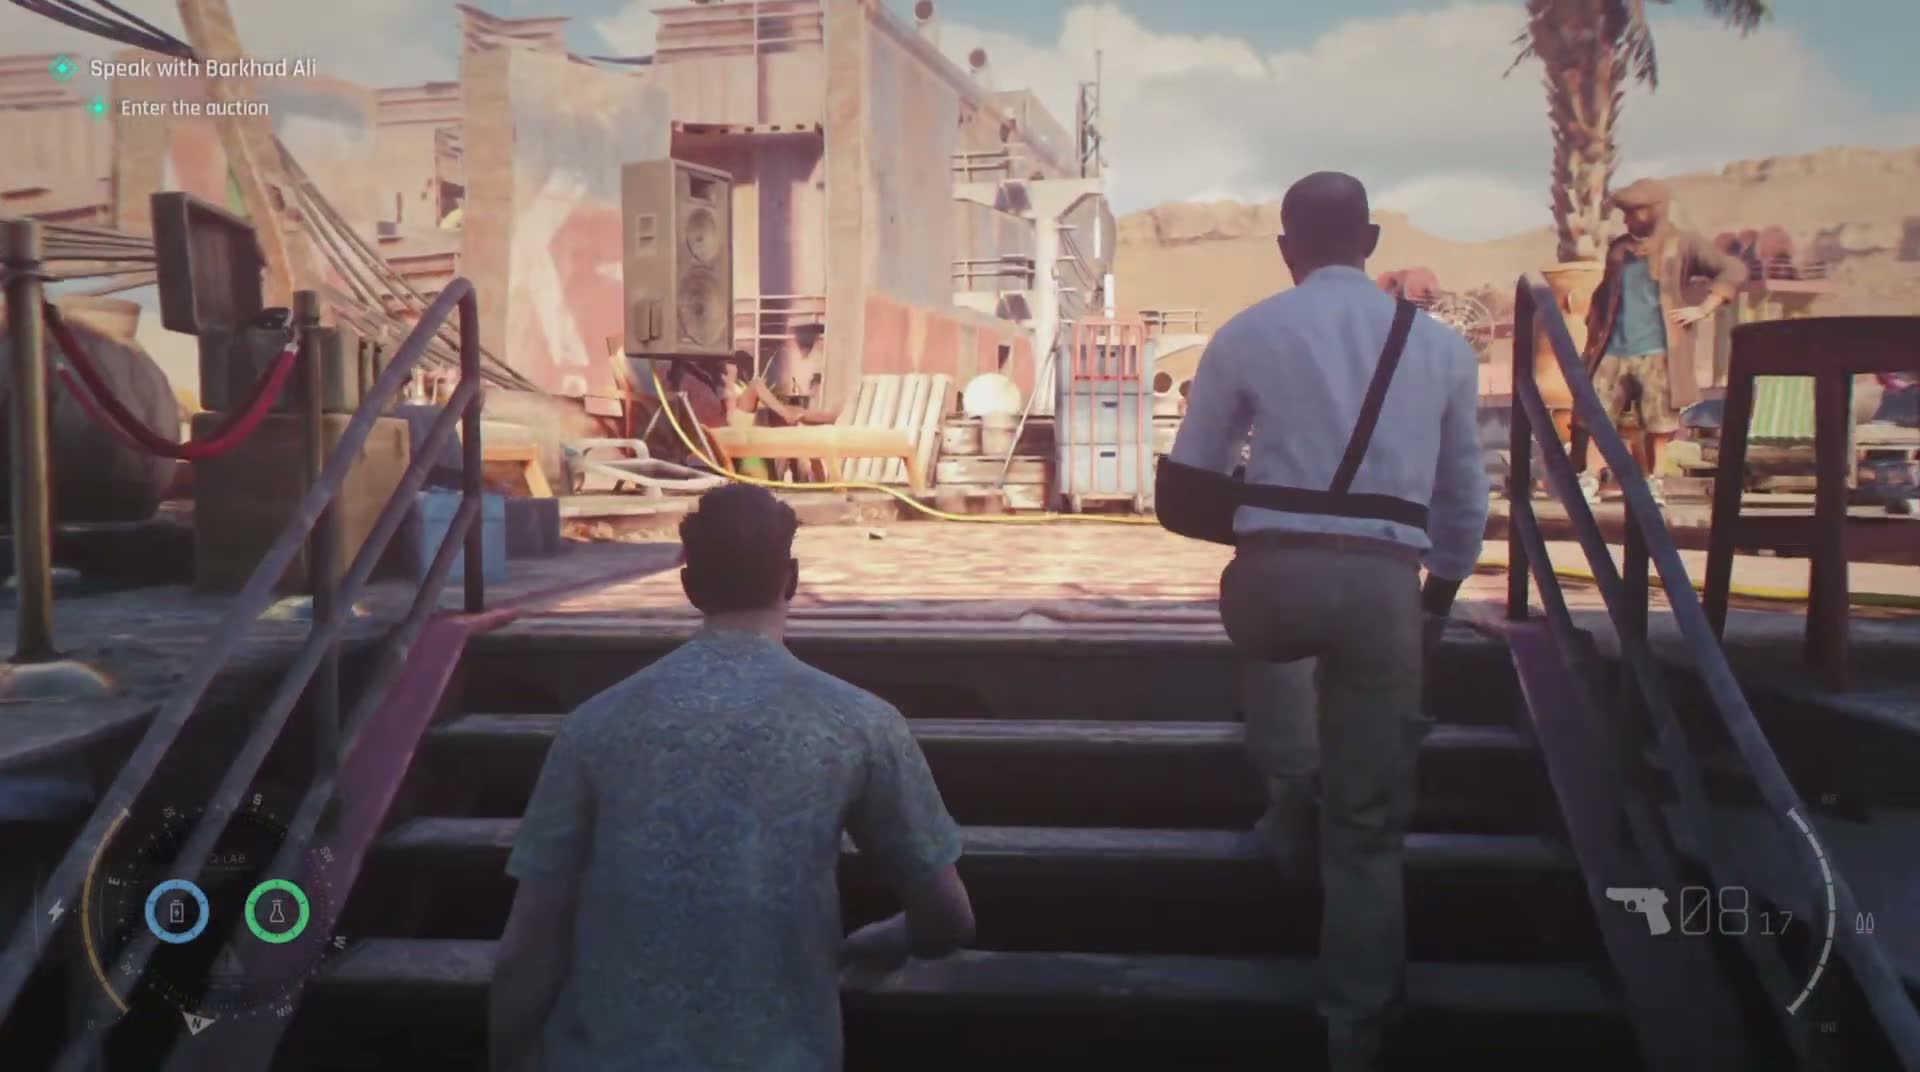
The path up into the auction area is one of the chapter's most atmospheric climbs. You'll ascend a series of metal staircases inside the ship while white-uniformed staff and wealthy-looking guests in suits walk past you heading in the same direction. Blend in — walk at a normal pace and don't draw your weapon. This is a social infiltration moment, not a combat zone.
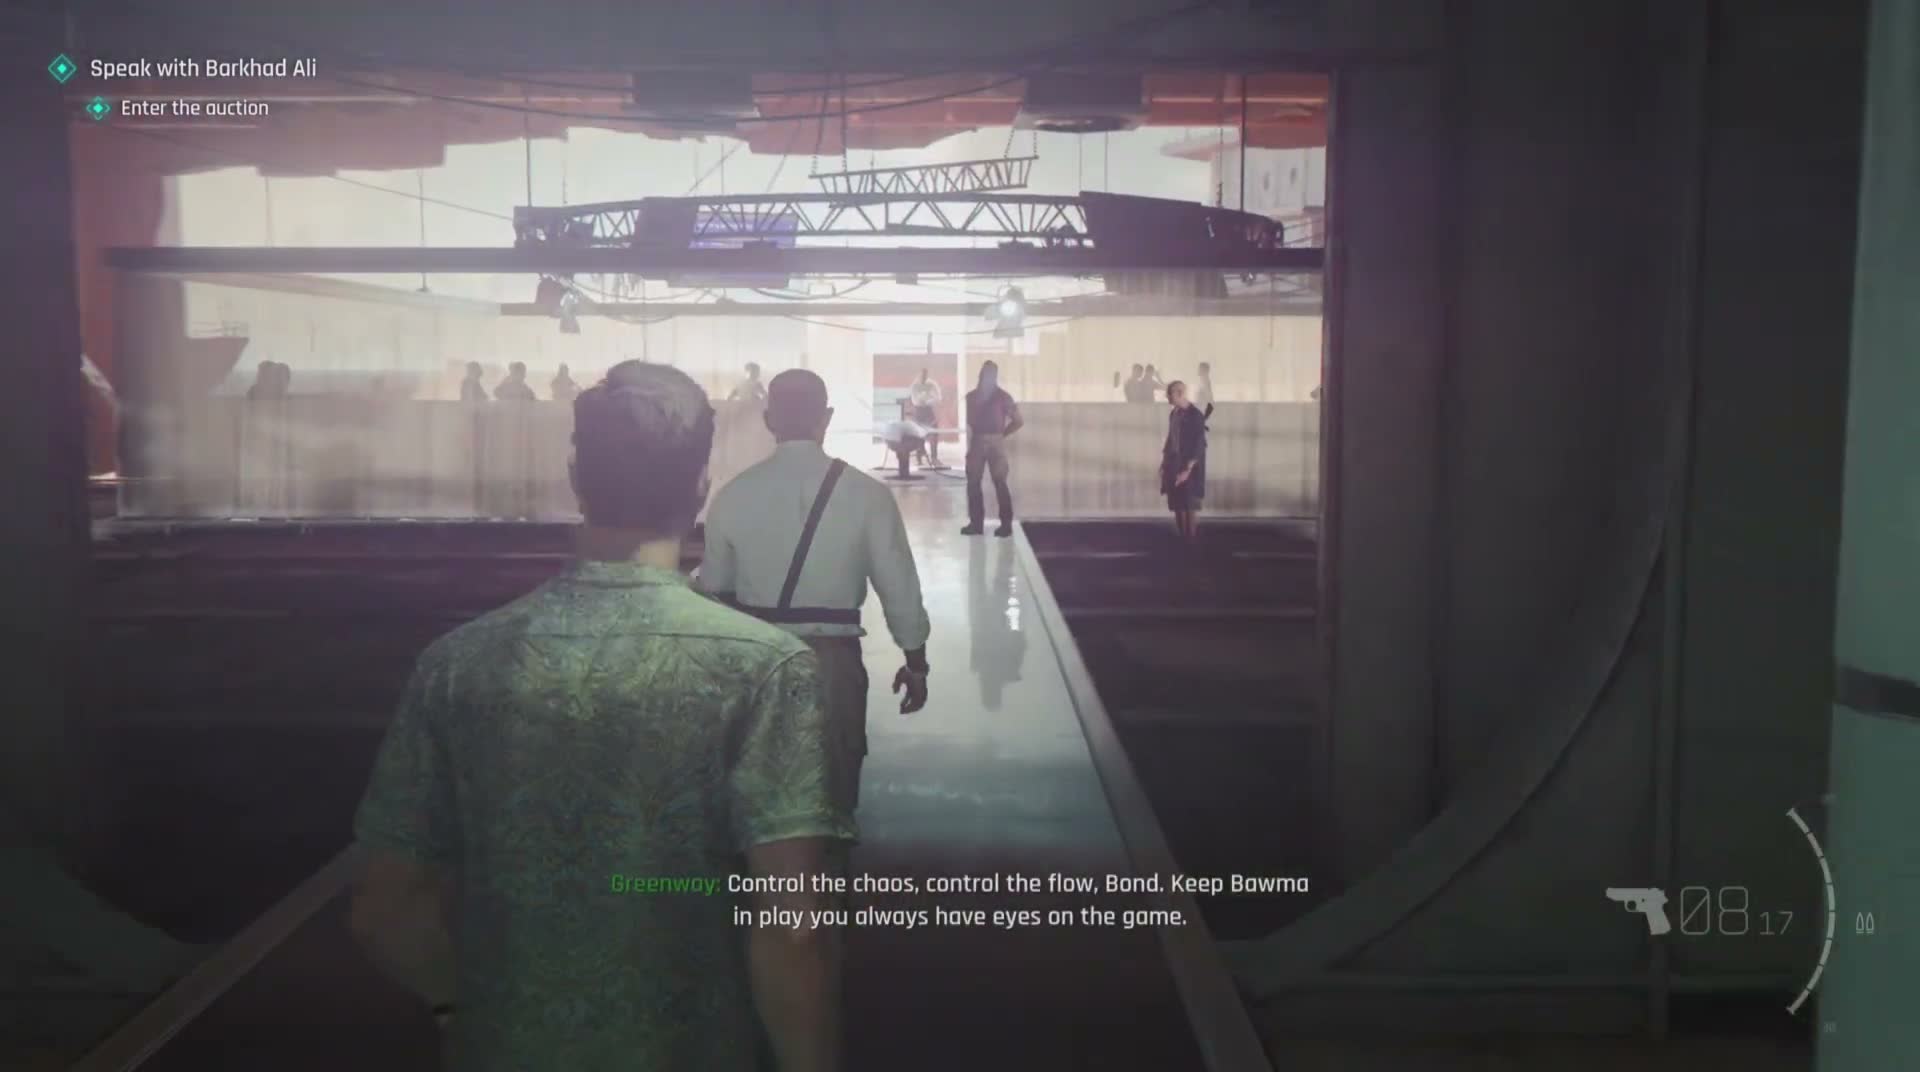
At the top of the stairs, a grated metal catwalk leads across to the entrance of what turns out to be an enormous hangar carved out of the ship's interior. The first thing you see when the doors open is a military fighter jet parked in the centre of the room under spotlights, surrounded by black-suited security and wealthy arms buyers milling about with drinks. This is Bawma's auction floor, and the sight of it is genuinely impressive on a first playthrough.
Stay on the catwalk for a moment to survey the room. You can see the entire auction floor from above, including guard positions and the exits. Your objective here is to get down onto the floor and navigate through the crowd without raising suspicion.
The Auction Floor — Meet Bawma
The auction floor is a stunning set piece. The hangar has been converted into a high-end black market showroom — white curtains, spotlights on military hardware, guests in tailored suits sipping drinks, and serious security everywhere. The jet is the centrepiece but there are other weapons systems on display around the room.
Your objective marker will point you toward a meeting — and this is where you come face to face with Bawma. He's a flamboyant, charismatic figure with long dreadlocks, dressed in a gold/yellow suit, wearing sunglasses indoors and a head wrap. He's played by Lenny Kravitz in a memorable performance that is equal parts charming and menacing. The dialogue between Bond and Bawma is one of the chapter's highlights — Bawma knows more about you than you expect, and the conversation crackles with tension.
There's also a character in a blue turban and matching blue jacket who appears in this area — this is one of Bawma's senior lieutenants. He's involved in a separate meeting happening concurrently with yours, and he will become relevant in later scenes. Pay attention to the dynamics between the different players in the room.
After the conversation with Bawma concludes, you're free to leave the auction area the same way you came — but as you exit, something feels wrong. The security seems tighter than it did on the way in, and the staff are giving you longer looks. Trust that instinct.
Tagging, Waterfront, and the Purple Gardens
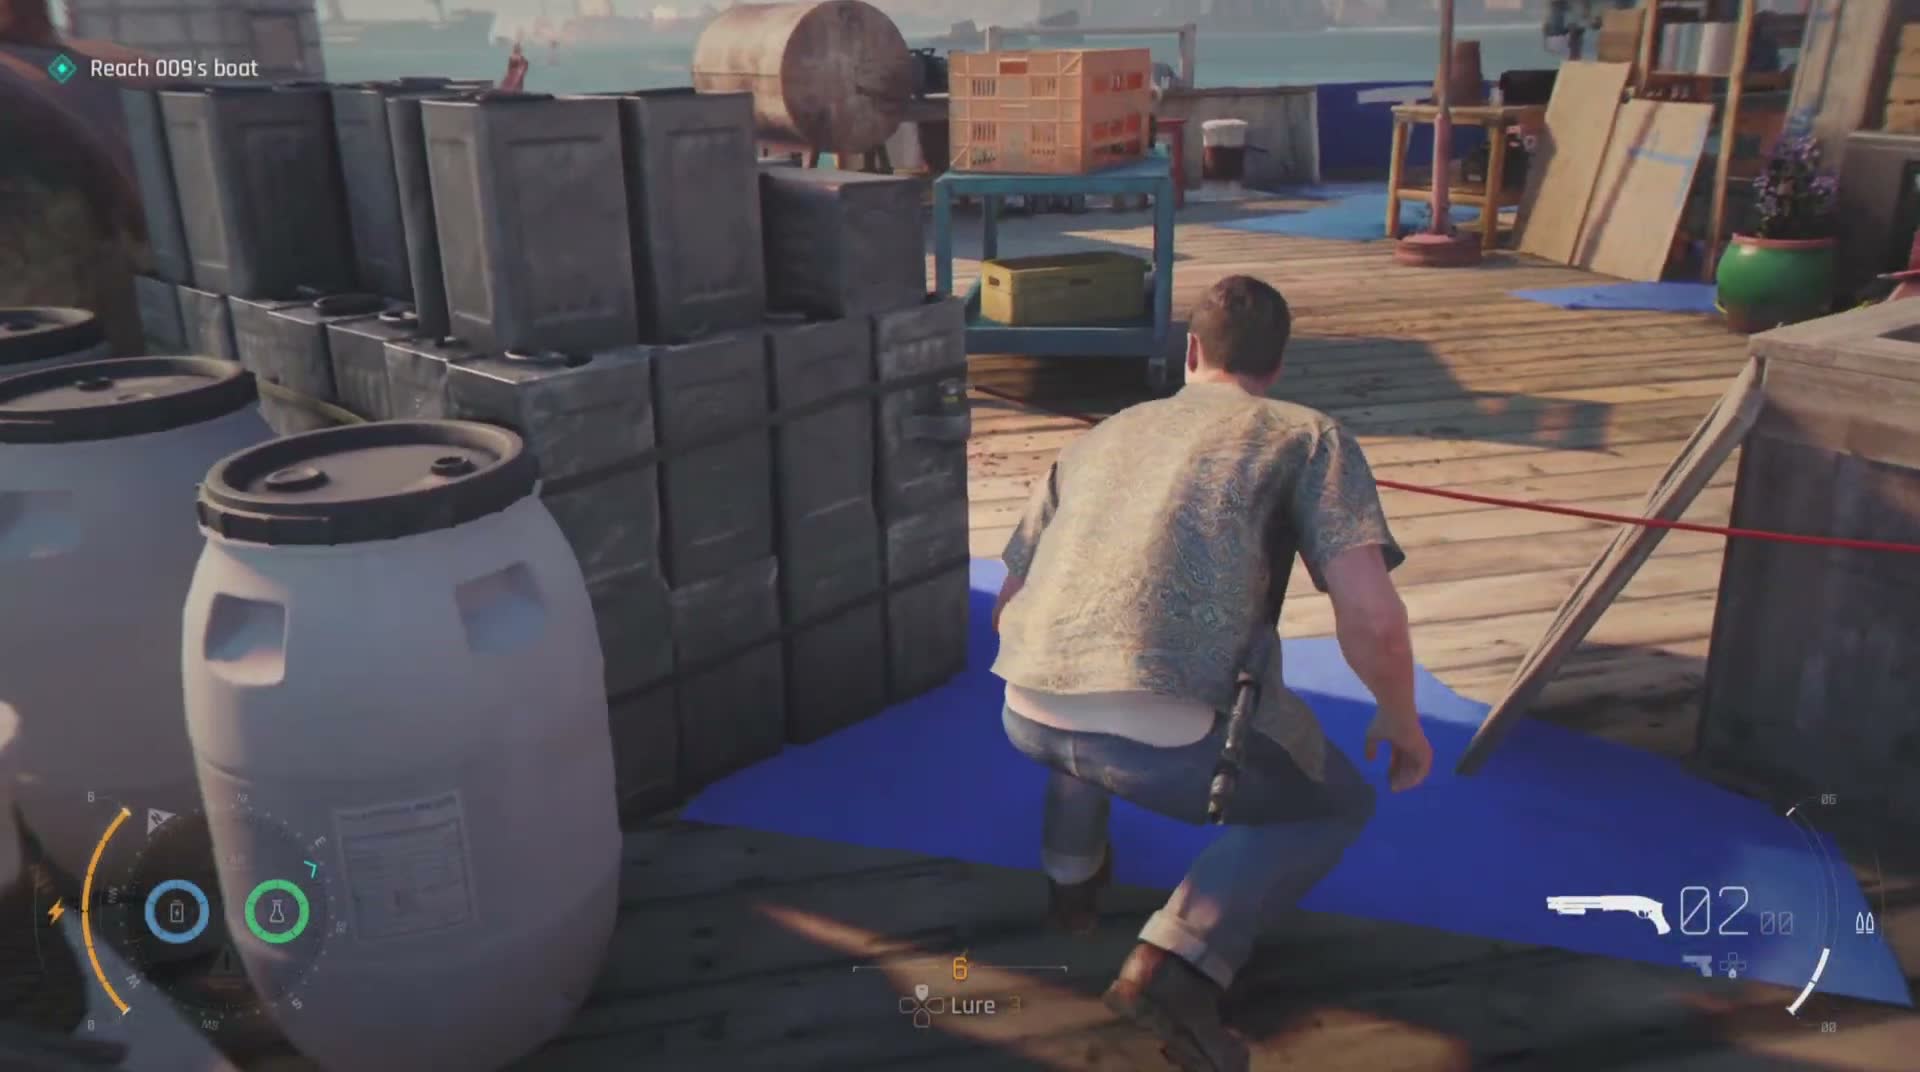
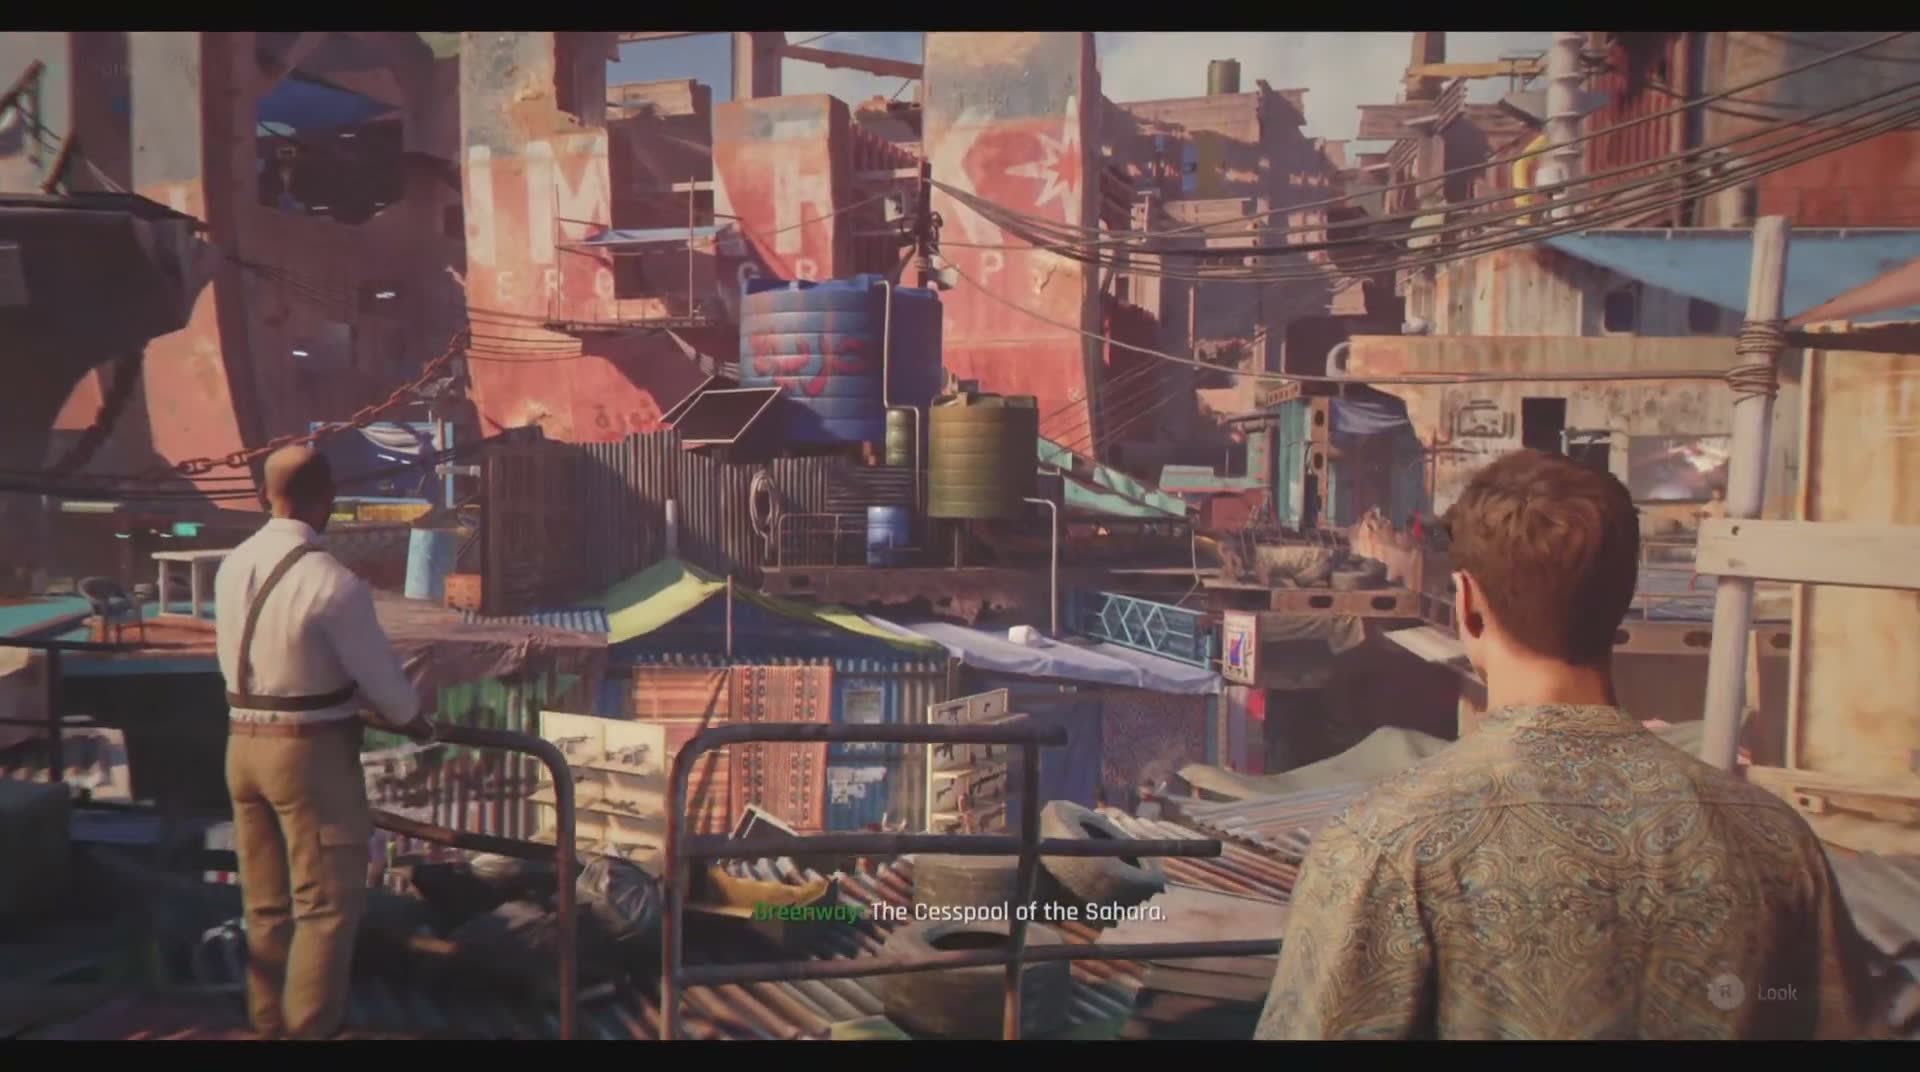
After leaving the auction, the path leads outside onto the ship's outer walkways and eventually down to the waterfront. This is one of the prettiest sections of the chapter — bright blue water, wooden docks, and the rusted hulls of the surrounding ships rising above everything. There are a couple of guards patrolling the dock area, but they're spaced far enough apart that you can either sneak past or take them down one by one.
You'll encounter a SPRAY TAG wall in this section (marked with a blue symbol) — this is part of the objective chain where you mark locations for Greenway (or for future reference). Tag it when prompted. Just past the docks is a lush garden area that feels completely different from the industrial grime of the rest of Aleph: purple flowers in large terracotta pots, well-tended greenery, a wooden lattice fence, and almost no guards. It's a moment of visual calm before the storm.
But the garden area holds a critical discovery. Inside a room overlooking the garden (accessible via a climb or a balcony), you'll find a Tarot Card (Tarot Cards 5/6) on a chessboard — the CHESSBOARD collectible. Pick it up. Then as you explore deeper into the room, you find something much more unsettling: a PHOTO OF BOND pinned to a wall covered with notes, maps, and surveillance photos. Someone has been watching you — and they knew you were coming. This is the turning point of the chapter.
Captured — The Upside-Down Interrogation
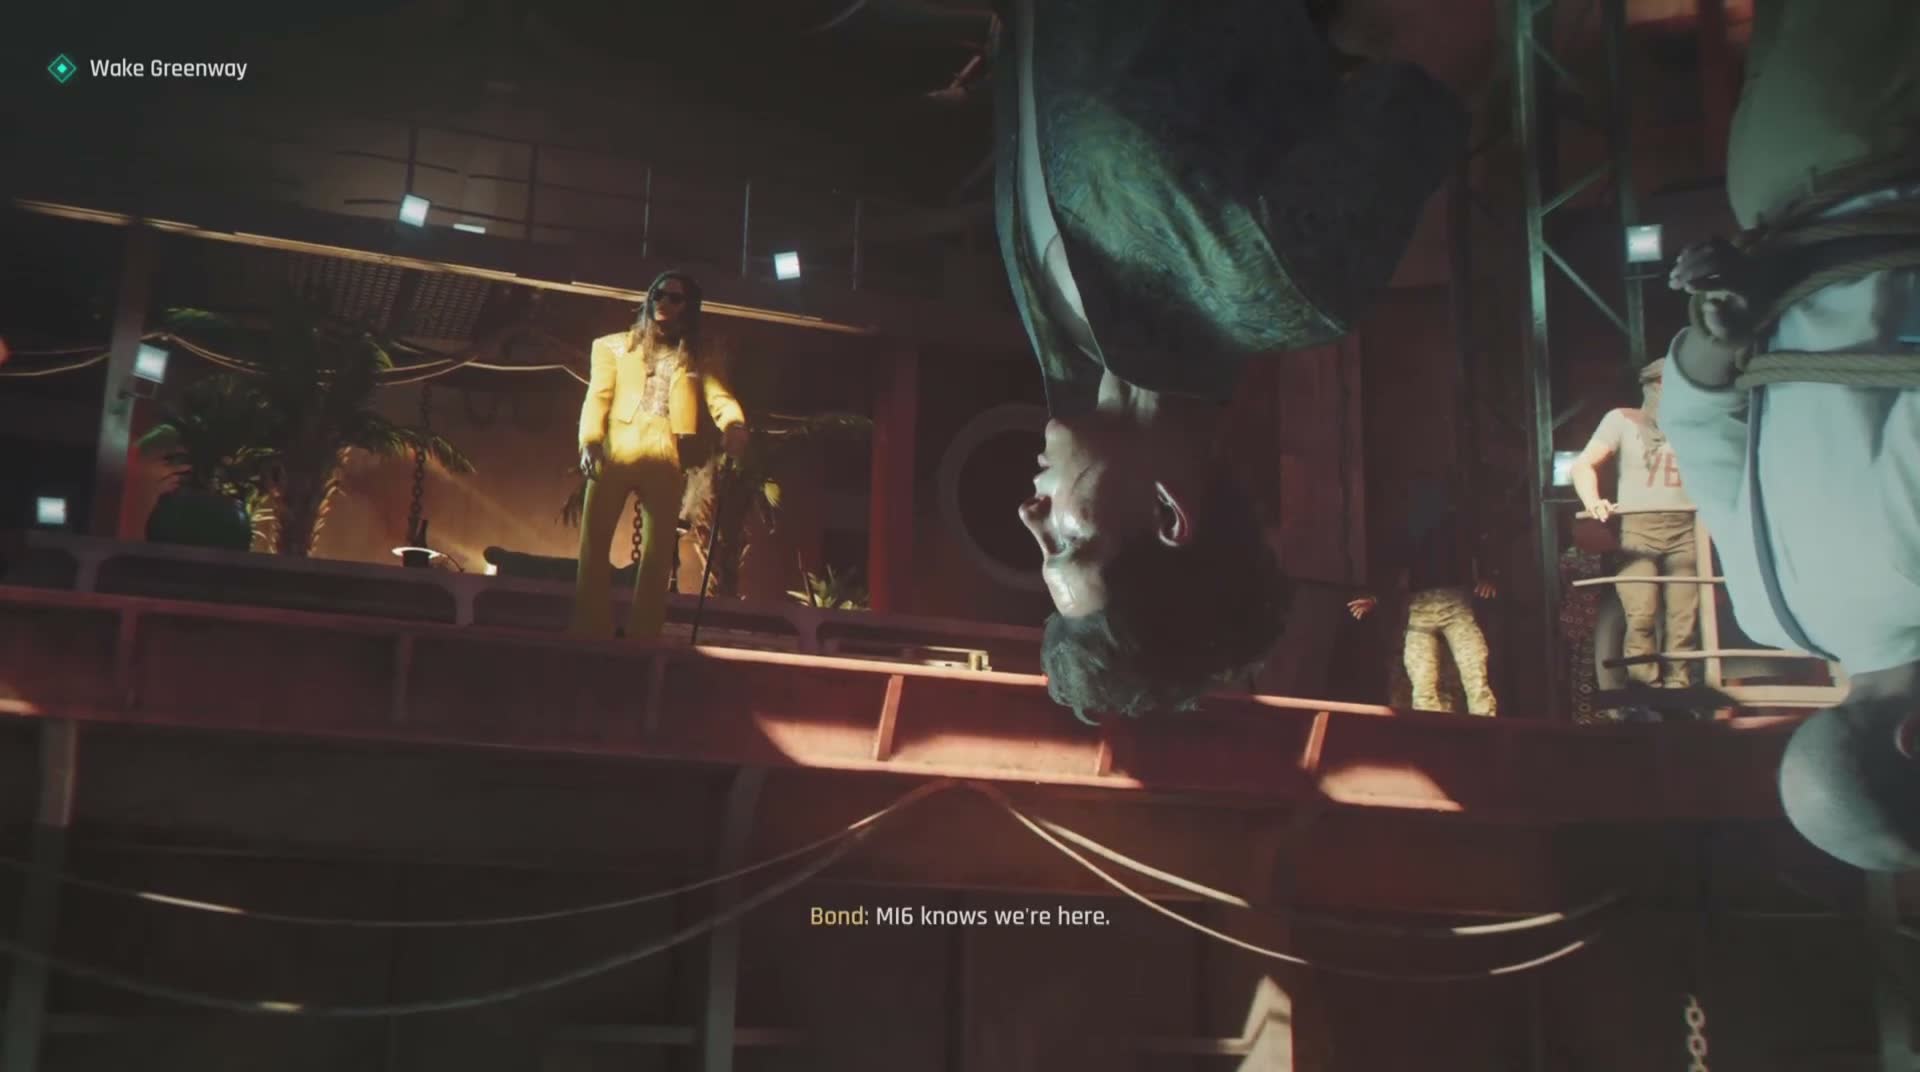
The revelation of the surveillance photo is immediately followed by the chapter's biggest twist. You can use a pair of binoculars at a vantage point to look across the water at another ship — and that's when things go wrong. Bond is ambushed, disarmed, and captured. The next thing you see, you're hanging upside down from a chain in a dimly lit industrial room, with Bawma standing in front of you in his yellow suit.
Greenway is also captured — she's hanging next to you (or visible nearby), equally helpless. This is a cutscene-heavy sequence, but it's also interactive: Bawma interrogates you, taunts you about your past, and reveals how much he actually knows about MI6's operation. The blue-turbaned lieutenant is present too, watching the whole thing. Bawma's monologue is worth listening to carefully — it sets up the story arc for the rest of the game.
Eventually, Bawma leaves the room, giving you your window to escape. Even upside down, Bond can manipulate his restraints. The escape prompt will appear; follow the QTE or button prompt to free yourself and drop to the floor. Once you're down, you're unarmed and your gear has been taken — you need to recover your equipment and get out.
The Escape — SUV, Steel, and the Final Tarot Card
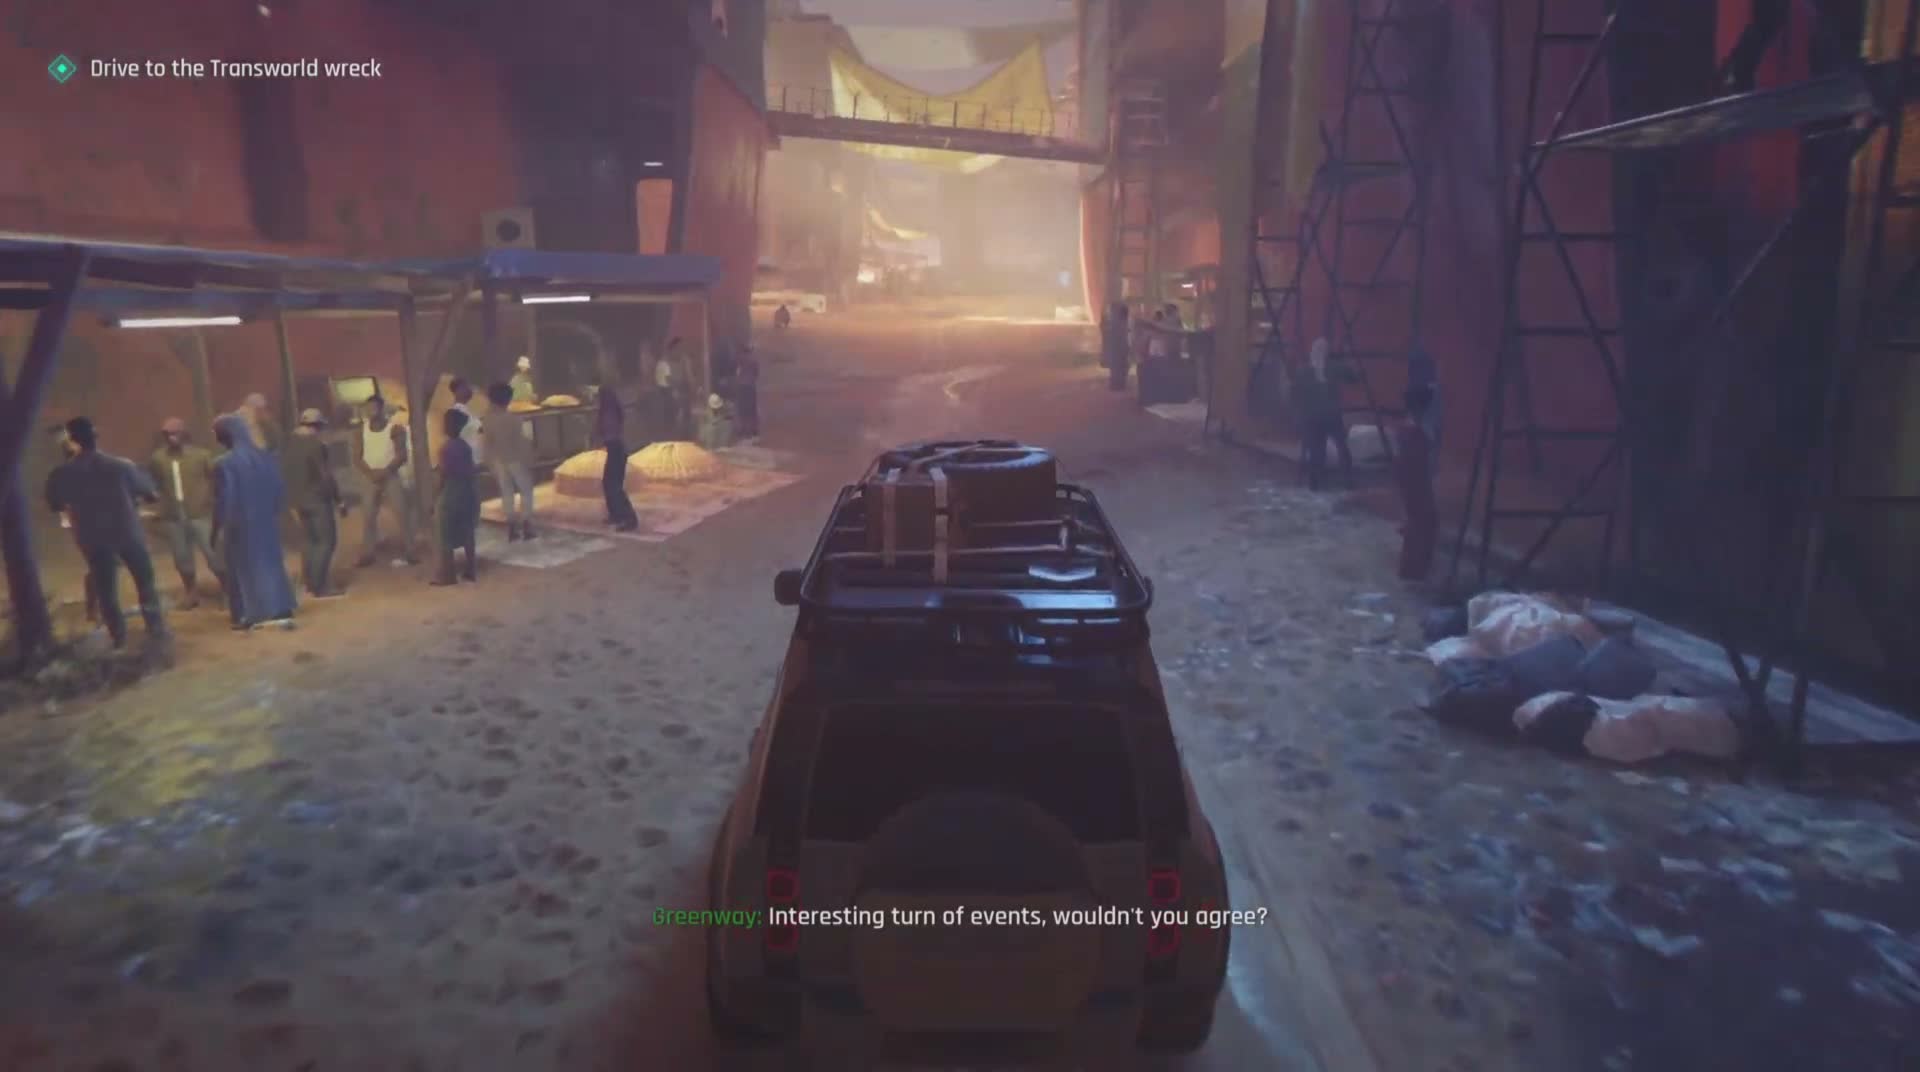
The final section of the chapter is a desperate escape through Aleph's industrial underbelly. You start near the holding area and need to make your way back out through the shipyards. The environment is bathed in warm, reddish light (sunset, or fires burning nearby), and guards are on high alert because they know you're loose.
Early in the escape you'll encounter an SUV parked in a yard — this isn't a driving sequence; it's part of the environment you navigate around (and sometimes over). Climb onto the vehicle and use it to reach a higher level or cross a gap. From there the route takes you across steel I-beams and industrial scaffolding that require careful platforming. Watch your step — a fall from these beams will drop you right back among the guards below.
Keep following the "Follow the tracks" / escape objective marker as you move through the industrial zone. The path loops back through sections of the ship and container yards you may have passed through earlier (in reverse), which is a nice touch of level design that makes Aleph feel like a real, connected place rather than a linear corridor.
The final Tarot Card (Tarot Cards 6/6) is hidden in this escape section. It's one of the trickiest collectibles in the chapter because you're moving fast and under pressure, but it's worth slowing down for if you're going for the complete set. Once you've picked it up and reached the chapter's exit point, a final cutscene plays and the mission concludes.
Chapter Wrap-Up and Deep Tips
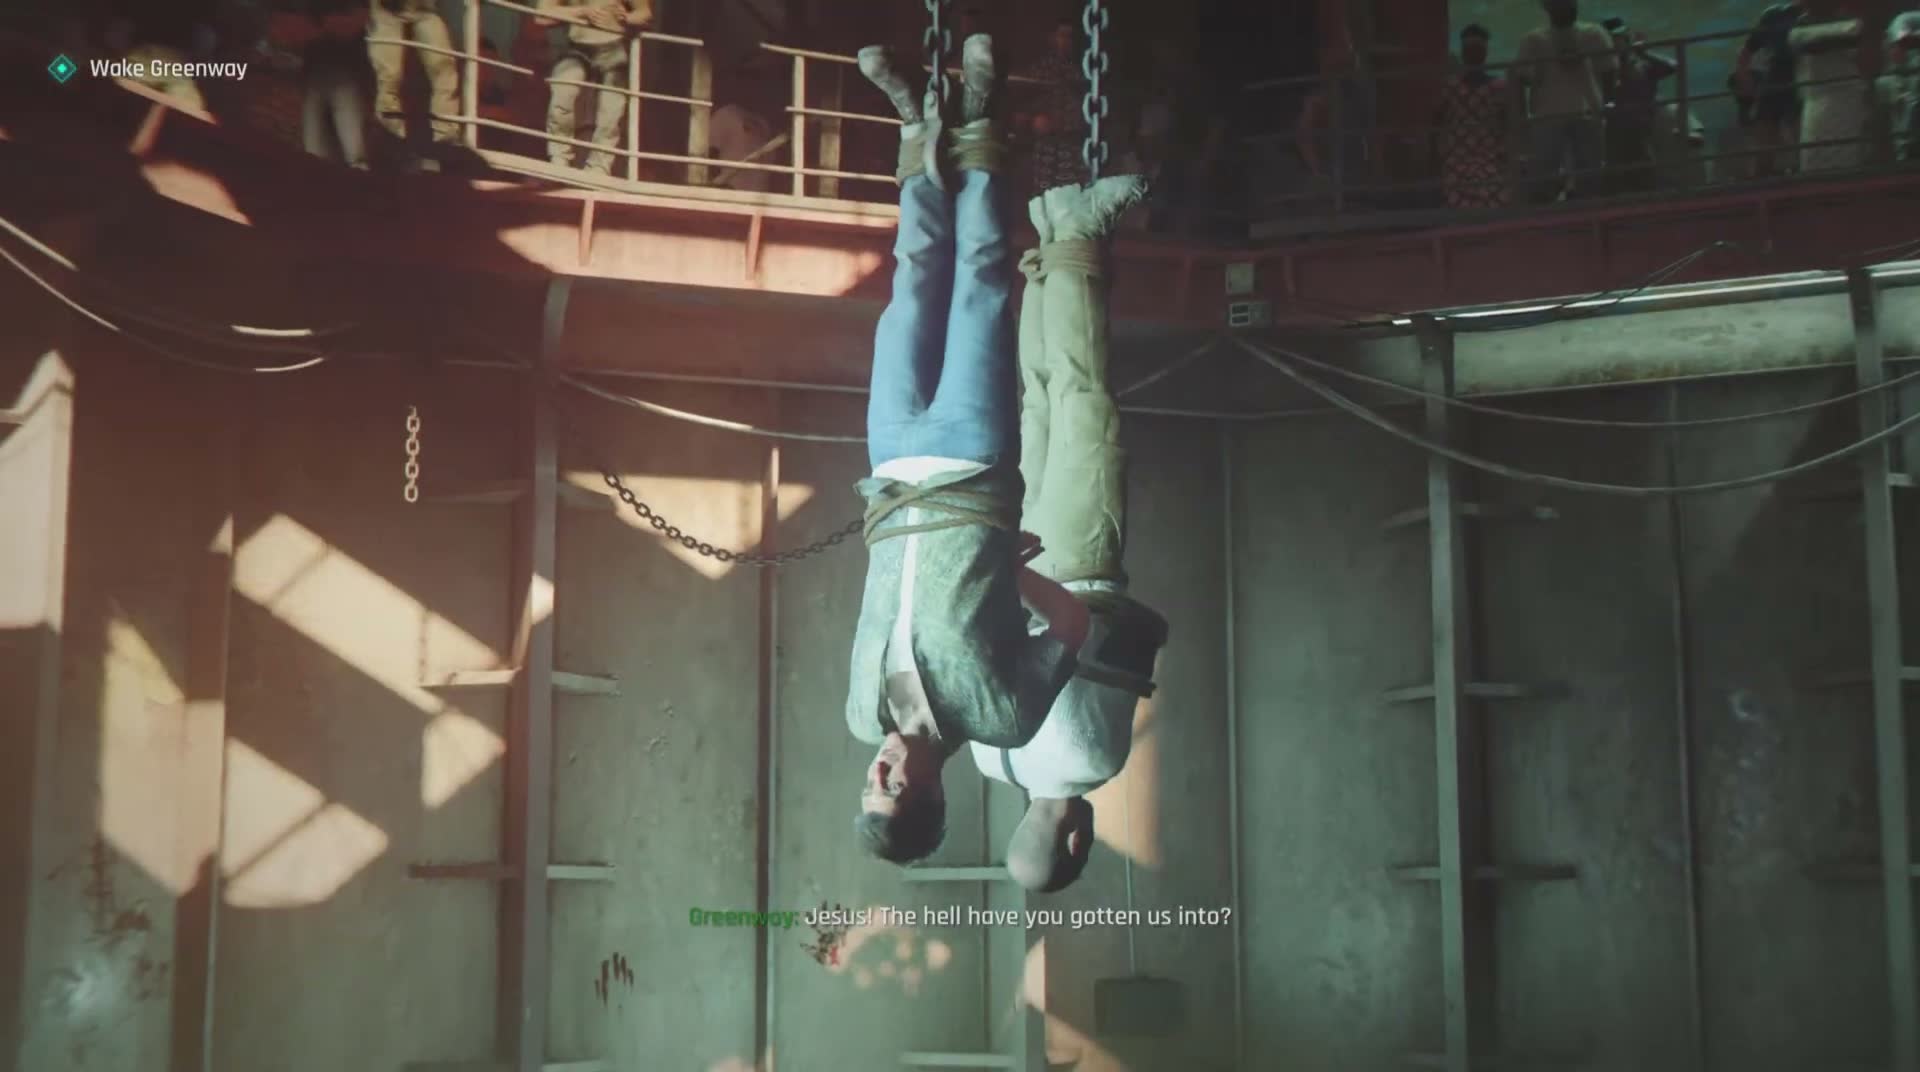
Chapter 10 is one of the longer and more varied missions in 007 First Light, clocking in at nearly an hour on a first playthrough (and closer to 35-40 minutes on repeat runs once you know the layout). The tonal shift — from the colourful, almost touristy exploration of the market to the claustrophobic tension of the capture and escape — is executed really well, and Aleph is one of the most memorable locations in the game.
If you're approaching the chapter for the first time, my recommendation is to take it slow through the market and container sections, soak in the world, and collect everything you can before the auction. The post-capture escape section is intentionally more linear and urgent, which means it's harder to hunt for missed collectibles once you're in it.
A few final notes from multiple playthroughs: the chapter supports non-lethal and ghost playstyles well if that's your preference; Bawma is set up as a major recurring villain (not a one-chapter boss); and the PHOTO OF BOND discovery is one of those story moments that pays off in later chapters if you've been paying attention to the breadcrumbs.
Chapter Tips
Collectibles in This Chapter
Explore each section thoroughly to find all hidden items. Check the tips above for specific collectible locations.