Uninvited
11

Uninvited

After the events in Aleph, Bond returns to London for a quiet night — but assassins breach his apartment, sending him on a rooftop chase and into a high-society Webb gala at the Works and Arts Museum to confront a conspiracy.

Hard~55-60 min10 Collectibles

Going Home — London After Aleph

Uninvited — Going Home — London After Aleph

Chapter 11 opens on a quieter note than the Aleph chaos of Chapter 10. Bond drives through London at night with Greenway in the passenger seat. Moneypenny calls to check in — she's heard about what went down in Mauritania, and she tells Bond to get some rest. The evidence they risked everything for is gone, turned to ash, and there's nothing more to be done tonight.

Greenway asks to be dropped off at the Crosshair Bar rather than going straight home, so Bond makes the detour and then continues to his apartment alone. There's no Monroe, no Cressida this time — just him, the hum of the London streets, and the sense that something is off.

Once you reach the apartment, you have a moment of free exploration. You can walk around the flat, interact with a few objects if you want to soak in the atmosphere, but the game gently funnels you toward the bedroom. Bond pours himself a drink, the music plays, and for a moment it feels like the night might actually end quietly.

The drive to the apartment is non-interactive cutscene — just watch it. The Moneypenny phone call establishes the emotional tone for the chapter, so don't skip it if you care about the story.
When you first enter the apartment, take a moment to look around. The flat tells you a lot about who Bond is at this point in the story — where he lives, how he lives, and what's missing from the place.
There's no combat or stealth in this opening section. Let your guard down. The game is deliberately giving you a false sense of security before everything goes wrong.

Intruders — Fight for Your Life

Uninvited — Intruders — Fight for Your Life

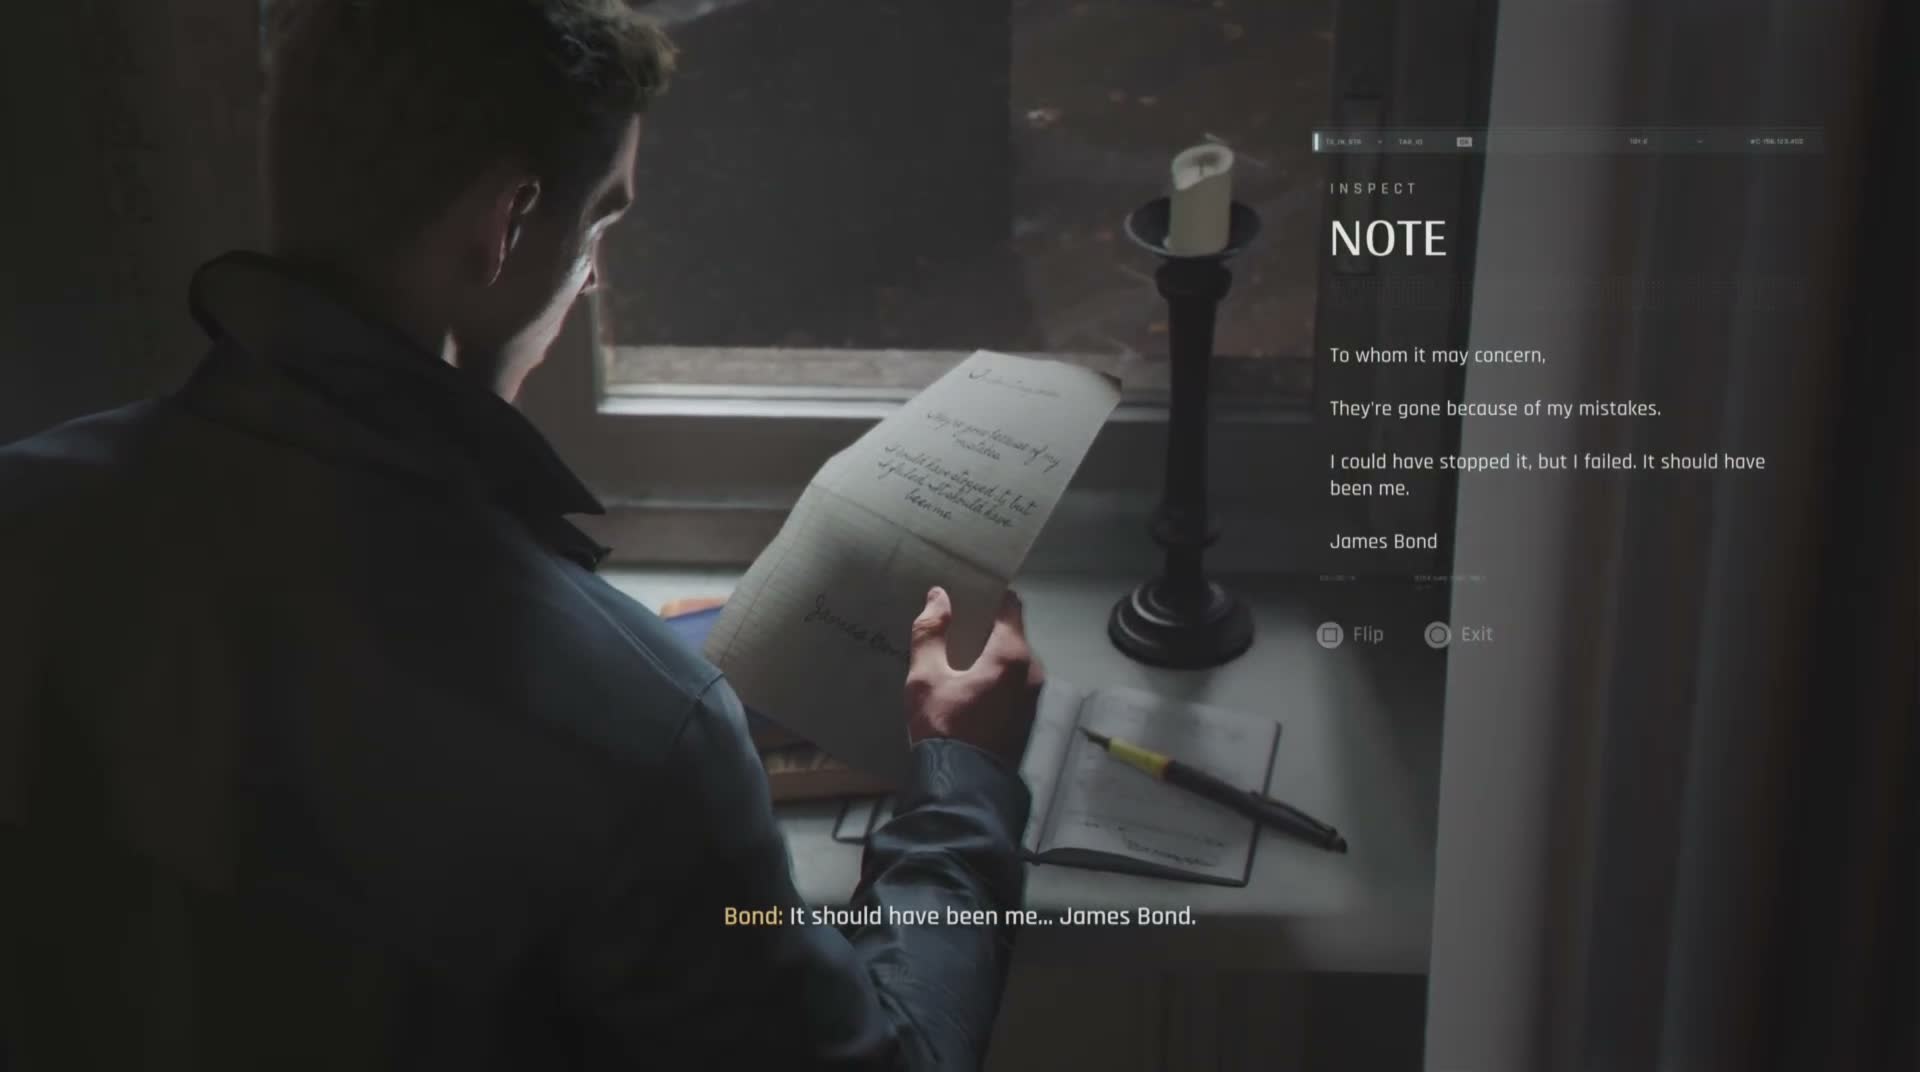
The peace doesn't last. As Bond approaches the window, he finds a note left for him — a message, personal and threatening. The exact second he sets the note down, an arm wraps around his throat from behind. Someone was waiting for him inside the apartment.

This triggers a hand-to-hand combat sequence that is purely QTE-driven — there's no weapon to draw, no takedown gadget to use. You need to fight off the intruder using melee prompts (the specific button combination depends on your platform, but the game walks you through it). Land the counters correctly and Bond will slam the attacker into furniture and eventually subdue him.

But there's a second intruder in the kitchen. As you turn to face him, a green laser sight appears on Bond's chest — a sniper from across the street. Thinking fast, Bond grabs the second intruder and uses his body as a human shield just as the shot rings out. The glass shatters, the body in your arms goes limp, and you now know you're dealing with trained professionals.

From the window, you can see the laser sight sweeping across the facade of the building. The sniper is positioned somewhere on a rooftop across the way, and you can't stay in the apartment. The objective shifts: you need to reach that sniper before he — or his backup — finishes the job.

The QTE fight sequences are forgiving on easier difficulties but much less so on higher difficulties. Watch the prompts carefully and don't button-mash — the game will punish early inputs.
The laser-sight moment is a scripted event, not a real-time threat when it first appears. Don't panic trying to dodge it before the prompt appears; it's a cutscene beat.
After using the intruder as a shield, you can pick up the downed attacker's pistol. You'll want it for what comes next.

The Rooftop Chase and the Crane

Uninvited — The Rooftop Chase and the Crane

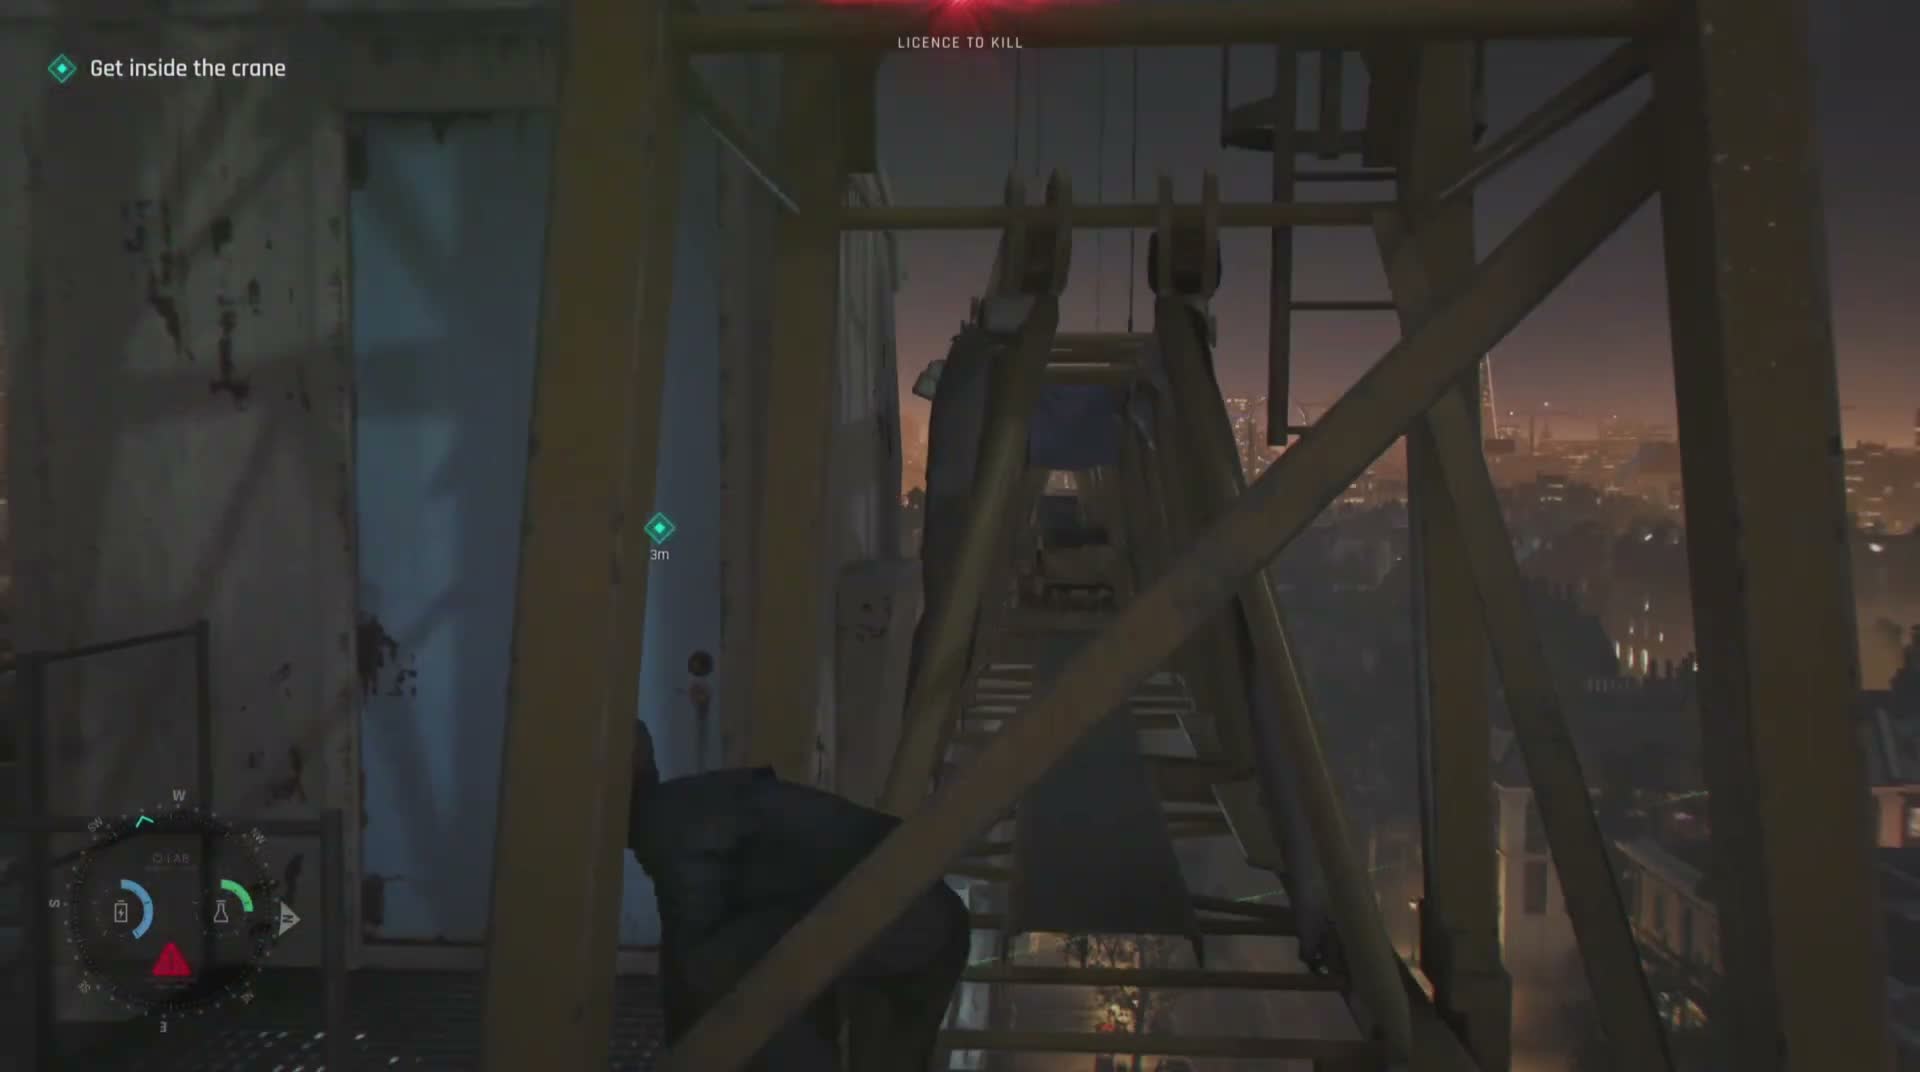
With the apartment compromised, Bond takes to the rooftops of London. This is one of the chapter's most cinematic sequences — moonlit chimneys, Victorian brickwork, and that relentless green laser beam tracking your every move. You need to move from cover to cover, staying behind chimney stacks and parapets to avoid being picked off.

The path leads across several connected rooftops toward a construction crane that dominates the skyline ahead. This crane is your ticket to closing the distance with the sniper. Climb the ladder to the control cab at the top — there's no guard up here, just the crane operator's chair and the controls. Bond turns on the work lights mounted on the crane boom, swinging the blinding floodlight directly toward the sniper's position.

Once the sniper is blinded, rotate the crane to bring the boom close enough to cross — and that's when you come face to face with him. He's one of the blond twins you may remember from earlier in the game (the assassins with the distinct Nordic look). He tries to escape along the crane arm, Bond pursues, and in the scuffle that follows Bond ends up hanging from the edge of a ledge. The twin kicks him hard, sending Bond falling into the alley below.

Shaken but alive, Bond radios Moneypenny. He tells her what happened and asks her to track the assassin's phone signal. She patches into the network and traces the signal to a single location: the Works and Arts Museum, where the Webb Industries gala is being held tonight. The invitation on Bond's desk — the one he dismissed earlier — suddenly looks a lot more relevant.

The laser sight on the rooftops is a genuine gameplay threat, not just a visual effect. Exposure for more than a second or two means a shot and likely death. Watch the beam, time your moves, and don't sprint across open gaps.
When climbing the crane ladder, there's no ambush at the top — go ahead and climb without hesitation. The threat is the lights-on puzzle, not a guard.
The crane lights sequence: turn on the floodlights first (you'll see the prompt in the cab), then use the rotation controls to swing the boom. The sniper is blinded as long as the light is on him, giving you your window to cross.
After falling from the crane, you wake up in the alley below. Follow the objective marker to the street; there are no collectibles or surprises in the alley itself.

The Museum Gala — Infiltrating the Party
Uninvited — The Museum Gala — Infiltrating the Party

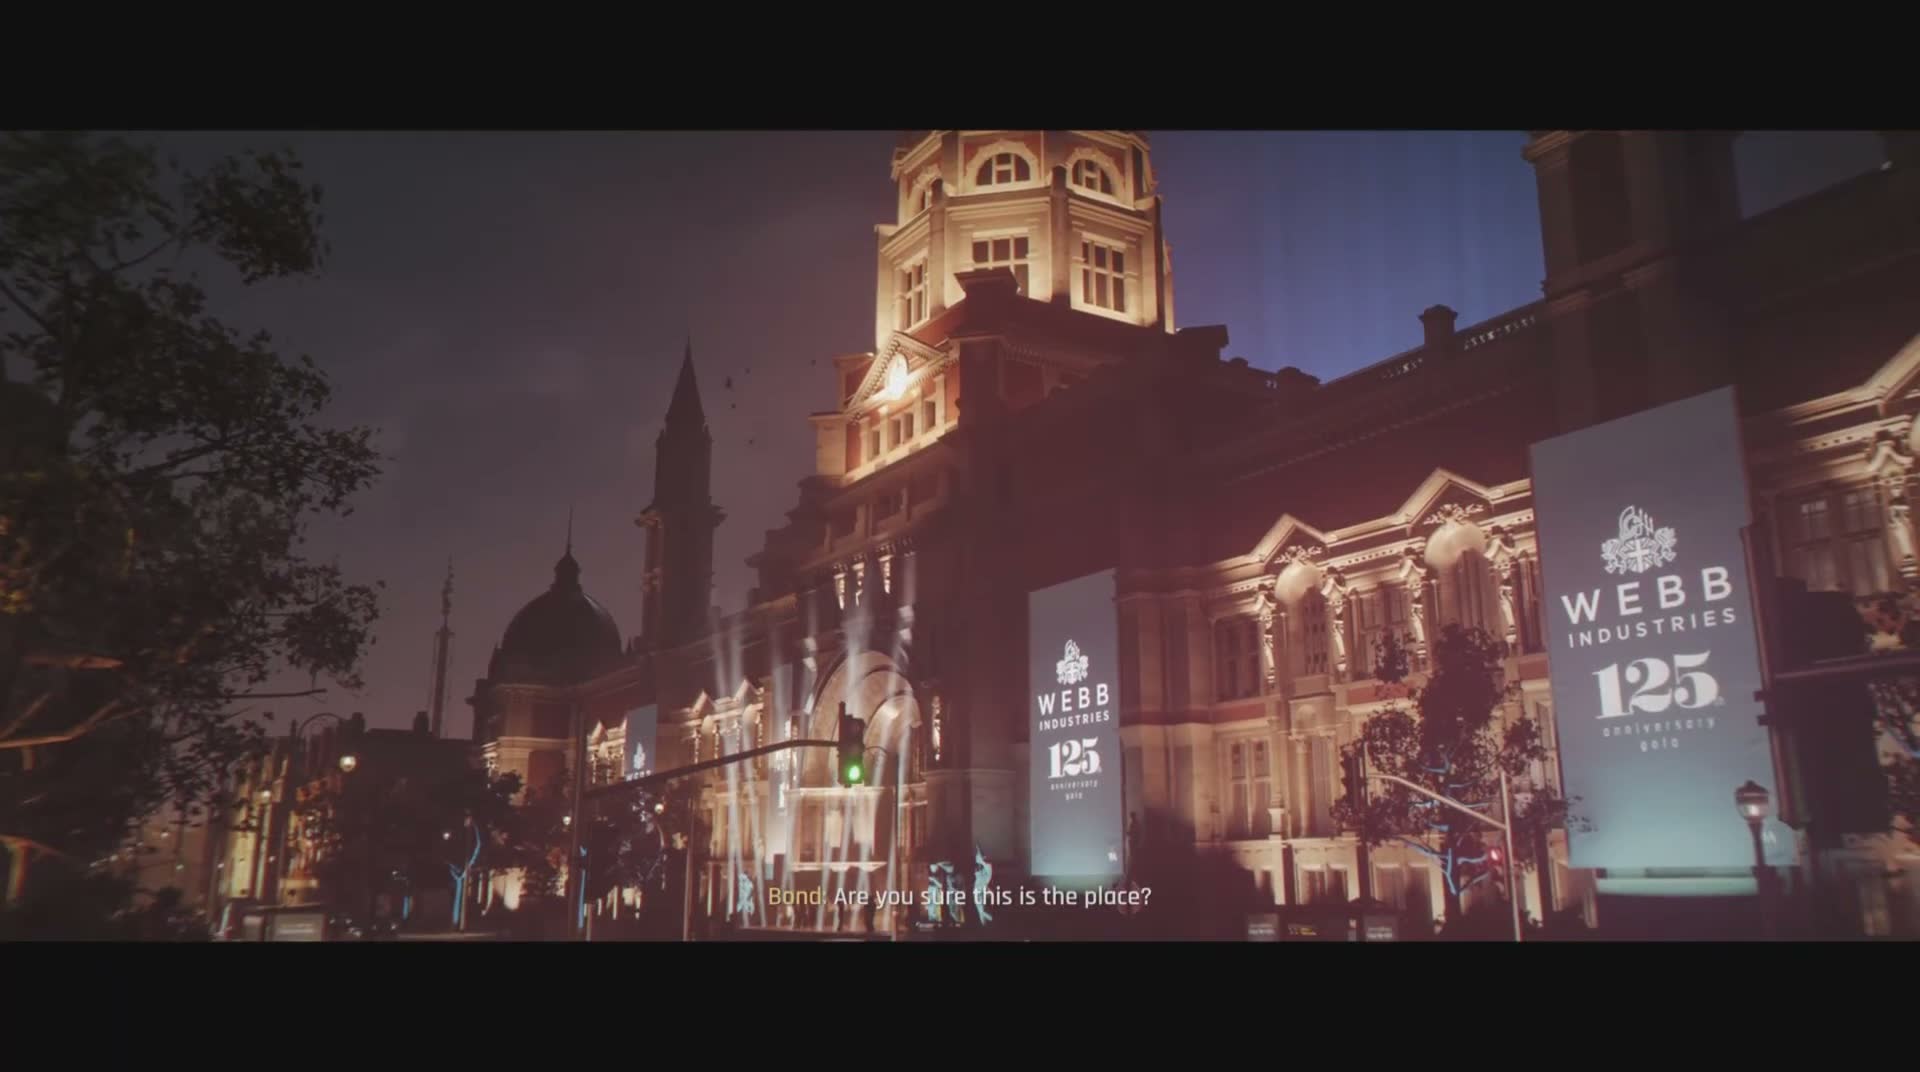
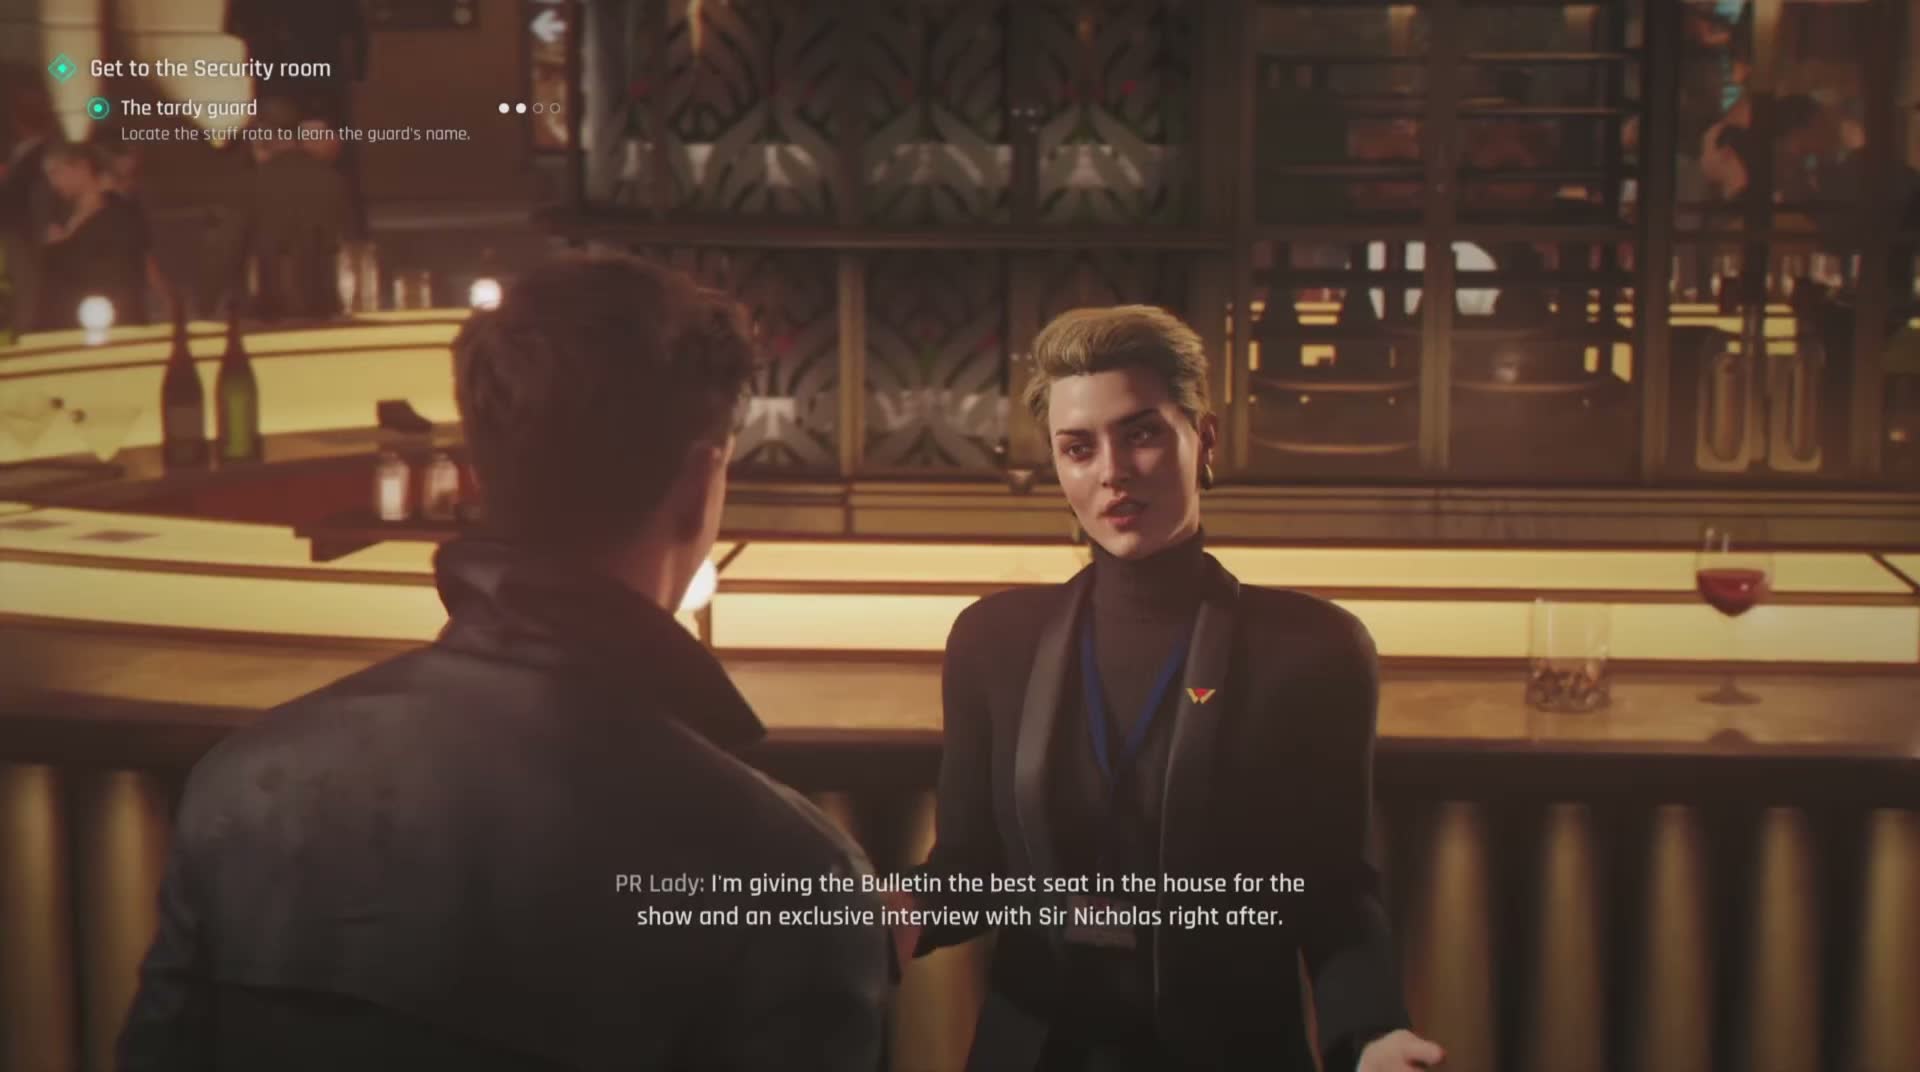
The Works and Arts Museum is hosting a black-tie gala for Webb Industries, London's most powerful defence tech conglomerate. Think chandeliers, string quartets, waiters passing champagne, wealthy donors in tuxedos and gowns — and serious security. Bond has a legitimate invitation waiting for him (a nice callback to his earlier dismissal of it), so getting through the front door isn't the problem. The problem is that the assassin is somewhere inside, Bond doesn't know what he looks like without the sniper rifle and night vision, and he can't just start searching the museum with a gun drawn.

Moneypenny tracks the phone signal to a bathroom inside the museum. Following the blip leads you to the men's room, where the phone has been discarded in a bin — wiped, of course, the assassin knew he was being tracked. But the second Bond steps back out of the bathroom, he looks up and sees a CCTV camera. If the twin was here, he's on camera.

To access the security footage, Bond needs Moneypenny to patch into the museum's network — and that means physically reaching the security room on an upper floor. The gala guests don't have access up there, so you'll need to bluff, sneak, or steal your way past the staff checkpoints. This is the social-stealth core of the chapter.

Before heading to the bathroom, take a moment to explore the gala floor. There are collectibles scattered around the main hall, and eavesdropping on conversations gives you useful intel about Webb Industries and who the key players are.
In the bathroom, the discarded phone is in a trash bin — look for the interaction prompt. Once you pick it up, the trail goes cold and the next objective (security room) triggers.
Don't draw a weapon in the gala hall. Full alarm equals mission failure here. This is one of the few levels in the game where going loud is a fail state, not just a harder option.
The bartenders and waitstaff can be distracted with your Dart Phone gadget — useful for creating openings when you need to slip past someone.

Eavesdropping, Passwords, and the Cloakroom Disguise
Uninvited — Eavesdropping, Passwords, and the Cloakroom Disguise

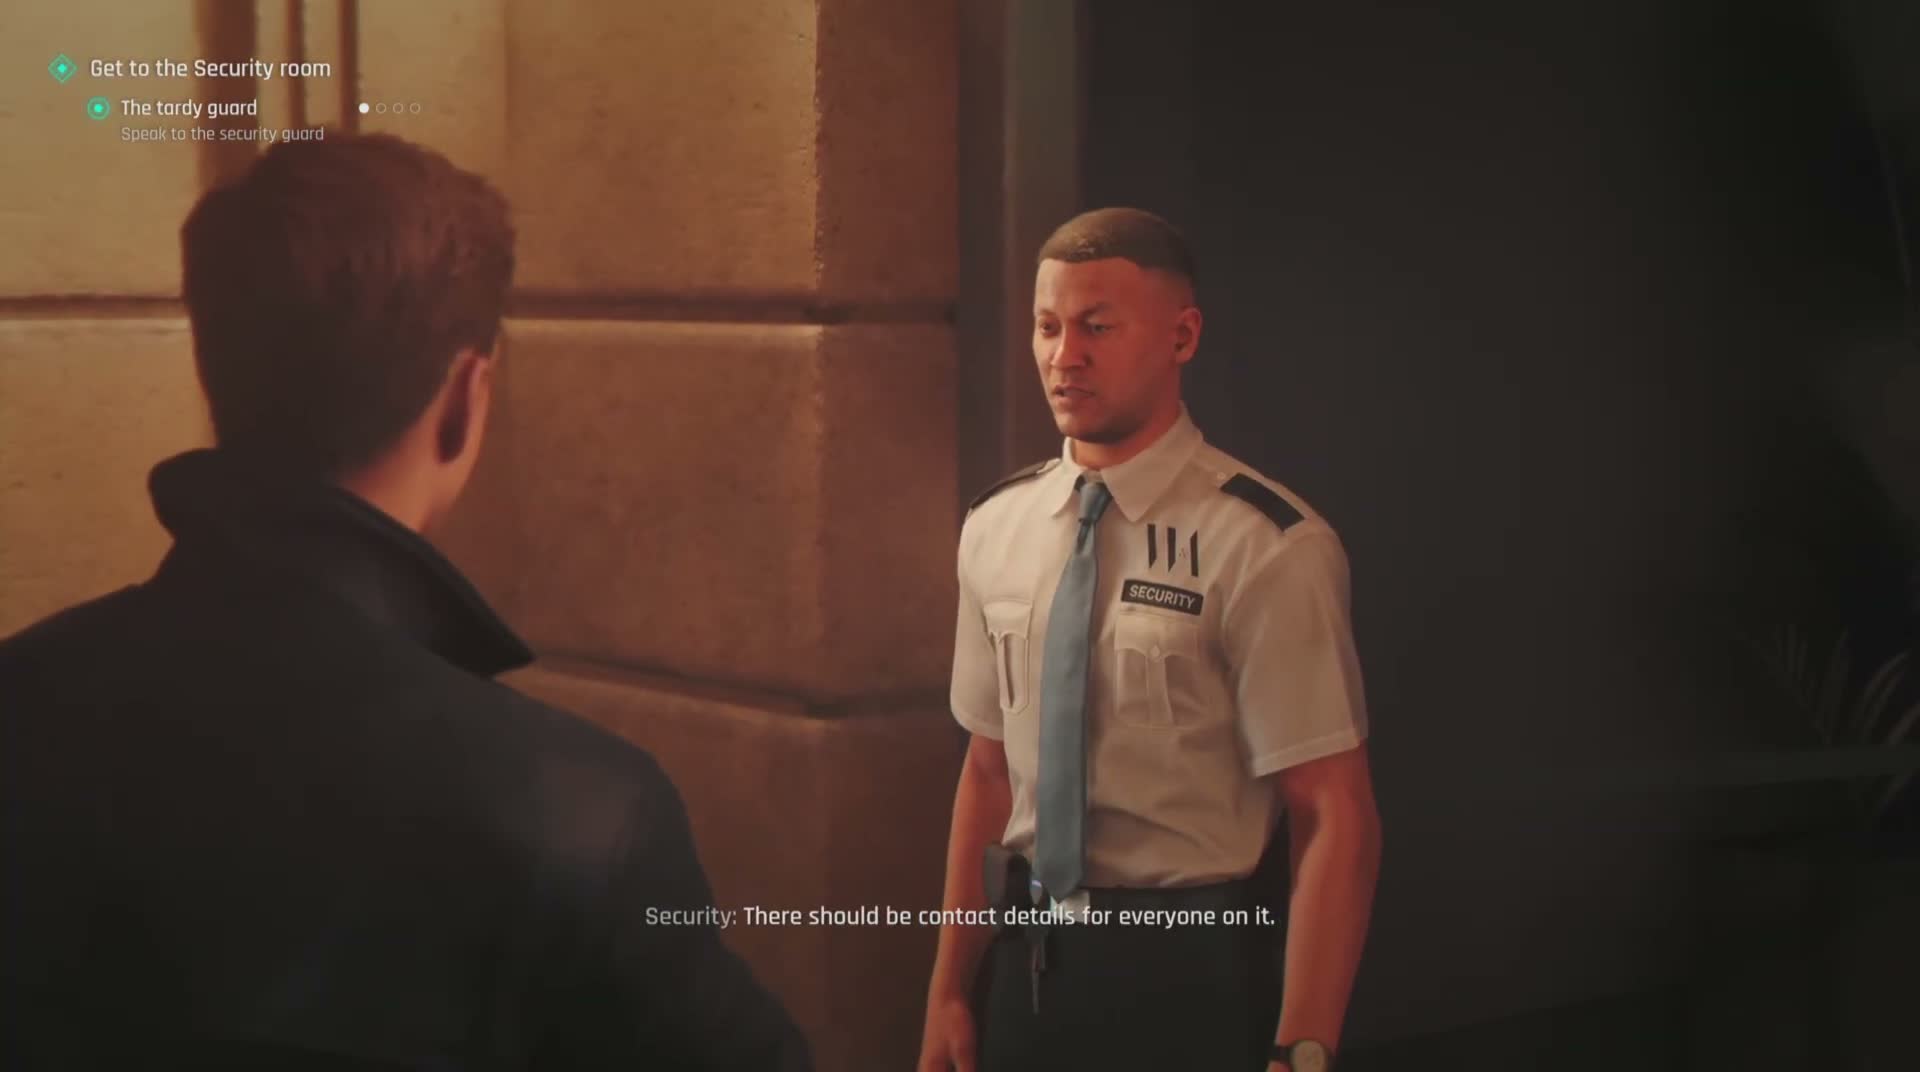
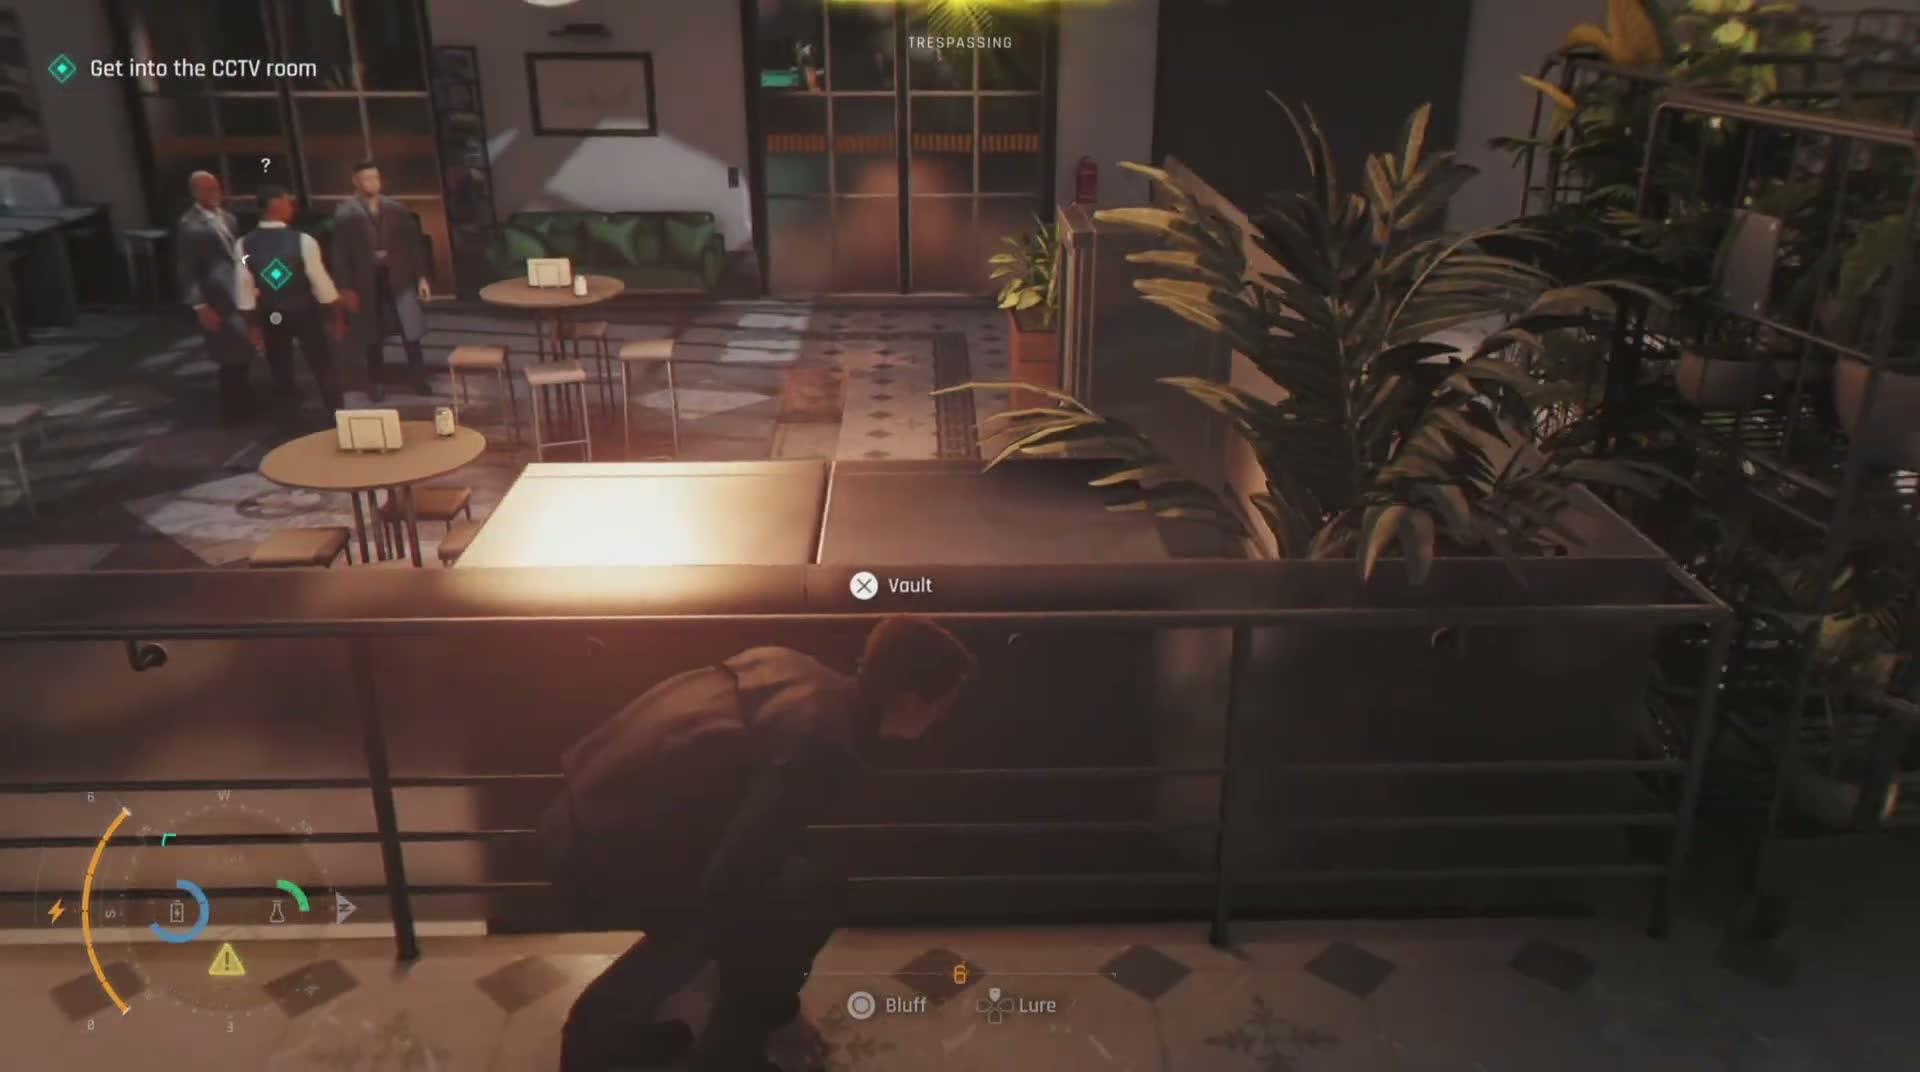
The route up to the security wing is gated by a staff checkpoint, and the only way past without causing a scene is to convincingly pose as staff. Head toward the bar area on the main floor and listen in on two security guards having a conversation near the drinks station. They're complaining about a colleague — Harry Sykes — who hasn't shown up for his shift. His post is the cloakroom at the staff entrance, and someone needs to cover it.

This is your opening. To pull off the impersonation, you need two things: the shift roster password (so you can identify yourself when challenged), and a way to get past the bar staff to access the staff tablet. The password is on a piece of paper in a drawer behind the bar counter. Distract the bartender using your Dart Phone or another gadget, slip behind the bar while they're occupied, and grab the note.

With the password in hand, check the tablet on the counter near the coffee machine to pull up the shift roster and confirm Harry Sykes' assignment. Now you can walk up to the guards at the staff entrance, tell them Harry didn't show and you're covering the cloakroom, and they'll wave you through without a second thought. It's classic Bond — a little eavesdropping, a little misdirection, and you walk right through the front door.

Once past the checkpoint, the route leads up a service staircase to the upper floors and the security wing.

There are multiple ways to get past this section, but the Harry Sykes route is the cleanest and the one the game intends. Going in guns blazing or climbing the exterior of the building will trigger alarms.
When distracting the bartender, make sure other staff aren't looking your way. NPCs in this chapter have realistic peripheral vision and will get suspicious if they see you vaulting the bar.
The Dart Phone distraction has a cooldown — use it sparingly and make sure each distraction creates a real opening, not just a momentary diversion.
After being waved through by the guards, you're in staff areas. You can move more freely here but you're still impersonating staff — running, drawing weapons, or ignoring direct questions will blow your cover.

The CCTV Keycard and the Security Room
Uninvited — The CCTV Keycard and the Security Room

Upstairs in the staff corridors, the security room itself has its own lock — a keycard reader. The card is carried by a senior Webb guard patrolling the upper hallway. You'll need to follow him, wait for the right moment (a quiet stretch of corridor without witnesses or cameras), and either pickpocket the card from him or take him down quietly and lift it from his body.

Pickpocketing is the cleaner option if you're going for ghost/no-detection, but it requires patience — the guard stops at predictable points on his patrol route, and the pickpocket window is short. The takedown is easier but you must hide the body immediately; there are cleaning cupboards and side rooms along the corridor that work well.

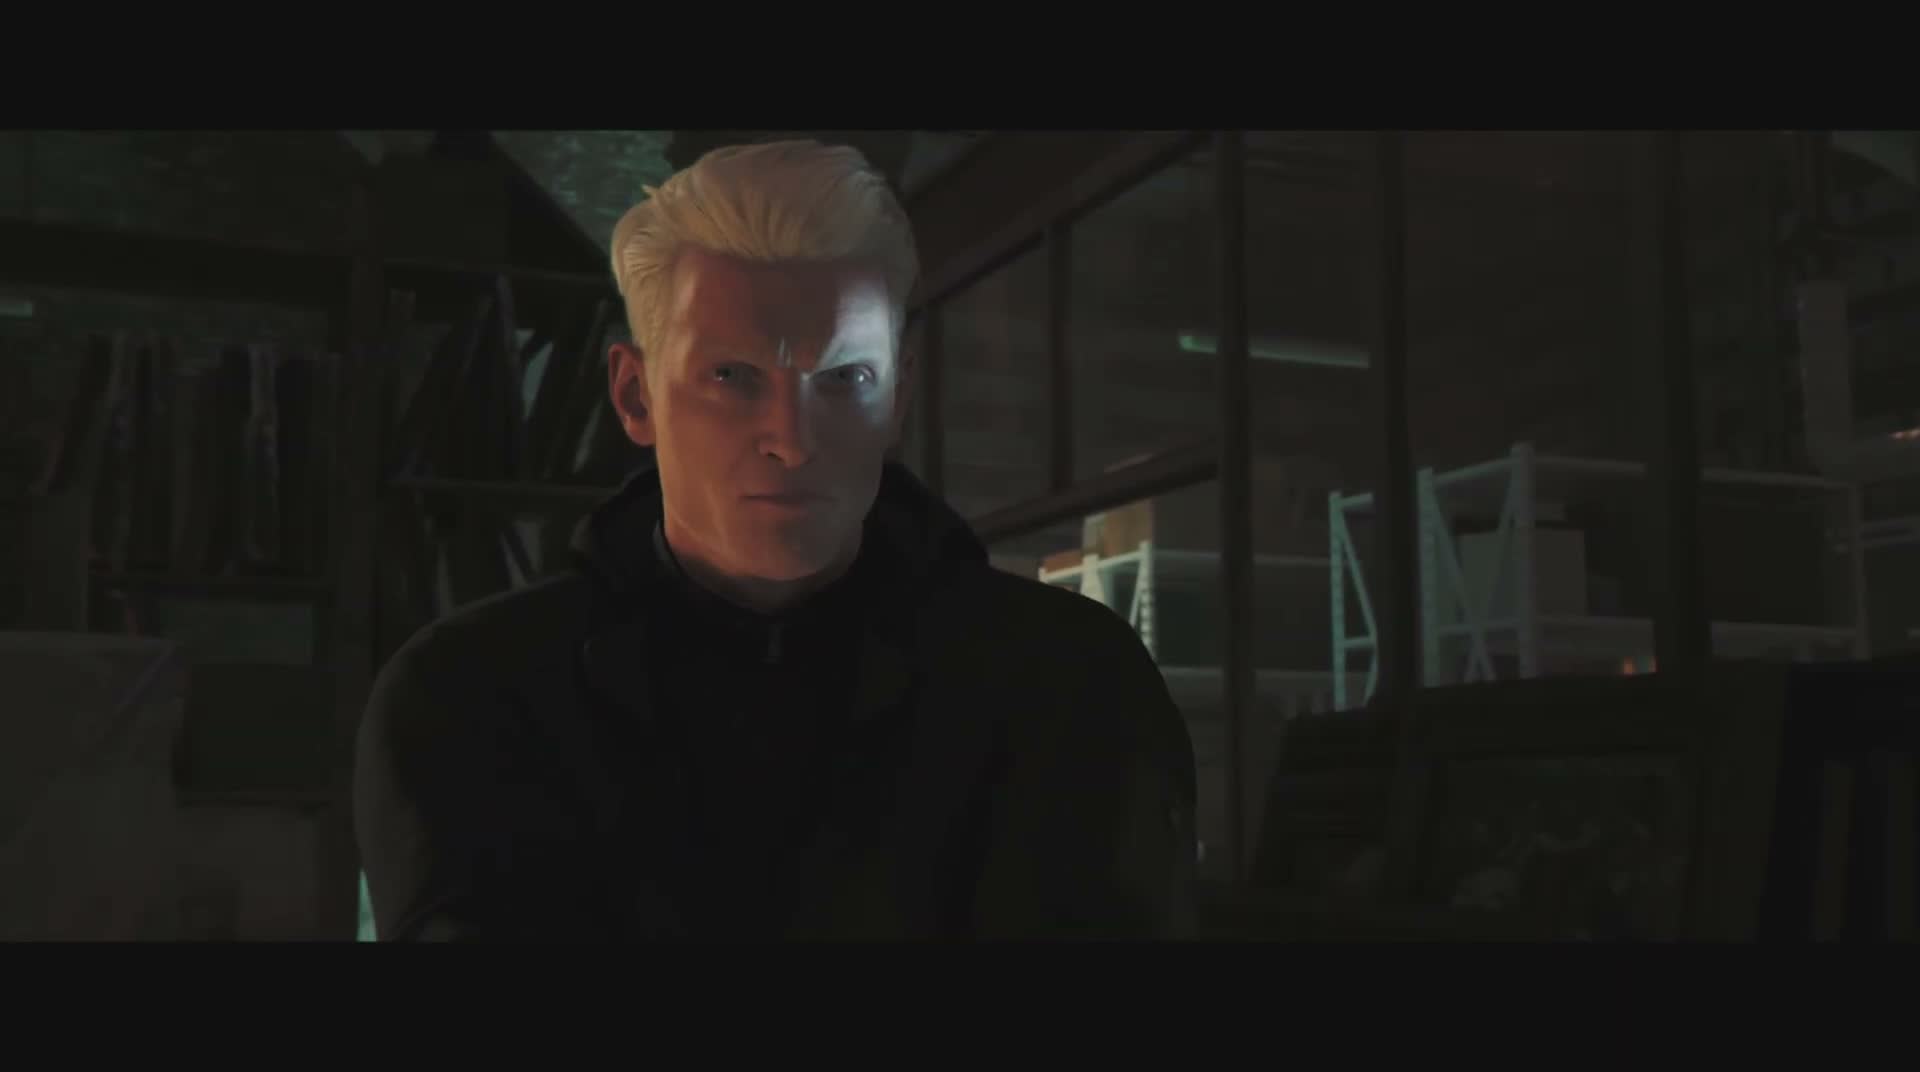
Once you have the keycard, the security room door unlocks and you can patch Moneypenny in. She accesses the CCTV system and pulls up footage of the blonde twin — identified as Murto — moving through the museum. The footage shows him heading down into the basement level. Moneypenny unlocks the stairwell to the basement and marks Murto's last known position on your map. There's a padlock on the basement access door — use your Watch Laser to burn through it.

The keycard guard has a predictable patrol loop. Watch him do a full circuit before making your move so you know exactly where the blind spots are.
There are security cameras in the upper hallway — note their positions and cone of vision before going for the pickpocket or takedown. The Dart Phone can disable cameras temporarily if needed.
After patching Moneypenny in the security room, you get full camera access to the museum. You can use the CCTV feeds to scout the basement before you go down — I strongly recommend doing this, because what's waiting for you down there isn't just a conversation.
The laser on your watch makes short work of the basement padlock — no need to find a key or brute-force it.

The Basement — Murto Boss Fight

Uninvited — The Basement — Murto Boss Fight

The basement is dark, industrial, and full of construction and restoration equipment — and Murto is waiting for you. This is the chapter's set-piece boss encounter, and it's not a straightforward shootout. Murto is fast, heavily armoured, and he uses the environment intelligently. Charging him with a pistol is a quick death.

The key to beating Murto is environmental takedowns. There are three distinct environmental hazards in the basement that you can trigger to weaken and eventually defeat him: the construction spotlights (wired to a control panel you can sabotage to blind him), a large chandelier (or heavy suspended lighting rig) that you can drop on him by shooting its chain or winch, and an industrial fume extractor / ventilation unit that can be activated to flood his position with choking vapour, leaving him gasping and vulnerable.

Each environmental hit does significant damage. You need to land all three (or combine them with gunfire between hazards) to bring him down. The fight flows across the basement space — Murto chases you, you lure him under or into range of the next hazard, trigger it, then move to the next position. It's a cat-and-mouse game where you're supposed to use your brain rather than your trigger finger.

Once Murto is down, there's a moment of relief — but it's cut short. A door opens and you're not alone anymore. Sir Nicholas Webb, the patriarch of Webb Industries, and his son Damien are in the museum with armed security. The gala was a trap, and you walked straight into it.

On higher difficulties, Murto can kill Bond in two or three hits. Keep moving, use cover, and don't stop to trade shots — he wins straight gunfights.
The three environmental kills are available in any order, but the construction lights are closest to where you enter and make a good opener — blind him, land a few shots while he's stunned, then move toward the chandelier position.
When triggering the chandelier drop, make sure Murto is directly underneath it. The takedown zone is smaller than you might think, and missing the drop wastes the opportunity and forces you to fall back on gunfire.
Between environmental attacks, Murto will chase and flank you. Use the basement pillars and equipment stacks to break line of sight and reposition.
There's no Pacifist or Ghost challenge for this fight specifically — the game expects you to deal with Murto, and environmental kills are the correct way to do it, not a cheat.

Confrontation — Nicholas and Damien Webb
Uninvited — Confrontation — Nicholas and Damien Webb

With Murto down, Bond is escorted at gunpoint to Sir Nicholas Webb, who is addressing the gala crowd from a stage in the main hall. Nicholas Webb is elderly, charismatic, and utterly ruthless — a British defence tycoon who has been selling arms to the very organisations MI6 is investigating. He sees through Bond's cover immediately and is amused rather than threatened.

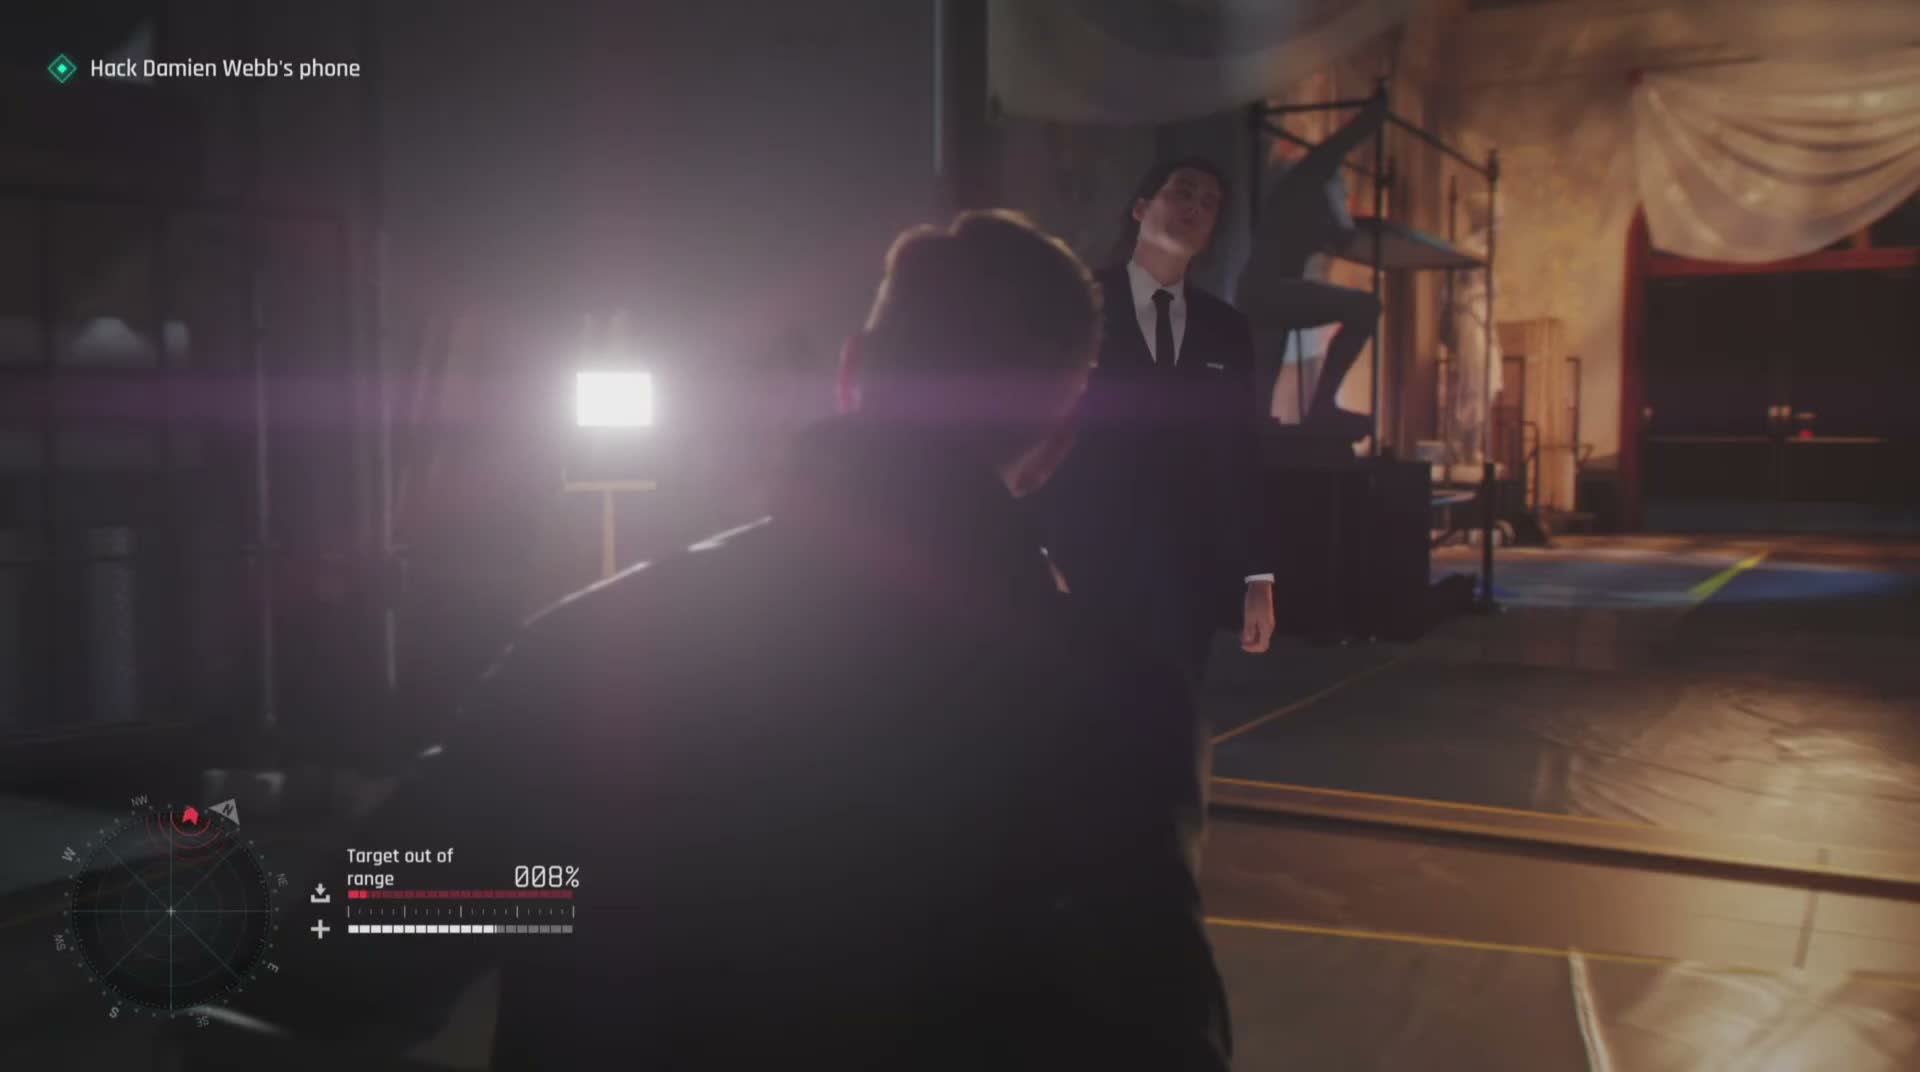
Damien Webb, his son, is more volatile. He's angry, paranoid, and convinced Bond is a bigger threat than his father thinks. This is where the hacking mechanic from earlier chapters pays off: you need to get close enough to both Nicholas and Damien to hack their phones using your Q-Watch, downloading critical evidence of their ties to the Bawma network and the assassins sent after Bond.

The Nicholas hack requires you to walk within range of him while he's on stage — you can approach with the crowd during his speech, keeping your head down and behaving like another curious guest. The Damien hack is harder because Damien is suspicious, pacing around, and actively watching for threats. You need to stall him, provoke him into conversation (the dialogue options matter here — stay calm, deflect, don't let him draw his weapon), and maintain proximity long enough for the watch to complete the download.

Once both hacks are done, you have the evidence — but the Webbs know they've been breached. Sir Nicholas gives a quiet order, and suddenly every armed guard in the museum is converging on your position.

The Nicholas phone hack is straightforward — he stands still during most of his speech. Walk within about three feet of him (stay in the crowd, don't walk directly onto the stage) and the hack starts automatically; just stay in range until it completes.
The Damien hack is the trickiest social-stealth moment in the chapter. You'll be presented with dialogue choices; the goal is to keep him talking without escalating. Choose responses that deflect ("I'm just a guest") rather than confront ("I know what you've done") early on.
Watch the hack progress meter. If Damien walks away or raises the alarm, the hack is interrupted and you have to re-approach — which gets harder each time because he becomes more suspicious.
Having both hacks completed before triggering the escape saves you from having to backtrack during the combat section that follows.

Escape the Museum

Uninvited — Escape the Museum

With the evidence downloaded and alarms blaring, the chapter shifts into full action. You need to fight your way out of the museum, but the route isn't a straight line to the front door — the main exits are locked down, and the Webb security team is flooding the building. The path goes through the gala hall (now evacuated, with guests fleeing and guards taking up positions), out into a courtyard, and around to the loading dock at the rear of the building.

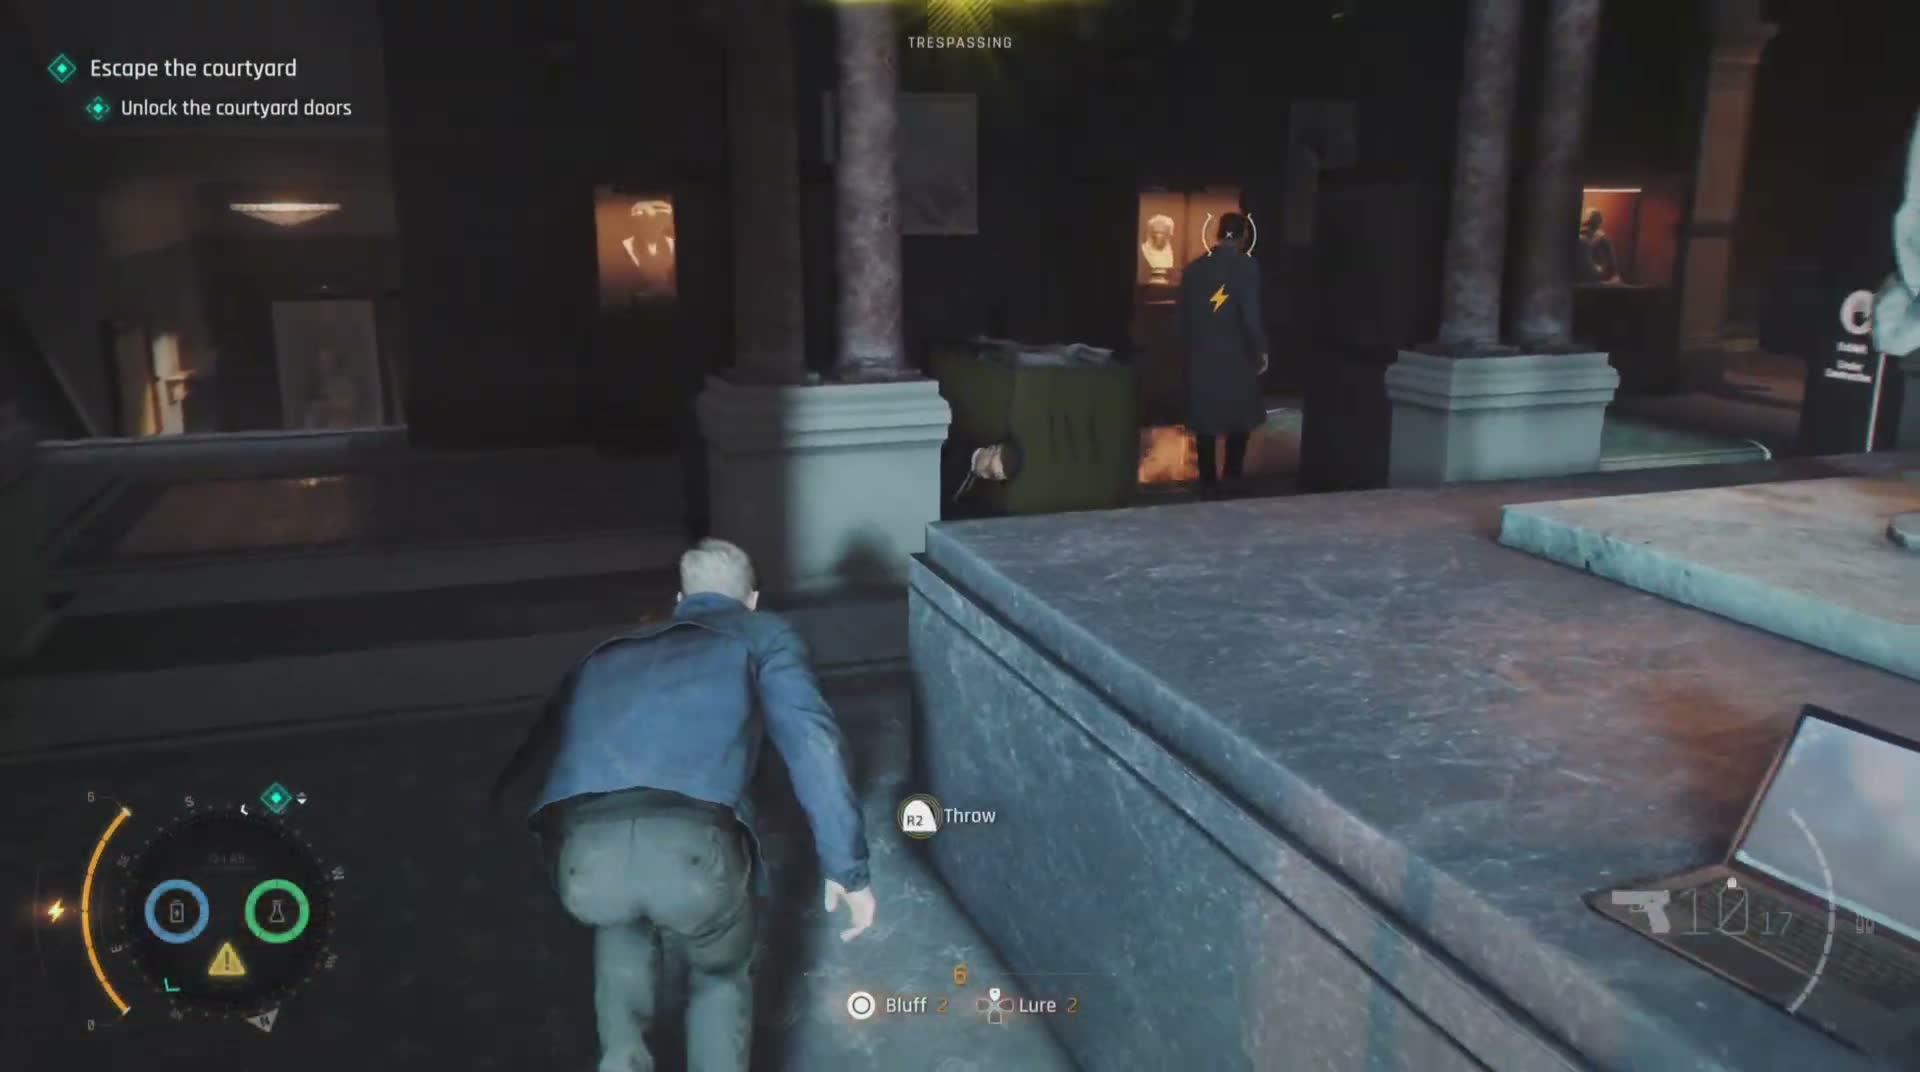
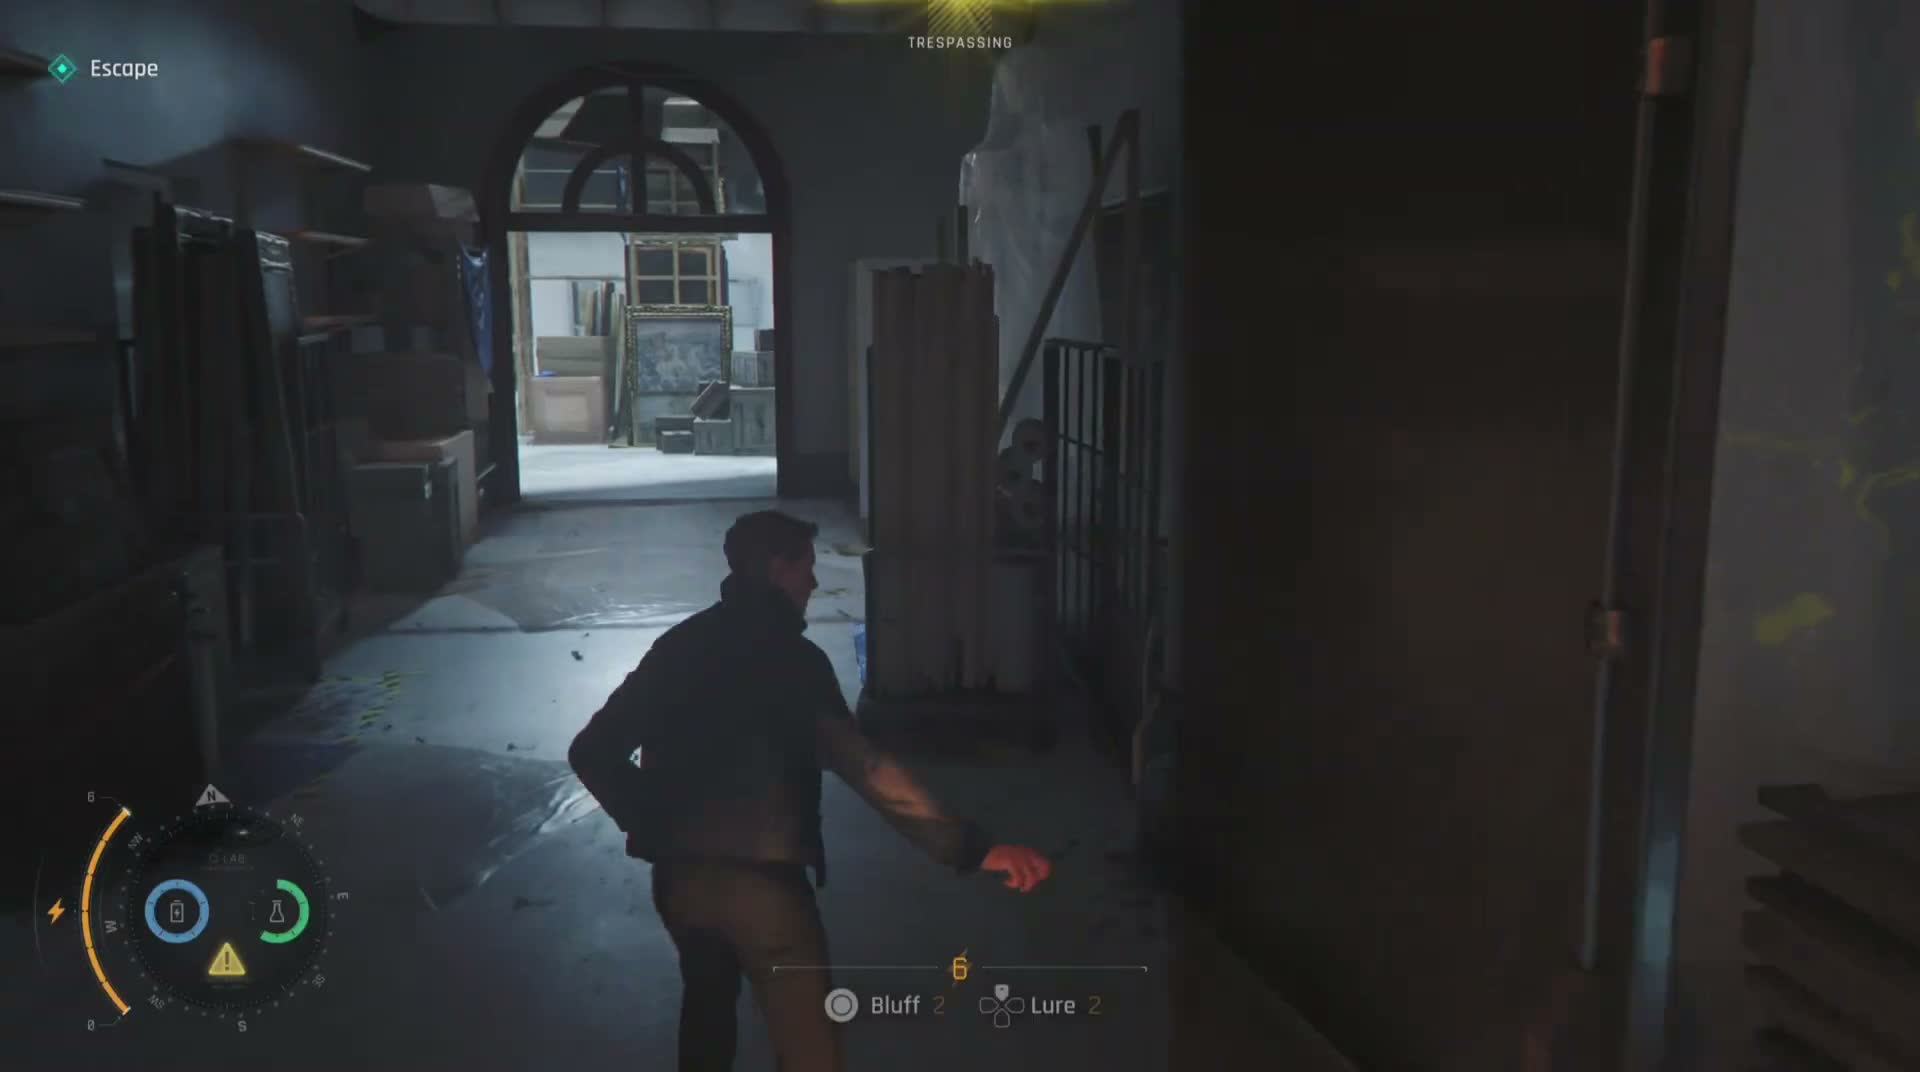
In the courtyard, the exit door is electronically locked with a backup generator powering the magnetic lock even when the main power is cut. You need to locate the generator (it's a prominent unit against one wall), shut it down, and then the door can be opened. Two guards patrol the courtyard near the generator — take them down quietly if you can, or shoot your way through if the alarm is already fully triggered.

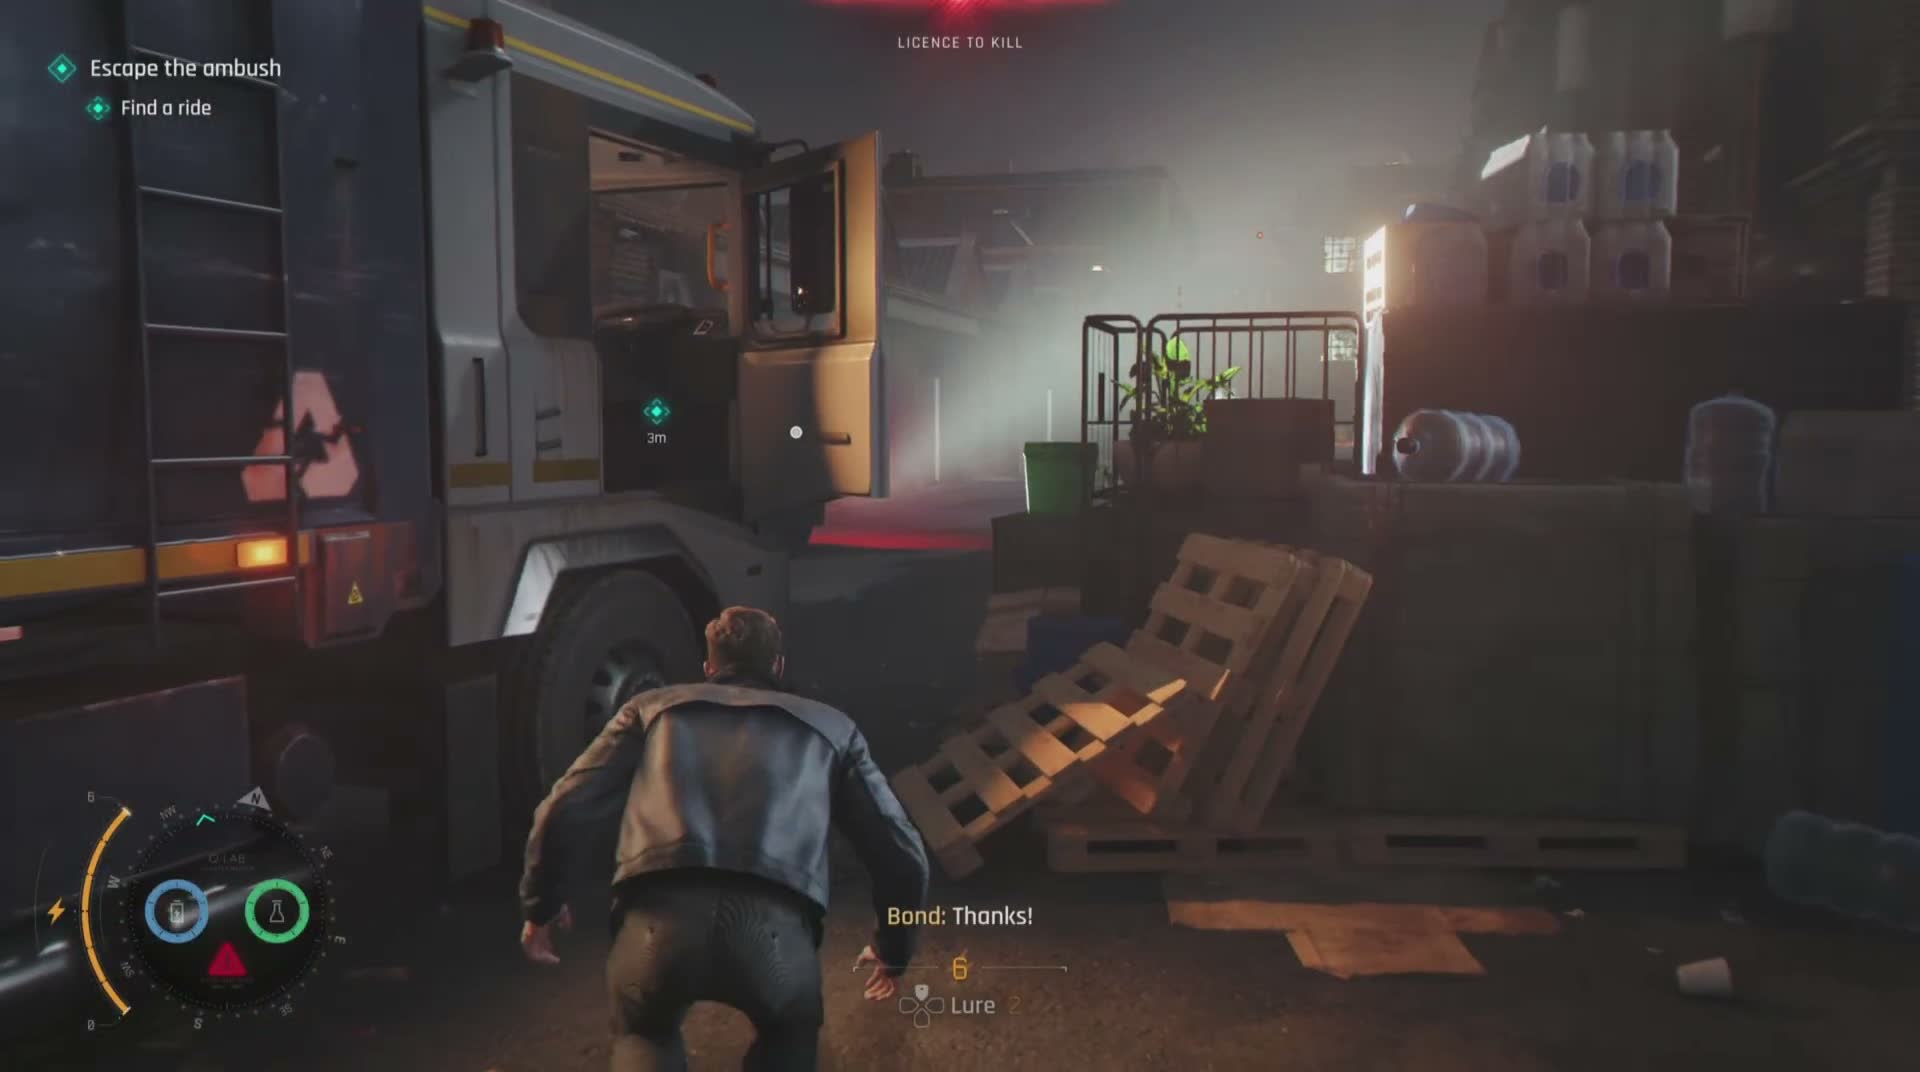
Through the loading dock is the final stretch: a service corridor, a couple more guards, and the exit to the street where an unmarked car is waiting. Once you're outside, the chapter ends with a cutscene — Bond checks on Greenway at the Crosshair Bar (remember, he dropped her off at the start of the chapter), making sure she's safe and filling her in on what just happened. The evidence on the Webb phones ties the entire conspiracy together and sets the stage for the final chapter.

Once the alarms go off during the Webb confrontation, social stealth is over — you're in open combat for the rest of the escape. Don't waste time trying to hide; use cover, move efficiently, and shoot anyone who gets in your way.
In the courtyard, the generator is usually on the far wall to the right as you enter. The two guards near it can be a problem if you rush in — use the courtyard sculptures and planters as cover and pick them off from a distance if you have ammo.
If you find yourself low on ammunition during the escape, the loading dock area usually has a weapon crate or dropped weapons from guards you've taken down.
After exiting the museum, there's no more gameplay in this chapter — the Greenway scene is all cutscene. Don't worry about missing a final combat arena or boss; the escape to the loading dock is the end of the active gameplay.

Mission Wrap-Up and Deep Tips

Uninvited — Mission Wrap-Up and Deep Tips

"Uninvited" is one of the best-paced chapters in 007 First Light, and it's the chapter where the game's tone shifts decisively from globetrotting spy adventure to personal, close-to-home threat. The apartment invasion is genuinely unsettling on a first playthrough (Bond's home is supposed to be his safe space), the rooftop crane sequence is a visual highlight, and the Webb gala is the game's most fully realised social-stealth environment.

Murto's environmental boss fight is a design choice that divides players — some love the puzzle approach, others find it frustrating compared to a straight gunfight. Either way, it reinforces the idea that Bond wins by being smarter than his opponents, not just faster on the draw. The Webb gala infiltration (the Harry Sykes cloakroom ruse in particular) is arguably the best social-stealth sequence in the game, rivalling classic Hitman for satisfying, earned access.

Chapter 11 has no Pacifist or Ghost challenges tracked separately (the game doesn't award a specific badge for this mission the way some earlier levels do), but you can still play non-lethally through the gala and security wing. The Murto fight is mandatory and cannot be resolved non-lethally.
Collectible breakdown for 100% completion: Playing Cards, Intel files, Mementos, Postcards, and a Legacy Item (Tero Murto's locket, found in the security corridor). Many collectibles are in the gala hall — collect them before triggering the escape sequence, since you can't return to those areas once the alarms go off.
Difficulty note: on 00 difficulty, the museum guards have faster reaction times, the social-stealth suspicion meter builds more quickly, and Murto hits much harder. If you're struggling with the boss fight, memorise the three environmental hazard positions and triggers before committing to the fight; the encounter gets much easier once you know the rhythm.
If you die during the escape sequence, checkpoints are generous — you restart near the beginning of whichever section you died in, not back at the Webb confrontation.
Pay attention to Damien Webb during his confrontation scene — his anger-management issues and impulsive behaviour set up events in Chapter 12.

Chapter Tips

The drive to the apartment is non-interactive cutscene — just watch it. The Moneypenny phone call establishes the emotional tone for the chapter, so don't skip it if you care about the story.
When you first enter the apartment, take a moment to look around. The flat tells you a lot about who Bond is at this point in the story — where he lives, how he lives, and what's missing from the place.
There's no combat or stealth in this opening section. Let your guard down. The game is deliberately giving you a false sense of security before everything goes wrong.
The QTE fight sequences are forgiving on easier difficulties but much less so on higher difficulties. Watch the prompts carefully and don't button-mash — the game will punish early inputs.
The laser-sight moment is a scripted event, not a real-time threat when it first appears. Don't panic trying to dodge it before the prompt appears; it's a cutscene beat.
After using the intruder as a shield, you can pick up the downed attacker's pistol. You'll want it for what comes next.
The laser sight on the rooftops is a genuine gameplay threat, not just a visual effect. Exposure for more than a second or two means a shot and likely death. Watch the beam, time your moves, and don't sprint across open gaps.
When climbing the crane ladder, there's no ambush at the top — go ahead and climb without hesitation. The threat is the lights-on puzzle, not a guard.
The crane lights sequence: turn on the floodlights first (you'll see the prompt in the cab), then use the rotation controls to swing the boom. The sniper is blinded as long as the light is on him, giving you your window to cross.
After falling from the crane, you wake up in the alley below. Follow the objective marker to the street; there are no collectibles or surprises in the alley itself.
Before heading to the bathroom, take a moment to explore the gala floor. There are collectibles scattered around the main hall, and eavesdropping on conversations gives you useful intel about Webb Industries and who the key players are.
In the bathroom, the discarded phone is in a trash bin — look for the interaction prompt. Once you pick it up, the trail goes cold and the next objective (security room) triggers.
Don't draw a weapon in the gala hall. Full alarm equals mission failure here. This is one of the few levels in the game where going loud is a fail state, not just a harder option.
The bartenders and waitstaff can be distracted with your Dart Phone gadget — useful for creating openings when you need to slip past someone.
There are multiple ways to get past this section, but the Harry Sykes route is the cleanest and the one the game intends. Going in guns blazing or climbing the exterior of the building will trigger alarms.
When distracting the bartender, make sure other staff aren't looking your way. NPCs in this chapter have realistic peripheral vision and will get suspicious if they see you vaulting the bar.
The Dart Phone distraction has a cooldown — use it sparingly and make sure each distraction creates a real opening, not just a momentary diversion.
After being waved through by the guards, you're in staff areas. You can move more freely here but you're still impersonating staff — running, drawing weapons, or ignoring direct questions will blow your cover.
The keycard guard has a predictable patrol loop. Watch him do a full circuit before making your move so you know exactly where the blind spots are.
There are security cameras in the upper hallway — note their positions and cone of vision before going for the pickpocket or takedown. The Dart Phone can disable cameras temporarily if needed.
After patching Moneypenny in the security room, you get full camera access to the museum. You can use the CCTV feeds to scout the basement before you go down — I strongly recommend doing this, because what's waiting for you down there isn't just a conversation.
The laser on your watch makes short work of the basement padlock — no need to find a key or brute-force it.
On higher difficulties, Murto can kill Bond in two or three hits. Keep moving, use cover, and don't stop to trade shots — he wins straight gunfights.
The three environmental kills are available in any order, but the construction lights are closest to where you enter and make a good opener — blind him, land a few shots while he's stunned, then move toward the chandelier position.
When triggering the chandelier drop, make sure Murto is directly underneath it. The takedown zone is smaller than you might think, and missing the drop wastes the opportunity and forces you to fall back on gunfire.
Between environmental attacks, Murto will chase and flank you. Use the basement pillars and equipment stacks to break line of sight and reposition.
There's no Pacifist or Ghost challenge for this fight specifically — the game expects you to deal with Murto, and environmental kills are the correct way to do it, not a cheat.
The Nicholas phone hack is straightforward — he stands still during most of his speech. Walk within about three feet of him (stay in the crowd, don't walk directly onto the stage) and the hack starts automatically; just stay in range until it completes.
The Damien hack is the trickiest social-stealth moment in the chapter. You'll be presented with dialogue choices; the goal is to keep him talking without escalating. Choose responses that deflect ("I'm just a guest") rather than confront ("I know what you've done") early on.
Watch the hack progress meter. If Damien walks away or raises the alarm, the hack is interrupted and you have to re-approach — which gets harder each time because he becomes more suspicious.
Having both hacks completed before triggering the escape saves you from having to backtrack during the combat section that follows.
Once the alarms go off during the Webb confrontation, social stealth is over — you're in open combat for the rest of the escape. Don't waste time trying to hide; use cover, move efficiently, and shoot anyone who gets in your way.
In the courtyard, the generator is usually on the far wall to the right as you enter. The two guards near it can be a problem if you rush in — use the courtyard sculptures and planters as cover and pick them off from a distance if you have ammo.
If you find yourself low on ammunition during the escape, the loading dock area usually has a weapon crate or dropped weapons from guards you've taken down.
After exiting the museum, there's no more gameplay in this chapter — the Greenway scene is all cutscene. Don't worry about missing a final combat arena or boss; the escape to the loading dock is the end of the active gameplay.
Chapter 11 has no Pacifist or Ghost challenges tracked separately (the game doesn't award a specific badge for this mission the way some earlier levels do), but you can still play non-lethally through the gala and security wing. The Murto fight is mandatory and cannot be resolved non-lethally.
Collectible breakdown for 100% completion: Playing Cards, Intel files, Mementos, Postcards, and a Legacy Item (Tero Murto's locket, found in the security corridor). Many collectibles are in the gala hall — collect them before triggering the escape sequence, since you can't return to those areas once the alarms go off.
Difficulty note: on 00 difficulty, the museum guards have faster reaction times, the social-stealth suspicion meter builds more quickly, and Murto hits much harder. If you're struggling with the boss fight, memorise the three environmental hazard positions and triggers before committing to the fight; the encounter gets much easier once you know the rhythm.
If you die during the escape sequence, checkpoints are generous — you restart near the beginning of whichever section you died in, not back at the Webb confrontation.
Pay attention to Damien Webb during his confrontation scene — his anger-management issues and impulsive behaviour set up events in Chapter 12.

Collectibles in This Chapter

10 Collectibles

Explore each section thoroughly to find all hidden items. Check the tips above for specific collectible locations.