Knightfall
Bond and Greenway infiltrate Webb Industries headquarters through the London sewers to expose THEIA — an autonomous AI assassination system tied to Bond's own past. The final chapter combines co-op puzzles, social stealth, motion sensors, a wall safe code, and a timed rooftop escape.
Briefing with Q — Loadout and Sewer Entry
"Knightfall" is the final chapter of 007 First Light, and it opens not with a cinematic action sequence but with Bond meeting Q in a London sewer. It's a deliberate callback to Q Branch's tradition of field support from unexpected places — the sewer access point puts you beneath the Webb Industries tower, bypassing the perimeter security entirely. This is a raid, not an infiltration; you're going in hard, you're going in with Greenway at your side, and the goal is to get evidence on THEIA — the AI weapons system Webb Industries has been developing and selling through Bawma's network.
Before you enter, Q gives you a suppressed pistol and walks you through the gadget loadout. This is your last chance to pick gear before the endgame, so choose carefully. The Dart Phone, Watch Laser, and Q-Lens are all essential here — the level has locked doors, hackable panels, motion sensors, and vents that require every tool in your kit. If you've been favouring one gadget over others, this is the chapter where you need everything working together.
Talk to Q one more time after selecting your loadout and head into the sewer tunnel. The entrance to Webb Industries is through a maintenance shaft that connects to the building's sub-basement. Greenway is right behind you, and she's not just along for the ride — this is a co-op mission where Greenway's help is required for several physical puzzles (boosting you over obstacles, moving heavy objects, triggering two-person mechanisms).
Reaching the Perch — Climbing the Lobby
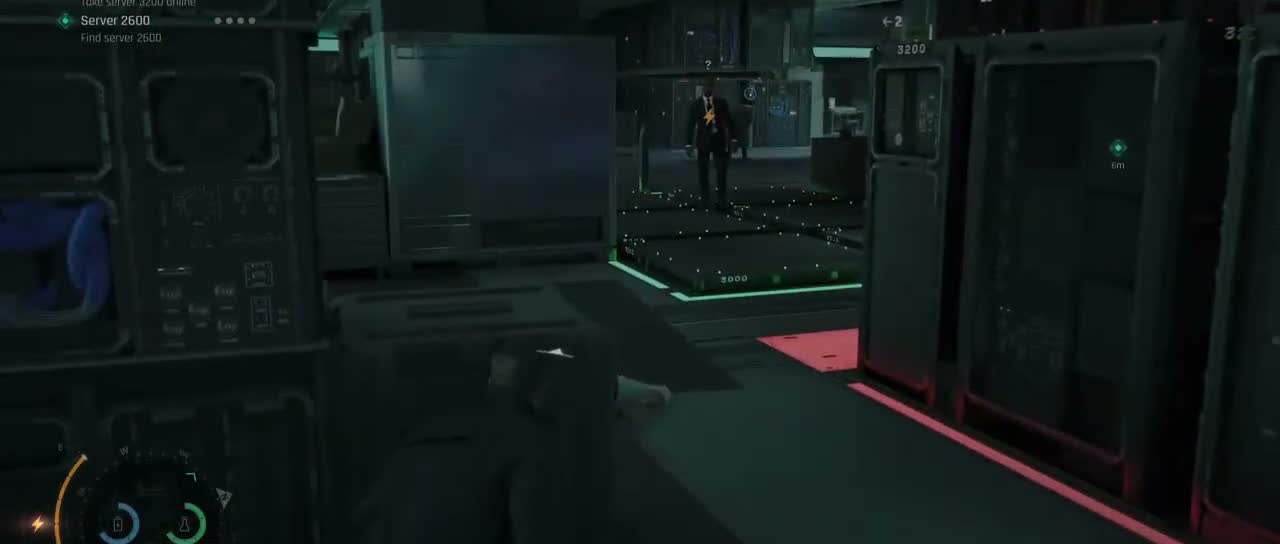
The Webb Industries lobby is a vast, modern atrium — think glass walls, a massive central art installation (a geometric metal sculpture that doubles as a climbing frame), and security posted at every choke point. The elevators are locked down hard, so the only route to the upper floors is a staircase on the far side of the lobby. You can't walk straight across — the open atrium floor is covered by cameras and guards in conversation pairs.
Head down the corridor to trigger a short conversation between Bond and Greenway about the plan. Once that's done, approach the large art installation in the centre of the lobby. Position yourself at its base and ask Greenway for a boost (a context prompt appears when you're in the right spot). She'll hoist you onto the lower framework of the sculpture, and from there you can climb up and over to the upper balcony.
Once you're on the upper balcony railing, don't pull yourself up immediately — the floor above is patrolled. Instead, hang from the railing and shimmy right along the narrow wall ledge that runs along the side of the atrium. Keep moving until you hit the corner, where you can pull yourself up onto the upper lobby level.
Look for a yellow cloth hanging next to some exposed wiring — that's your drop point. From there you can lower yourself down onto a maintenance walkway near the staircase. This is the route you want; the direct path across the upper lobby floor puts you in a guard's line of sight.
Opening Doors for Greenway — Cleaning Robot Puzzle
Once you're on the staircase level, you'll quickly discover that several of the doors between you and Greenway only open from the inside — she's locked out unless you go ahead and clear a path for her. This is a recurring mechanic throughout the Webb tower and it's the level's signature co-op puzzle: Bond goes ahead solo, solves the room, and opens the route for Greenway to rejoin.
The first of these puzzles involves a locked glass-walled office. Look left from your position to spot a door sensor visible through a glass partition. You can sabotage it with your Q-Watch, but you need a clean line of sight — the blinds in the conference room must be raised, or the hack won't register. Reposition until you can see the sensor clearly (the Q-Lens highlights it blue when it's hackable) and trigger it.
Follow the left path after sabotaging the first door, take another left, and you'll find yourself in an office opposite R. Finch's room (Roger Finch is a Webb executive whose name you may have seen on documents earlier). Go inside and use your Q-Lens to scan the room — you're looking for a cleaning robot docked at a charging station. Call it over using your watch (Q-Lens gives you the hack prompt when you're looking at the robot).
The cleaning robot will autonomously roll through the locked door and trigger the pressure plate on the other side, opening it for Greenway. Once she's through, the two of you can proceed up the stairs together to the workspace sections on Babbage Level 2.
Breaking into the East Wing — Bathroom Panel and AC Smoke
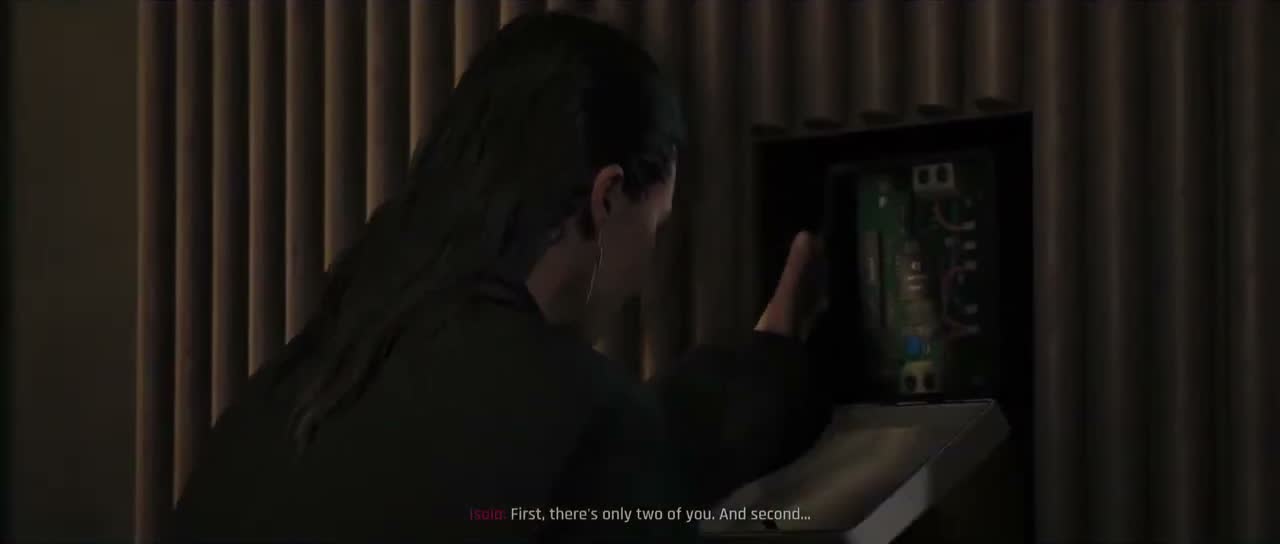
The East Wing is where Damien Webb's personal offices and the penthouse access are located, but the connecting doors are all keycard-locked and there's no easy route. You have to make your own path. The route forward starts in the men's restroom at the end of the hallway. Go inside, close the door behind you, and look at the wall to the left of the entrance door — there's a wooden panel that looks slightly out of place, lighter than the surrounding wall.
Kick the panel in (melee prompt when you're close enough) and you'll reveal a service crawlspace that leads into the next room. As soon as you emerge, a security guard spots you — take him down quickly before he can radio in (a silent takedown from cover is ideal, but a fast melee works too). Once he's down, use the door controller on the wall to your left to open the main door so Greenway can enter, then head for the coffee area in the corner.
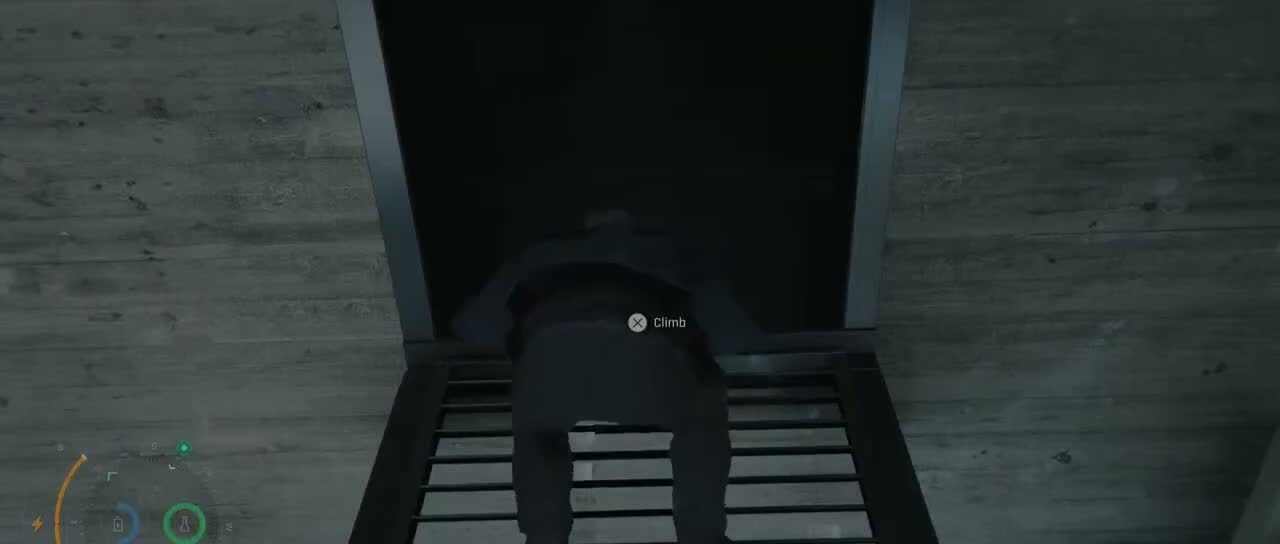
At the coffee station, climb over the railing to reach an exterior ledge that wraps around the building. Move across it (climb over the rectangular ventilation structure blocking your path) and you'll enter Babbage Level 2. Take down the guard in this room quietly.
The next room has three guards talking together — a direct fight is risky and will trigger alarms. Instead, look up at the ceiling and find the air conditioning unit (the Q-Lens highlights it). Disrupt it with your Q-Watch and it will flood the room with vapour/smoke, sending the guards into cough fits and breaking up their group. They'll come to investigate one at a time, letting you pick them off silently with takedowns. There's a second, attached room with more guards — repeat the same AC trick there to clear it safely.
After clearing both rooms, move through the passage, open the glass door, turn left, and sabotage another locked door for Greenway. The gate opposite leads to the East Wing proper.
Laser Grid and the Glass Block
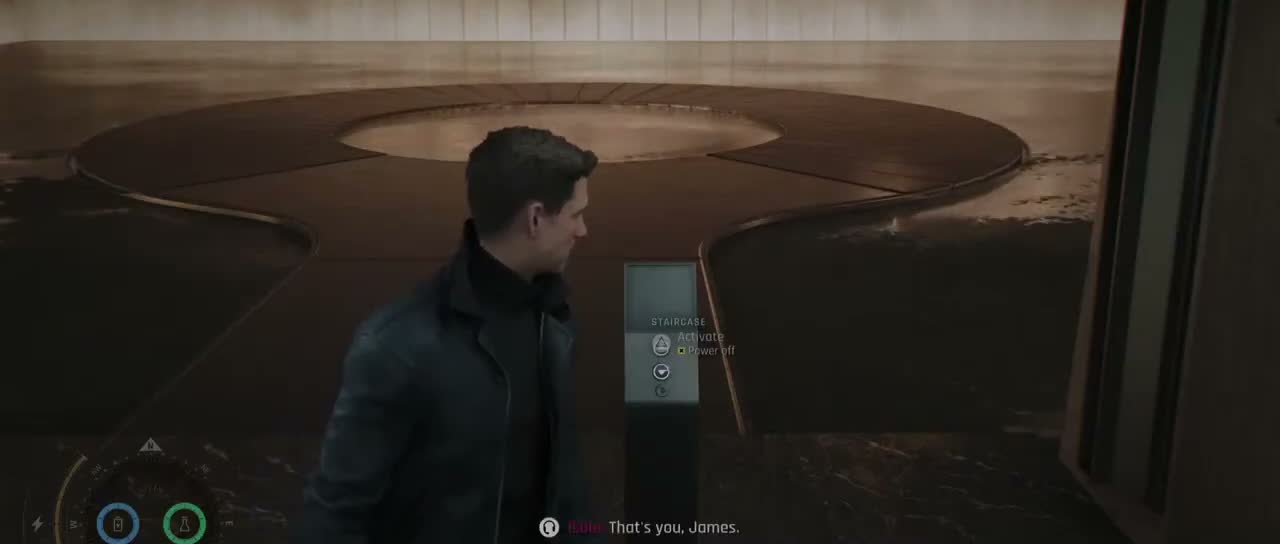
The East Wing entrance is protected by a floor-mounted laser grid — red security beams that trigger an instant alarm if crossed. You can't go through them, and Greenway can't follow until they're disabled. To shut the grid down, you need to reach the control panel on the far side, which means finding a route that bypasses the lasers entirely.
On the right side of the laser hallway, there's a large glass display case or architectural block positioned against the wall. This is a two-person puzzle: ask Greenway to help you move it (the prompt appears when you're positioned on the correct side of the block). Together you slide it out from the wall, revealing a narrow gap behind it that Bond can squeeze through.
Once on the other side of the laser grid, you're in the East Wing office area. From here you can access the laser control panel and disable the grid, allowing Greenway to cross. Be careful — there are guards in the office spaces beyond, and the East Wing has tighter security than the floors below (more cameras, fewer civilian staff to hide among).
There's a maintenance room on this level with a vent in the ceiling — use your Watch Laser to cut the vent grille open, climb up into the ductwork, and you'll drop into a room where a guard is asleep at his post. Take him down silently before he wakes up and raises the alarm.
Motion Sensors and Reaching the Penthouse
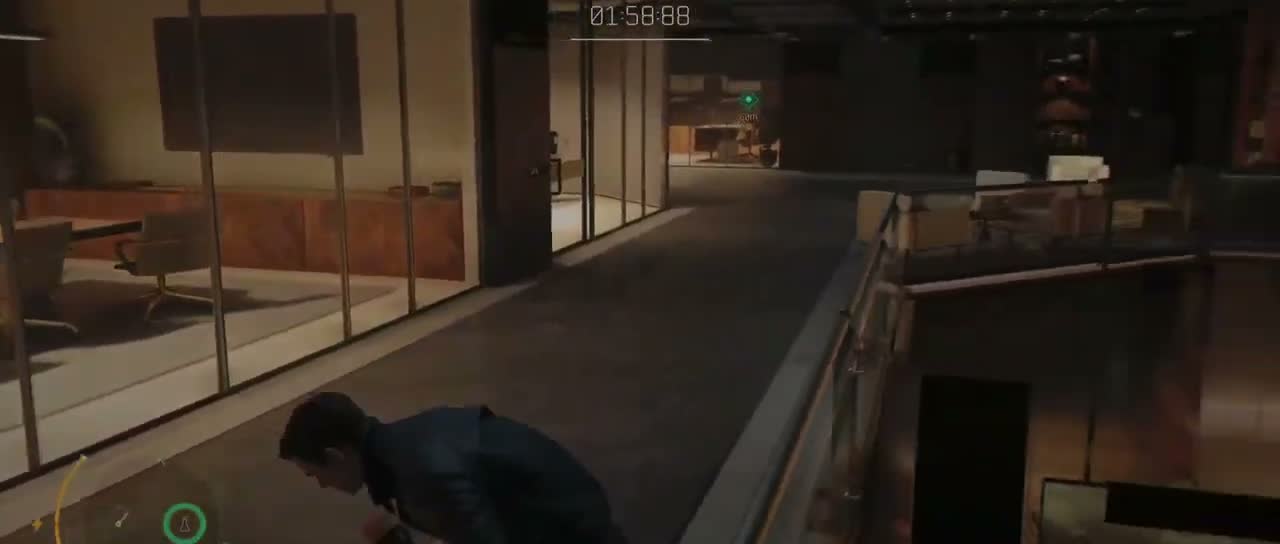
The corridor leading to Damien Webb's penthouse is protected by a different security system than the lasers: motion sensors. These are invisible beams (visible with your Q-Lens) that sweep horizontally across the hallway at varying heights. Trigger one and the entire section goes into lockdown — blast doors drop, vents seal, and you're trapped with guards converging.
The trick with motion sensors is that they're at torso and neck height — if you crouch-walk below the lowest beam or wait for a gap in the sweep pattern, you can slip through. The Q-Lens shows the beam paths as thin red lines, so switch it on before entering the corridor and study the pattern for a full rotation before moving. There are typically three or four overlapping beams with different sweep cycles; patience and observation are more useful here than gadgets.
Beyond the sensor corridor is the penthouse entrance. Damien Webb is inside but not expecting visitors — he's been watching the news coverage of his father's arrest at the museum and is agitated, pacing around the penthouse. You have the element of surprise if you can get in quietly.
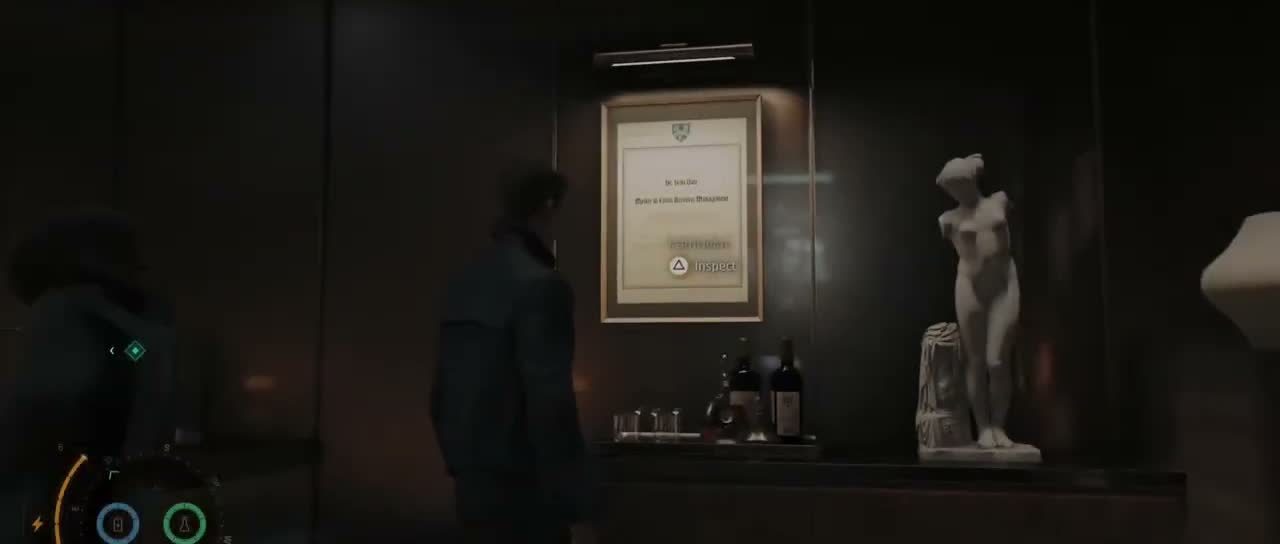
The penthouse is a large, multi-room space with a bar, a lounge area, Damien's private office, and — critically — a wall safe hidden behind a painting or decorative panel. Damien paces through the lounge and office in a predictable loop, giving you windows to sneak past and explore while he's in the other room.
The Wall Safe — Code 1493 and BASILISK
The wall safe in Damien Webb's penthouse is the objective of the entire mission. Inside are THEIA's core files — records of every arms deal, every assassination, and the identity of the command code that controls the entire system. Getting the safe open is not just a puzzle; it's the moment the whole conspiracy unravels.
The safe is four digits and requires a code. You find clues to the code scattered around the penthouse — photographs with dates, personal mementos, documents on Damien's desk that reference specific numbers. The correct code is **1493** (on first playthrough, you'll need to find the clues; subsequent playthroughs you can enter it directly). For the 'First Try' challenge, enter the code followed by the Enter/Confirm button in one go — entering the wrong digit resets the challenge even if you correct it.
Inside the safe, you find two things: a set of encrypted files, and a physical document that references a command code — **BASILISK**. This is the kill code / activation word for the THEIA system, the piece of intelligence M and Q have been chasing since the beginning. Record the conversation between Damien and Nicholas (triggered by interacting with the phone on Damien's desk — the call connects automatically while Damien is distracted), and you have everything you need.
The recordings and files expose the link between the Bawma network in Mauritania, the Murto assassins who attacked Bond's apartment, and Webb Industries' AI weapons programme. THEIA is not just a targeting system — it's an autonomous assassination network that can identify, track, and eliminate targets without human oversight, and it has been sold to every rogue state and terrorist cell Nicholas Webb could find a buyer in. The 'London 2014' reference in the files hints at a prior operation that Bond may have been part of — a piece of his own past he didn't know about.
THEIA Reveal — London 2014
The files in the safe don't just expose Webb Industries — they reveal that THEIA has already been used. The London 2014 reference is to a terrorist attack in London years earlier that Bond has always believed was a conventional bombing. It wasn't. THEIA was field-tested that day in a live urban environment, orchestrating a series of targeted killings disguised as a single terrorist event to demonstrate its capabilities to buyers.
This is the emotional gut punch of the chapter — Bond wasn't just unaware of Webb's activities; he may have been assigned to the aftermath of THEIA's debut without knowing what he was actually looking at. The 'First Light' of the game's title is the first activation of THEIA, and this chapter reveals that light was shone years before the events of the game.
Damien catches Bond in his office during the recording, leading to a tense confrontation — but rather than the boss fight you might expect, Damien breaks. He's not his father; he's scared, he knows what THEIA is, and he wants out. The conversation is cut short by Nicholas Webb remotely triggering a security protocol: he's going to destroy the penthouse and everything in it to cover his tracks, including Damien. The building goes into full lockdown and a countdown timer starts — you have a limited window (roughly five minutes, depending on difficulty) to get out before the building's failsafe charges detonate.
The Escape — Timer, Combat, and the Perch Rappel
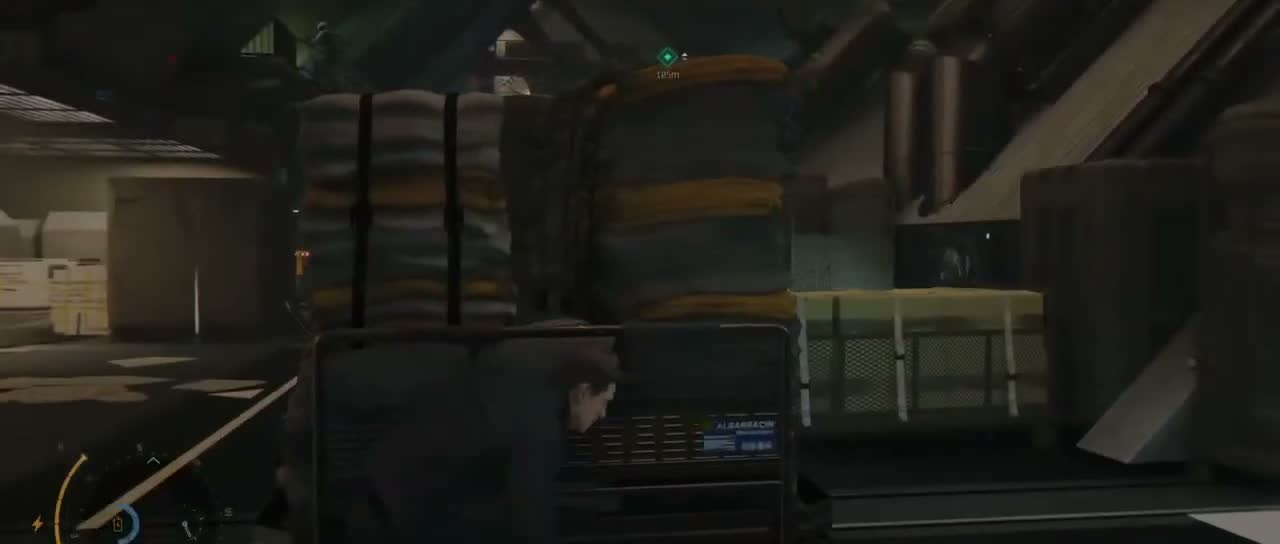
The moment the countdown begins, every guard in the building converges on your position and stealth goes out the window. Your goal is to get back down to the ground floor and out of the building before the charges blow — but the route you took up is now blocked by blast doors and newly deployed security. You need to improvise a new path down.
The escape combines fast-paced combat, environmental shortcuts, and one last set-piece: the Perch rappel. As you fight your way back through the East Wing and Babbage Level, guards are moving up the stairwells toward you, so you can't simply retrace your steps. The shortcut is the Perch — the high vantage point you passed on your way up. There's a window or exterior access point at the Perch where a maintenance rope is anchored (it was part of the construction equipment you saw on the climb in).
Attach your rope (a Q-Branch gadget you brought with you — it's not something you pick up mid-level) and rappel down the exterior of the Webb tower. This is one of the game's most cinematic moments: the London skyline at night, glass and steel flashing past, and the building behind you starting to burn as the first charges detonate on the upper floors. At the bottom, there's one final group of guards between you and the exit — fight through them (or sprint past if your health and the timer are tight) and reach the street where Greenway has a vehicle waiting.
The building doesn't fully collapse in a spectacular Michael Bay fashion — the charges are designed to destroy the server floors and the penthouse, covering Nicholas Webb's tracks, not to level the structure. But the evidence you carry is out, THEIA is exposed, and the mission succeeds even though the building itself doesn't come down.
Ending — Greenway, Q, Moneypenny, and What Comes Next
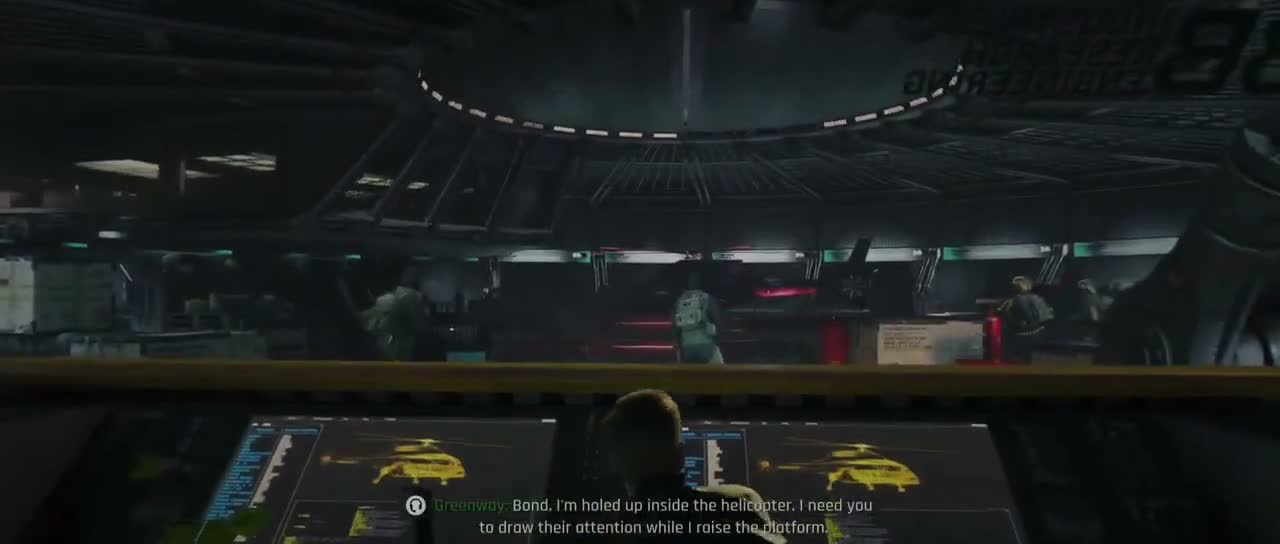
Once you're clear of the building, the gameplay ends and the chapter transitions into a sequence of closing cutscenes — the payoff for the entire story. Bond meets Greenway at the safe distance point; she's made it out separately and has the data backed up. There's a quiet moment between them that resolves the partnership arc that began back at the Crosshair Bar in Chapter 11.
Q is waiting in the sewer access point (bringing the mission full circle) and confirms that the BASILISK code and THEIA files are intact and transmitted to M. Moneypenny calls to debrief Bond — the evidence is enough to arrest Nicholas Webb and dismantle the Webb Industries network, though Damien's status is ambiguous depending on your escape.
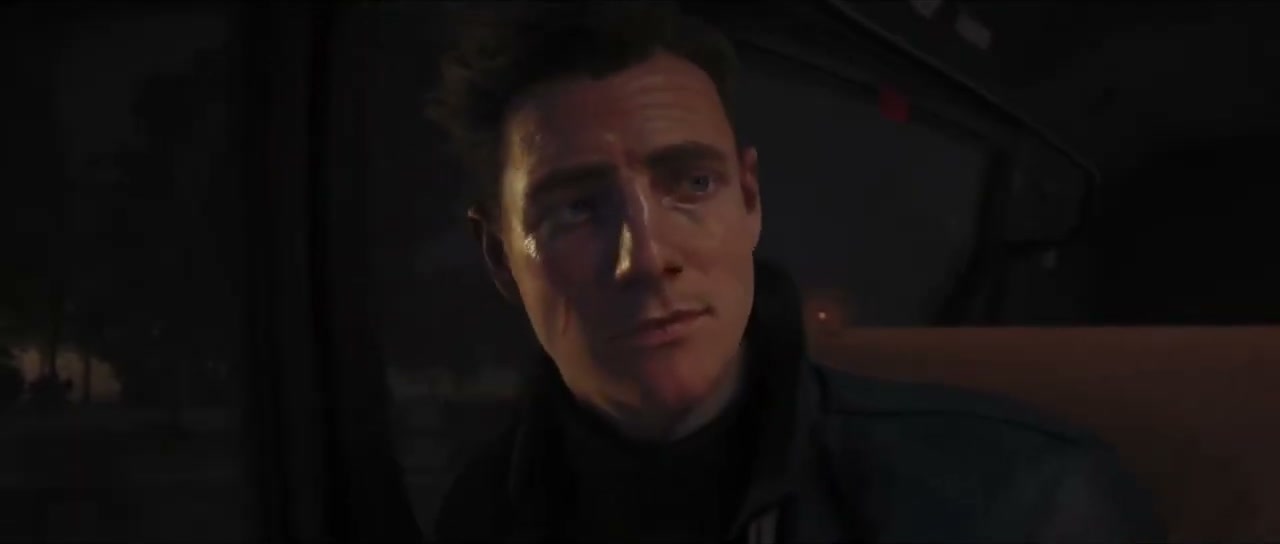
The final scene is Bond alone, reflecting on what he learned about London 2014 and his own connection to THEIA's first use. The game doesn't wrap everything up neatly — there are threads left for a potential sequel (who else bought THEIA? who authorised the London 2014 test? where does Bond go from now that he knows his own past isn't what he thought?) — but the immediate conspiracy is resolved.
If you collected all the Tarot Cards across the game (six in total across multiple chapters), there's an additional post-credits scene that teases future events. It's worth going back for them if you missed any — but it's a short tease, not an alternate ending.
Deep Tips and Final Reflections
"Knightfall" is a long chapter (70-80 minutes) and it's the most mechanically varied in the game — part social stealth, part climbing puzzle, part co-op environmental problem-solving, part pure combat escape. If you approach it expecting the shape of a typical shooter (fight room → corridor → fight room → boss), you'll be frustrated. The level rewards patience, observation, and willingness to use your full gadget kit.
What makes Knightfall memorable isn't any single set-piece (though the Perch rappel is the game's visual high point) but how it ties together the themes and mechanics of the entire game. Every gadget you've earned, every type of puzzle you've learned, every co-op mechanic with Greenway is tested here, and none of it feels like filler. The cleaning robot, the AC smoke, the motion sensors, the safe code, the rappel — each is a logical escalation rather than a random new system thrown in for the finale.
If you're revisiting the chapter on 00 difficulty or going for 100% completion, the hardest challenge is the clean run through the motion sensor corridor followed by the penthouse stealth before triggering the alarm. The escape timer is generous enough that combat skill matters more than routing; the stealth section before it is where perfect runs die.
The chapter is a strong finish to 007 First Light and a confident statement from IO Interactive about what a modern Bond game can be — equal parts character, problem-solving, and spectacle, with a respect for the character that avoids both camp nostalgia and grim grit-for-grit's-sake edginess.
Chapter Tips
Collectibles in This Chapter
Explore each section thoroughly to find all hidden items. Check the tips above for specific collectible locations.