Going Old School
13

Going Old School

A short interlude chapter at a temporary MI6 bunker after Knightfall. Follow Moneypenny, debrief with M, visit Q Lab, receive the classic suppressed pistol and a four-gadget suit upgrade, see the Aston Martin DB5 being restored, collect Q's Driving Gloves, and exit through the sewers to begin the final act.

Easy~15-20 min1 Collectibles

Temporary MI6 — After Knightfall

Going Old School — Temporary MI6 — After Knightfall

"Going Old School" is the first of two interlude chapters that sit between the end of the main story (Knightfall) and the final confrontation. It is not a combat mission and has no enemies — think of it as a calm-before-the-storm chapter where you walk, talk, and get your gear ready for what comes next. If you're expecting another Webb Industries tower infiltration, you won't find it here; this chapter exists for pacing and story.

The chapter opens with Bond arriving at a temporary MI6 headquarters. The original MI6 building is compromised (a consequence of the events in Knightfall — Webb knows too much about British intelligence's movements), so operations have relocated to an underground bunker facility. Moneypenny is waiting for you just inside the entrance. She greets you with her usual dry wit and tells you M wants a word before you do anything else.

Follow Moneypenny through the bunker corridors. This is a pure walking-and-talking section — there are no collectibles to grab, no hidden paths to find, and nothing interactive along the way (other than a few flavour objects you can examine if you want to linger). Just stay with Moneypenny and listen to the conversation; she fills you in on the fallout from Knightfall, the political situation with Webb Industries, and M's mood (spoiler: not good).

If this is your first playthrough, don't rush the walk with Moneypenny. The dialogue does a lot of heavy lifting connecting Knightfall's ending to the final chapters, and missing it will leave you confused about why MI6 has relocated.
There are no combat encounters, no stealth sections, and no fail states in this opening walk. You literally cannot die here — take your time and look around the bunker if you want.
The bunker environment is worth a slow walkthrough on a second playthrough — whiteboards and documents in side rooms contain world-building details about the Webb investigation, prior 00 operatives, and Q Branch operations.

Meeting M — The Debrief

Going Old School — Meeting M — The Debrief

Moneypenny leads you to M's temporary office. M is not happy. The Knightfall operation was technically a success — you got the THEIA files, the BASILISK code, and enough evidence to start dismantling Webb's network — but you and Greenway broke every rule in the book doing it. Unauthorised entry into a British corporate headquarters, destruction of private property, a building fire, and an unsanctioned alliance with a foreign agent (Greenway, depending on how you read her status). M dresses you down for it in a scene that is classic Bond — M angry, Bond defensive, both knowing that the outcome justified the means but neither willing to say so out loud.

The important takeaway from the briefing is this: Webb is not finished. Sir Nicholas may be in custody (depending on how Knightfall played out — the game handles his arrest off-screen between chapters), but Damien Webb is still at large and THEIA, while exposed, is not destroyed. The code BASILISK is a kill switch, not a deletion tool, and the system itself is running on servers outside the country. M gives Bond a new objective: you are going back into the field, this time with Q Branch properly backing you up, to finish the job.

After the meeting, Moneypenny escorts you from M's office toward Q Lab, which has also been relocated to the bunker. The corridor walk is another dialogue beat — Moneypenny gives Bond a hard time about getting chewed out, and there's a nice human moment between the two characters that pays off their working relationship across the game.

M's dialogue changes slightly depending on whether you completed certain optional objectives in Knightfall. If you got all the evidence cleanly, M is gruff but respectful; if you raised a lot of alarms, the lecture is noticeably sharper.
There's no branching choice here — M sends you to Q regardless of anything you've done. The scene is a story beat, not a decision point.
Pay attention to what M says about THEIA not being destroyed — this sets up why there are more chapters after Knightfall rather than the game ending there.

Q Lab — The Aston Martin DB5

Going Old School — Q Lab — The Aston Martin DB5

Q Lab in the bunker is the highlight of the chapter, and it's where you'll spend the majority of your time. The lab is larger than the sewer workshop from Chapter 12, with multiple workstations, gadgets in various stages of assembly, and — centre stage — a car under a tarp in the middle of the room. Q is working on something, and he's not entirely thrilled to see you (Q never is).

Walk up to Q and trigger the conversation. After some banter about how you treated his equipment during the Webb tower raid (apparently you owe him a Dart Phone, two Watch Lasers, and a Smoke Pod), Q pulls the tarp off the car. It's an Aston Martin DB5 — the classic, the silver one, the Bond car. It's not fully ready yet ("She's not ready," Q says, echoing generations of Qs before him), but it's being restored and upgraded for field use.

Walk around the DB5 and interact with it. There are a couple of inspection prompts that give you Q's dry commentary on the car's features — the hidden armour, the redesigned engine, the oil slick (Q's favourite), the ejector seat ("I'll thank you not to test that one"). None of these are customisation options you control; they're flavour and nostalgia, a love letter to Bond history from IO Interactive.

Q also mentions that he's been working on a suit upgrade for you — one that addresses the main limitation you've been working with all game.

Don't talk to Q to progress the mission immediately — walk around the lab first. There are gadgets on tables you can examine, and the DB5 interactions are missable if you rush to the next objective.
The DB5 is the star of the chapter. If you're a Bond fan, take a moment to look at it from all angles before moving on. IO Interactive has modelled it beautifully, and the lighting in Q Lab shows it off perfectly.
Q's dialogue about the DB5 is full of references to Bond films past (Goldfinger's ejector seat, the machine guns, the tyre slasher). Nothing here is a spoiler for future gameplay; it's just fan service of the best kind.
The car won't be driveable in this chapter — 'She's not ready' means exactly that. You'll see it again later in the game, but here it's a tease.

Driving Gloves — The Only Collectible

Going Old School — Driving Gloves — The Only Collectible

Before you get your new equipment from Q, there is one collectible in this chapter and it is very easy to miss if you're rushing through the conversation flow. Intel: Q's Driving Gloves.

After you finish the DB5 conversation but before you talk to Q again to collect your field equipment, turn to your right (from where Q is standing) and look for a desk with two monitors on it. On the desk, next to what looks like a set of plans for the DB5's steering wheel, is a pair of brown leather driving gloves. Interact with them.

Bond picks them up and makes a crack about Q actually planning to let someone drive his precious car. Q's response — a curt 'Put those back' — is one of the funniest lines in the game. It's a small moment, but it's pure Q: grumpy, possessive of his equipment, and secretly pleased that Bond noticed the detail.

That's it for collectibles in this chapter. There are no Playing Cards, no Postcards, no Mementos, no Tarot Cards here. The Driving Gloves are the only thing to find, and they count as an Intel collectible associated with Q (they appear in the Intel menu under Q's character file). This makes Going Old School one of only two chapters in the game with a single collectible.

The Driving Gloves MUST be collected before you talk to Q for your loadout. Once you progress past the equipment selection, the Q Lab interaction phase ends and you cannot return for the gloves on this playthrough (you can via Chapter Select, but you'll have to replay the whole chapter to get them).
The desk with the gloves is the one with two monitors — it's to Q's right (your right when facing him after the DB5 conversation). If you're looking at the car, turn around and it's the desk behind you to the right.
Don't worry about missable collectible panic — the game gives you plenty of time between the DB5 conversation and the loadout prompt. As long as you don't mash the talk button on Q twice in a row, you'll have the room to yourself to explore.

Suit Upgrade and the Suppressed Pistol
Going Old School — Suit Upgrade and the Suppressed Pistol

Talk to Q again once you're ready to proceed. He presents you with two upgrades that change how you'll play the rest of the game.

First, the suit upgrade: your tailor-made suit has been modified to carry **four gadgets** instead of three. This is a permanent, game-wide upgrade — for the remaining chapters (Going Old School through the end), you can equip one additional gadget in your loadout. This is a meaningful change, particularly on higher difficulties where you've been having to make tough choices between the Dart Phone, Watch Laser, Smoke Pod, and Q-Lens. From this point on, you can bring all of them (or three of your choice plus a new option Q unlocks later).

Second, the weapon: Q presents you with the **signature suppressed pistol** — MI6's custom-grade, integrally suppressed sidearm. This is not a new weapon type (you've used suppressed weapons before), but it's a meaningful upgrade. It's quieter, more accurate, does more damage, and — most importantly — it's the classic Bond sidearm you've been waiting the whole game to receive. Picking it up triggers a short inspection animation where Bond checks the weight, dry-fires it, and nods approvingly at Q.

After receiving the pistol, you select your gadget loadout. With the four-gadget suit upgrade, you now pick four tools instead of three. Make sure the Dart Phone and Watch Laser are in your loadout — the final chapters have doors, hacks, and distractions that expect both. The Smoke Pod is extremely useful in the combat-heavy final missions, and the Q-Lens (if you use it) reveals hackable panels and enemy positions through walls.

The four-gadget capacity is permanent — you don't lose it after this chapter. Enjoy the extra slot; the game is designed around you having four tools from this point forward, and some puzzles in later chapters assume you can bring specific combinations.
The suppressed pistol replaces your default sidearm for the rest of the game. It's a straight upgrade in every category, so there's no reason not to equip it. It's not a 'special' weapon with limited ammo; it's your new standard sidearm.
You can change your loadout again later in the chapter (right before you enter the field) if you want to experiment. Don't overthink your first selection — there's another loadout prompt before you deploy.
The inspection animation when you pick up the pistol is unskippable on a first playthrough. Enjoy it — it's a moment the game has been building toward.

Field Equipment and Loadout Selection
Going Old School — Field Equipment and Loadout Selection

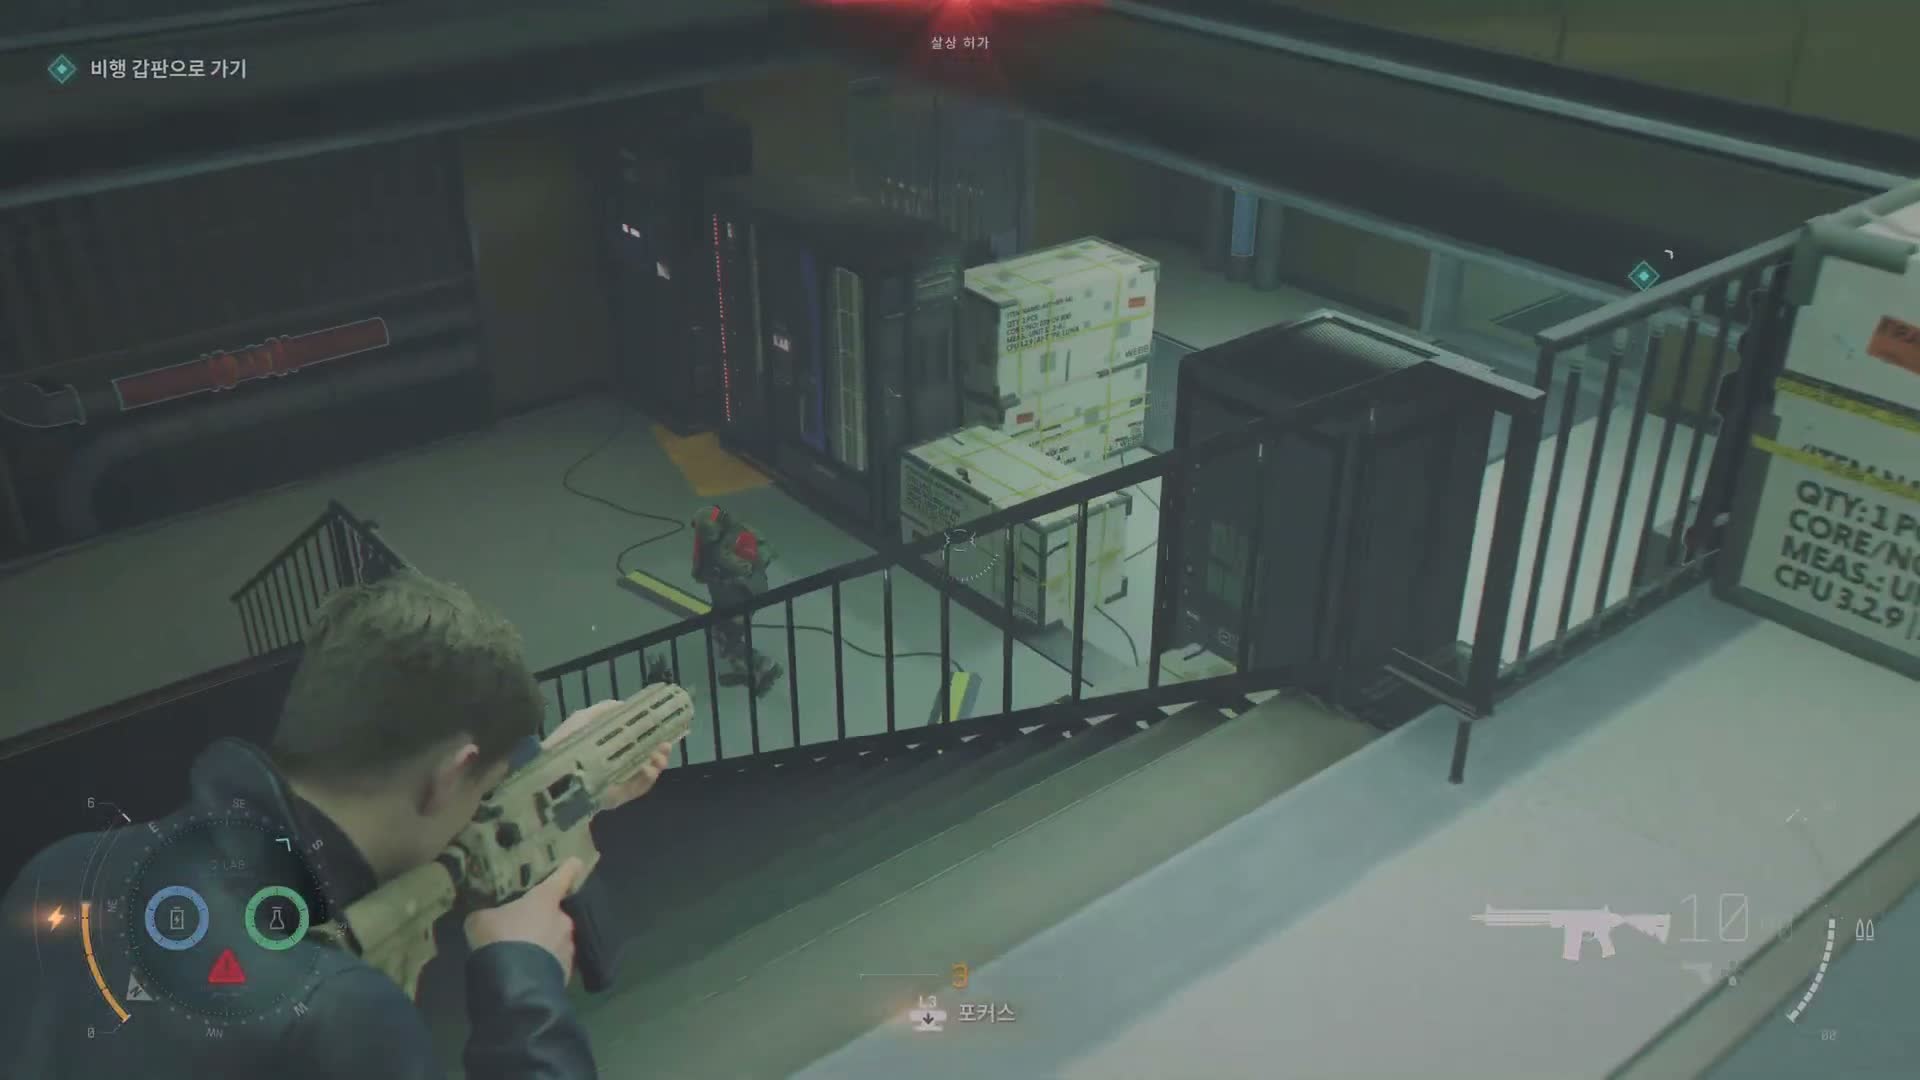
After receiving the suppressed pistol, Q walks you through the field equipment laid out on a nearby table. This is the standard loadout selection screen you've seen at the start of previous chapters, but with a couple of differences that reflect the upgrade you just received.

You can pick:
- **Primary weapon**: The suppressed pistol is locked in as your sidearm, and you can optionally pick up a heavier primary for missions that you anticipate going loud in. For the next chapter, I recommend either the suppressed SMG (if you want a stealthier approach with more firepower than the pistol) or the combat shotgun (if you expect close-quarters fights). The assault rifle is a solid all-rounder.
- **Four gadgets**: This is where the new suit slot matters. I strongly recommend Dart Phone (distractions/camera disable), Watch Laser (padlocks/vents/doors), Smoke Pod (room clearing/cover), and the Q-Lens (scouting/hacking markers) as your default four — this loadout handles every situation the game throws at you for the rest of the campaign.
- **Starting outfit**: The tactical suit is the only option for the final chapters (you're not going to a gala this time).

Once you've made your selections, talk to Q one more time. He gives you a short, gruff send-off — Q doesn't do goodbyes, but there's genuine warmth there. He tells you to bring his equipment back in one piece (you won't, and both of you know it) and points you toward the exit.

There is no 'wrong' loadout, but some combinations make the final chapters harder than they need to be. If you want a recommended all-purpose setup: suppressed SMG as primary, all four gadgets (Dart Phone, Watch Laser, Smoke Pod, Q-Lens), and the tactical suit.
If you're going for a 00 difficulty playthrough, prioritise the Dart Phone and Smoke Pod — the final chapters have multiple rooms full of guards where direct combat is punishing.
You can't return to Q Lab after leaving, so double-check your loadout before you exit. There are no loadout stations in the next chapter until partway through.
If you missed the Driving Gloves collectible, Q will still be at his station at this point — you can grab them right before leaving if you hurry. Once you go through the sewer exit, it's too late.

The Sewer Exit

Going Old School — The Sewer Exit

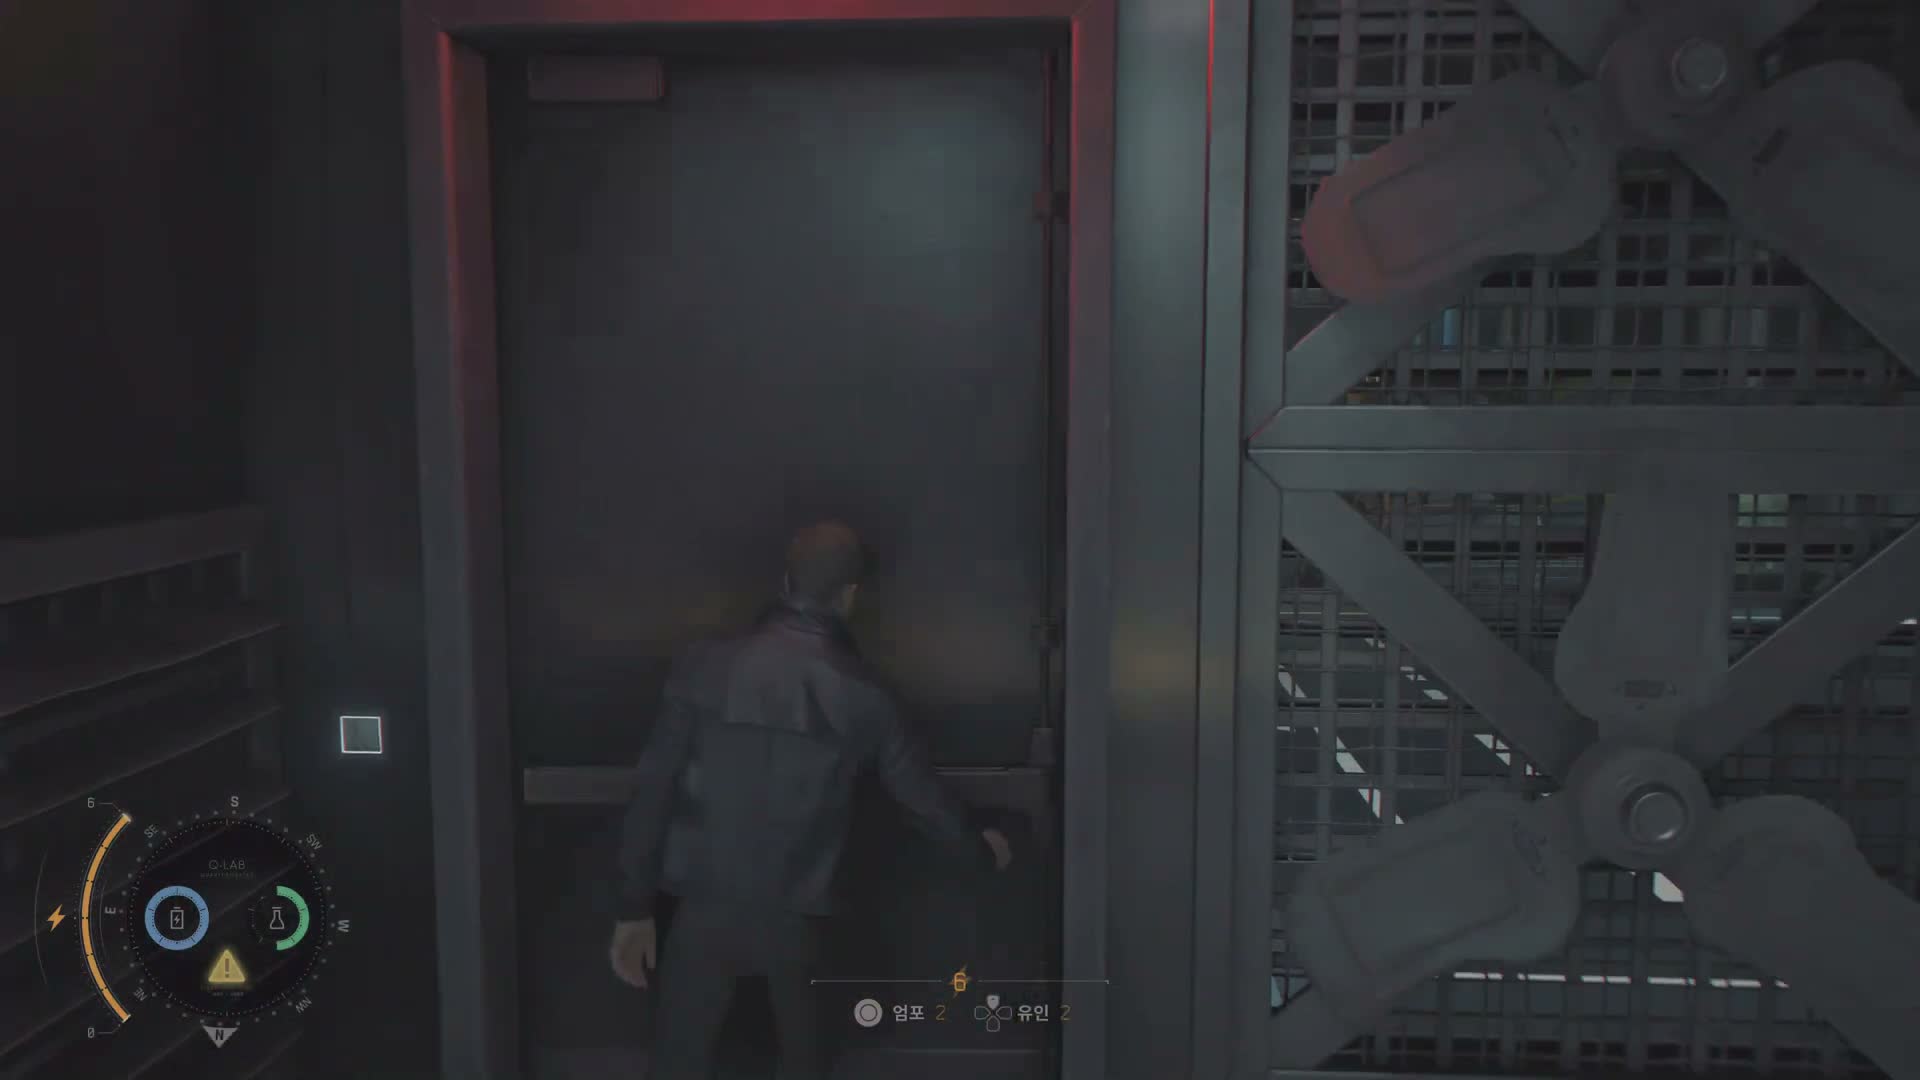
The exit from the temporary Q Lab is through the sewer network — a callback to how you entered Webb Industries in Knightfall. Q opens a concealed hatch in the lab floor that leads down into a maintenance tunnel, and he tells you to follow the markers to reach the street. Moneypenny will meet you at the other end with the car.

The sewer section is longer than a single corridor, but it's still straightforward — this is not a stealth maze with guards. It's a linear walk, with a couple of turns and one optional branching path that dead-ends (no collectible there, just a few more seconds of tunnel). Follow the illuminated markers on the walls and you'll reach the exit without getting lost.

Partway through the sewer, your earpiece connects to Moneypenny, who briefs you on the next mission as you walk. She gives you the operational details — where you're going, what the objective is, who to expect on site — and tells you the car is ready at the sewer outflow. The briefing plays as you walk, so keep moving; the dialogue is timed to your progress and finishes just before you reach the ladder to the surface.

Climb the ladder and you emerge into a London night street — the same city you've been protecting throughout the game, but with a different feel now. The car is waiting, Moneypenny is in the driver's seat, and the camera pulls back as Bond gets in for the drive to the next chapter.

The sewer has no enemies, no cameras, no alarms, and no collectibles. It's pure atmosphere and story delivery — the lighting is excellent, with shafts of electric light and running water, so slow down and enjoy the ambience rather than sprinting through.
If you want to hear Moneypenny's full briefing without it cutting off, walk at normal speed instead of running. The dialogue triggers are positioned along the tunnel, and if you outrun them you can miss lines (you'll still get the mission, but the flavour is worth hearing).
There is one junction in the sewer where the path splits. Both directions lead to the same place (the left path is a short loop that rejoins the main tunnel), so you don't need to worry about getting lost. If you take the longer path, you get a couple of seconds of extra silence and water sounds — that's it.
Climbing the ladder at the end triggers a loading screen and the transition to Chapter 14, so make sure you're ready to leave the bunker behind before you start climbing.

Chapter Wrap-Up — What 'Going Old School' Means

Going Old School — Chapter Wrap-Up — What 'Going Old School' Means

If you're wondering why this chapter exists and why it's called "Going Old School," the answer is in the title and in the Q Lab scene. After the high-tech THEIA conspiracy, the AI weapons, the laser grids, the CCTV networks, and the billion-dollar corporate headquarters of Knightfall, the final chapters of 007 First Light strip things back down. You're getting a classic Bond car, a classic suppressed pistol, and a mission that relies on the fundamentals — stealth, observation, wit, and a well-timed takedown — rather than gadget overkill. It's IO Interactive telling you: you know how to play this now. You have the tools. The rest is up to you.

The DB5, the suppressed pistol, the four-gadget suit — these aren't just power-ups. They're the game passing the torch from its own mechanics (the training wheels of early chapters where you had three gadgets and a basic pistol) to you as a player who has earned the full Bond kit. When you walk out of Q Lab with the suppressed pistol on your hip and four gadgets in your suit, you look like James Bond and you feel like James Bond — and the game knows it.

This is also the last calm moment in the story. From Chapter 14 onward, the pace accelerates relentlessly toward the finale. There are no more walking-and-talking interludes, no more pleasant chats with Q, no more time to inspect cars in workshops. The remaining chapters are all action, all consequence. Soak in the quiet while you have it.

This is the shortest chapter in the game in terms of actual gameplay. A first playthrough takes about 20 minutes if you take your time; a speedrun can be done in under 10 minutes by skipping dialogue (not recommended).
Going Old School has no challenges, no badges, no achievements of its own. It's a story chapter — complete it once and you've seen everything it has to offer (aside from the Driving Gloves collectible if you missed it).
There is no combat, no boss fight, no stealth failure state, and no way to die in this chapter (short of somehow falling off a ladder, which the game prevents). Treat it as a cinematic interlude.
The next chapter, Time to Die, is where the final act begins. Make sure your loadout is what you want before you climb the sewer ladder.
If you're going back for collectibles via Chapter Select after completing the game, you can grab the Driving Gloves and be done with this chapter in about 4 minutes from start to the sewer exit.

Chapter Tips

If this is your first playthrough, don't rush the walk with Moneypenny. The dialogue does a lot of heavy lifting connecting Knightfall's ending to the final chapters, and missing it will leave you confused about why MI6 has relocated.
There are no combat encounters, no stealth sections, and no fail states in this opening walk. You literally cannot die here — take your time and look around the bunker if you want.
The bunker environment is worth a slow walkthrough on a second playthrough — whiteboards and documents in side rooms contain world-building details about the Webb investigation, prior 00 operatives, and Q Branch operations.
M's dialogue changes slightly depending on whether you completed certain optional objectives in Knightfall. If you got all the evidence cleanly, M is gruff but respectful; if you raised a lot of alarms, the lecture is noticeably sharper.
There's no branching choice here — M sends you to Q regardless of anything you've done. The scene is a story beat, not a decision point.
Pay attention to what M says about THEIA not being destroyed — this sets up why there are more chapters after Knightfall rather than the game ending there.
Don't talk to Q to progress the mission immediately — walk around the lab first. There are gadgets on tables you can examine, and the DB5 interactions are missable if you rush to the next objective.
The DB5 is the star of the chapter. If you're a Bond fan, take a moment to look at it from all angles before moving on. IO Interactive has modelled it beautifully, and the lighting in Q Lab shows it off perfectly.
Q's dialogue about the DB5 is full of references to Bond films past (Goldfinger's ejector seat, the machine guns, the tyre slasher). Nothing here is a spoiler for future gameplay; it's just fan service of the best kind.
The car won't be driveable in this chapter — 'She's not ready' means exactly that. You'll see it again later in the game, but here it's a tease.
The Driving Gloves MUST be collected before you talk to Q for your loadout. Once you progress past the equipment selection, the Q Lab interaction phase ends and you cannot return for the gloves on this playthrough (you can via Chapter Select, but you'll have to replay the whole chapter to get them).
The desk with the gloves is the one with two monitors — it's to Q's right (your right when facing him after the DB5 conversation). If you're looking at the car, turn around and it's the desk behind you to the right.
Don't worry about missable collectible panic — the game gives you plenty of time between the DB5 conversation and the loadout prompt. As long as you don't mash the talk button on Q twice in a row, you'll have the room to yourself to explore.
The four-gadget capacity is permanent — you don't lose it after this chapter. Enjoy the extra slot; the game is designed around you having four tools from this point forward, and some puzzles in later chapters assume you can bring specific combinations.
The suppressed pistol replaces your default sidearm for the rest of the game. It's a straight upgrade in every category, so there's no reason not to equip it. It's not a 'special' weapon with limited ammo; it's your new standard sidearm.
You can change your loadout again later in the chapter (right before you enter the field) if you want to experiment. Don't overthink your first selection — there's another loadout prompt before you deploy.
The inspection animation when you pick up the pistol is unskippable on a first playthrough. Enjoy it — it's a moment the game has been building toward.
There is no 'wrong' loadout, but some combinations make the final chapters harder than they need to be. If you want a recommended all-purpose setup: suppressed SMG as primary, all four gadgets (Dart Phone, Watch Laser, Smoke Pod, Q-Lens), and the tactical suit.
If you're going for a 00 difficulty playthrough, prioritise the Dart Phone and Smoke Pod — the final chapters have multiple rooms full of guards where direct combat is punishing.
You can't return to Q Lab after leaving, so double-check your loadout before you exit. There are no loadout stations in the next chapter until partway through.
If you missed the Driving Gloves collectible, Q will still be at his station at this point — you can grab them right before leaving if you hurry. Once you go through the sewer exit, it's too late.
The sewer has no enemies, no cameras, no alarms, and no collectibles. It's pure atmosphere and story delivery — the lighting is excellent, with shafts of electric light and running water, so slow down and enjoy the ambience rather than sprinting through.
If you want to hear Moneypenny's full briefing without it cutting off, walk at normal speed instead of running. The dialogue triggers are positioned along the tunnel, and if you outrun them you can miss lines (you'll still get the mission, but the flavour is worth hearing).
There is one junction in the sewer where the path splits. Both directions lead to the same place (the left path is a short loop that rejoins the main tunnel), so you don't need to worry about getting lost. If you take the longer path, you get a couple of seconds of extra silence and water sounds — that's it.
Climbing the ladder at the end triggers a loading screen and the transition to Chapter 14, so make sure you're ready to leave the bunker behind before you start climbing.
This is the shortest chapter in the game in terms of actual gameplay. A first playthrough takes about 20 minutes if you take your time; a speedrun can be done in under 10 minutes by skipping dialogue (not recommended).
Going Old School has no challenges, no badges, no achievements of its own. It's a story chapter — complete it once and you've seen everything it has to offer (aside from the Driving Gloves collectible if you missed it).
There is no combat, no boss fight, no stealth failure state, and no way to die in this chapter (short of somehow falling off a ladder, which the game prevents). Treat it as a cinematic interlude.
The next chapter, Time to Die, is where the final act begins. Make sure your loadout is what you want before you climb the sewer ladder.
If you're going back for collectibles via Chapter Select after completing the game, you can grab the Driving Gloves and be done with this chapter in about 4 minutes from start to the sewer exit.

Collectibles in This Chapter

1 Collectibles

Explore each section thoroughly to find all hidden items. Check the tips above for specific collectible locations.