Time to Die
14

Time to Die

Bond goes undercover at a luxury cliffside resort in Southeast Asia to intercept a meeting that could determine THEIA's fate. What begins as slow social stealth — cocktail mixing, cave corridors, a white tuxedo — unravels into a car chase, a dockside shootout, and a confrontation that will cost Bond an ally. THEIA is offline the entire mission.

Hard~70-80 min0 Collectibles

Assignment Active — Going Dark

Time to Die — Assignment Active — Going Dark

Time to Die opens with a chapter card you won't forget quickly: ASSIGNMENT ACTIVE in stark white type over aerial footage of a tropical coastline, with THEIA::NOT CONNECTED blinking red beneath it. This is the first time in the game that THEIA goes fully dark, and it matters.

The briefing that plays over the cinematic is brief and delivered in voiceover from M. A target that MI6 has been tracking across the previous chapters has resurfaced at a luxury resort built into a jungle cliffside in Southeast Asia. The cover identity is already in place — you're a wealthy guest arriving for a weekend of parties and poolside drinking.

There's no Q-lab prep, no loadout select, no gadget rundown. You arrive with whatever you chose in Chapter 13. The suppressed pistol is holstered under a pink polo shirt, your gadgets are slotted into your suit (which is in a suitcase somewhere), and THEIA is offline the entire chapter. This is intentional — you're operating blind.

THEIA is down for the entire chapter. You have no objective markers, no enemy tagging, no hackable-panel highlights through walls. This changes how you explore. You have to actually look at your surroundings and listen to dialogue instead of following a HUD breadcrumb trail.
Whatever gadget loadout you chose in Ch13 is what you bring into this chapter. There is no opportunity to swap before insertion. If you left the compact EMP behind, you won't have it here.
The opening cinematic contains no gameplay. You can set the controller down for about ninety seconds and just watch the fly-in.

Resort Arrival — The Cliffside Set Piece

Time to Die — Resort Arrival — The Cliffside Set Piece

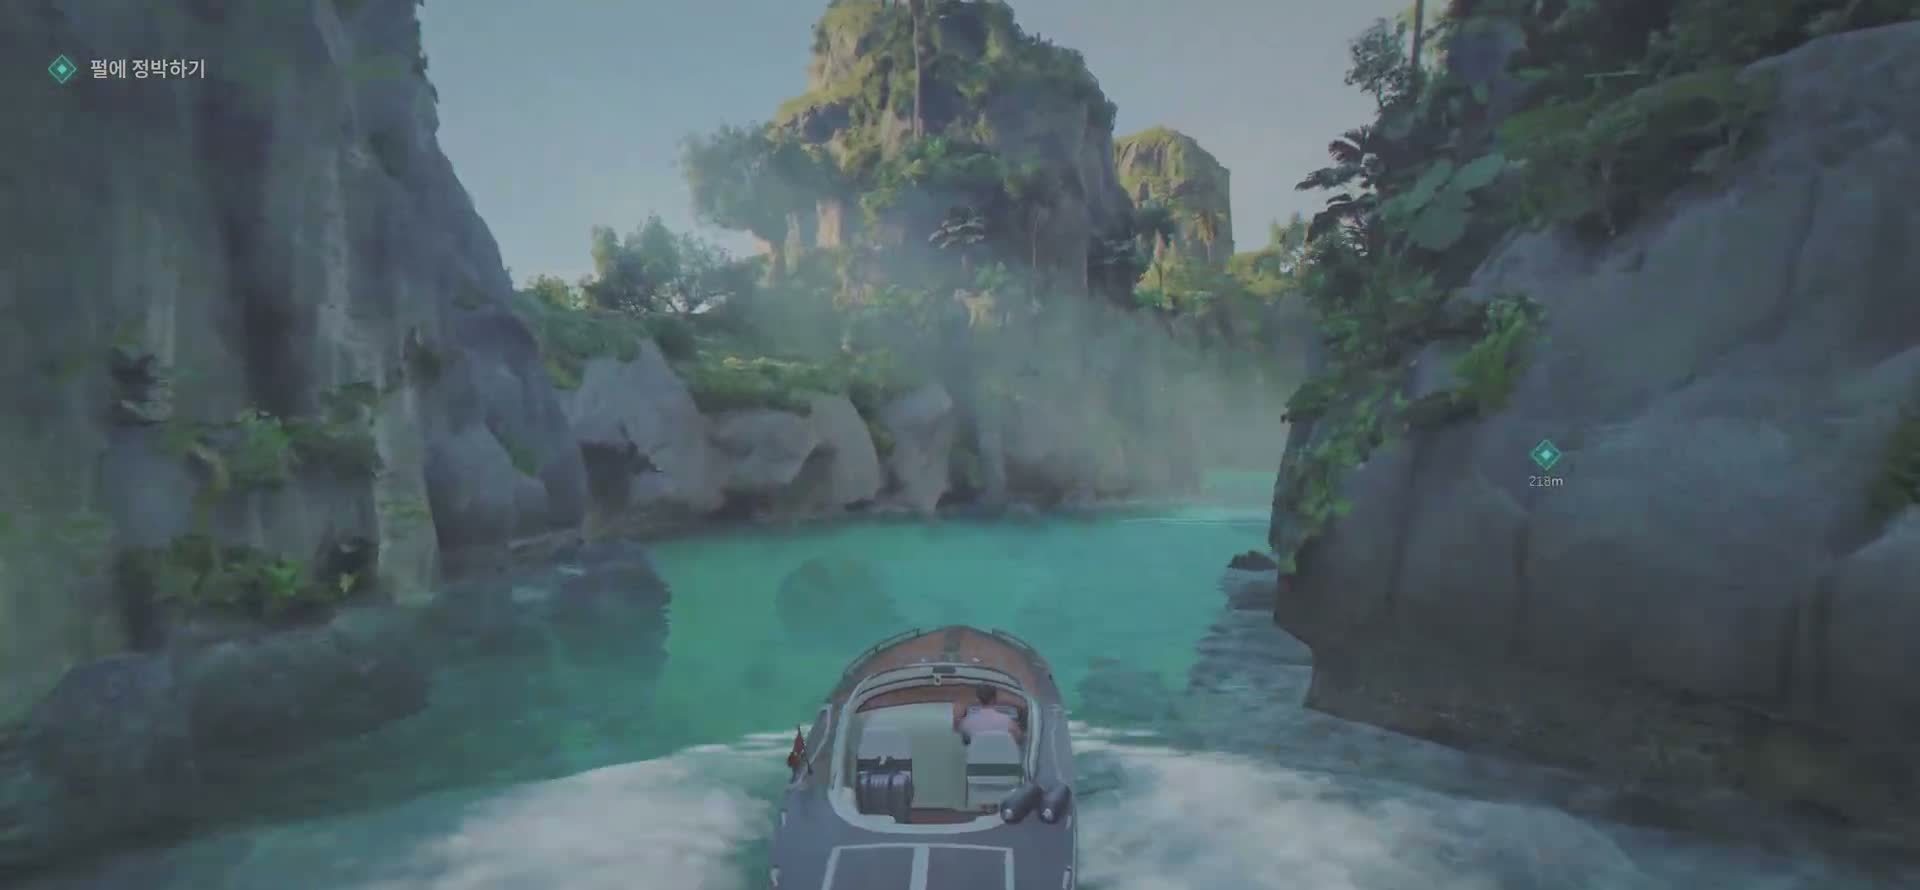
Bond arrives at the resort by speedboat. The camera pulls back as you approach the dock to show the scale of the place — multiple levels carved into a limestone cliff, infinity pools that appear to spill into the ocean, open-air walkways strung with lanterns, and more security than a five-star resort has any reasonable need for.

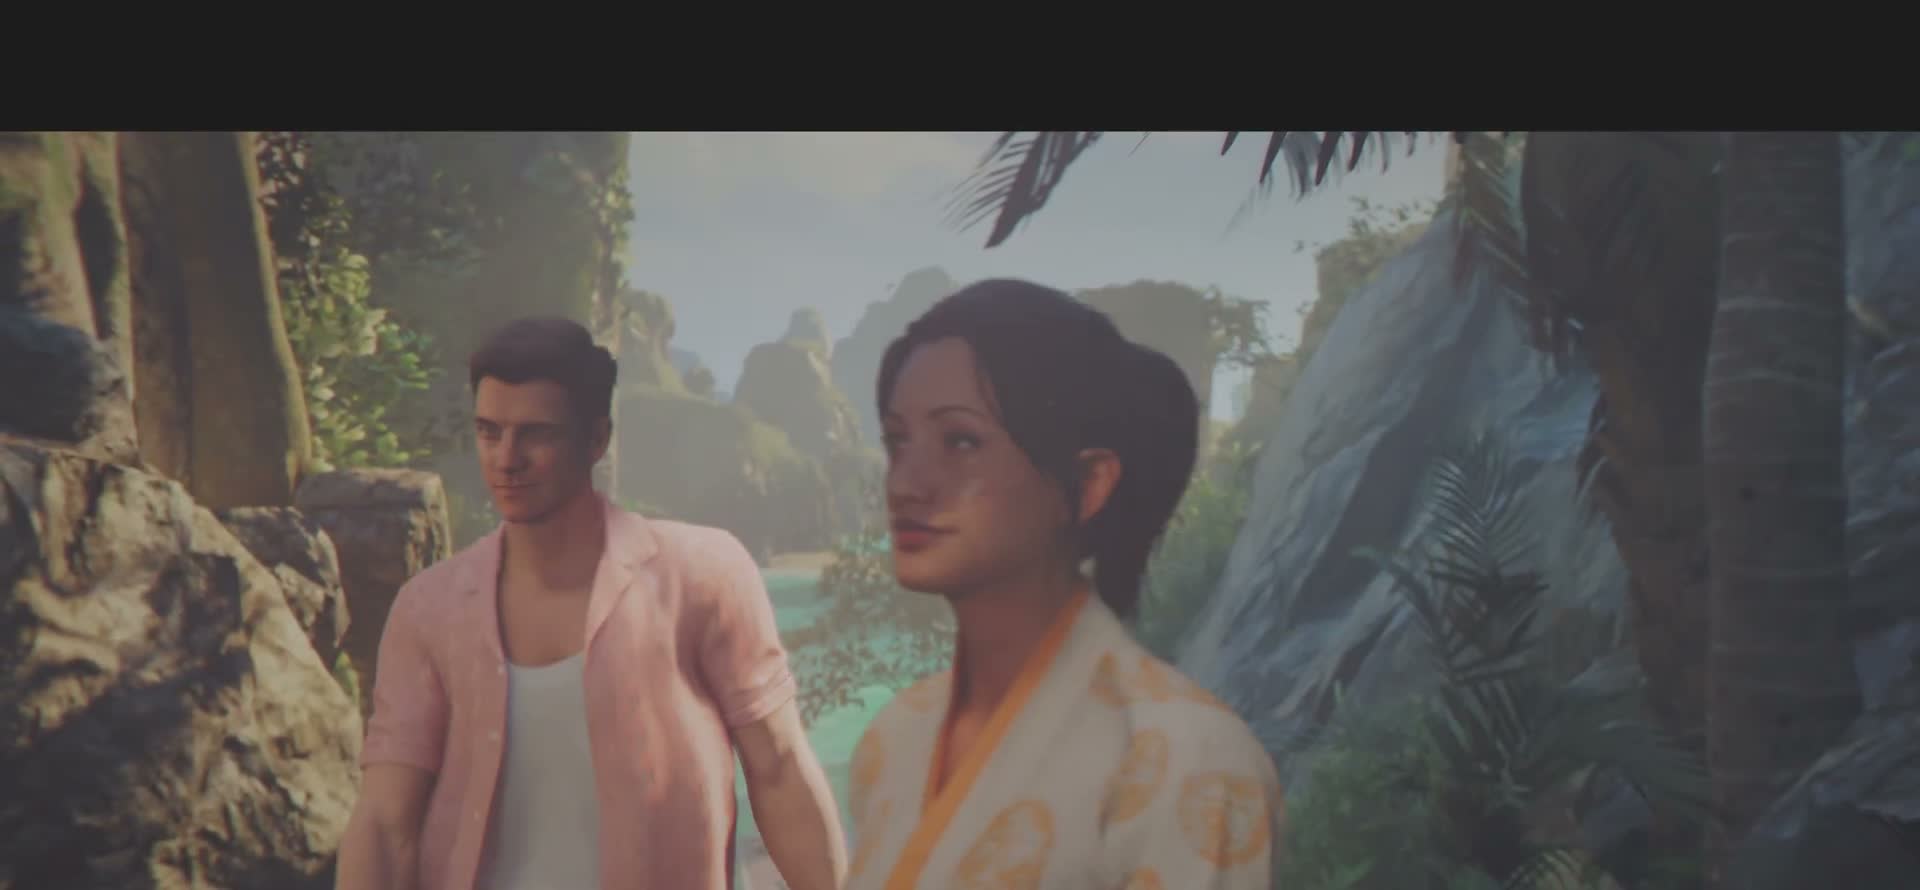
The coastal flyover gives you a good look at where you're headed: limestone karsts rising out of turquoise water, dense jungle, a resort carved into the cliff face with multiple terraces and what look like private villa pools at the top. The architecture is modernist luxury — teak, glass, white stone. You'll be walking through all of it.

Pay attention during this fly-in. The geography matters later. The dock, the cave network through the cliff, the private villa area, the service road down to the industrial yard — you get a bird's-eye view of the whole level before you ever set foot in it.

Watch the arrival cinematic carefully. It shows you the physical layout of the resort — the dock is at the bottom, caves cut through the middle of the cliff, the private villas are at the top. You'll traverse all three layers in order.
If you listen closely to the speedboat captain's brief dialogue, he mentions staff rotation shifts. That's not flavour text — it tells you when guard rotations change, which matters for stealth.

The Pink Polo — Disguise and Social Stealth
Time to Die — The Pink Polo — Disguise and Social Stealth

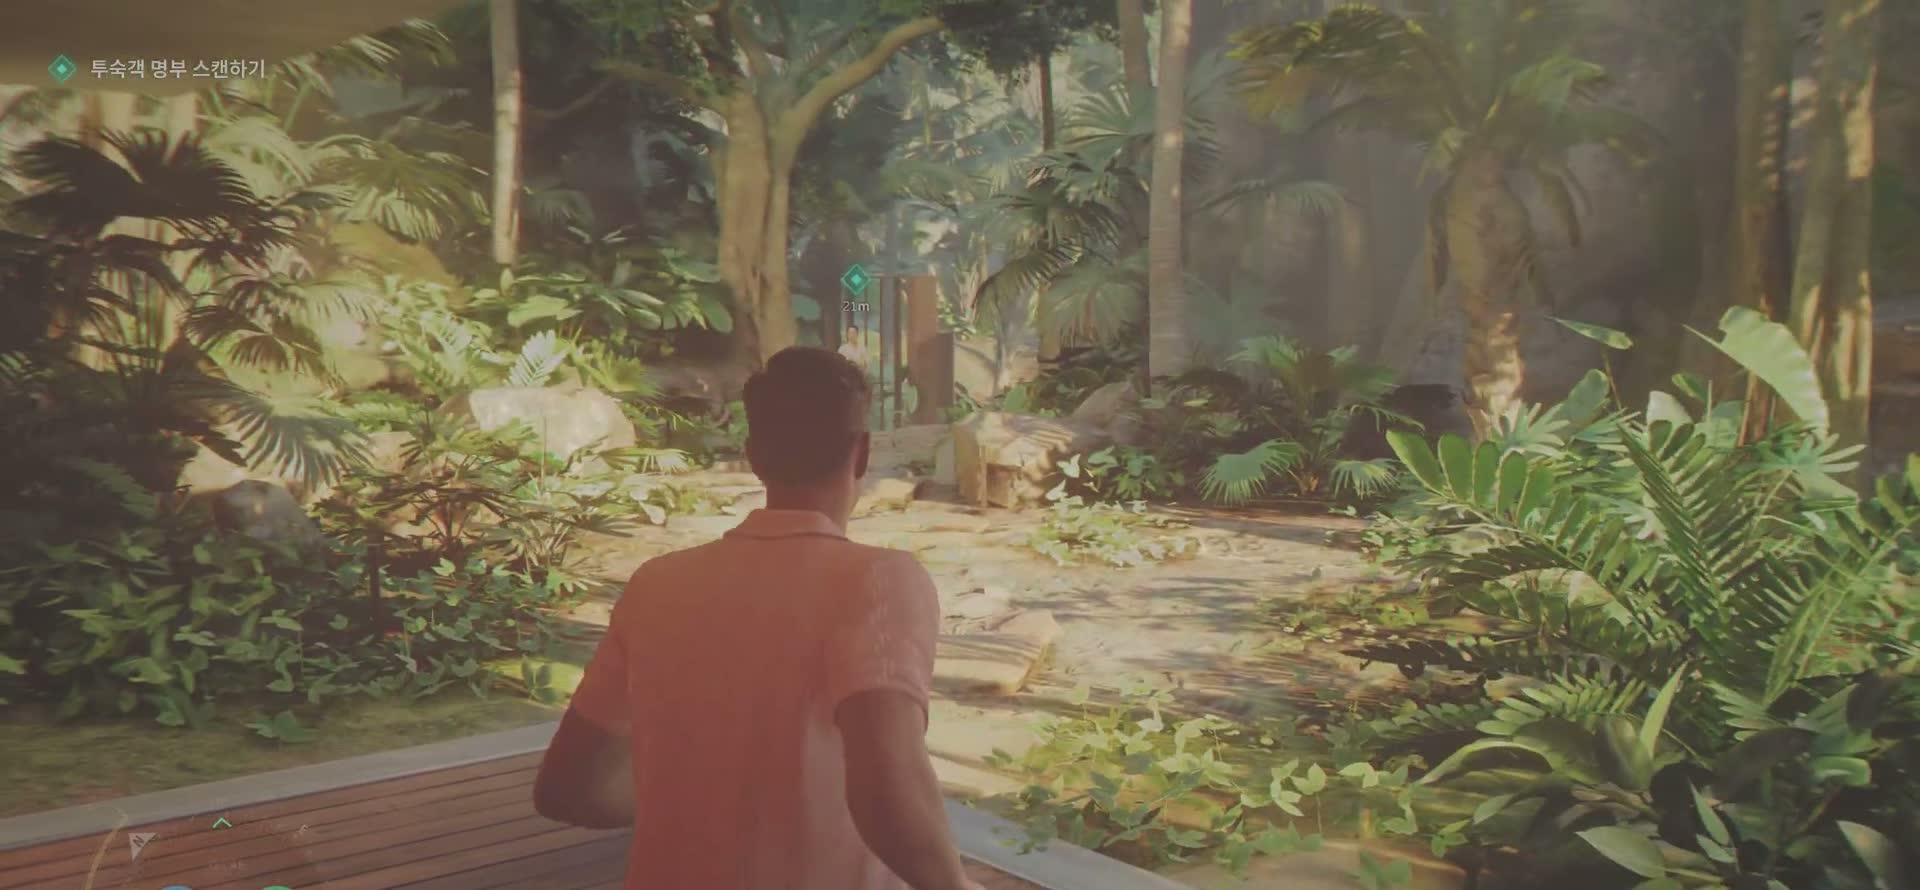
Bond arrives at the resort by speedboat and is escorted up from the dock by staff. The main building is carved directly into the cliff, open-air, with teak decks and white linen furniture. Staff in cream uniforms greet you by name — the cover identity is solid, at least at this level of access.

You begin in a light pink polo shirt and white shorts — a vacation disguise. You do not start with your suit or your pistol drawn. Bond's cover is as a wealthy European guest. For the first portion of the chapter, the disguise holds and most staff will treat you as a normal guest as long as you don't do something overtly suspicious.

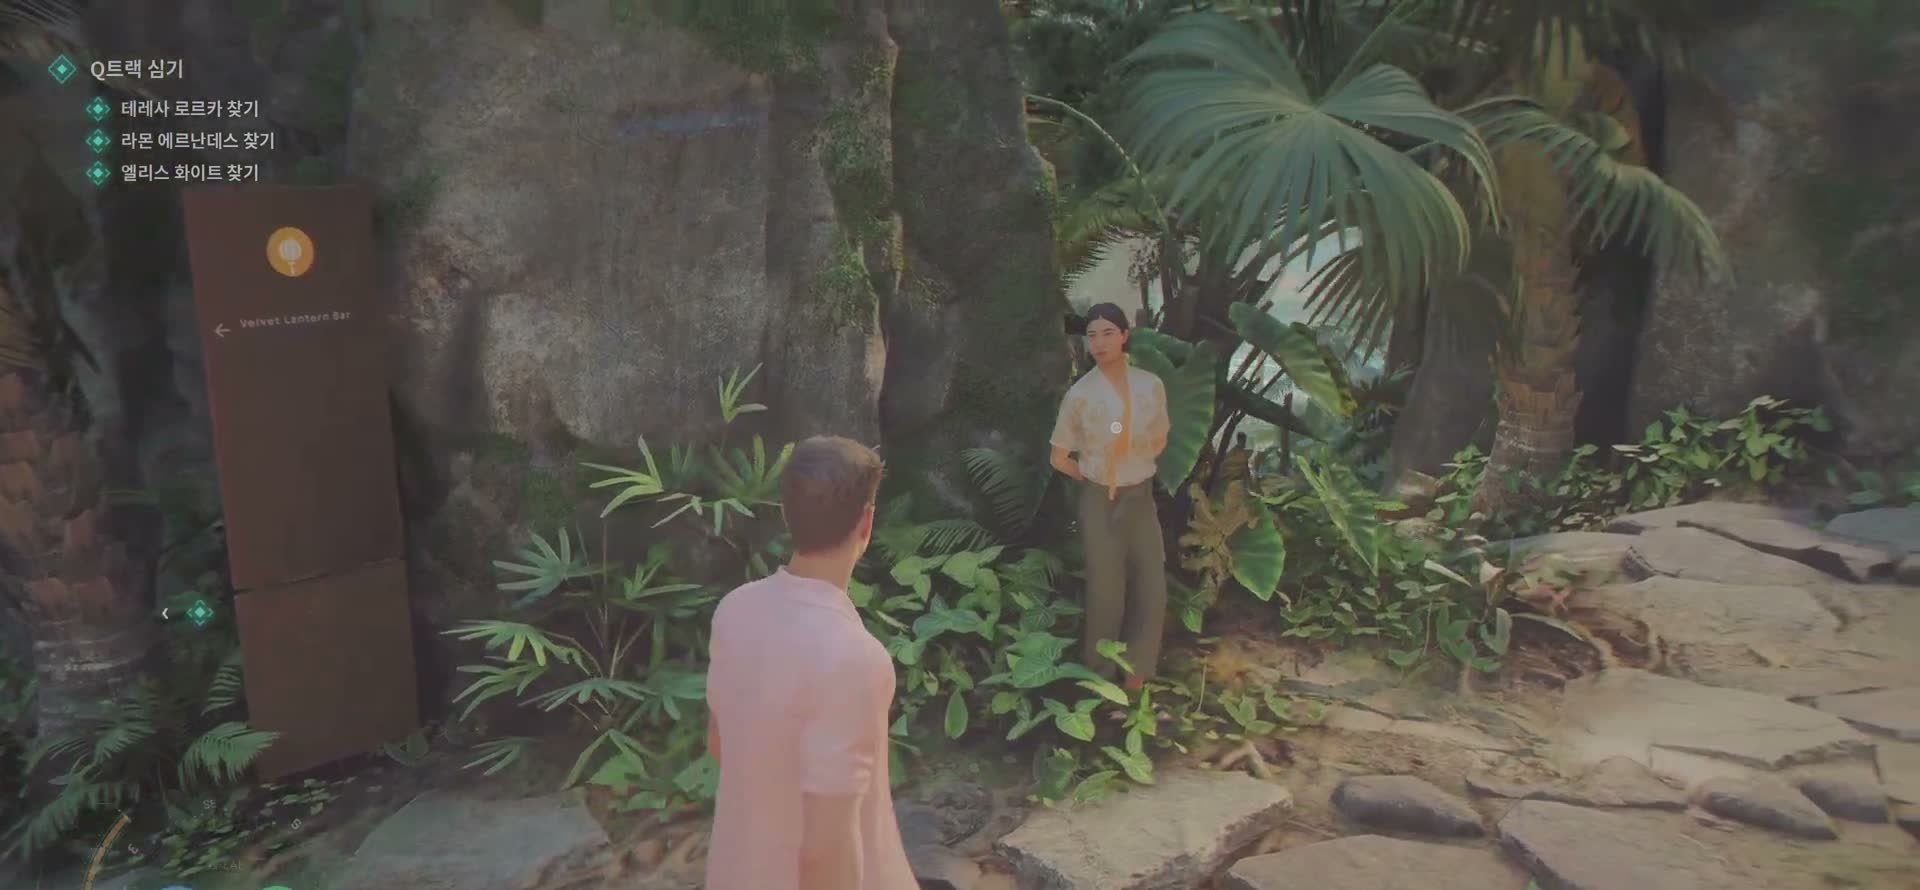
Walk the paths, listen to conversations, get a feel for the layout. The resort is bigger than it first appears — there are multiple pool levels, a bar built into a cave, a spa area, and a private villa section that requires a keycard. The public areas are fair game; wandering into staff-only corridors will draw attention quickly.

Keep the polo disguise on as long as possible. It grants you access to the public areas of the resort without suspicion. Once you change into the tuxedo for the evening meeting, your access changes and some routes close off.
You're unarmed (visibly) in the polo outfit. Your pistol is concealed but drawing it in view of any NPC instantly blows your cover and often triggers alarms. Use takedowns in isolated areas when necessary.
If guards stop you to ask what you're doing somewhere you shouldn't be, you have a short dialogue window to talk your way out. Pick the confident, dismissive options — Bond's cover is a wealthy guest who expects access, and acting entitled works better than acting apologetic.

The Bar — Mixing the Old Fashioned

Time to Die — The Bar — Mixing the Old Fashioned

Once you're past the arrival sequence, you're free to explore the resort on foot. The jungle paths connecting the pool level to the cliffside bar are patrolled but not locked down — stick to the guest walkways and you'll be fine. This is a rare open-ended section in a linear game: you can wander, eavesdrop, admire the view.

You'll notice almost immediately that the place is more heavily guarded than a resort should be. Men in polo shirts with earpieces linger on every platform. Staff in branded uniforms move in fixed patterns. The security presence is overt enough to notice but subtle enough that a real guest might not think twice — private security for a high-end clientele, nothing unusual.

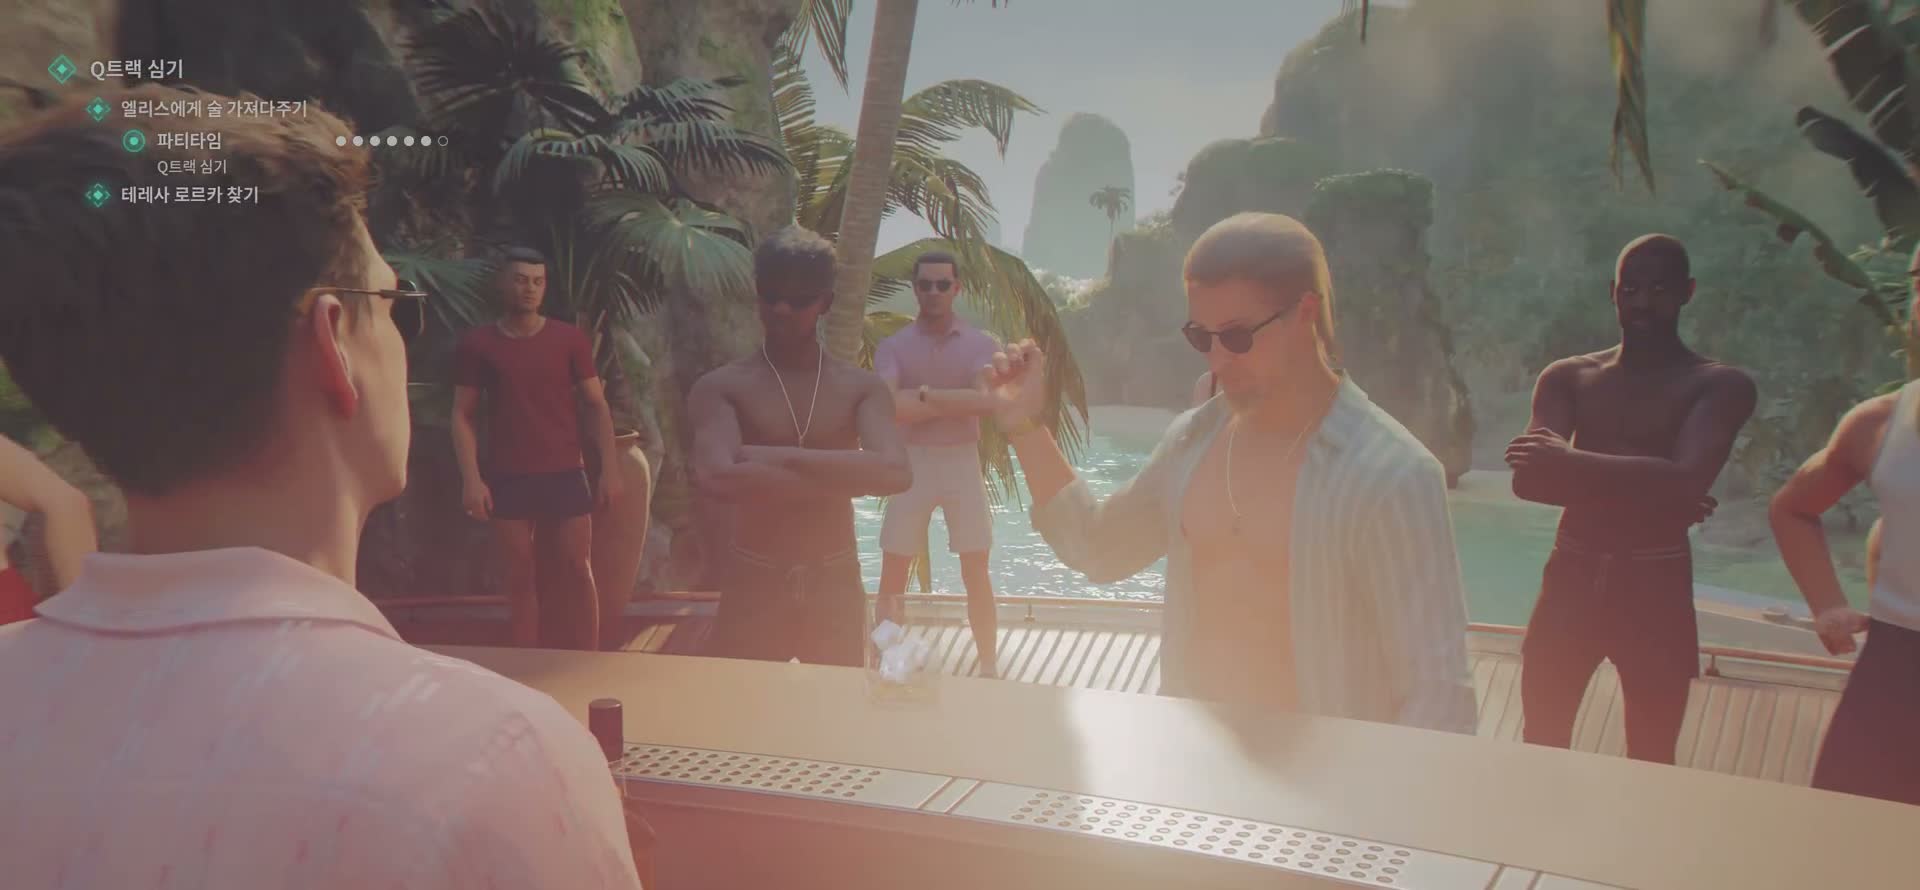
If you head to the main pool bar (you'll end up there naturally if you follow the sounds of conversation), you'll overhear that your contact expects a drink — specifically, an Old Fashioned. There's a brief cocktail-making sequence at the bar. It's not a puzzle; it's a character beat. Bond knows how to make a proper Old Fashioned, and the contact is watching to confirm you're who you say you are.

The minigame is not hard — there are visual prompts for each step and you're not timed — but it's memorable because it's pure character work. Bond doesn't shoot his way into this meeting; he mixes his way in. Muddle the sugar, add the bitters, pour the bourbon, express the orange peel over the glass. Do it right and the contact gives you a small nod from across the bar.

You don't have to make the drink. You can find the contact by exploring the right guest or by overhearing a specific conversation that points you to his location. The drink sequence is the most elegant path and gives you a longer, more informative conversation, but the game doesn't punish you for skipping it.
Eavesdrop on the other guests while you're at the bar. Several conversations drop useful context about who else is at the resort, and one conversation between two security guards gives you the staff rotation schedule for the villa wing.
The bartender will talk to you if you approach before starting the minigame. He's not a plot-critical NPC but he has a couple of good lines about who's been asking questions at the resort that weekend.

Making Contact — The Briefing

Time to Die — Making Contact — The Briefing

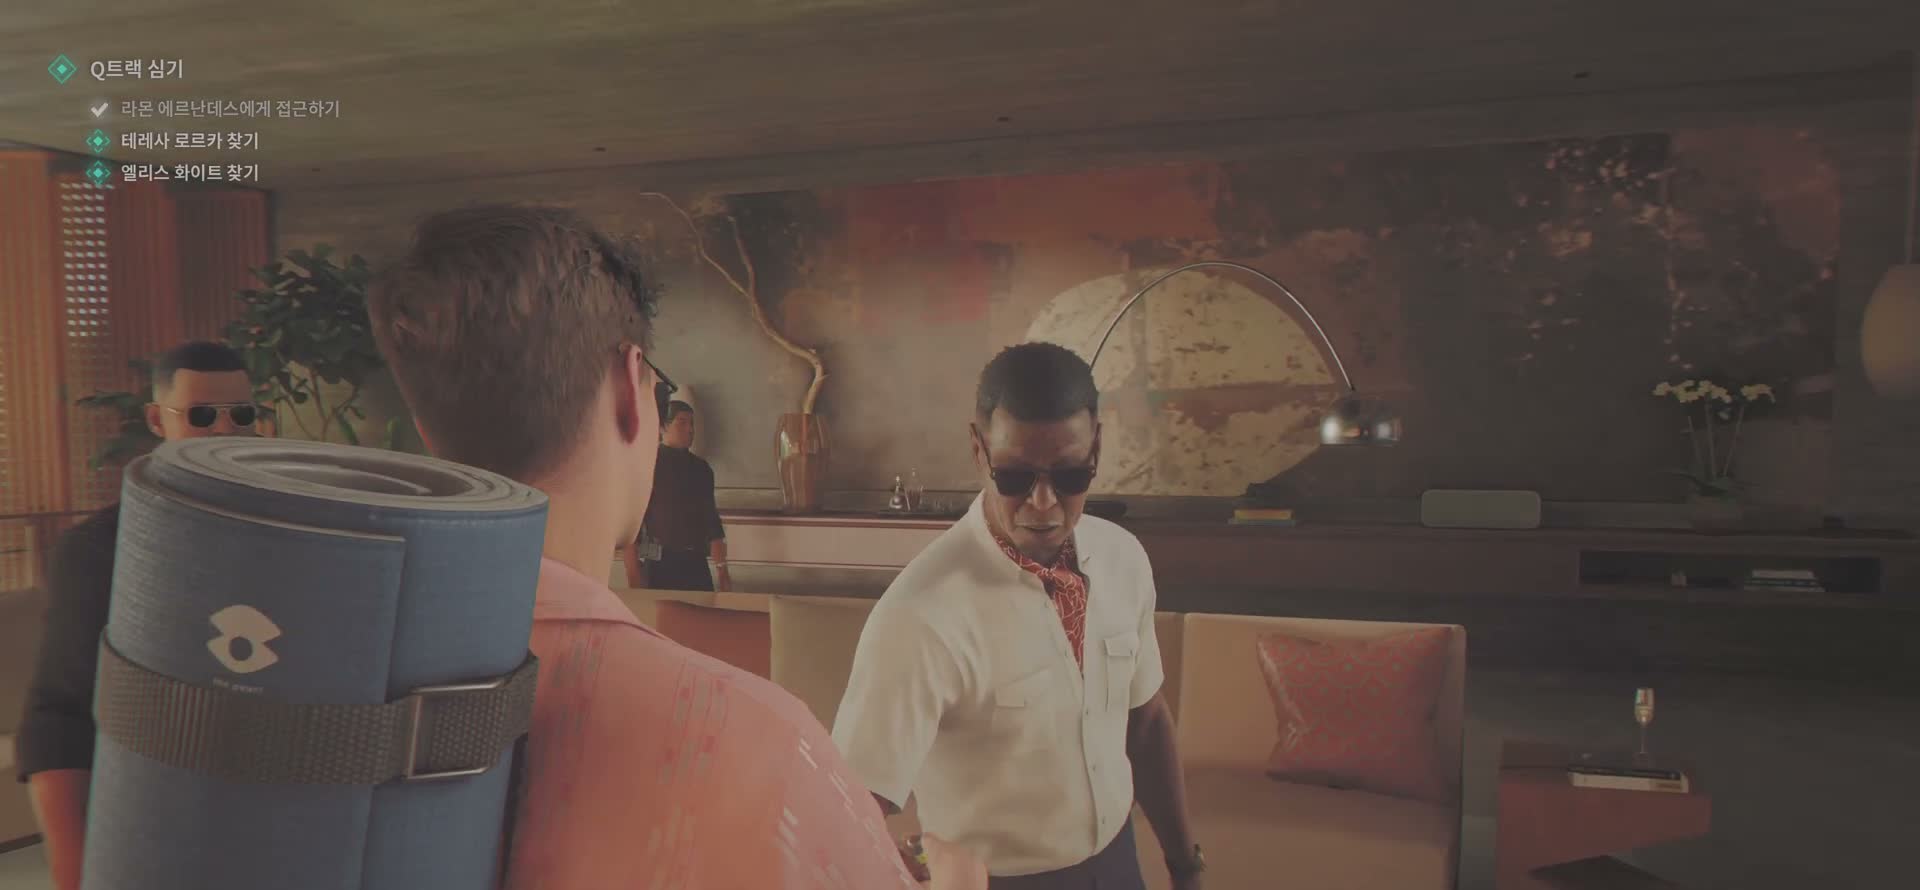
Once you've made the drink (or found the contact through another route), you sit down and he lays out what's actually happening at the resort. The target isn't just here for a weekend — he's brokering a deal for access to a next-generation satellite weapons platform, one that makes THEIA look like a prototype. The meeting is happening this evening, at a private villa at the top of the resort, during a black-tie party.

The contact will not come with you or create a distraction — he's in too deep to blow his own cover, and he makes that clear in a sharp exchange with Bond. He gives you a keycard for the villa wing, the location of a bug to plant, and a warning: the target's head of security is ex-Special Forces and doesn't miss much. If you're made, there's no extraction plan.

After the conversation, the contact leaves and you're on your own. The afternoon stretches ahead of you — this is the game giving you space to explore, plan your route to the villa, and pick up anything useful before the evening sequence.

Read everything the contact gives you carefully. The villa layout, the guard numbers, the timing of the party — all the information is actionable. This isn't filler dialogue; it's your intel dump for the rest of the chapter.
The keycard works on the villa wing doors and the elevator up to the private pool level. It does NOT work on the service tunnels or the industrial yard — those routes are locked down and require a different approach.
After the contact leaves, a new guard patrol starts moving through the bar area. Don't linger at the table too long — stand up and walk out like a normal guest.

The Caves — Navigating the Cliff Passages
Time to Die — The Caves — Navigating the Cliff Passages

Between the main resort level and the private villa wing, a series of natural limestone caves have been converted into corridors. The resort uses them as a climate-controlled art gallery and wine cellar — string lights, polished stone floors, display cases, the kind of luxury kitsch you only see in places where money has no concept of 'enough.' Bond uses them because they're the quietest route to the villa wing.

If you're going for a non-lethal stealth playthrough, the caves are where you'll use most of your takedowns. The good news is that there are plenty of opportunities: guards are isolated by the twists in the rock, display cases create sightline blocks, and the lighting is low enough that approaching from behind is consistently viable.

The cave section also introduces one of the better environmental takedowns in the game — you can pull a guard into a shallow water feature if you time it right. It's contextual, quiet, and the body stays hidden in the dark water. Just make sure the second guard in the pair has turned the corner before you do it.

The caves are the best place in the chapter for non-lethal takedowns. The rock formations naturally break line of sight, guards patrol in smaller groups than the dock sections, and bodies are easy to hide in the shadowed corners.
If you draw a weapon in the caves, the sound echoes badly and alerts guards through multiple chambers. Use takedowns only, or the silenced pistol as an absolute last resort — and be aware that even suppressed fire carries further here than in the jungle.
There is a wine cellar branching off the main cave corridor that looks like a dead end. It's not. There's a ventilation grate at the back that gives you a shortcut into the villa pool area, bypassing two guards entirely.

The Villa Pool — Social Infiltration

Time to Die — The Villa Pool — Social Infiltration

After the caves, you reach the private villa pool area where the target's associates are gathered. This is where the chapter's social stealth peaks. Guests in poolside attire, waiters passing champagne, music playing — and security everywhere, watching for anyone who doesn't belong.

You do not confront the target directly in this section — the objective is simply to observe, get the key to his private villa, and plant a listening device. The key is held by one of the associates at the pool, identifiable because he's the only person not drinking and keeps checking his phone. You can lift it if you bump into him in a crowd (pickpocket prompt) or follow him to the restroom and take him down quietly.

The bug goes in the villa itself, on the phone in the target's study. Getting into the villa requires either the keycard from the contact plus a code you overhear from a waiter, or a route through the service entrance that involves timing a guard rotation and climbing a trellis. Both paths work.

The pool area works on line-of-sight detection like the rest of the game, but the 'witness' threshold is different — guests are less suspicious than guards. You can walk right past guests in the right outfit and they'll ignore you; a guard looking at you from twenty metres away in the same spot will start moving toward you.
Don't run. Don't sprint. Don't crouch. All three look wrong in a cocktail party setting and instantly draw attention. Walk at normal speed, keep moving with purpose like you belong there, and give guards a wide berth.
The waiters know who belongs and who doesn't. They're the biggest threat in this section because they'll approach you and ask if you're lost if you loiter near restricted areas. Keep moving, don't make prolonged eye contact, and use groups of other guests as cover.

The White Tuxedo — Preparing for the Meeting

Time to Die — The White Tuxedo — Preparing for the Meeting

Once you've planted the bug and scouted the meeting location, you need to change for the evening. The contact left a white tuxedo in a changing room near the main pool — a deliberate callback, if you're paying attention, to the white dinner jacket from The Man with the Golden Gun. The cut is different; the energy is the same. Bond in white, in a tropical setting, walking into something he's unlikely to walk out of.

Before heading to the pavilion, this is your last chance to explore the resort and grab any collectibles you missed in the afternoon sections. After the meeting starts, the chapter locks into a linear sequence and you can't backtrack.

Putting on the tuxedo changes your disguise and how NPCs perceive you. You now look like you belong at the evening event — but you also look like you. The head of security studies your face for a beat when you walk in. The disguise holds; it doesn't feel like it will for long.

This is the point of no return for collectibles and exploration. Once you walk into the evening meeting at the pavilion, the chapter proceeds through linear action sequences all the way to the end. If you want to finish any optional objectives or eavesdrop on remaining conversations, do them before putting on the tuxedo and heading to the pavilion.
Your pistol is still accessible in the tuxedo (shoulder holster under the jacket) but drawing it in front of anyone is instant cover blow. Save it for when things inevitably go loud.
The white tuxedo isn't just cosmetic — in the evening section, the lighting is lower and the white jacket makes you more visible at distance. Stay behind cover and use shadows when you're moving through areas where guards are actively searching.

The Meeting Goes Wrong — Jungle Chase and Car Crash
Time to Die — The Meeting Goes Wrong — Jungle Chase and Car Crash

Spoiler warning: the meeting goes sideways. You won't be surprised to hear that, but the speed with which it unravels is genuinely impressive. The target knows you're not who you say you are before you sit down. The conversation is civil for about thirty seconds — Bond probes, the target deflects, the head of security reaches for his weapon — and then everything breaks.

Once you're clear of the wreck, you're on foot in the jungle at night, in a tuxedo, with your pistol and whatever gadgets survived the crash. The resort is on full alert. Searchlights sweep the jungle paths, guards with flashlights move through the trees in teams, and the alarm is audible from everywhere on the property. You need to get down to the dock — extraction is supposed to be waiting there.

The jungle section is the first major combat set piece in the chapter. You can try to stay stealthy, but once you're spotted (and you will be, because the search pattern is aggressive), it breaks into a running fight through the trees. Use cover, keep moving toward the water, and don't let yourself get flanked — guards come at you from both sides of the path if you stay in one place too long.

When the meeting breaks, do NOT try to fight everyone in the pavilion. There are too many guards, the space is too open, and you will die. Run. Exit through the side of the pavilion (follow the objective prompt if THEIA is partially online in this section, otherwise head downhill toward the treeline) and get into the jungle before security can seal the area.
After the car crash, Bond is injured and movement is slightly slower for a minute or two. The game communicates this through a limp animation and heavier breathing. It normalises after about a minute of gameplay, but be aware that your sprint speed is reduced right at the moment when you most need to run.
In the jungle at night, your tuxedo jacket is actually an advantage in shadow but a liability in the beam of a flashlight. Freeze when a searchlight passes over you if you're in cover; moving in the beam gets you spotted instantly.

The Dockyard — Heavy Firefight

Time to Die — The Dockyard — Heavy Firefight

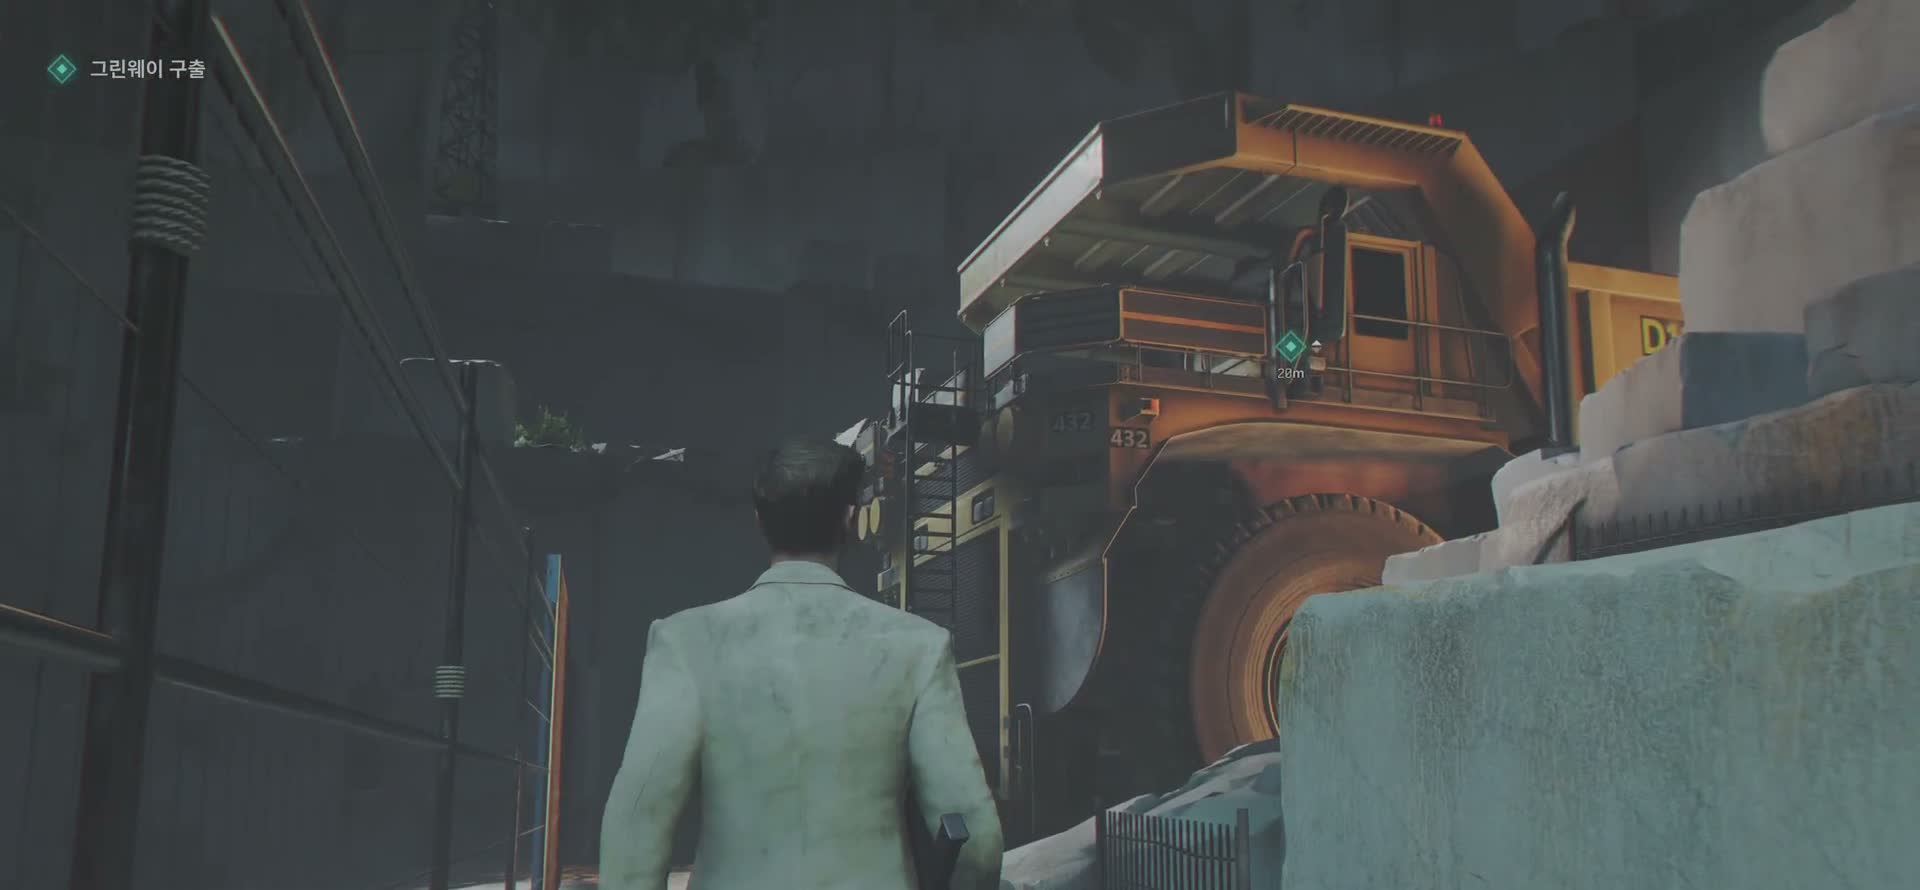
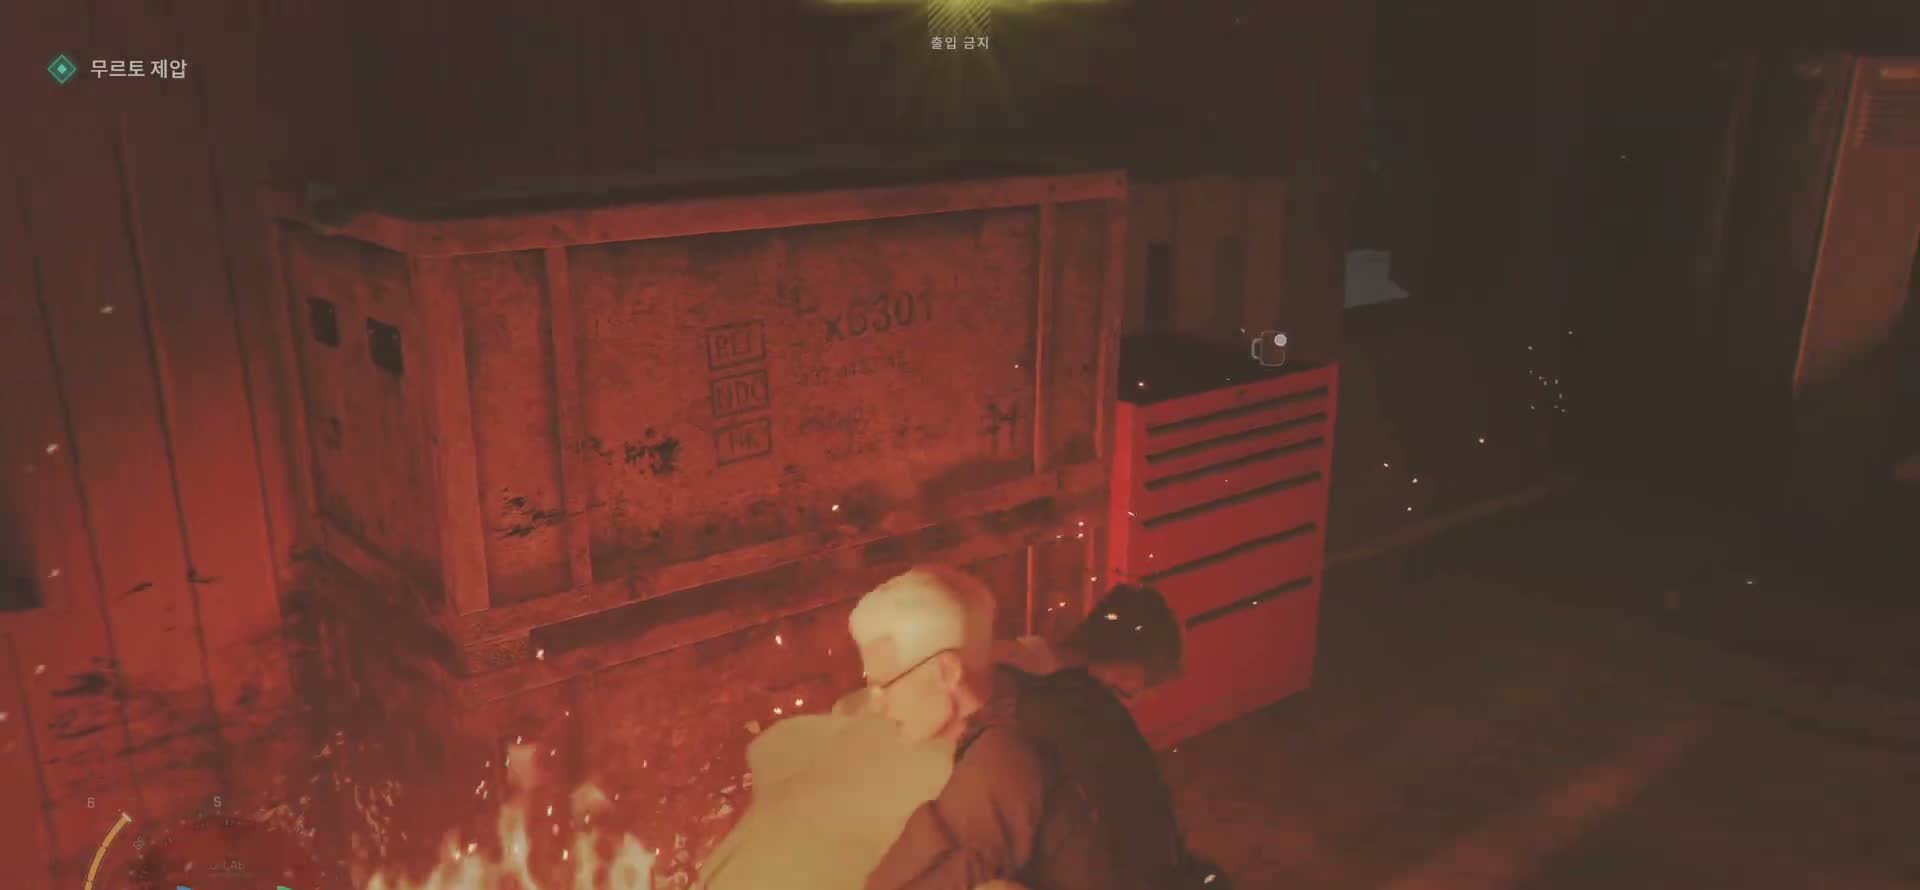
From the wreck you follow a service road down to a dock and industrial yard at the base of the cliff. This is where the chapter becomes a full-on action sequence. Heavy weapons, multiple squads of enemies, forklift cover, stacked shipping containers, a large dump truck, and a cargo crane overlooking the yard. There's no social stealth here — everyone knows who you are and they're shooting to kill.

The giant dump truck in the centre of the yard is not just set dressing — there's a way to use it during the fight. I won't spoil how, but pay attention to the vehicle and to what's around it. The environment isn't just cover; some of it is interactive.

The dockyard fight proceeds in waves. You clear the lower level (near the water), then move up through the containers, then cross to the industrial building on the far side. The cover is solid but not infinite — don't stay behind a wooden crate when someone's shooting at it with an automatic weapon. It disintegrates after a few seconds.

The dockyard is where you'll burn through most of your ammo for the chapter. You can resupply from downed enemies — they drop ammo and occasionally armour — but don't count on picking up the heavy weapons easily. The enemies carrying shotguns and SMGs will close on your position quickly if you stay in one place.
The shipping containers create flanking routes. If you're taking fire from ahead, you can usually move left or right through the container stacks to approach enemies from the side. The AI doesn't always track these lateral movements well.
Before heading up the gantry into the industrial structure, make sure you've looted everything in the yard. There are no enemies behind you once you move into the building, so you're committing forward — but there's also no resupply in the next combat section.

The Sniper Nest — Climbing the Facility
Time to Die — The Sniper Nest — Climbing the Facility

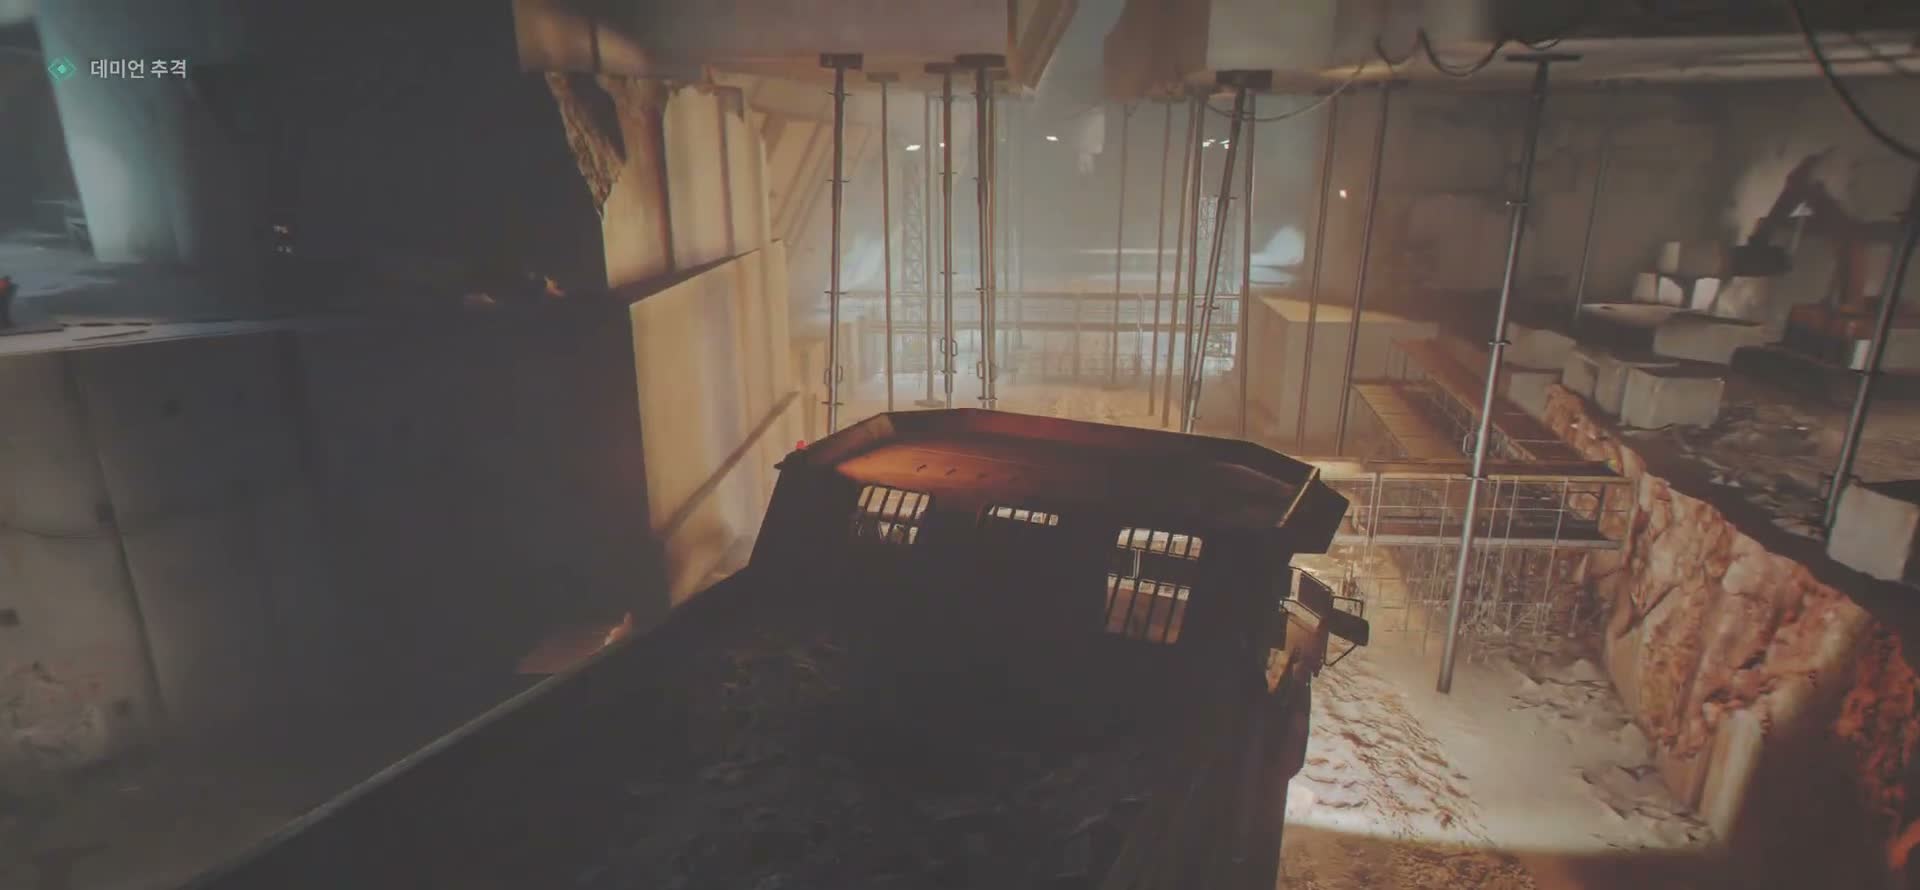
Past the dockyard you climb up into an industrial structure — a concrete and steel facility built into the cliff, with gantries, catwalks, and heavy machinery. The layout is vertical: multiple levels connected by stairs and ladders, machinery that provides cover but also blocks sightlines, and a growing sense that you're being hunted.

The section culminates in a showdown with a masked antagonist on a raised platform at the top of the facility. He's armed with a sniper rifle of his own and he's patient — he doesn't spam shots, he waits for you to break cover. This is not a run-and-gun fight. You have to move between cover positions deliberately, time your crossings, and close the distance.

There are enemies on the catwalks between you and the sniper as well, so you're dealing with both close-quarters threats and long-range fire. The catwalks are narrow and exposed; staying low and moving quickly across them is the only way through. Once you get close enough to the sniper's platform, the fight transitions into a brief melee sequence before you can move on.

The sniper does not miss often, and he fires on a rhythm. Count the shots — in my playthrough, the pattern was roughly two shots with a pause between each, then a longer reload pause during which you can move two or three cover positions forward. Your timing may vary by difficulty.
Do not try to take the sniper with your pistol from the lower levels. The range is too great and the accuracy isn't there. You have to close the distance using the gantries and staircases. If you picked up an enemy rifle in the dockyard, this is where it pays off.
The catwalk enemies respawn? No, they don't — but they do call for reinforcements if you give them time. Push forward at a steady pace rather than clearing every enemy methodically.

Ally Down — The Hard Choice

Time to Die — Ally Down — The Hard Choice

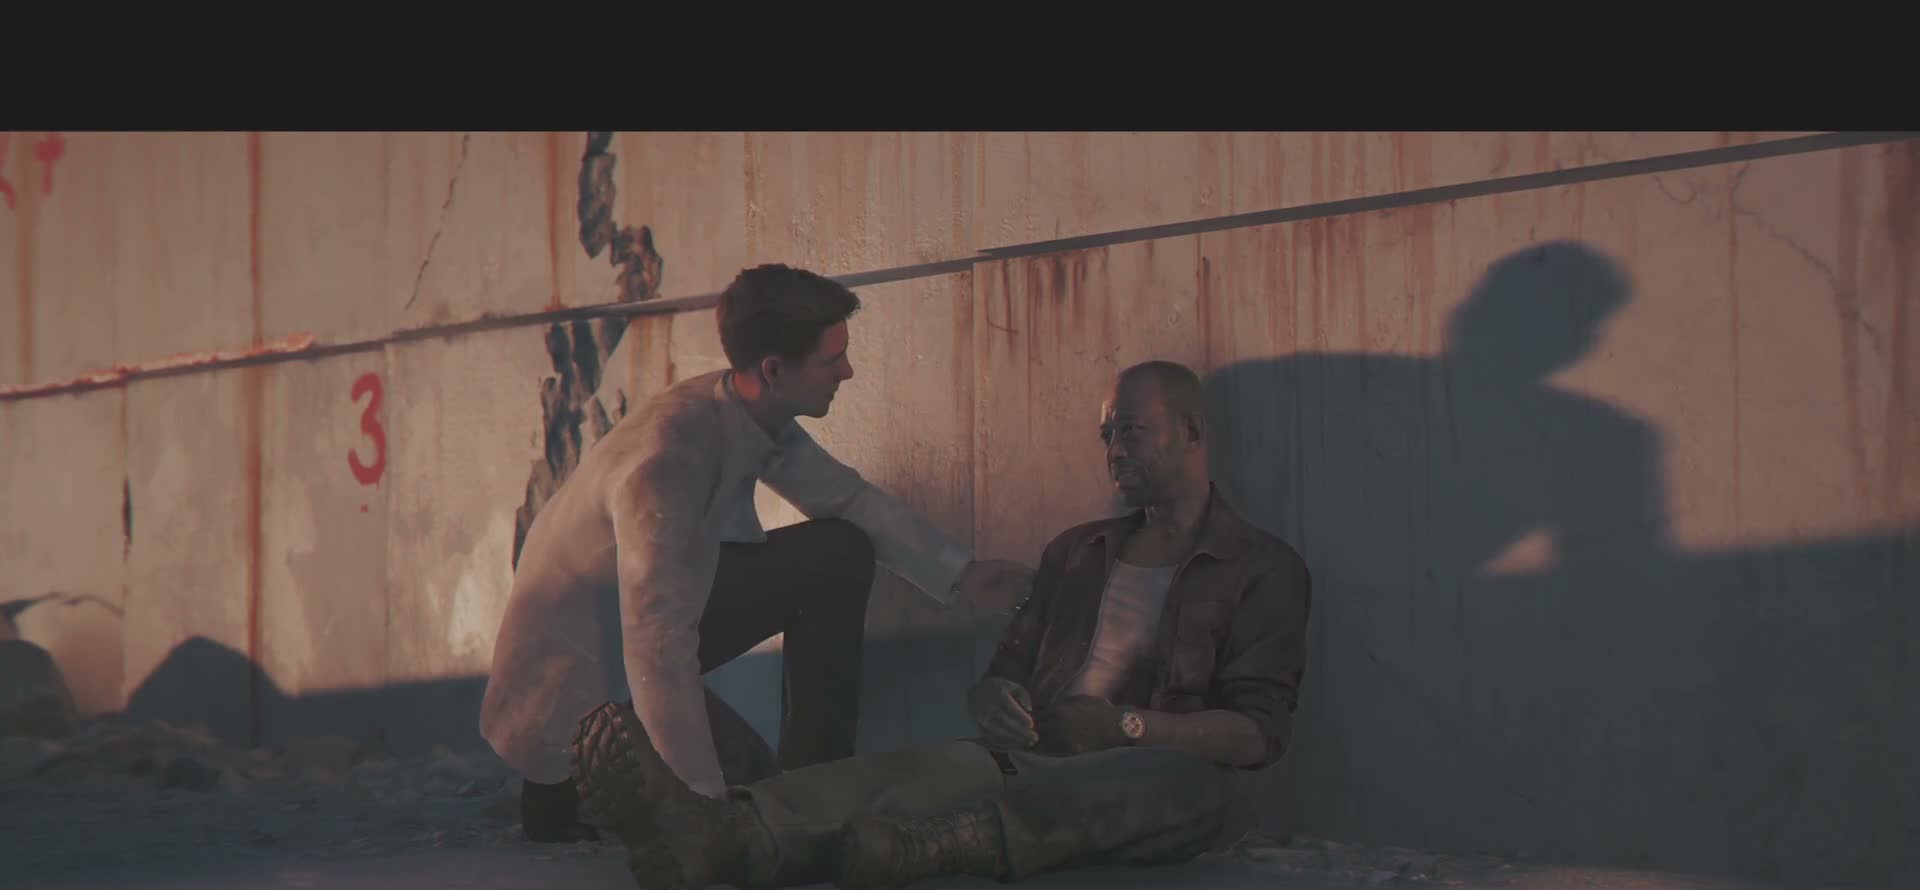
After the sniper duel, you push through to the far end of the facility and find Greenway — the DGSE agent you worked with in Chapter 6, who's been running a parallel operation against the same network. She's been shot. She's alive, but barely. There's no time for a proper field dressing; security is closing in from the yard and from the villa above.

You leave her at the container and move toward the extraction point. The chapter doesn't tell you explicitly whether she survives.

The sequence that follows is the emotional low point of the chapter — Bond walking alone through the facility, the alarm blaring, the sound of the ocean below. There are a few more guards between you and extraction but nothing you haven't already handled. The fight feels different at this point; the music drops away and you're just moving forward because moving forward is the only option left.

This section has no gameplay tricks. It's a straight push through the last group of enemies to the extraction point. Don't overthink it — use cover, move up, clear the way.
If you go back to where you left Greenway after reaching the extraction point, she's gone. This is intentional. It's not a bug. Don't waste time searching for her.

Press Conference — THEIA Stays Dark

Time to Die — Press Conference — THEIA Stays Dark

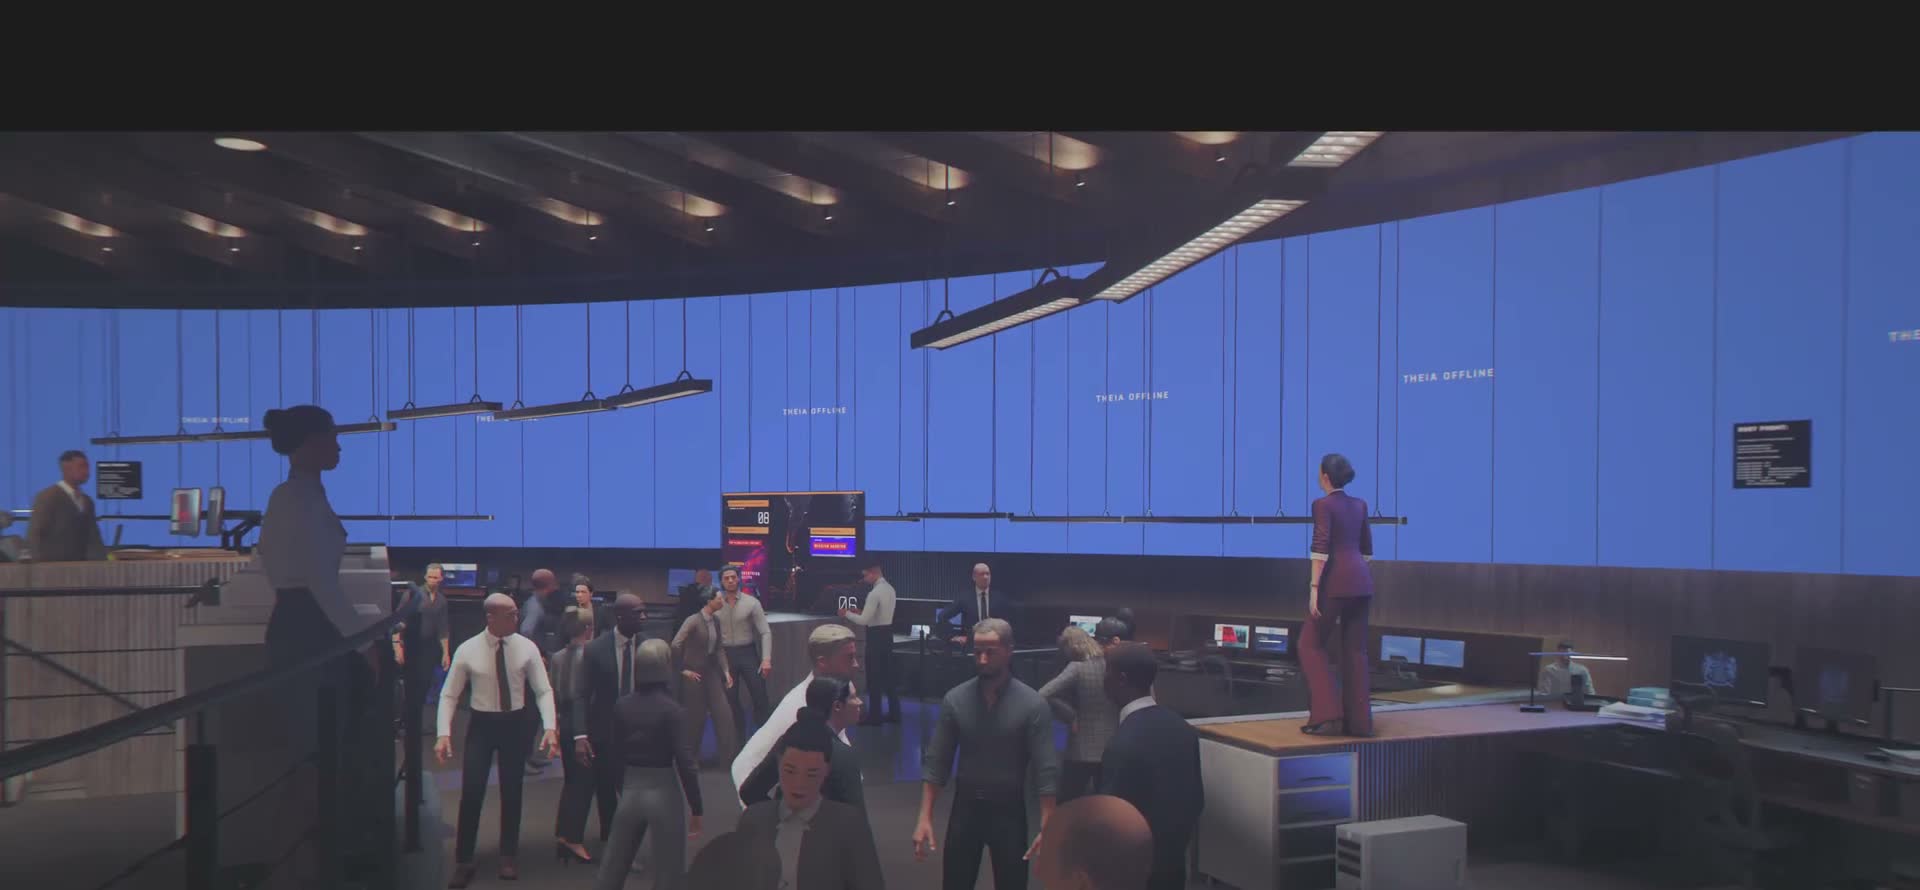
The chapter doesn't end at the extraction. The final scene cuts to London, to a press conference room. M is standing at a podium in front of a room full of reporters and cameras, responding to questions about a developing situation. She doesn't mention the resort or the satellite weapons deal directly; she talks in the carefully calibrated language of government press briefings, giving away nothing while sounding like she's giving away everything.

Time to Die ends the way it began: with the implication that Bond is walking back into the dark. The chapter closes on his face as he turns and walks away from the press conference, the white tuxedo replaced by a dark suit, his expression unreadable. THEIA remains offline. The chapter title card — TIME TO DIE — hits harder after watching everything that just happened. It's not a threat. It's an observation. About the cost of going back in. About how much of himself Bond is willing to spend. About what happens when you don't have a machine telling you where the danger is.

When the chapter ends, you unlock the Chapter 15 interlude (Man of the Hour), which is mostly cutscenes at MI6 debriefing what happened at the resort and formalising the team for the final assault on Antarctica. The game gives you a brief recap screen showing your playstyle stats for the chapter — stealth ratio, lethal vs non-lethal takedowns, collectibles found — before moving you forward.

The final scene is unplayable. Set the controller down and watch. There is no button prompt, no QTE, no final action. The chapter ends on a cutscene and that's the right creative choice — after eighty minutes of tension, forcing you to do something at the end would undermine what the scene is doing.
THEIA remains offline through the entire chapter, including the closing scene. The HUD doesn't kick back in. You are not told whether the satellite weapons deal was stopped or whether the target escaped. Chapter 15 addresses some of this, but not all of it.
The chapter is the longest in the game at roughly 70-80 minutes on a first playthrough. Don't start it if you don't have time to finish. There is no manual save between the car crash and the end of the press conference.
There is no chapter-specific achievement or badge for Time to Die on your first playthrough. The challenge unlocks show up after you complete the mission.

Chapter Tips

THEIA is down for the entire chapter. You have no objective markers, no enemy tagging, no hackable-panel highlights through walls. This changes how you explore. You have to actually look at your surroundings and listen to dialogue instead of following a HUD breadcrumb trail.
Whatever gadget loadout you chose in Ch13 is what you bring into this chapter. There is no opportunity to swap before insertion. If you left the compact EMP behind, you won't have it here.
The opening cinematic contains no gameplay. You can set the controller down for about ninety seconds and just watch the fly-in.
Watch the arrival cinematic carefully. It shows you the physical layout of the resort — the dock is at the bottom, caves cut through the middle of the cliff, the private villas are at the top. You'll traverse all three layers in order.
If you listen closely to the speedboat captain's brief dialogue, he mentions staff rotation shifts. That's not flavour text — it tells you when guard rotations change, which matters for stealth.
Keep the polo disguise on as long as possible. It grants you access to the public areas of the resort without suspicion. Once you change into the tuxedo for the evening meeting, your access changes and some routes close off.
You're unarmed (visibly) in the polo outfit. Your pistol is concealed but drawing it in view of any NPC instantly blows your cover and often triggers alarms. Use takedowns in isolated areas when necessary.
If guards stop you to ask what you're doing somewhere you shouldn't be, you have a short dialogue window to talk your way out. Pick the confident, dismissive options — Bond's cover is a wealthy guest who expects access, and acting entitled works better than acting apologetic.
You don't have to make the drink. You can find the contact by exploring the right guest or by overhearing a specific conversation that points you to his location. The drink sequence is the most elegant path and gives you a longer, more informative conversation, but the game doesn't punish you for skipping it.
Eavesdrop on the other guests while you're at the bar. Several conversations drop useful context about who else is at the resort, and one conversation between two security guards gives you the staff rotation schedule for the villa wing.
The bartender will talk to you if you approach before starting the minigame. He's not a plot-critical NPC but he has a couple of good lines about who's been asking questions at the resort that weekend.
Read everything the contact gives you carefully. The villa layout, the guard numbers, the timing of the party — all the information is actionable. This isn't filler dialogue; it's your intel dump for the rest of the chapter.
The keycard works on the villa wing doors and the elevator up to the private pool level. It does NOT work on the service tunnels or the industrial yard — those routes are locked down and require a different approach.
After the contact leaves, a new guard patrol starts moving through the bar area. Don't linger at the table too long — stand up and walk out like a normal guest.
The caves are the best place in the chapter for non-lethal takedowns. The rock formations naturally break line of sight, guards patrol in smaller groups than the dock sections, and bodies are easy to hide in the shadowed corners.
If you draw a weapon in the caves, the sound echoes badly and alerts guards through multiple chambers. Use takedowns only, or the silenced pistol as an absolute last resort — and be aware that even suppressed fire carries further here than in the jungle.
There is a wine cellar branching off the main cave corridor that looks like a dead end. It's not. There's a ventilation grate at the back that gives you a shortcut into the villa pool area, bypassing two guards entirely.
The pool area works on line-of-sight detection like the rest of the game, but the 'witness' threshold is different — guests are less suspicious than guards. You can walk right past guests in the right outfit and they'll ignore you; a guard looking at you from twenty metres away in the same spot will start moving toward you.
Don't run. Don't sprint. Don't crouch. All three look wrong in a cocktail party setting and instantly draw attention. Walk at normal speed, keep moving with purpose like you belong there, and give guards a wide berth.
The waiters know who belongs and who doesn't. They're the biggest threat in this section because they'll approach you and ask if you're lost if you loiter near restricted areas. Keep moving, don't make prolonged eye contact, and use groups of other guests as cover.
This is the point of no return for collectibles and exploration. Once you walk into the evening meeting at the pavilion, the chapter proceeds through linear action sequences all the way to the end. If you want to finish any optional objectives or eavesdrop on remaining conversations, do them before putting on the tuxedo and heading to the pavilion.
Your pistol is still accessible in the tuxedo (shoulder holster under the jacket) but drawing it in front of anyone is instant cover blow. Save it for when things inevitably go loud.
The white tuxedo isn't just cosmetic — in the evening section, the lighting is lower and the white jacket makes you more visible at distance. Stay behind cover and use shadows when you're moving through areas where guards are actively searching.
When the meeting breaks, do NOT try to fight everyone in the pavilion. There are too many guards, the space is too open, and you will die. Run. Exit through the side of the pavilion (follow the objective prompt if THEIA is partially online in this section, otherwise head downhill toward the treeline) and get into the jungle before security can seal the area.
After the car crash, Bond is injured and movement is slightly slower for a minute or two. The game communicates this through a limp animation and heavier breathing. It normalises after about a minute of gameplay, but be aware that your sprint speed is reduced right at the moment when you most need to run.
In the jungle at night, your tuxedo jacket is actually an advantage in shadow but a liability in the beam of a flashlight. Freeze when a searchlight passes over you if you're in cover; moving in the beam gets you spotted instantly.
The dockyard is where you'll burn through most of your ammo for the chapter. You can resupply from downed enemies — they drop ammo and occasionally armour — but don't count on picking up the heavy weapons easily. The enemies carrying shotguns and SMGs will close on your position quickly if you stay in one place.
The shipping containers create flanking routes. If you're taking fire from ahead, you can usually move left or right through the container stacks to approach enemies from the side. The AI doesn't always track these lateral movements well.
Before heading up the gantry into the industrial structure, make sure you've looted everything in the yard. There are no enemies behind you once you move into the building, so you're committing forward — but there's also no resupply in the next combat section.
The sniper does not miss often, and he fires on a rhythm. Count the shots — in my playthrough, the pattern was roughly two shots with a pause between each, then a longer reload pause during which you can move two or three cover positions forward. Your timing may vary by difficulty.
Do not try to take the sniper with your pistol from the lower levels. The range is too great and the accuracy isn't there. You have to close the distance using the gantries and staircases. If you picked up an enemy rifle in the dockyard, this is where it pays off.
The catwalk enemies respawn? No, they don't — but they do call for reinforcements if you give them time. Push forward at a steady pace rather than clearing every enemy methodically.
This section has no gameplay tricks. It's a straight push through the last group of enemies to the extraction point. Don't overthink it — use cover, move up, clear the way.
If you go back to where you left Greenway after reaching the extraction point, she's gone. This is intentional. It's not a bug. Don't waste time searching for her.
The final scene is unplayable. Set the controller down and watch. There is no button prompt, no QTE, no final action. The chapter ends on a cutscene and that's the right creative choice — after eighty minutes of tension, forcing you to do something at the end would undermine what the scene is doing.
THEIA remains offline through the entire chapter, including the closing scene. The HUD doesn't kick back in. You are not told whether the satellite weapons deal was stopped or whether the target escaped. Chapter 15 addresses some of this, but not all of it.
The chapter is the longest in the game at roughly 70-80 minutes on a first playthrough. Don't start it if you don't have time to finish. There is no manual save between the car crash and the end of the press conference.
There is no chapter-specific achievement or badge for Time to Die on your first playthrough. The challenge unlocks show up after you complete the mission.

Collectibles in This Chapter

0 Collectibles

Explore each section thoroughly to find all hidden items. Check the tips above for specific collectible locations.