Man of the Hour
After the Webb Industries operation goes public, Bond returns to an MI6 in full crisis mode. M addresses the entire operations floor with grim news, you get to freely explore the ops centre and talk to key staff, then descend deep underground to Q Branch where you'll sneak through the labs to grab your Antarctica gear. The chapter ends on a yacht at sunset with a mysterious encounter.
Opening — IO Interactive Logo
The chapter opens with the IO Interactive logo fading in over black. It's a brief, simple intro — no fanfare, no dramatic music sting. The darkness holds for a few beats, letting the weight of the previous chapter's events settle before the game pulls you back in.
Unlike the action-heavy missions that preceded this one (the car chase in Chapter 14 is still fresh in your memory), Man of the Hour is an interlude chapter. Think of it as the calm between storms — though as you'll quickly discover, MI6 itself is in chaos behind the scenes.
Intelligence Leak — The News Breaks
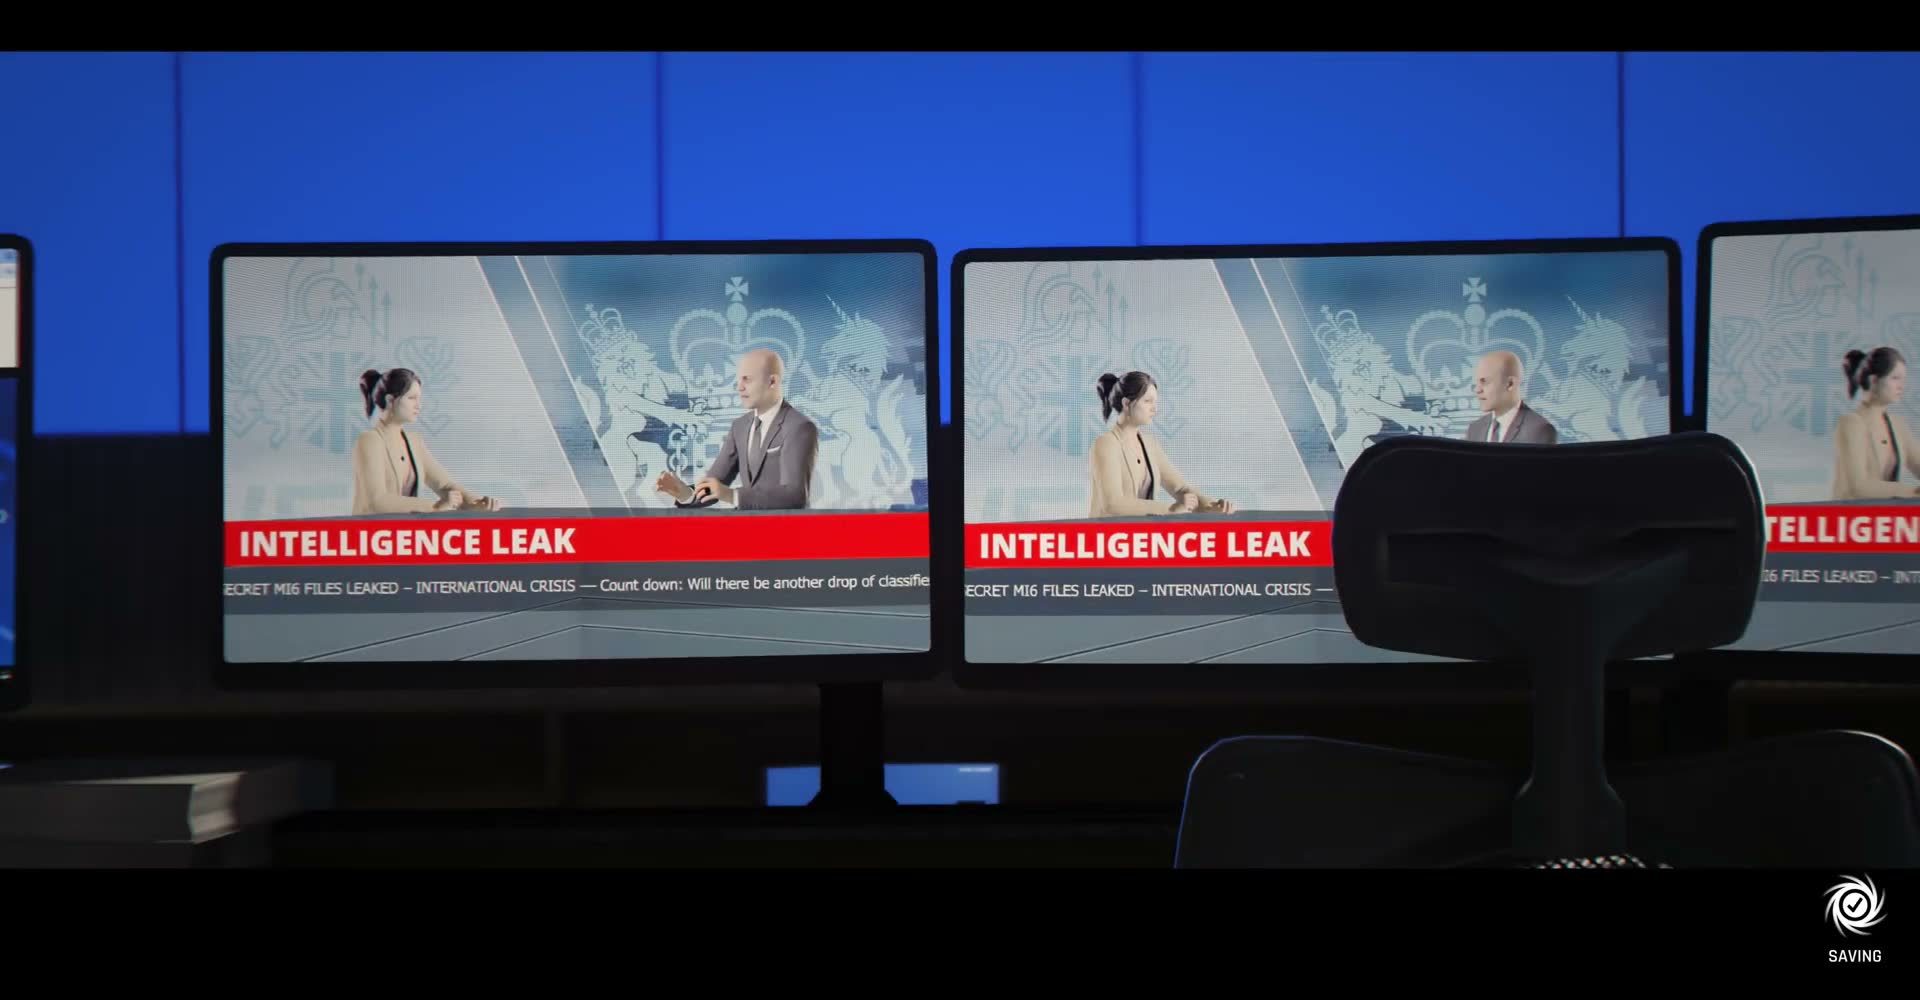
The first thing you see is not a dramatic establishing shot of MI6, but a close-up of a news broadcast on a monitor. A male and female anchor sit side by side in a studio, and emblazoned across the bottom of the screen in bold red letters: INTELLIGENCE LEAK. The sub-headline reads INTERNATIONAL CRISIS, with a ticker asking: 'Countdown: Will there be another drop of classified material?'
This is the immediate aftermath of Chapter 14. Webb didn't just escape — he went public. Classified intelligence is being dumped to the press, and the world's media is running with it. The entire intelligence community is exposed, and MI6 is at the centre of the storm. The camera pulls back to show the newsroom-style screens inside MI6's own operations centre, where analysts are watching the same broadcast with grim faces.
The Operations Centre — All Hands
The camera pulls back to reveal the full MI6 Operations Centre, and it looks nothing like the quiet, efficient space you might remember from earlier chapters. The room is packed. Every workstation is occupied, analysts are standing in clusters, and uniformed officers are hurrying between desks. The huge curved blue display wall that dominates the room — normally showing mission data and THEIA readouts — is displaying one message, repeated across every panel: THEIA OFFLINE.
M stands on a raised platform in the centre of the room, wearing a deep burgundy suit with the sleeves rolled up. She's not addressing a small briefing team — she's addressing the entire floor. This is an all-hands meeting, and the mood is tense. Bond is somewhere in the crowd, watching along with everyone else.
M Addresses the Floor
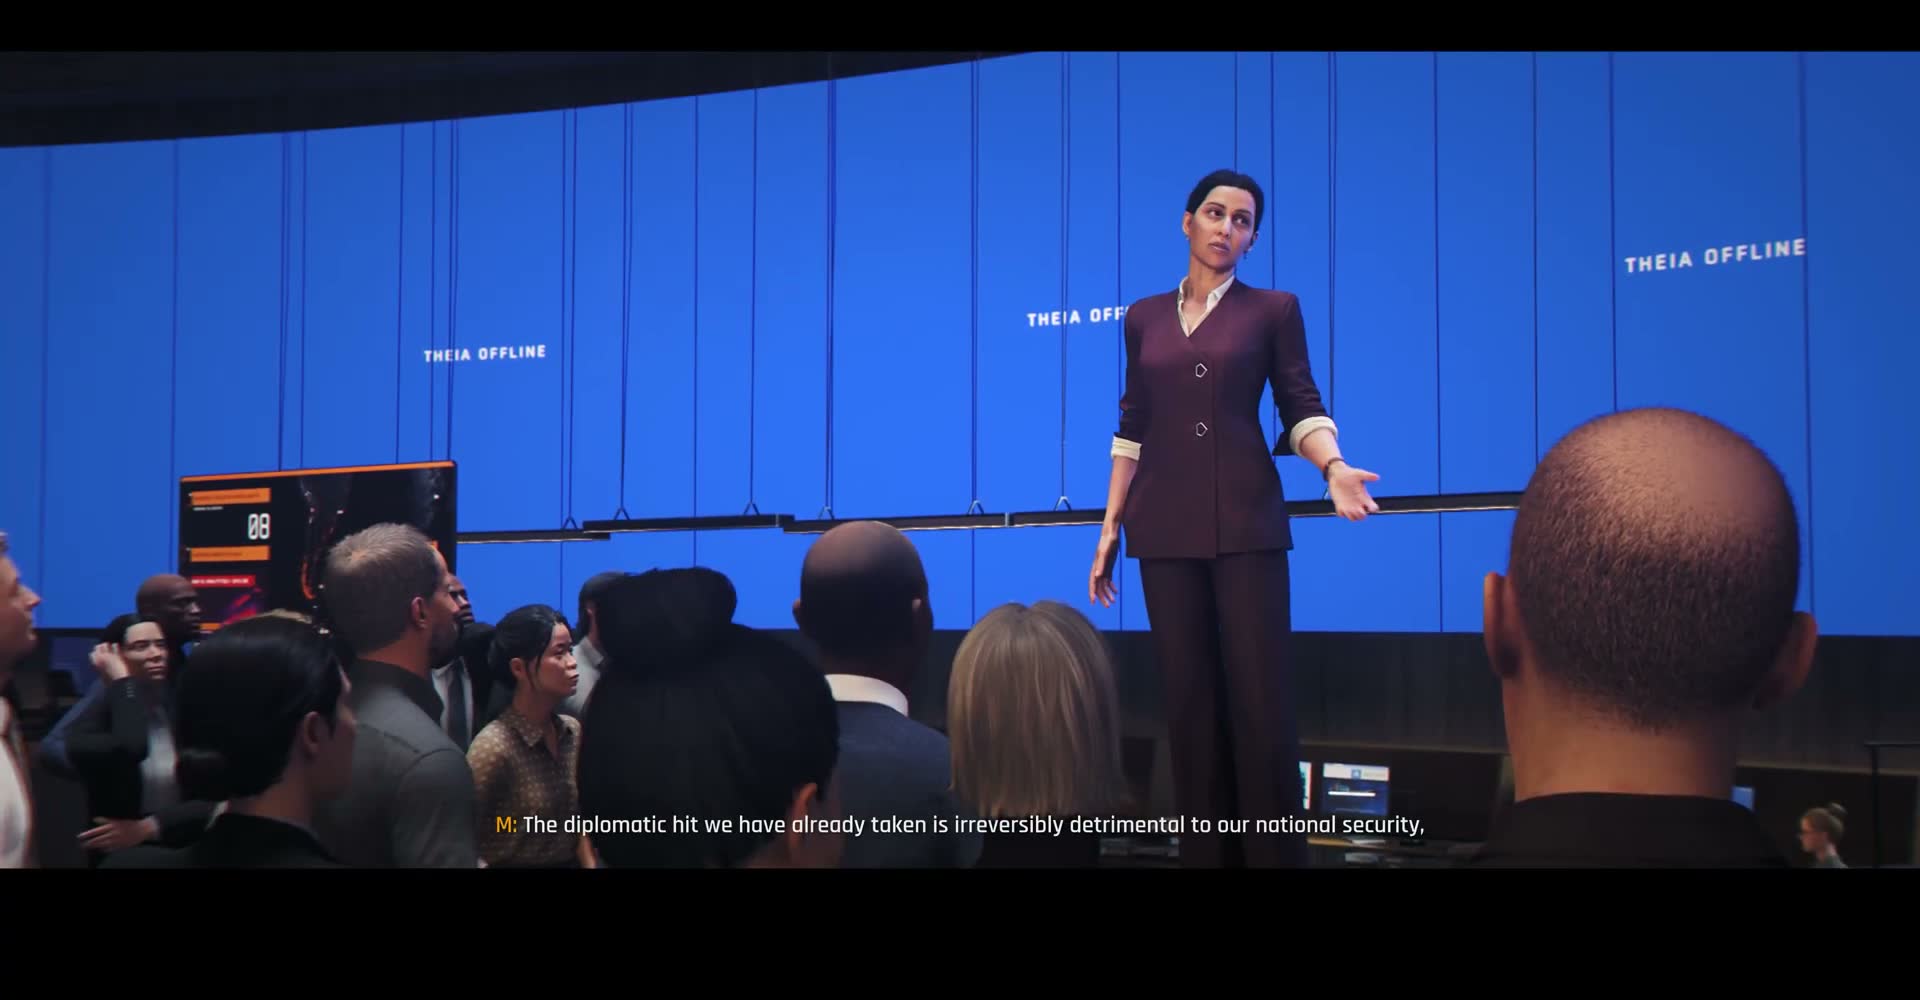
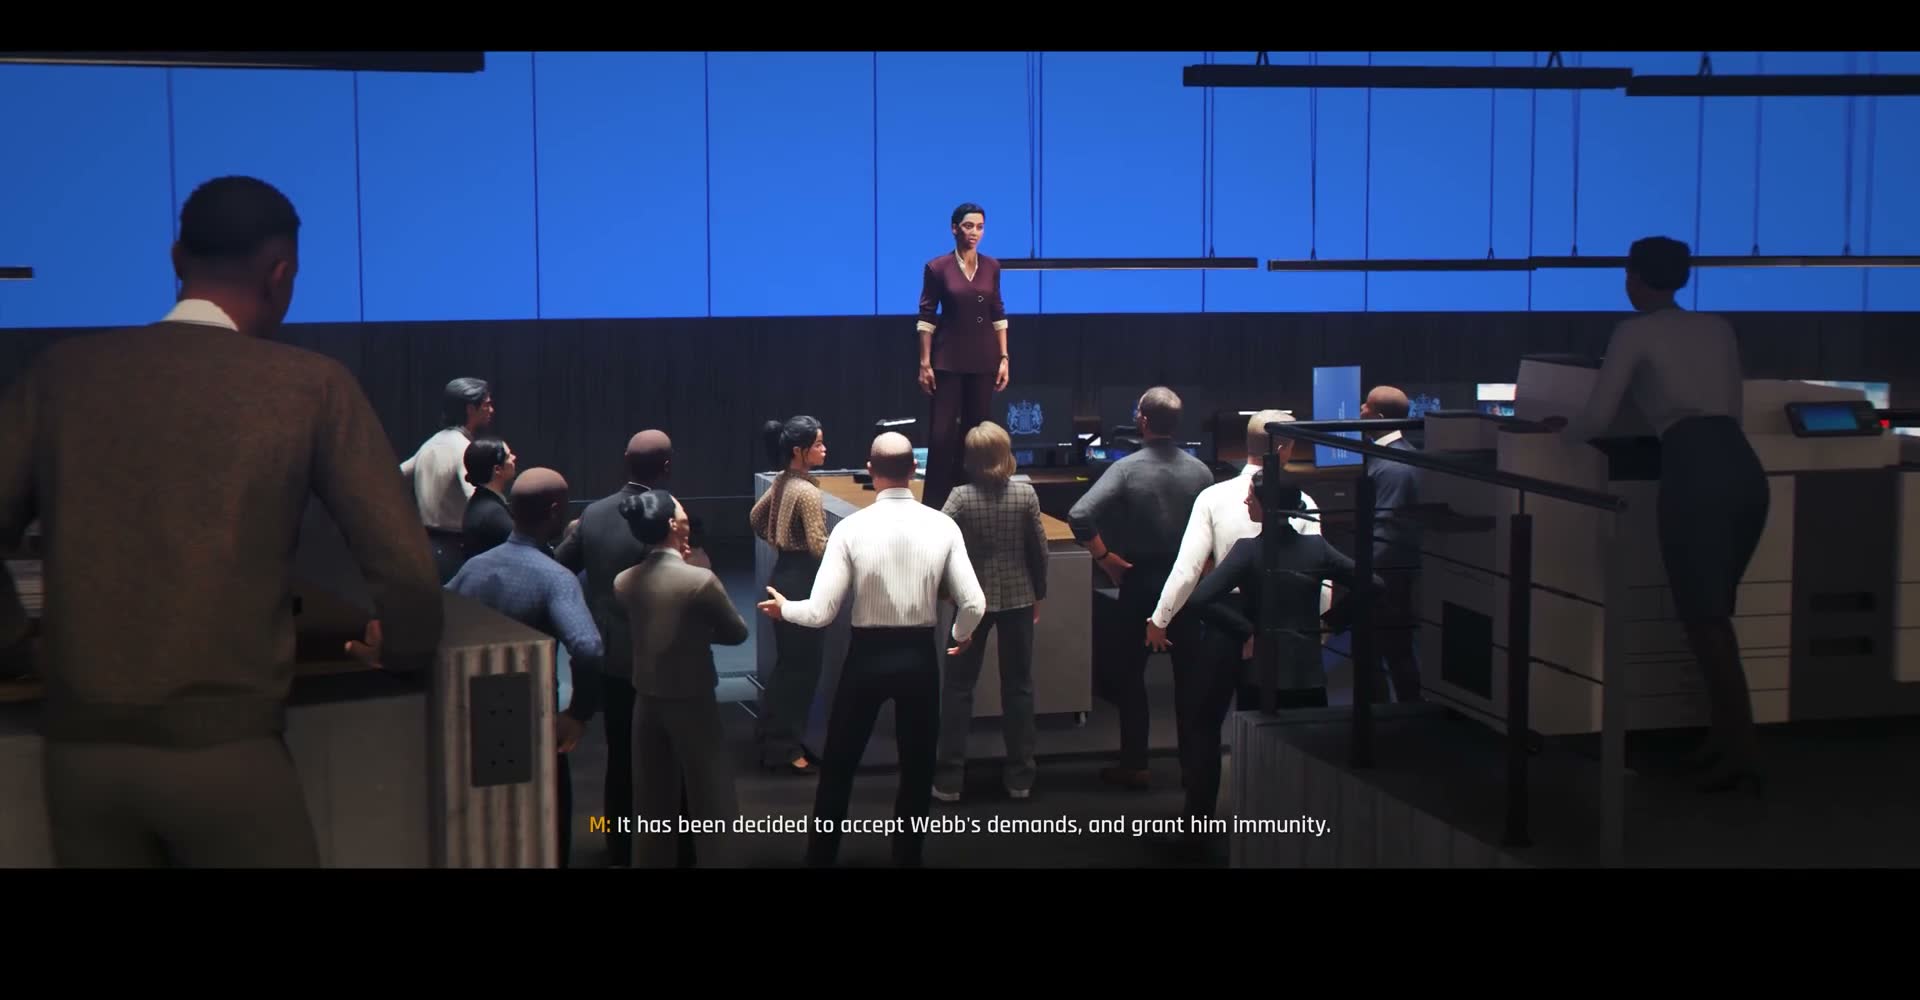
M steps forward onto the platform and the room falls silent. Her expression is composed but grave. She stands in front of the blue display wall, the words THEIA OFFLINE visible behind her, as she delivers a speech that pulls no punches.
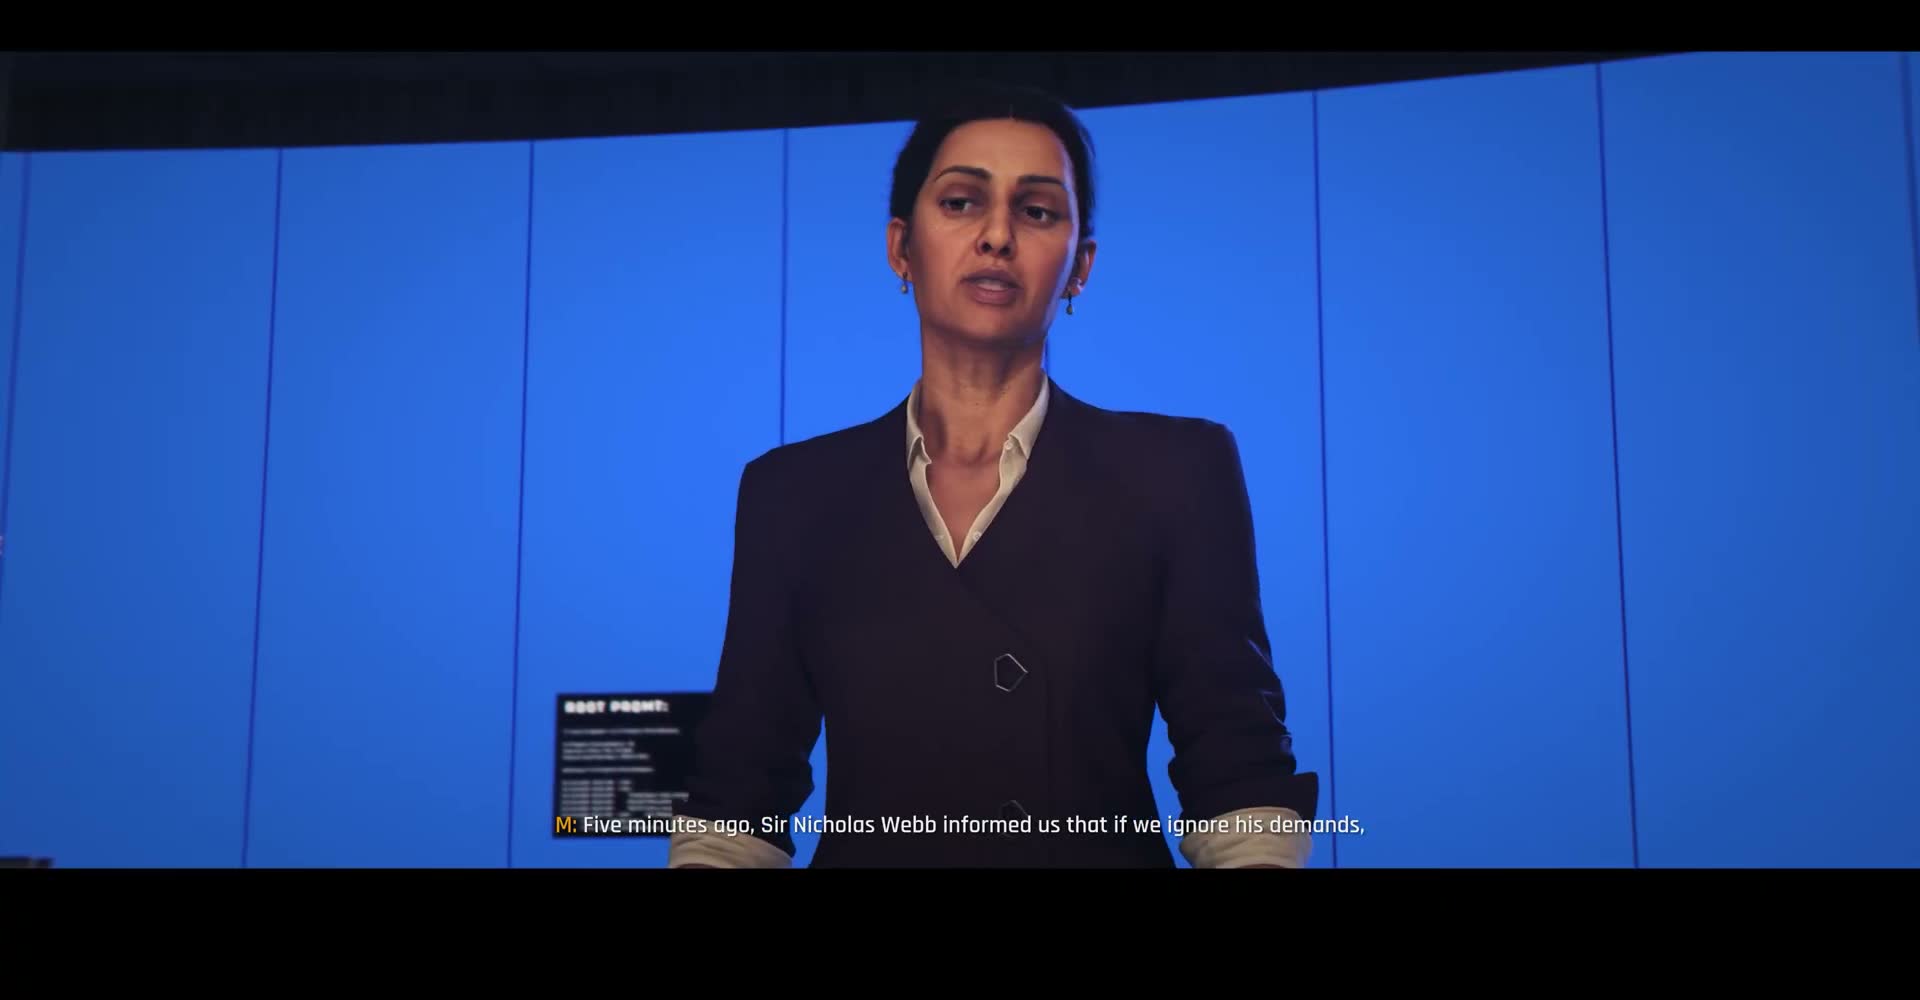
She confirms what everyone in the room already suspects: five minutes ago, Sir Nicholas Webb issued an ultimatum. If his demands are ignored, he will release more classified material. The diplomatic fallout has already caused irreversible damage to national security. This is not a minor embarrassment — this is a full-scale crisis, and everyone in the room is implicated.
"It's Time to Stand Down"
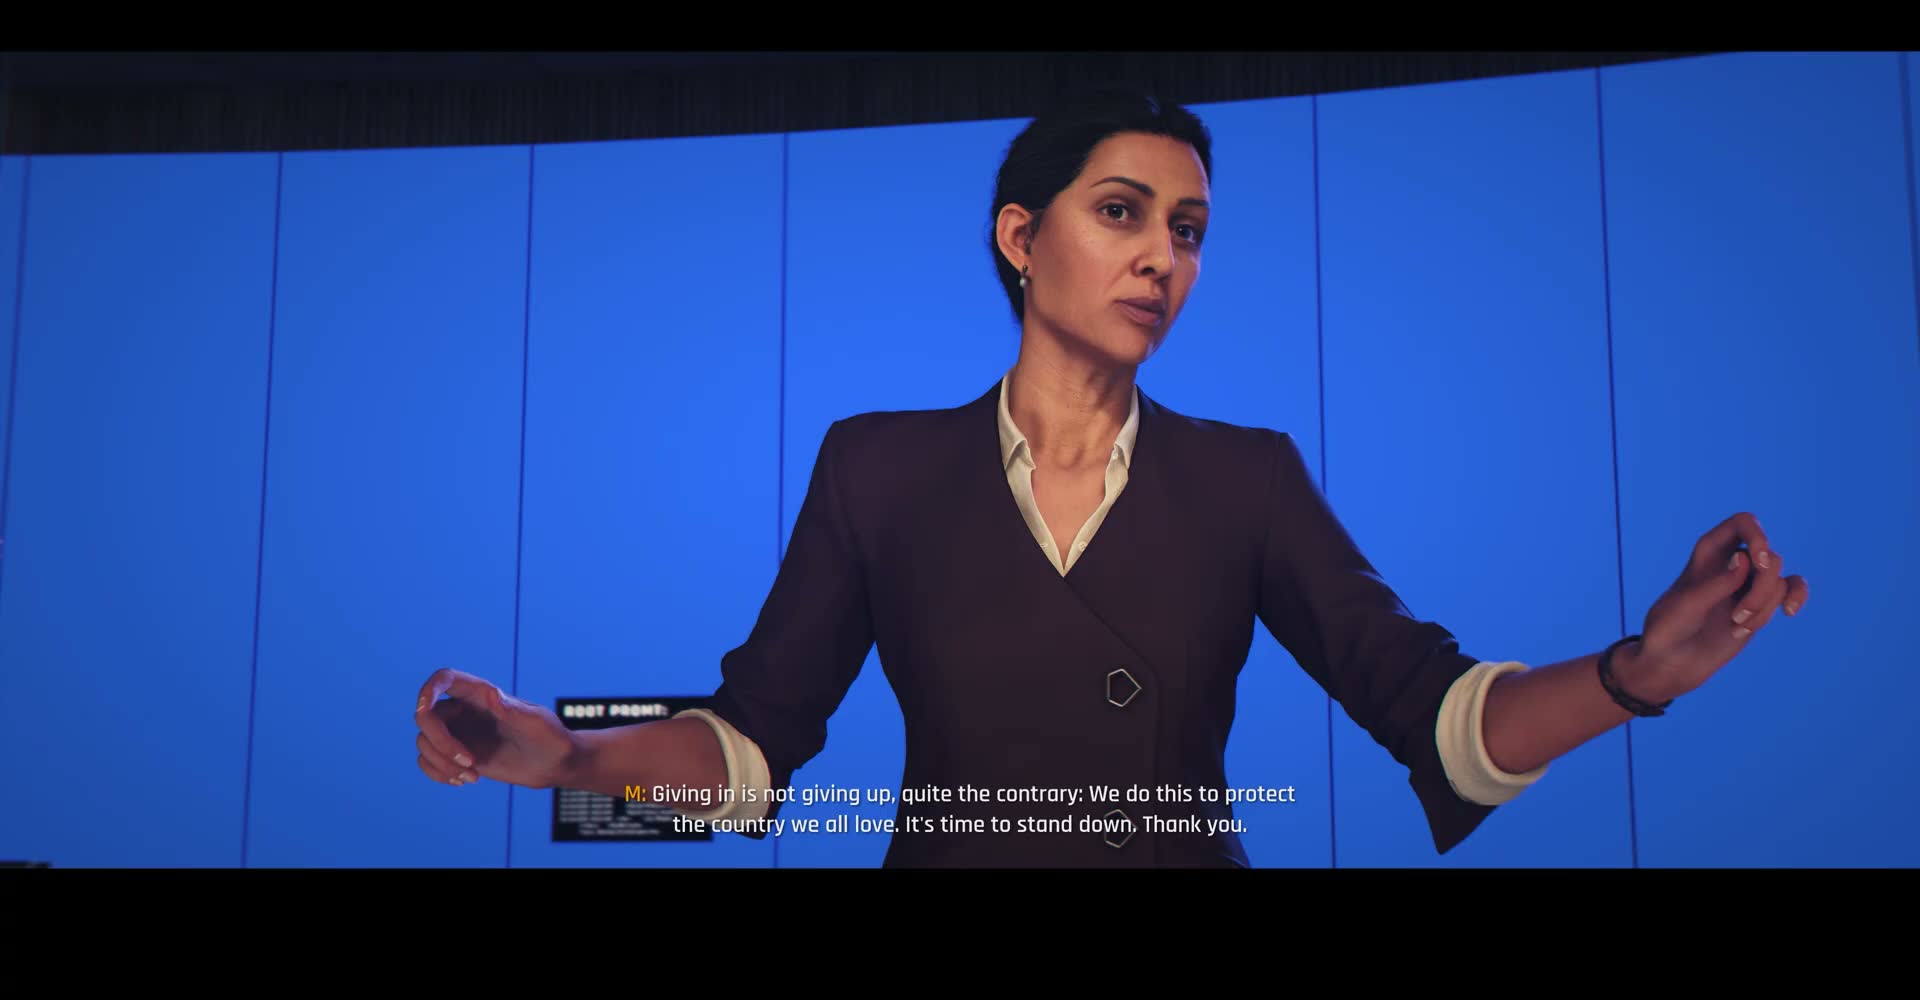
The camera pushes in for a close-up of M as she reaches the crux of her speech. Her arms are slightly outstretched, palms up — a gesture that's part appeal, part resignation. The subtitle captures the key line: 'Giving in is not giving up, quite the contrary. We do this to protect the country we all love. It's time to stand down. Thank you.'
'Stand down' lands hard in a room full of intelligence officers who are trained to act, not wait. She's effectively telling the entire service to stand down and take whatever Webb throws at them, because retaliating will only make the situation worse. It's an extraordinarily difficult call, and she makes it look like it weighs on every word.
The Room Reacts
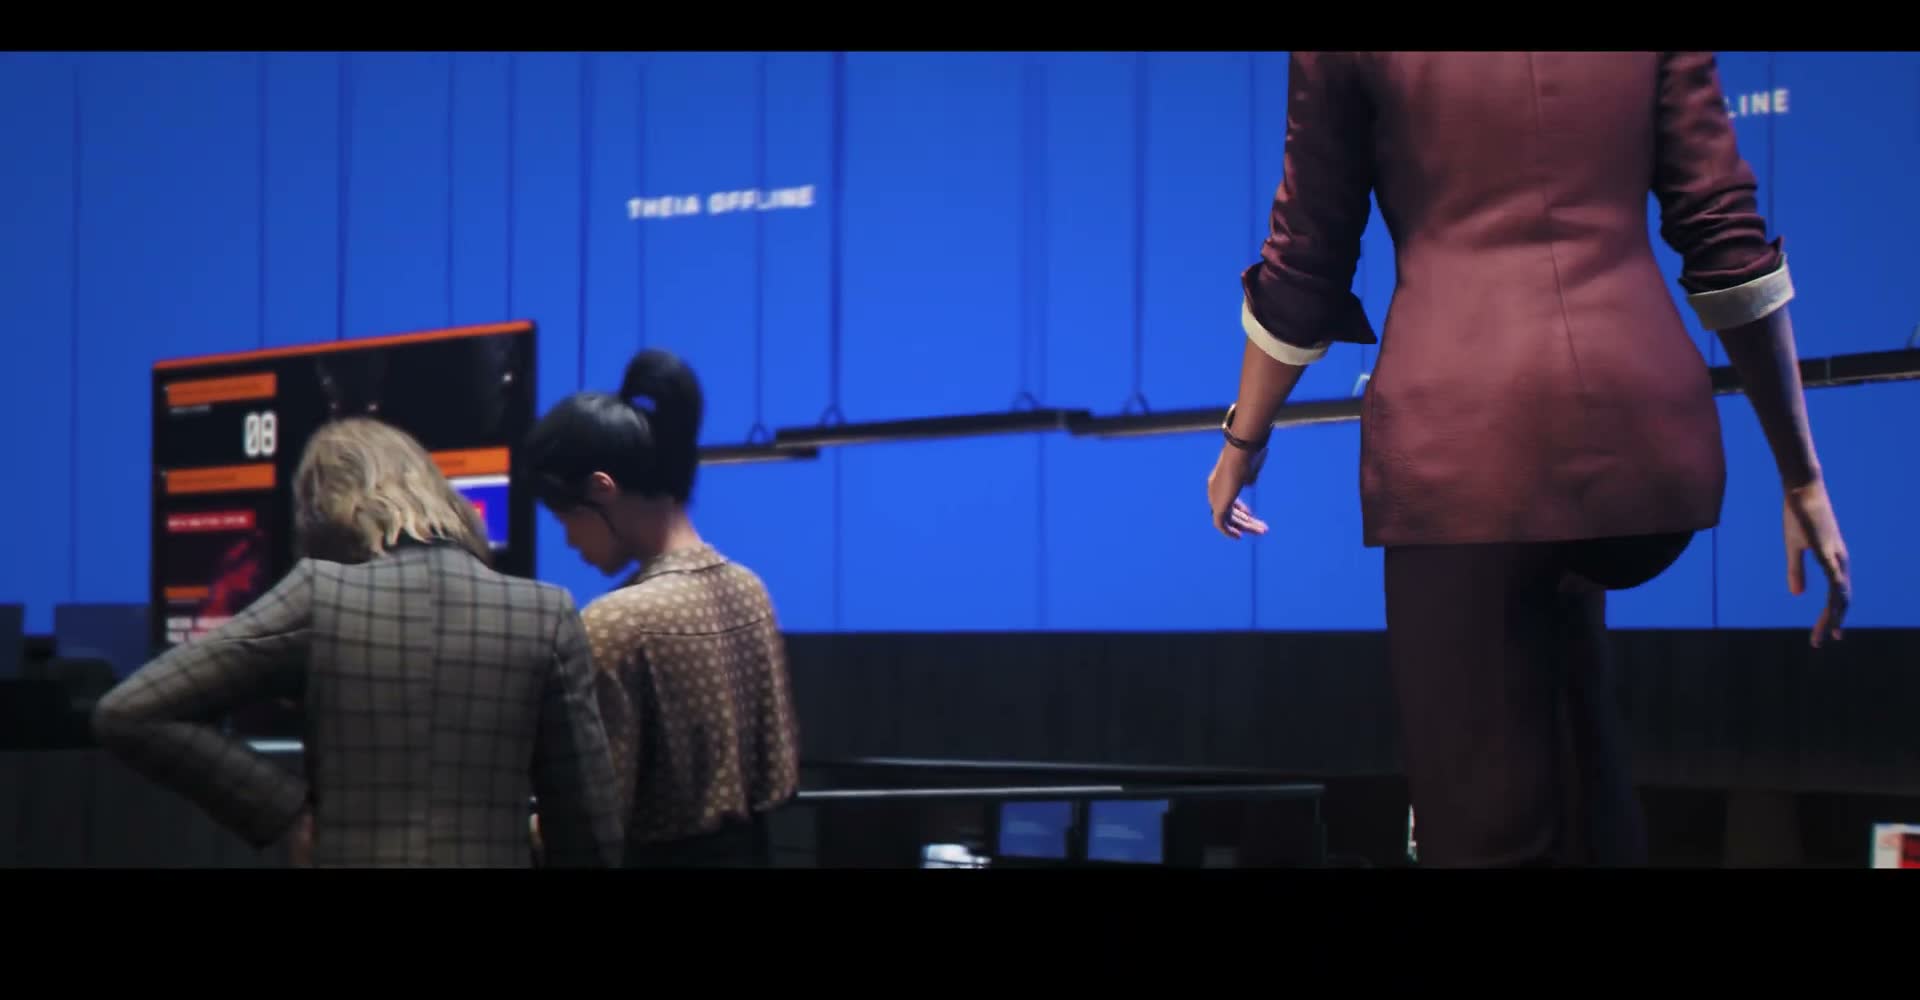
The camera sweeps across the room to show the staff reacting. It's a mix of expressions: shock, disbelief, quiet resignation. A blonde woman in a checked jacket and a dark-haired woman in a polka-dot blouse exchange glances near one of the workstations. To the left, a screen with '08' displayed in orange shows ongoing operational data that nobody is looking at anymore.
Nobody argues. Nobody shouts. There's a palpable sense that everyone understands why this decision was made, even if they hate it. The room starts to break up into small groups, conversations beginning in hushed tones.
Stephen Bright Intervenes
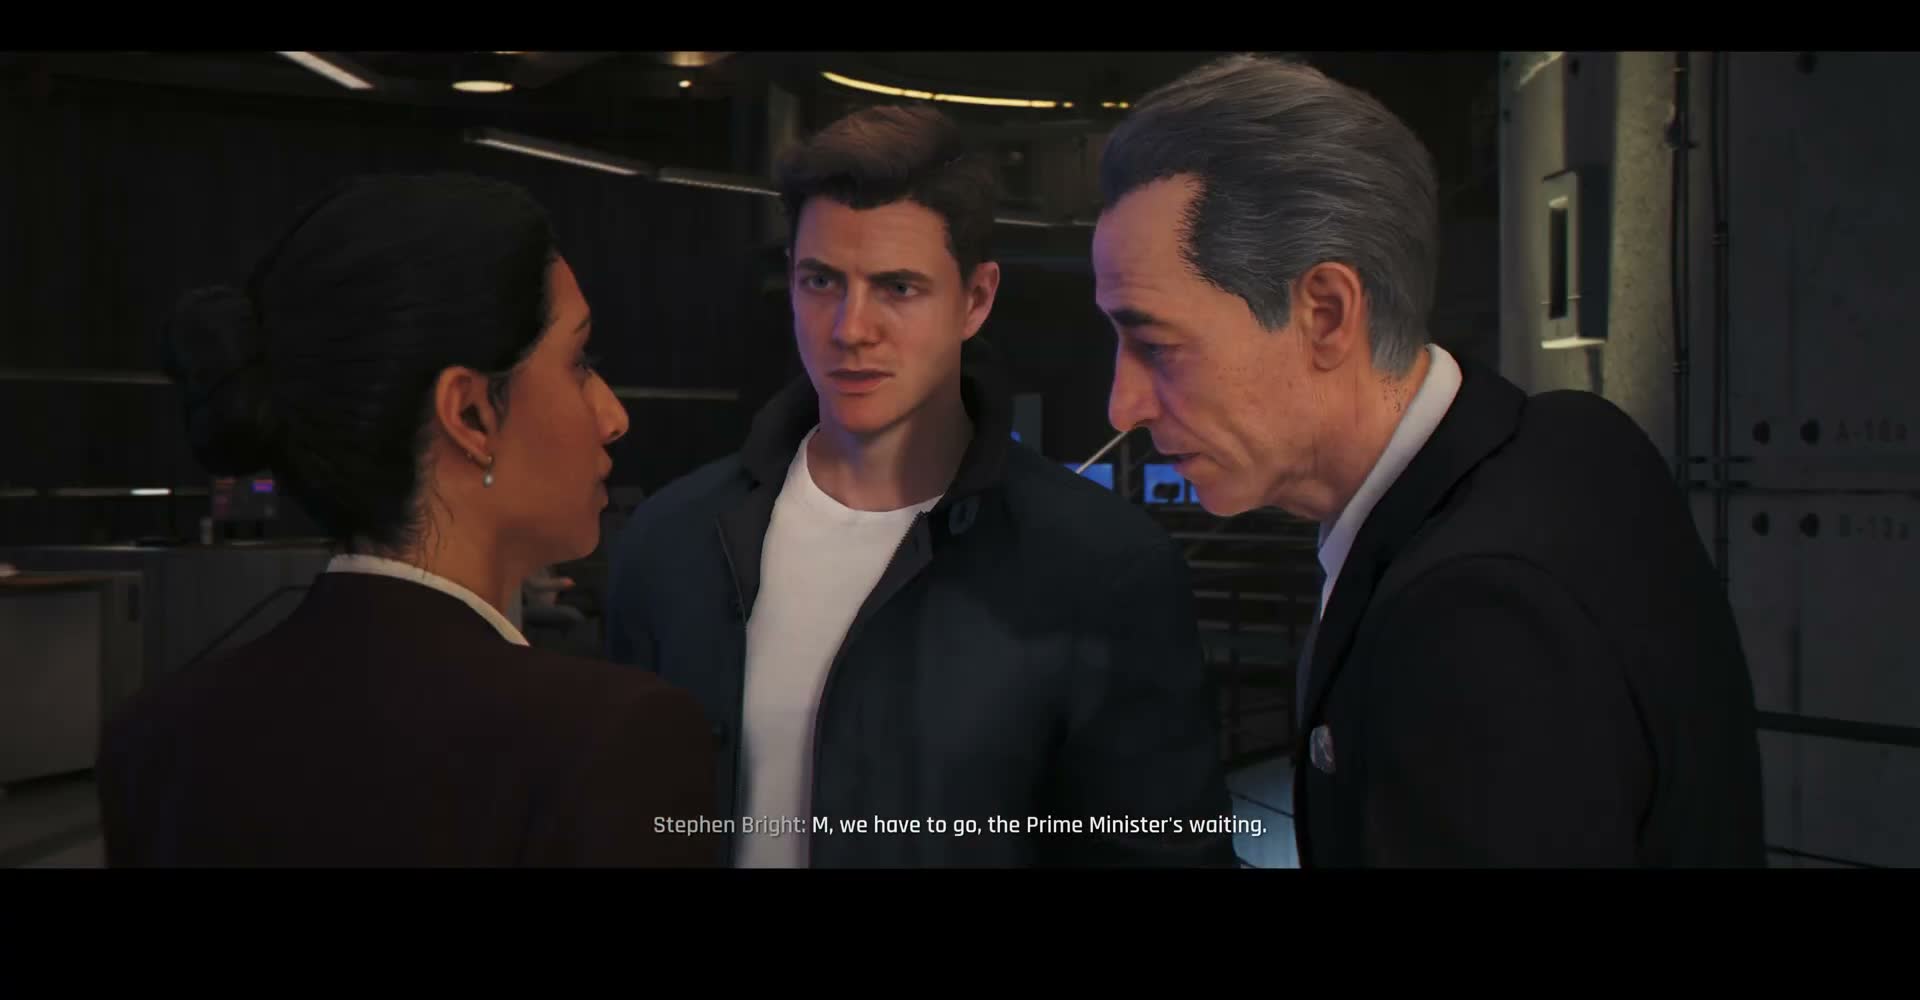
After the speech, M steps down from the platform and immediately finds Bond. She's not alone — a grey-haired man in a dark suit and white shirt is with her. The on-screen text identifies him as Stephen Bright. He's not a field agent; he looks like a senior civil servant or political liaison, the kind of person who delivers messages from Downing Street.
Bright's line is blunt: 'M, we have to go, the Prime Minister's waiting.' There's no warmth, no courtesy. The Prime Minister is already involved at this point, which tells you exactly how serious the situation is. M pauses for a moment, looking at Bond, before Bright leads her away.
Bond Alone on the Ops Floor
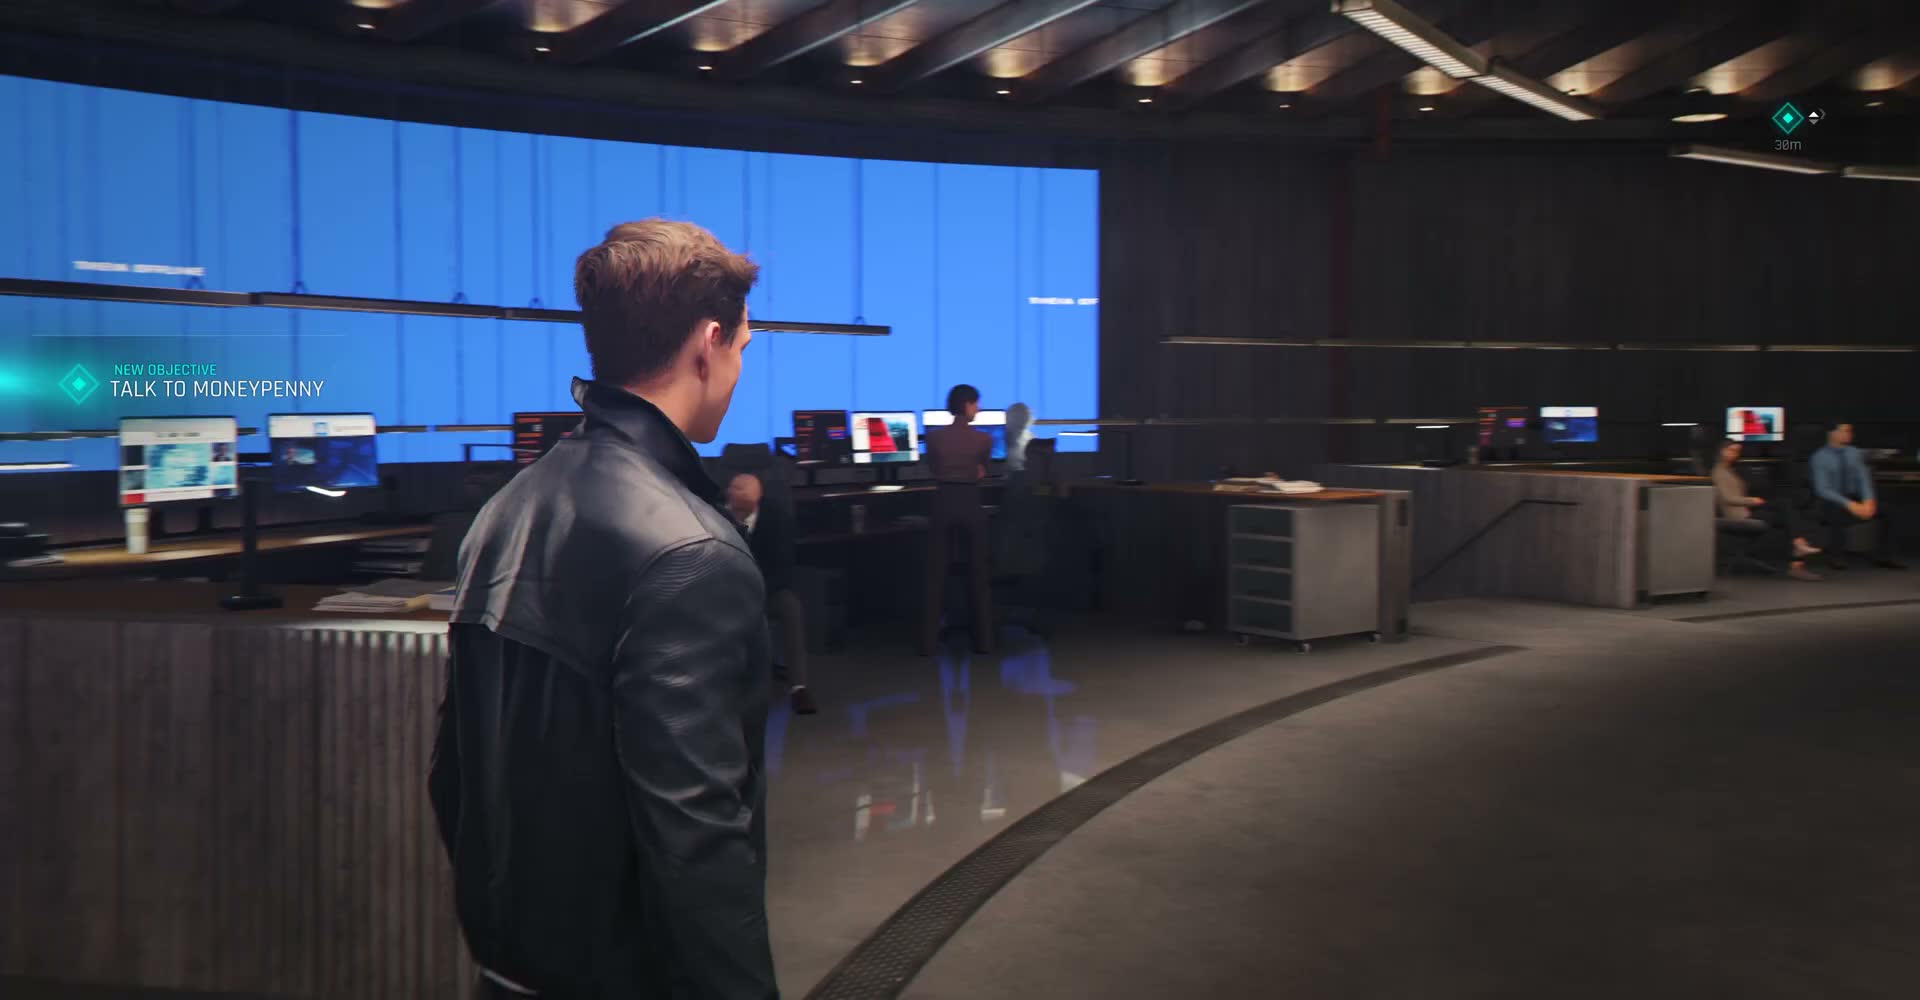
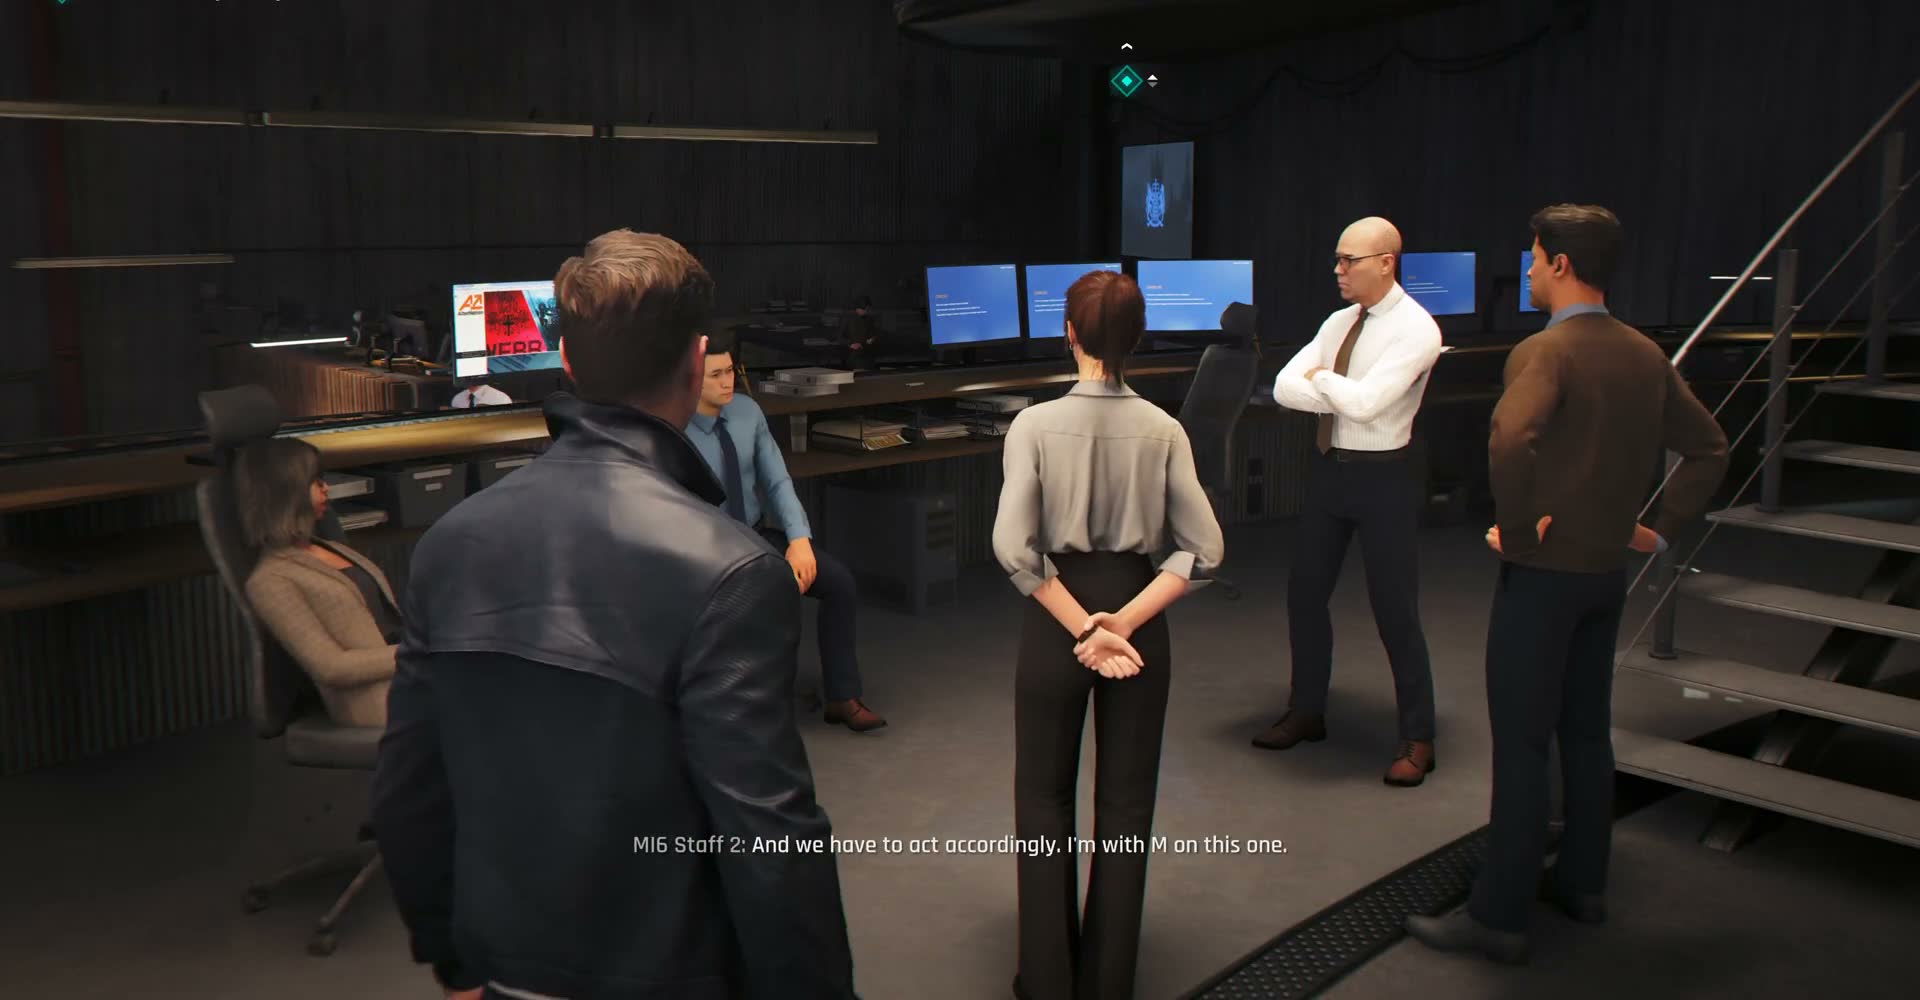
With M and Bright gone, Bond is left standing alone on the operations floor. You now have control. The camera settles into the standard third-person over-the-shoulder view, and you're free to walk around. Analysts and officers are scattered throughout the room, some returning to their desks, others in quiet huddles.
If you listen closely, you can hear snippets of conversation. One nearby staff member says, 'All I'm saying is that it could be a giant bluff' — a reminder that nobody is entirely sure whether Webb will actually follow through on his threats. The THEIA OFFLINE message is still displayed on the walls around you, and there's a green diamond waypoint marker visible in the upper right of the screen.
Talking to Whittlock
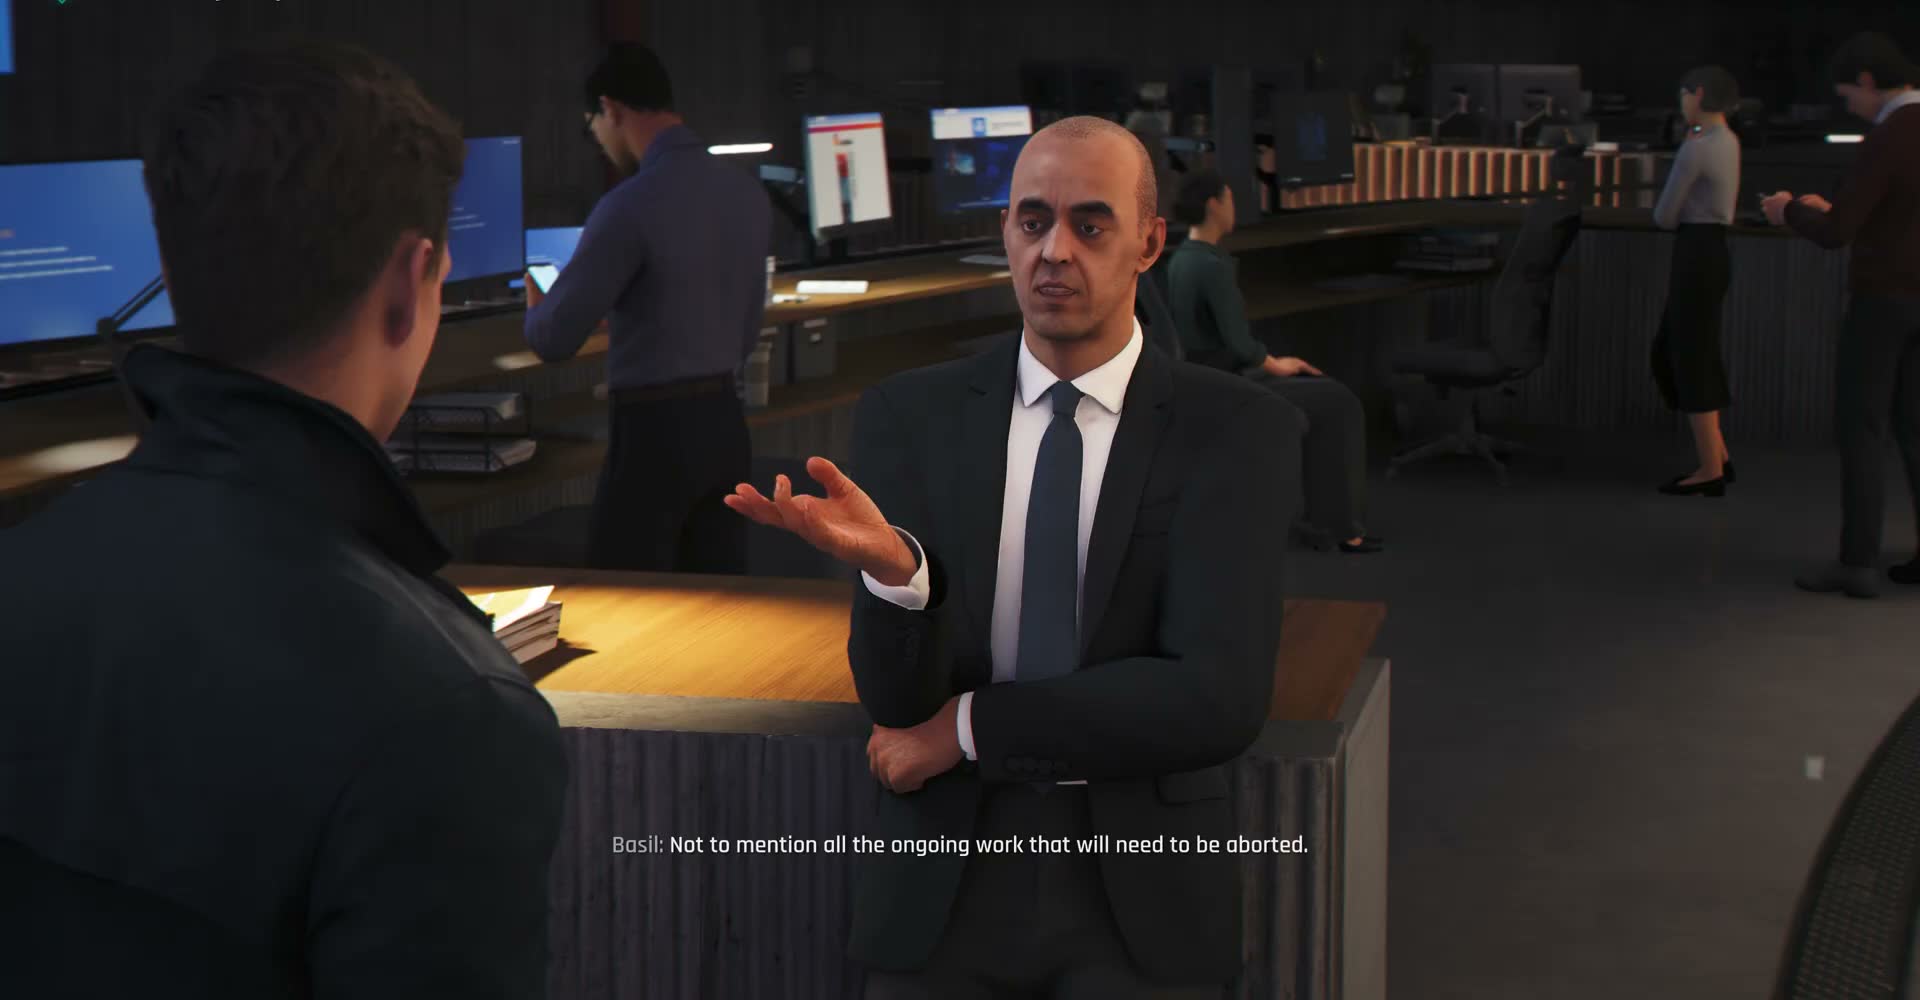
One of the people you can talk to is a bald man in a dark suit and tie — likely Whittlock or another senior analyst. He's standing near one of the central workstations, looking concerned. When Bond approaches, their conversation is brief but telling: he gives his read on the situation, what data has been compromised, and what Webb might release next.
The dialogue here isn't dramatic exposition — it's the kind of hurried, realistic exchange you'd expect between colleagues in a crisis. He fills in operational details that M couldn't cover in her speech.
Exploring the Ops Floor
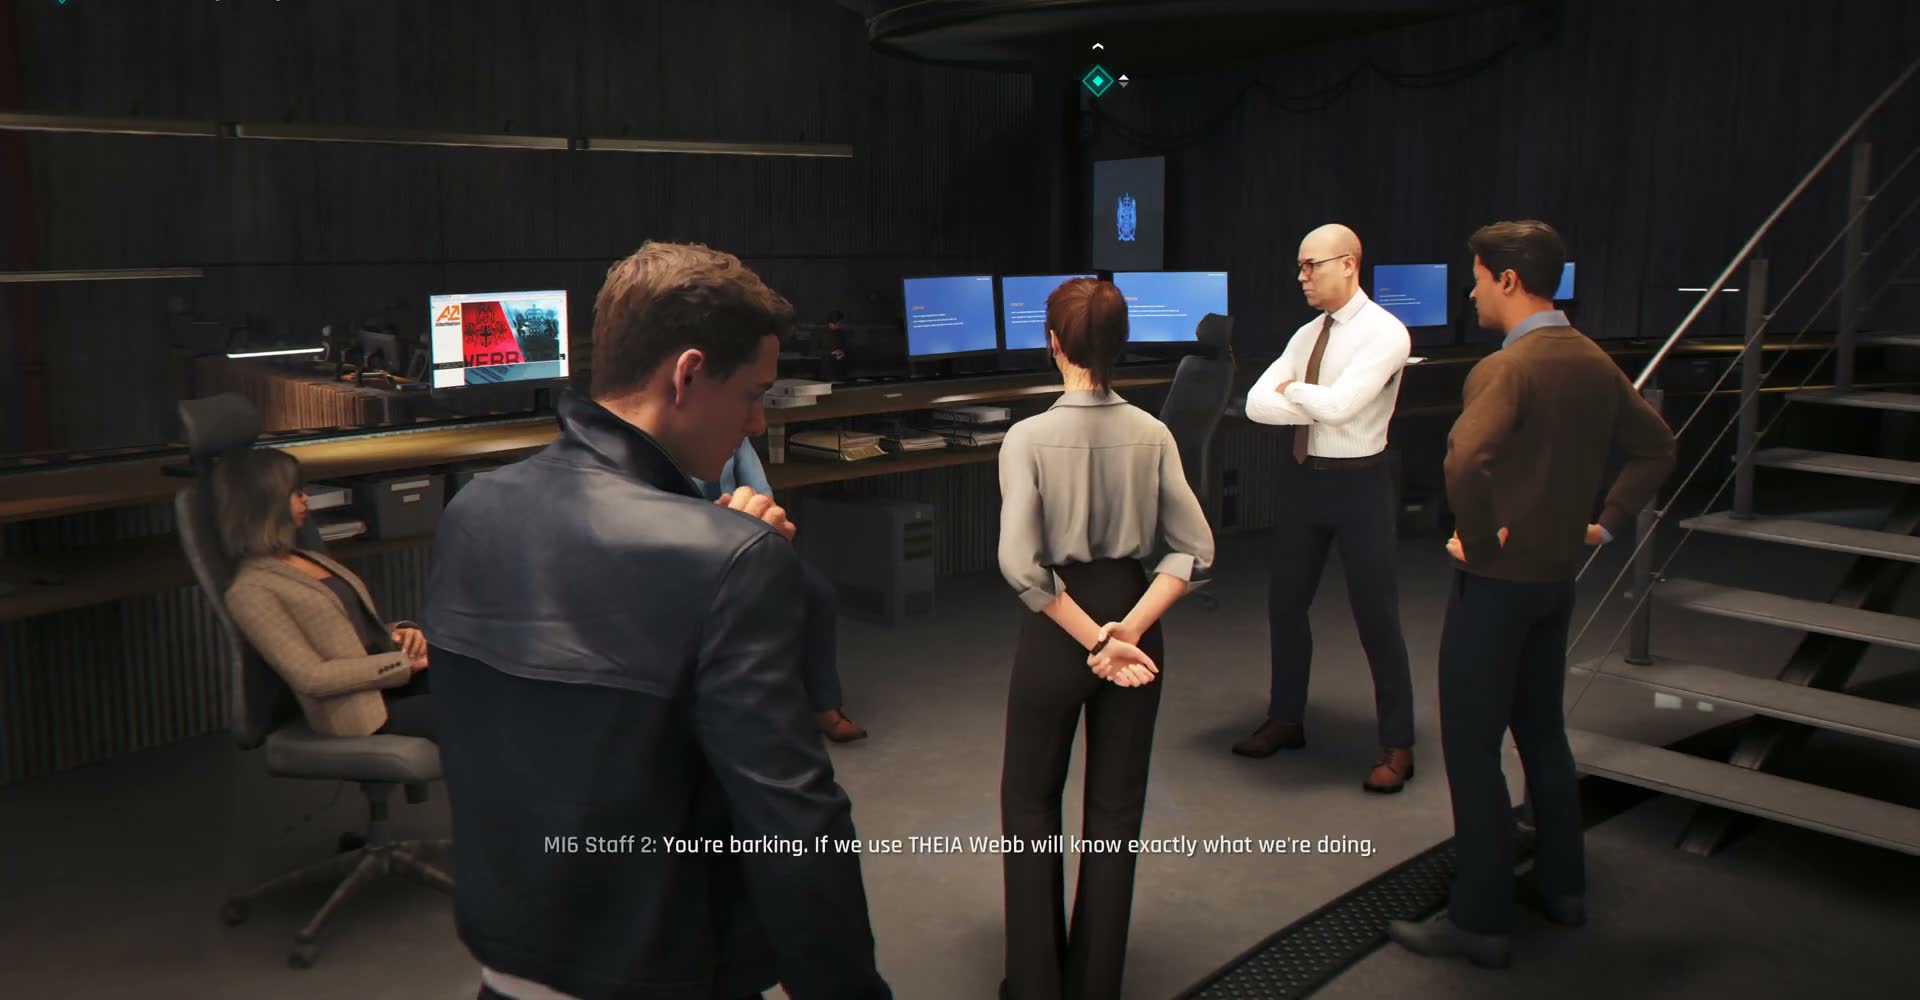
Take your time walking around the operations centre. You'll see analysts at their desks watching the news feeds, officers having private conversations in side corridors, and the now-iconic blue display wall with THEIA OFFLINE glowing above everything. The layout is more open-plan than you might expect from a secret intelligence HQ — modern, even trendy, with long wooden-topped desks, modern lighting, and glass partitions.
Some staff are sitting on the edge of desks rather than at their stations, which tells you this is an unusual day. Nobody is following normal protocol right now.
The Analyst in the Orange Top
Near one of the desks on the far side of the room, you'll find a young female analyst wearing a burnt-orange turtleneck and dark trousers. She's standing near a desk with stacks of folders and seems to be waiting for something — or someone. When you approach, she has her own perspective on the crisis, different from the senior staff.
This character is part of the fabric of the ops centre, not a major plot figure, but talking to junior staff in moments like this gives you a ground-level view of how the leak is affecting everyone, not just the leadership.
Moneypenny
Eventually, you'll find Moneypenny waiting for you. She's dressed professionally as always, standing near a corridor entrance away from the main bustle of the ops floor. Her expression is unreadable — she has the same composed exterior that M projects, but you know her well enough to tell she's concerned.
She's the one who will guide Bond to the next destination: Q Branch. Equipment needs to be collected, briefs need to be delivered, and despite the stand-down order, Bond is being sent somewhere. Moneypenny doesn't have to say much; her presence alone tells you that M hasn't completely sidelined Bond even in the middle of a political crisis.
Following Moneypenny
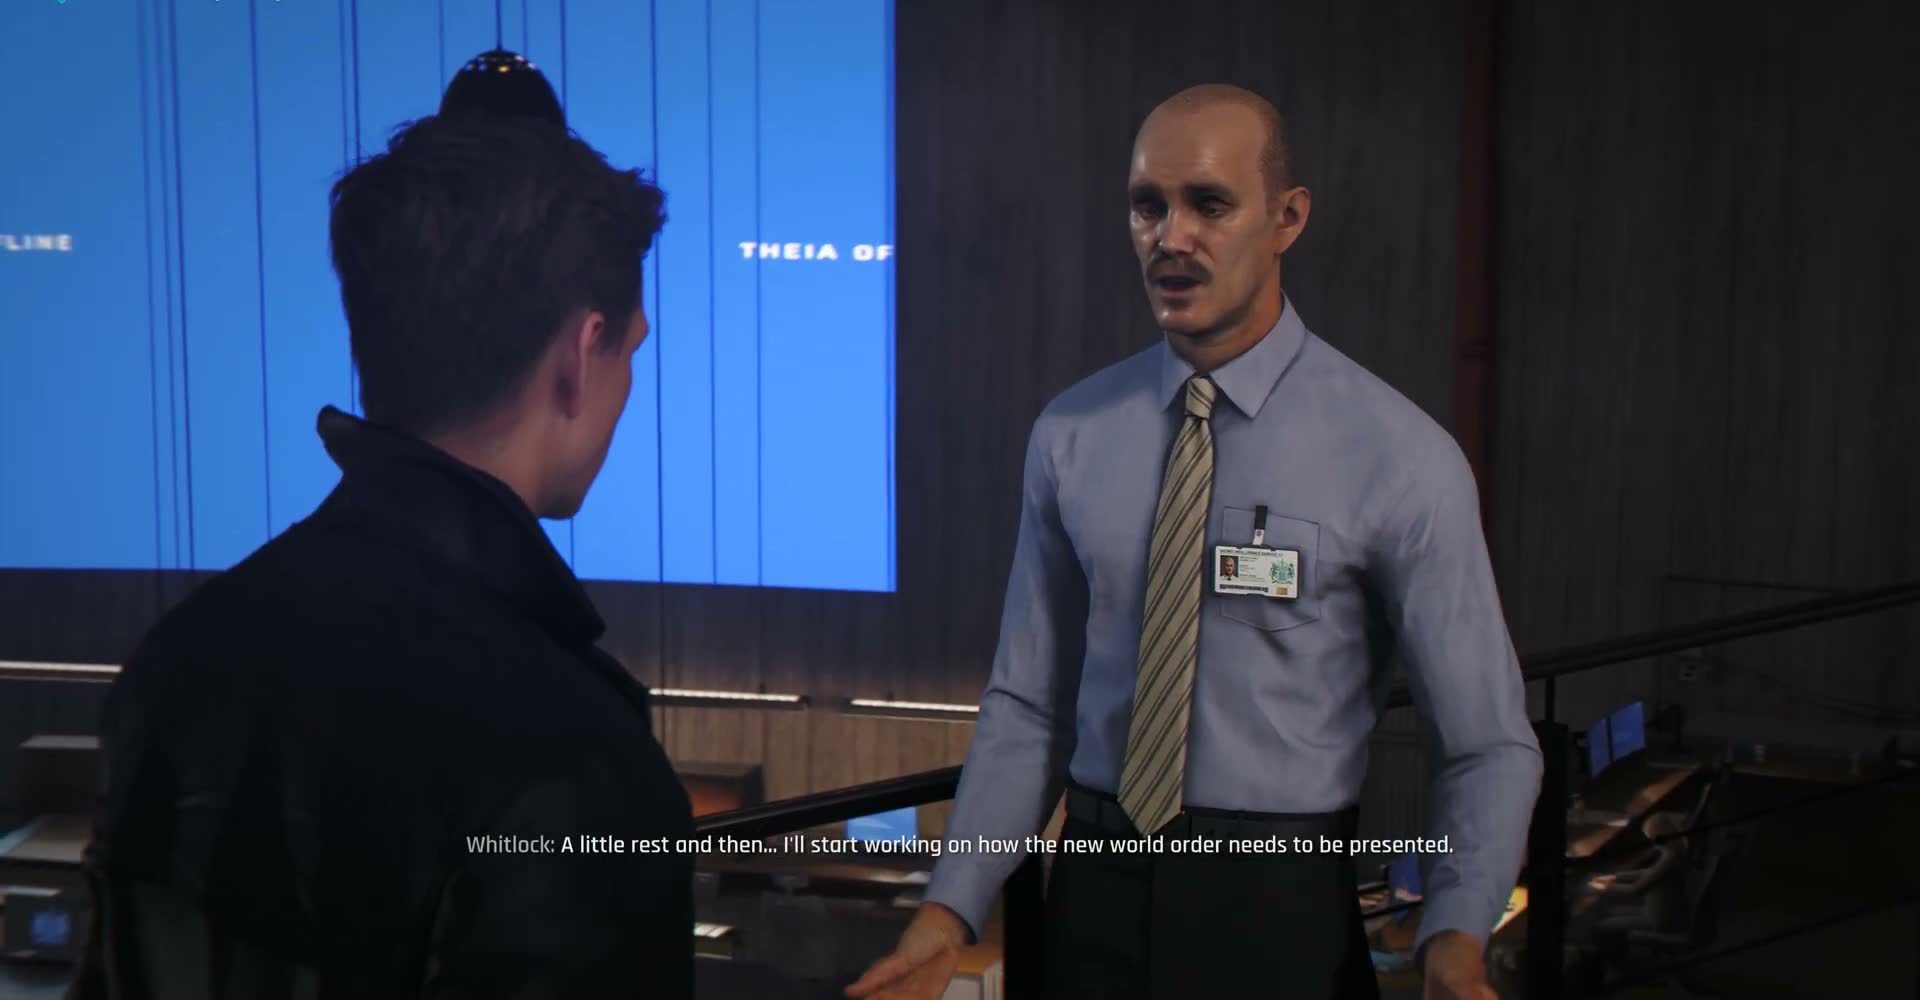
Moneypenny turns and walks away, expecting Bond to follow. You tail her through the operations centre and into a corridor that leads away from the main floor. The camera stays over Bond's shoulder as you walk, Moneypenny a few paces ahead in her orange top. The lighting changes from the bright blue of the ops floor to warmer, more industrial tones as you move deeper into the building.
The transition from the chaos of the ops centre to the quiet corridors leading underground is a deliberate pacing choice. The noise of dozens of conversations fades behind you, replaced by the hum of ventilation and the sound of your own footsteps.
Elevator Descent
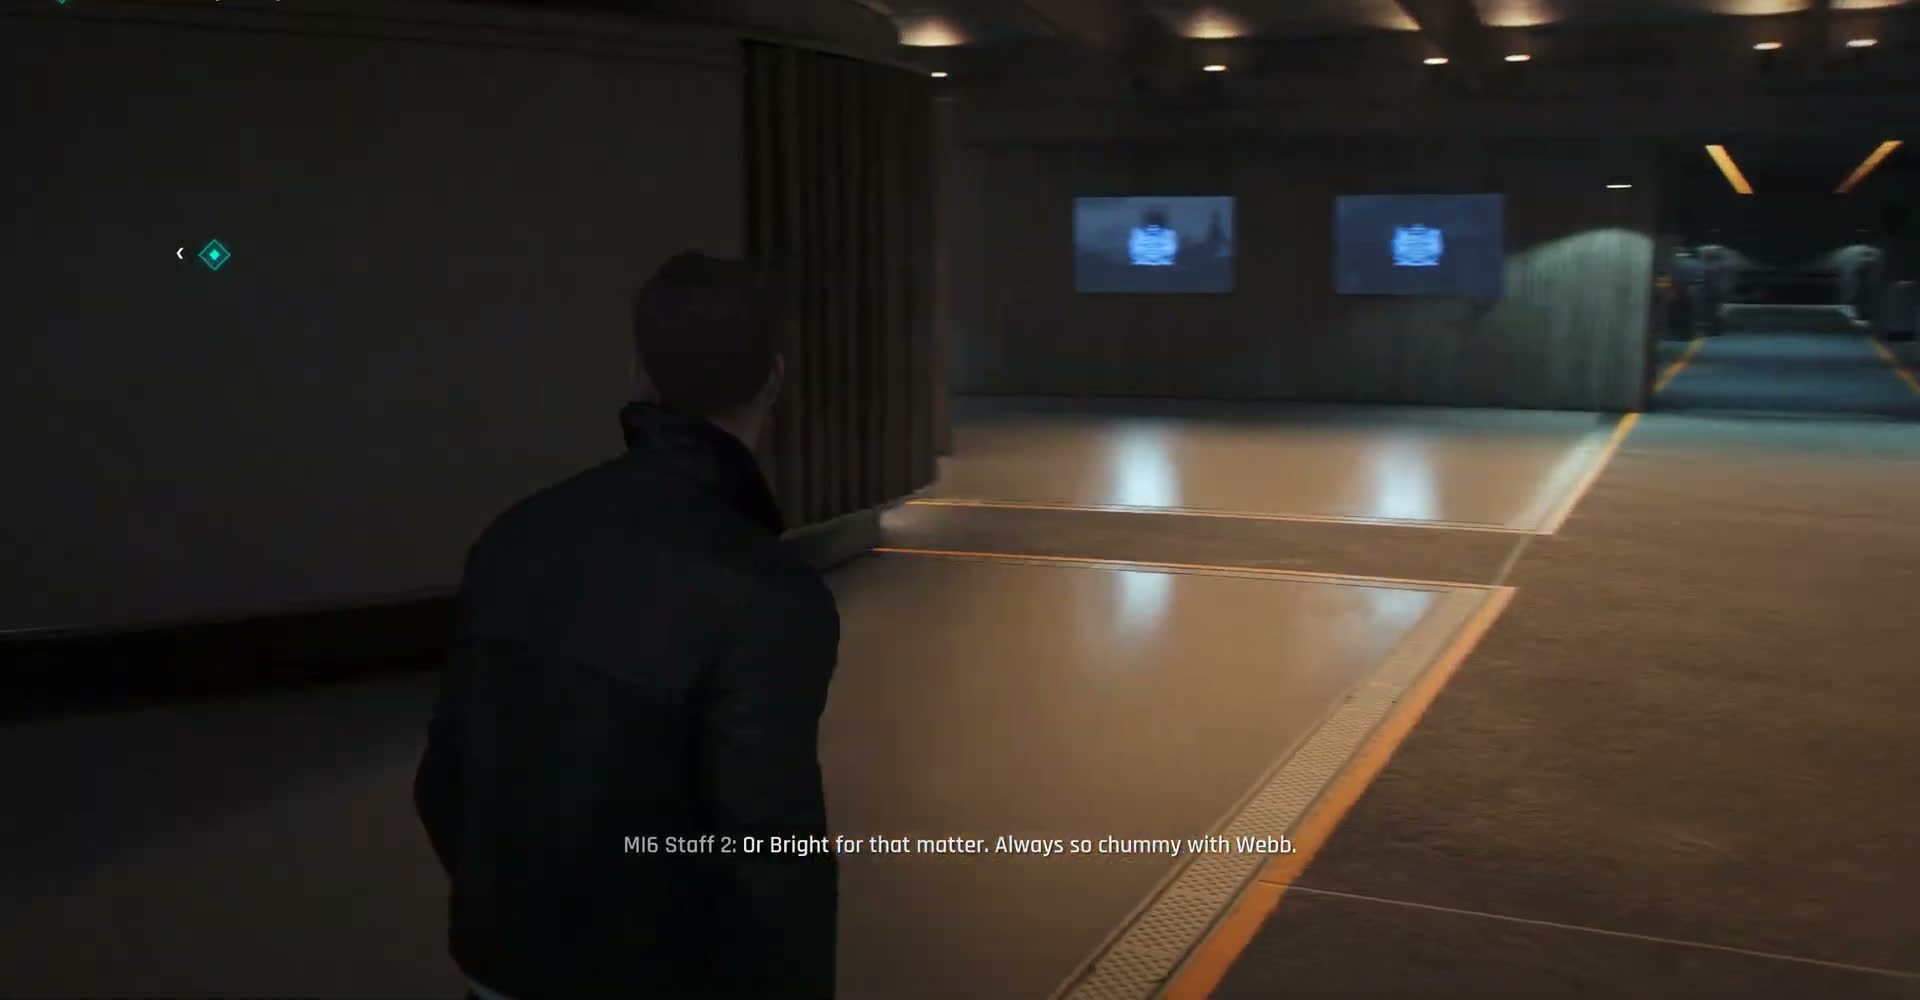
Moneypenny leads Bond to an elevator. As the doors close, the lighting shifts to a cool blue — a visual cue that you're descending into a different part of the building. MI6's Q Branch is famously located deep underground, and the elevator ride reinforces that sense of going below the surface, both literally and metaphorically.
The blue light casts everything in a clinical, subterranean glow. You don't see the floors passing, but the camera holds on Bond's face for a moment — whatever awaits him in Q Branch, he's going in without THEIA, without a clear briefing, and in the middle of the biggest intelligence crisis in recent memory.
The Blue Underground Corridor
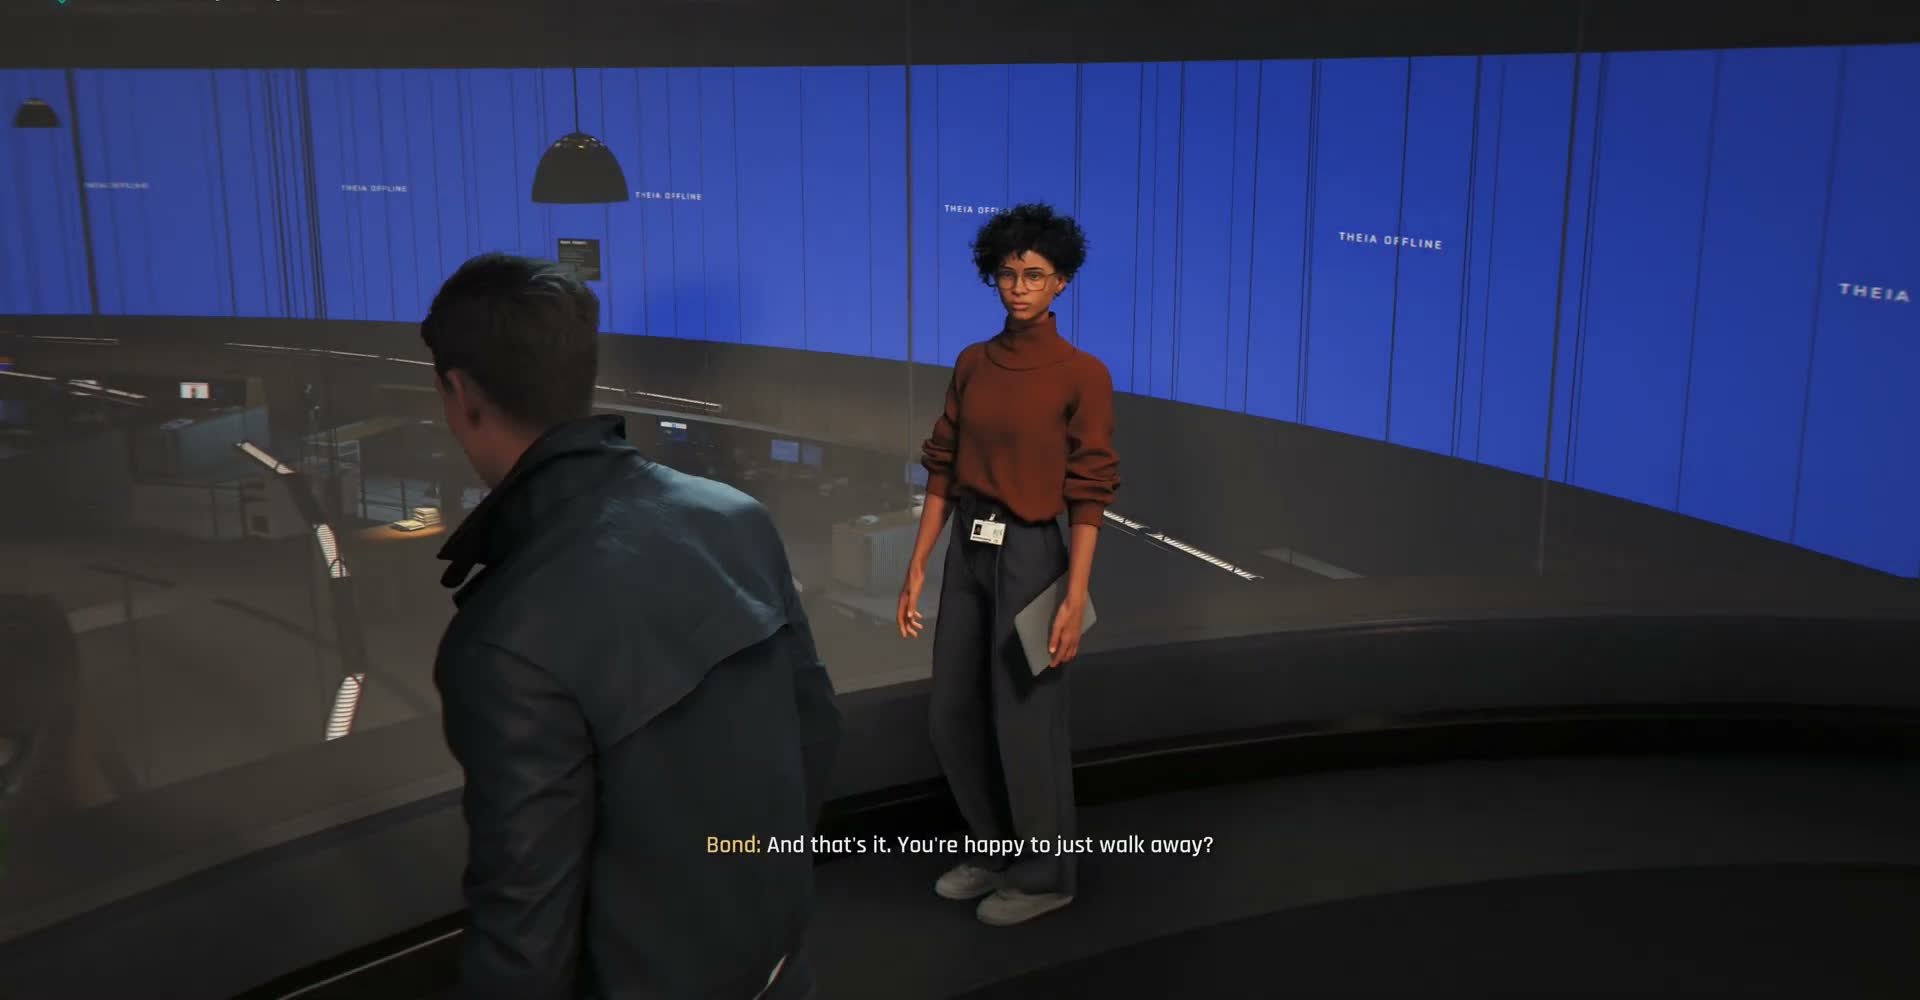
The elevator opens onto a long, wide corridor bathed in that same blue light. The walls are curved and metallic, with ribbed panelling that gives the space a futuristic, almost submarine-like feel. Overhead lighting runs in strips along the ceiling, casting long shadows ahead of you. This is the access corridor to Q Branch, and it feels deliberately imposing — as if the architecture itself is designed to remind you that you're entering a restricted area.
Moneypenny leads the way, her orange top a warm point of contrast against the blue steel surroundings. There are no other people visible in this corridor, which makes the space feel even more isolated from the chaos upstairs.
Iris Scanner — Q Branch Entrance
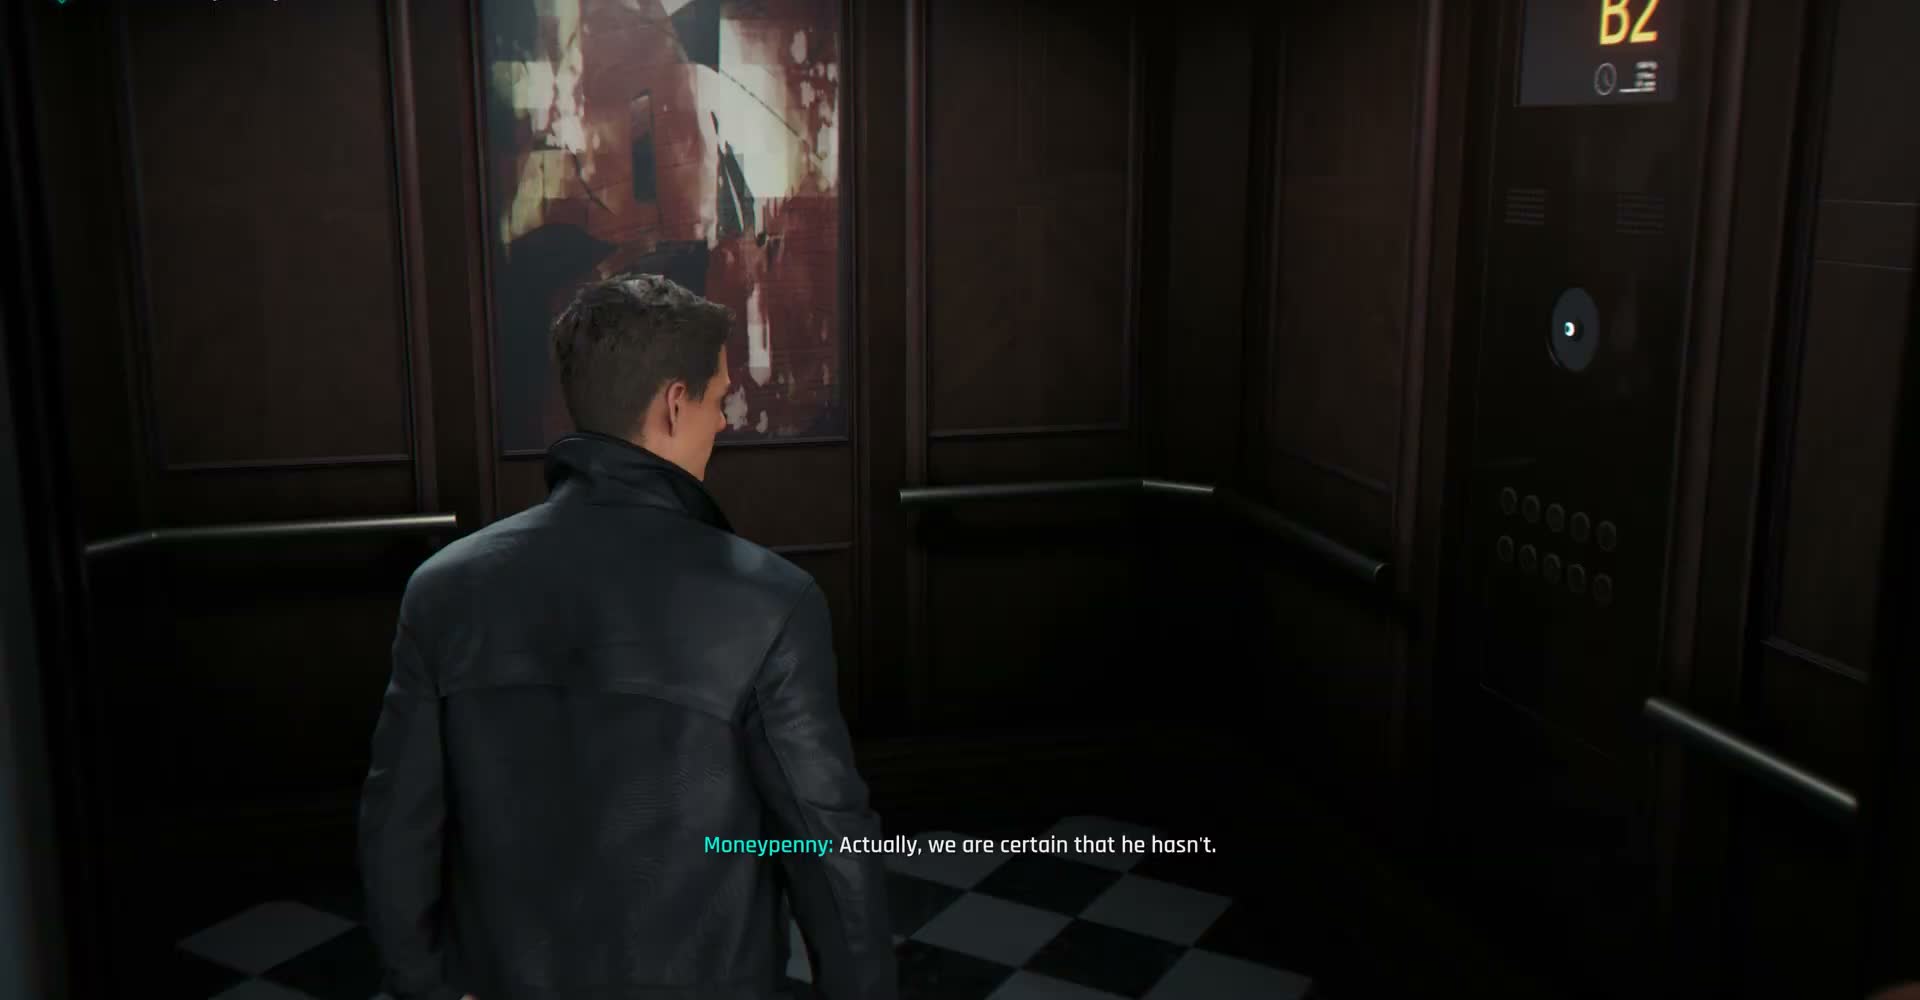
Moneypenny stops at a heavy security door with an iris scanner mounted on the wall beside it. This is the entrance to Q Branch proper. The door itself is a thick, vault-like slab with a small camera lens positioned at eye level — there's no keycard reader, no keypad, just biometric scanning. Q Branch takes its security seriously even when the rest of the service is falling apart upstairs.
Moneypenny authenticates herself (or Bond does — depending on how the scene plays out), and the heavy door mechanisms unlock with a satisfying thud.
Entering Q Branch
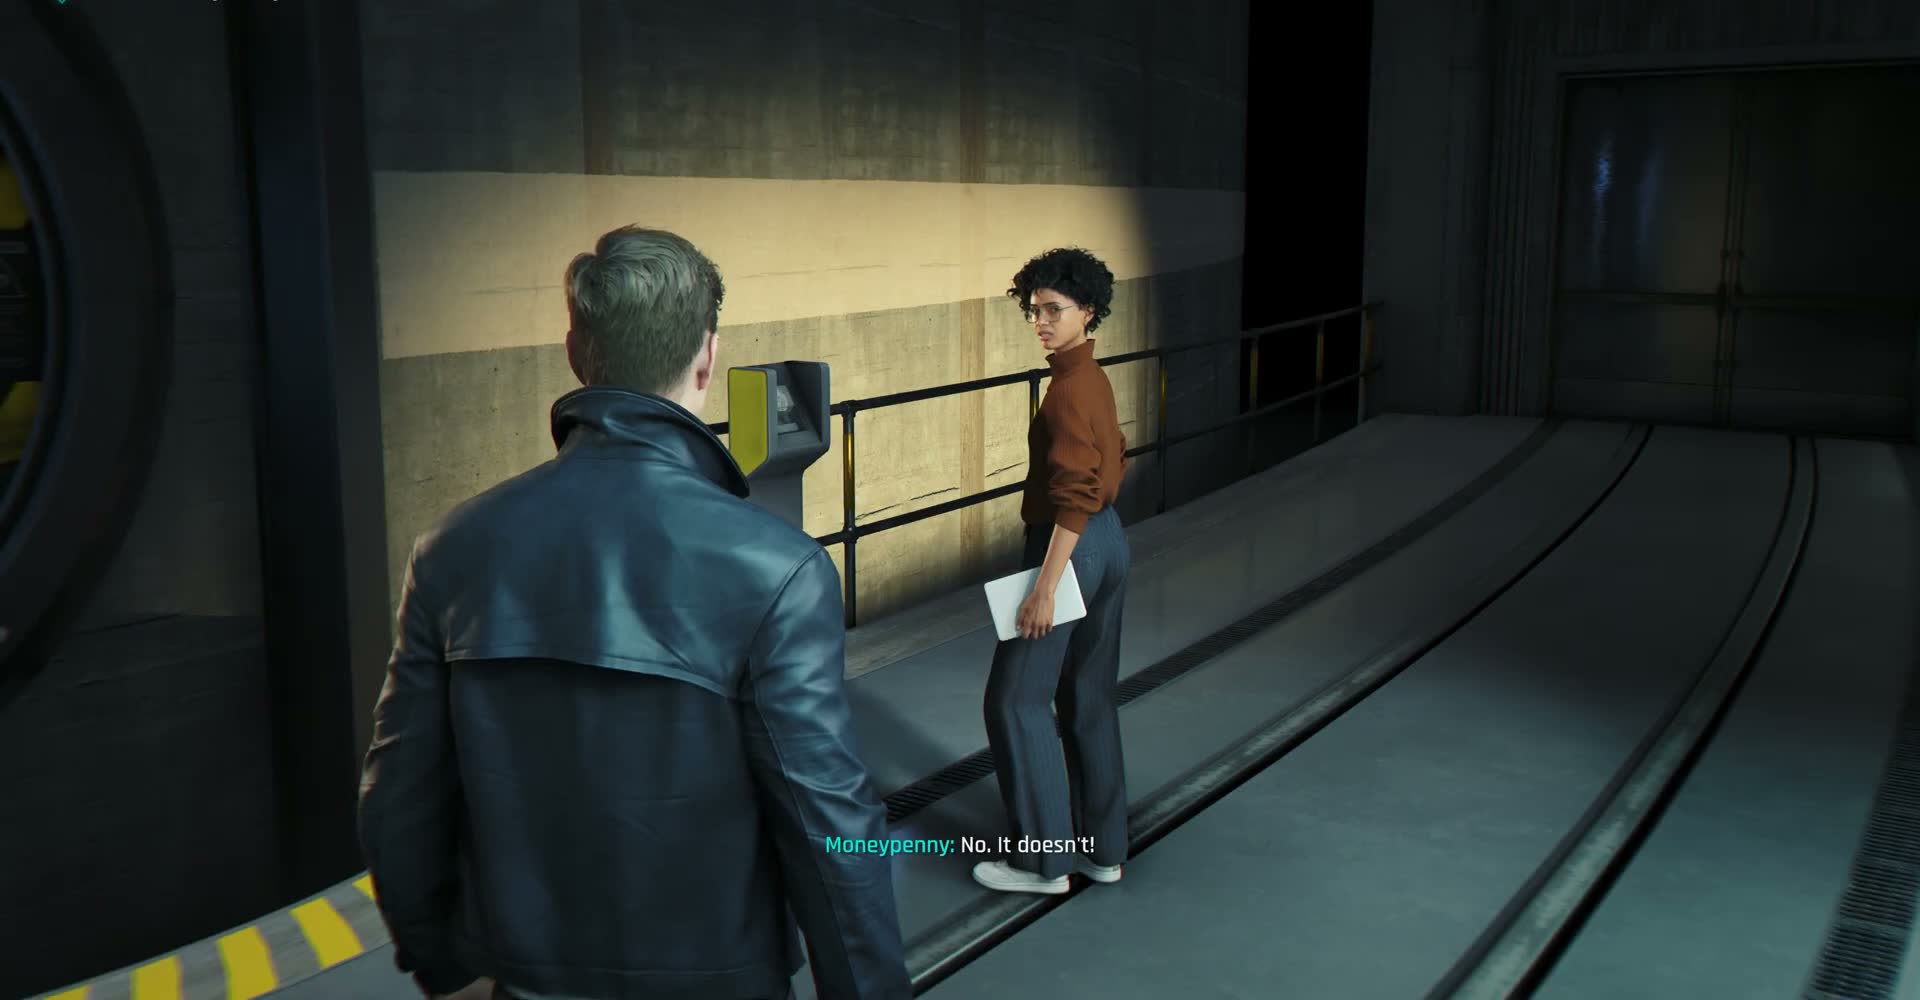
The heavy vault-like doors swing open and you step into Q Branch proper. The first thing that hits you is the scale — this isn't a single lab, it's a sprawling underground workshop complex. Industrial overhead lighting mixes with blue accent lights, and the air hums with the sound of equipment. Workbenches, equipment racks, and glass-walled testing chambers stretch out in front of you.
The atmosphere here is different from the offices upstairs. This is a place where things are built, tested, and sometimes broken. You can see why Q prefers to stay down here away from the political chaos above.
Q Branch Staff
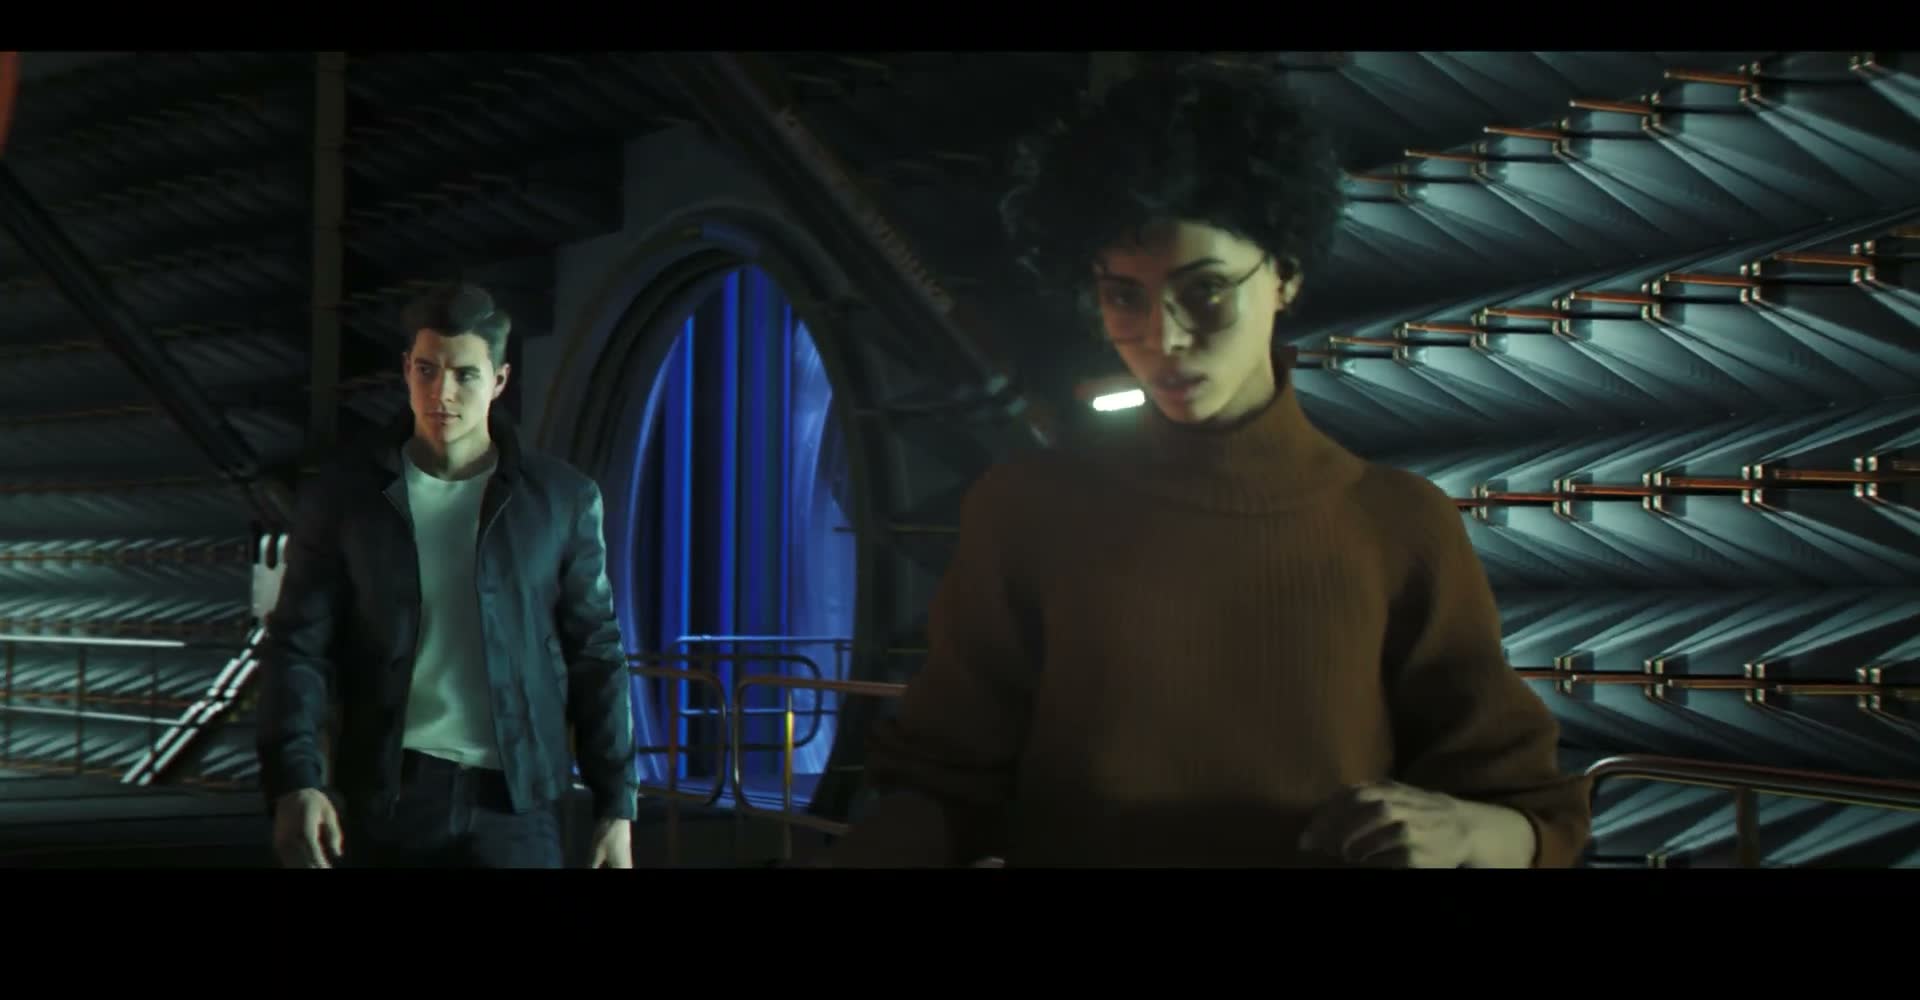
Shortly after entering, you encounter a member of Q's team — a woman with dark curly hair and glasses, wearing a brown turtleneck sweater. She's a researcher or technician working in the branch, and she either directs Bond toward Q or gives him a brief update on the state of things. The exchange is brief and professional — everyone in Q Branch has work to do, crisis or no crisis.
This first encounter grounds Q Branch as a real workplace with real people, not just a one-man gadget shop staffed entirely by Q himself.
Meeting Q
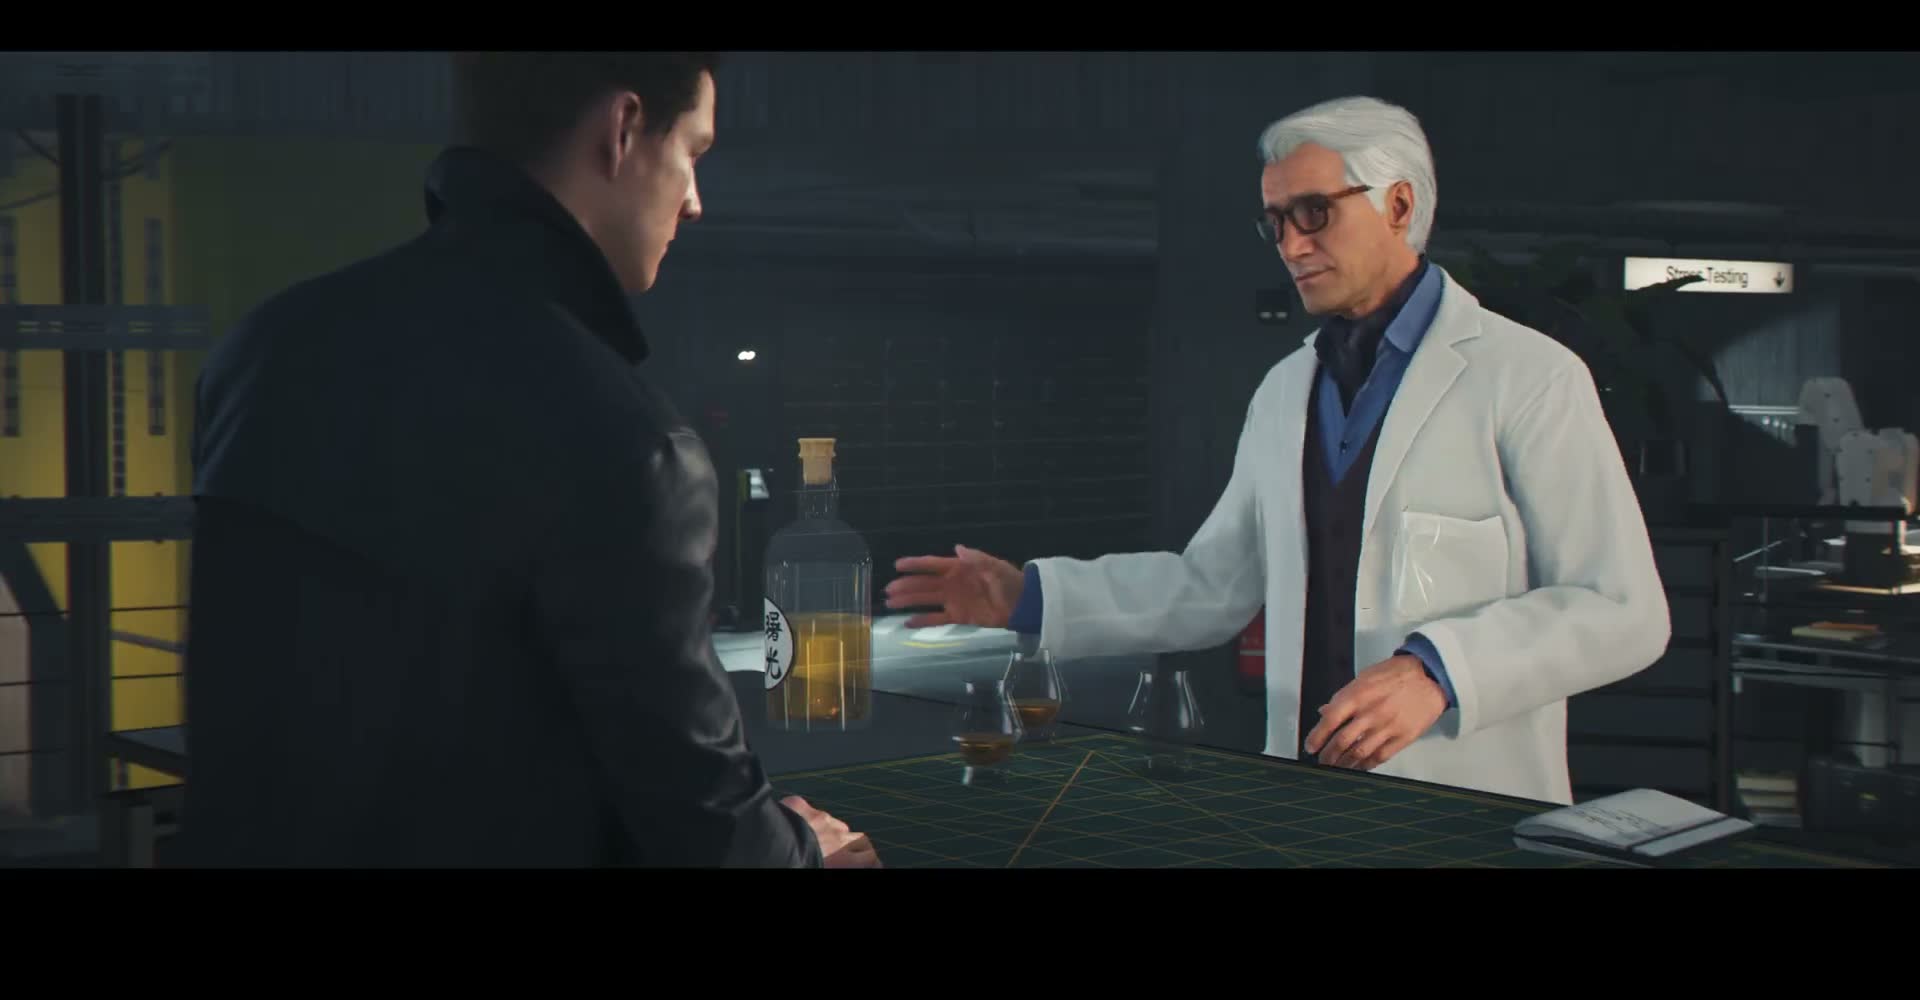
Q is at his desk in an office area within the workshop. He's an older man with distinguished white hair, wearing dark-framed glasses and a white lab coat over a blue shirt with a dark cravat. The office around him is part lab, part study — bookshelves, plants, and a decanter of whisky sit alongside technical equipment and gadget components.
He looks up from his work as Bond approaches. This incarnation of Q blends the classic older gentleman-scientist archetype with a sharp, dry wit. He's professional but not cold, and he's clearly not thrilled to be interrupted — particularly in the middle of a crisis, with half his experiments on hold and the service falling apart upstairs.
Q's Instructions
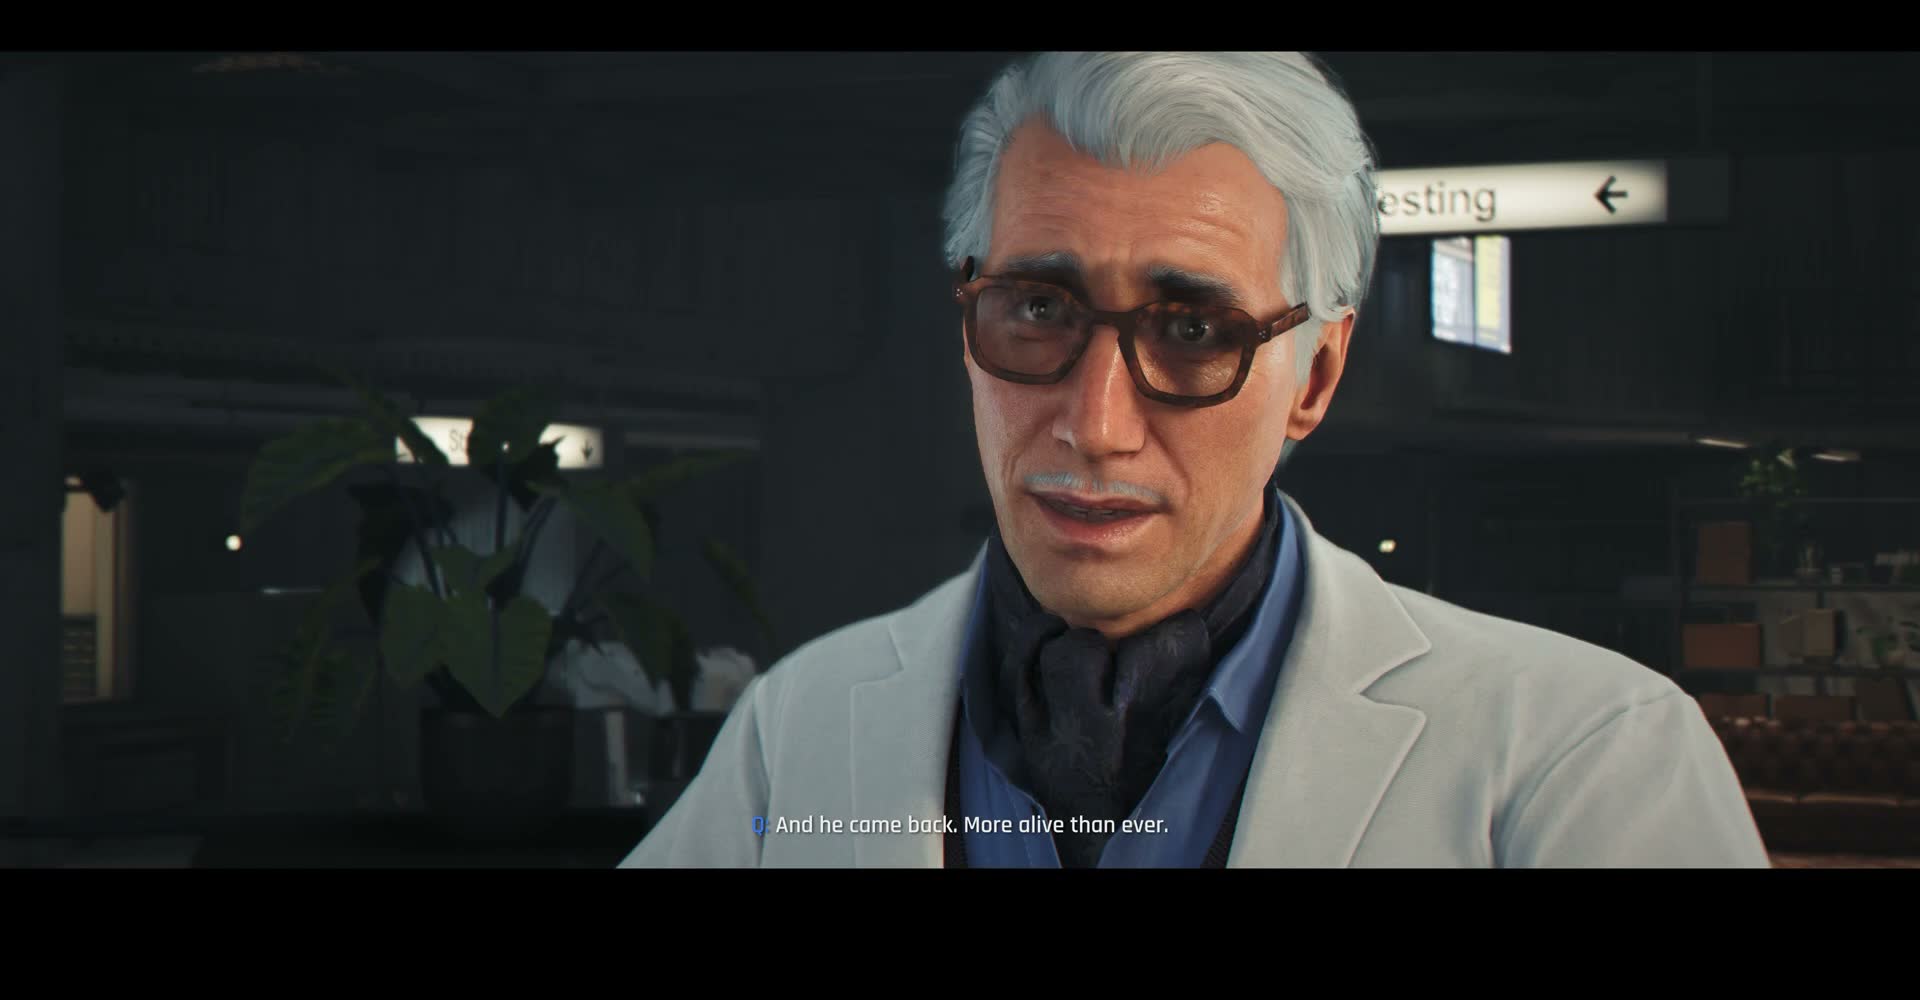
Q gives Bond the rundown: Antarctica gear has been prepared in the armoury section, but he can't leave his current work to walk Bond through it personally — he's dealing with urgent issues created by the Webb leak. Bond will need to navigate through the workshop areas to the armoury himself, collecting what he needs without disturbing ongoing projects.
This is where the free-roam section of Q Branch begins. You'll need to make your way through the lab spaces to find the equipment. Q Branch is active with staff working throughout, so this isn't a pure stealth section — but you should still move carefully and avoid knocking anything over.
Exploring the Workshop
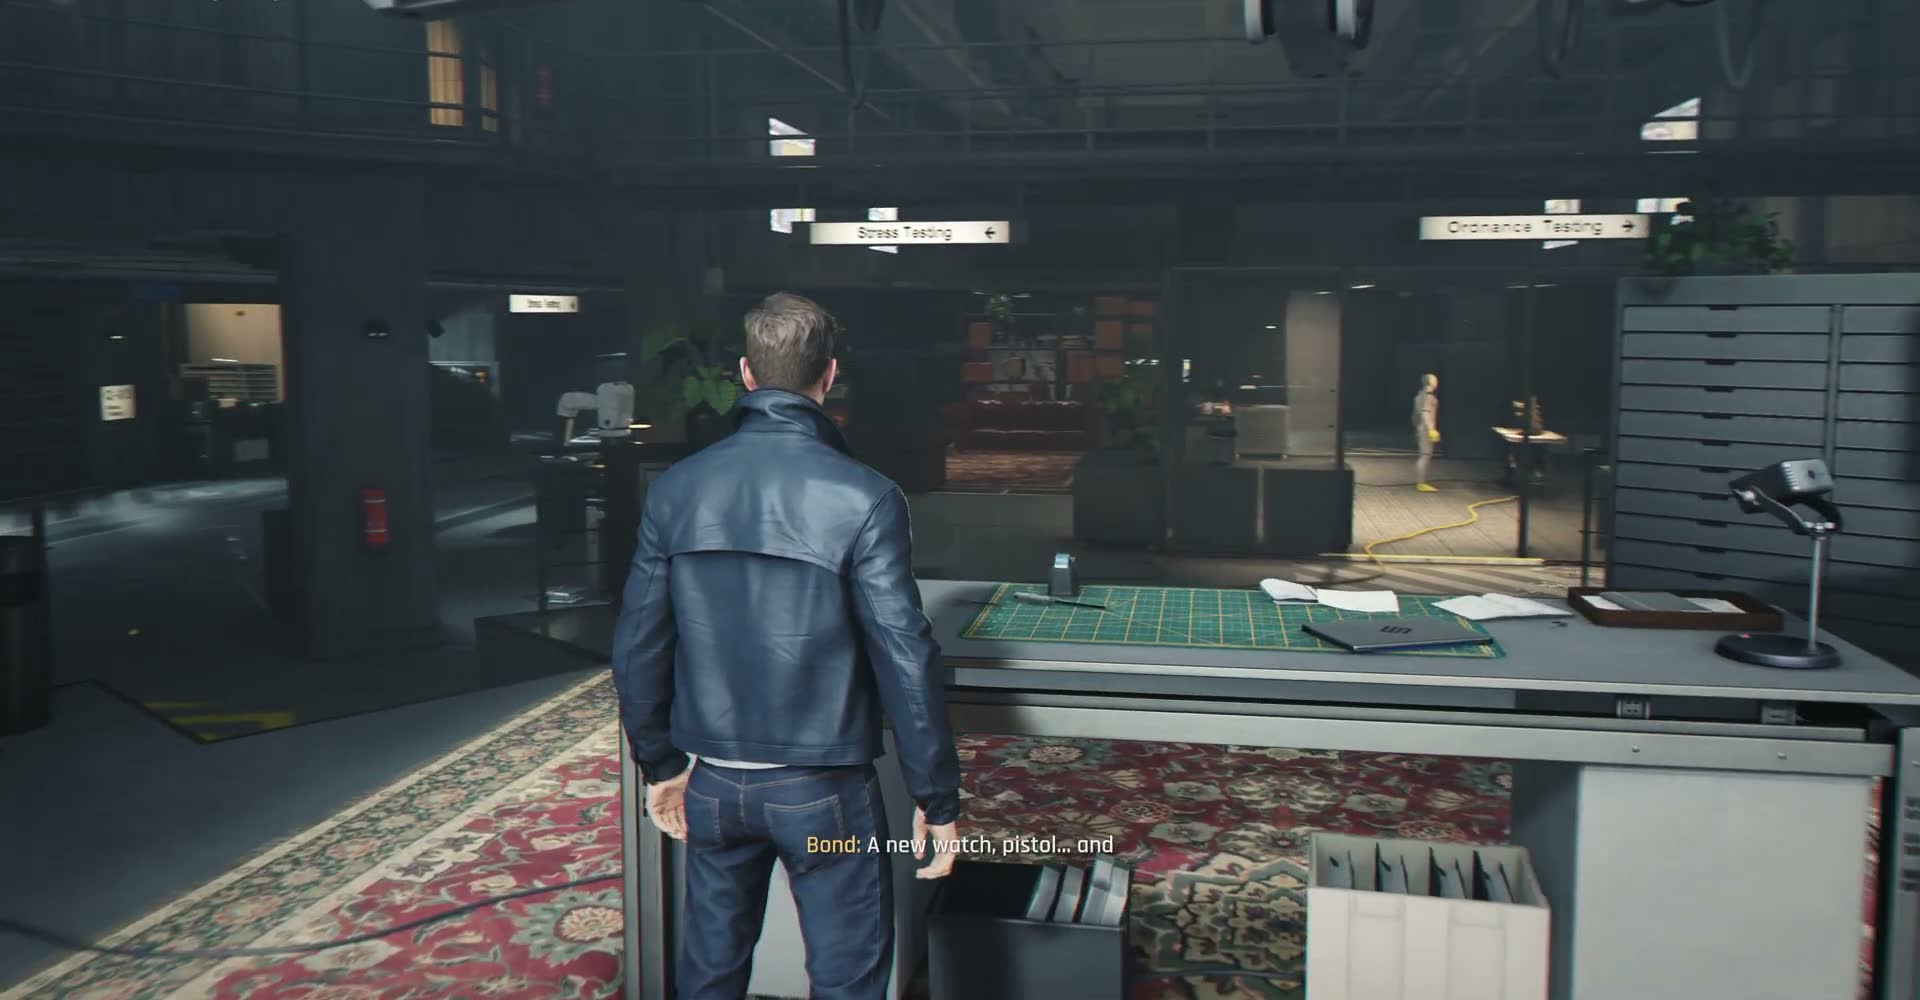
Q Branch is larger than it first appears. Multiple interconnected rooms house different specialities: a gadget testing area, a weapons workshop, a vehicle bay (partially visible behind glass), and storage areas. The lighting varies from section to section — some areas are brightly lit, others are dark and industrial.
You'll need to move through these spaces carefully. While this isn't a hardcore stealth section (nobody is trying to kill you), there are technicians walking around, and you're encouraged to explore rather than rush. You can walk up to workbenches and examine gadgets, read notes, and get a sense of what Q Branch has been developing.
Q-08 Armoury
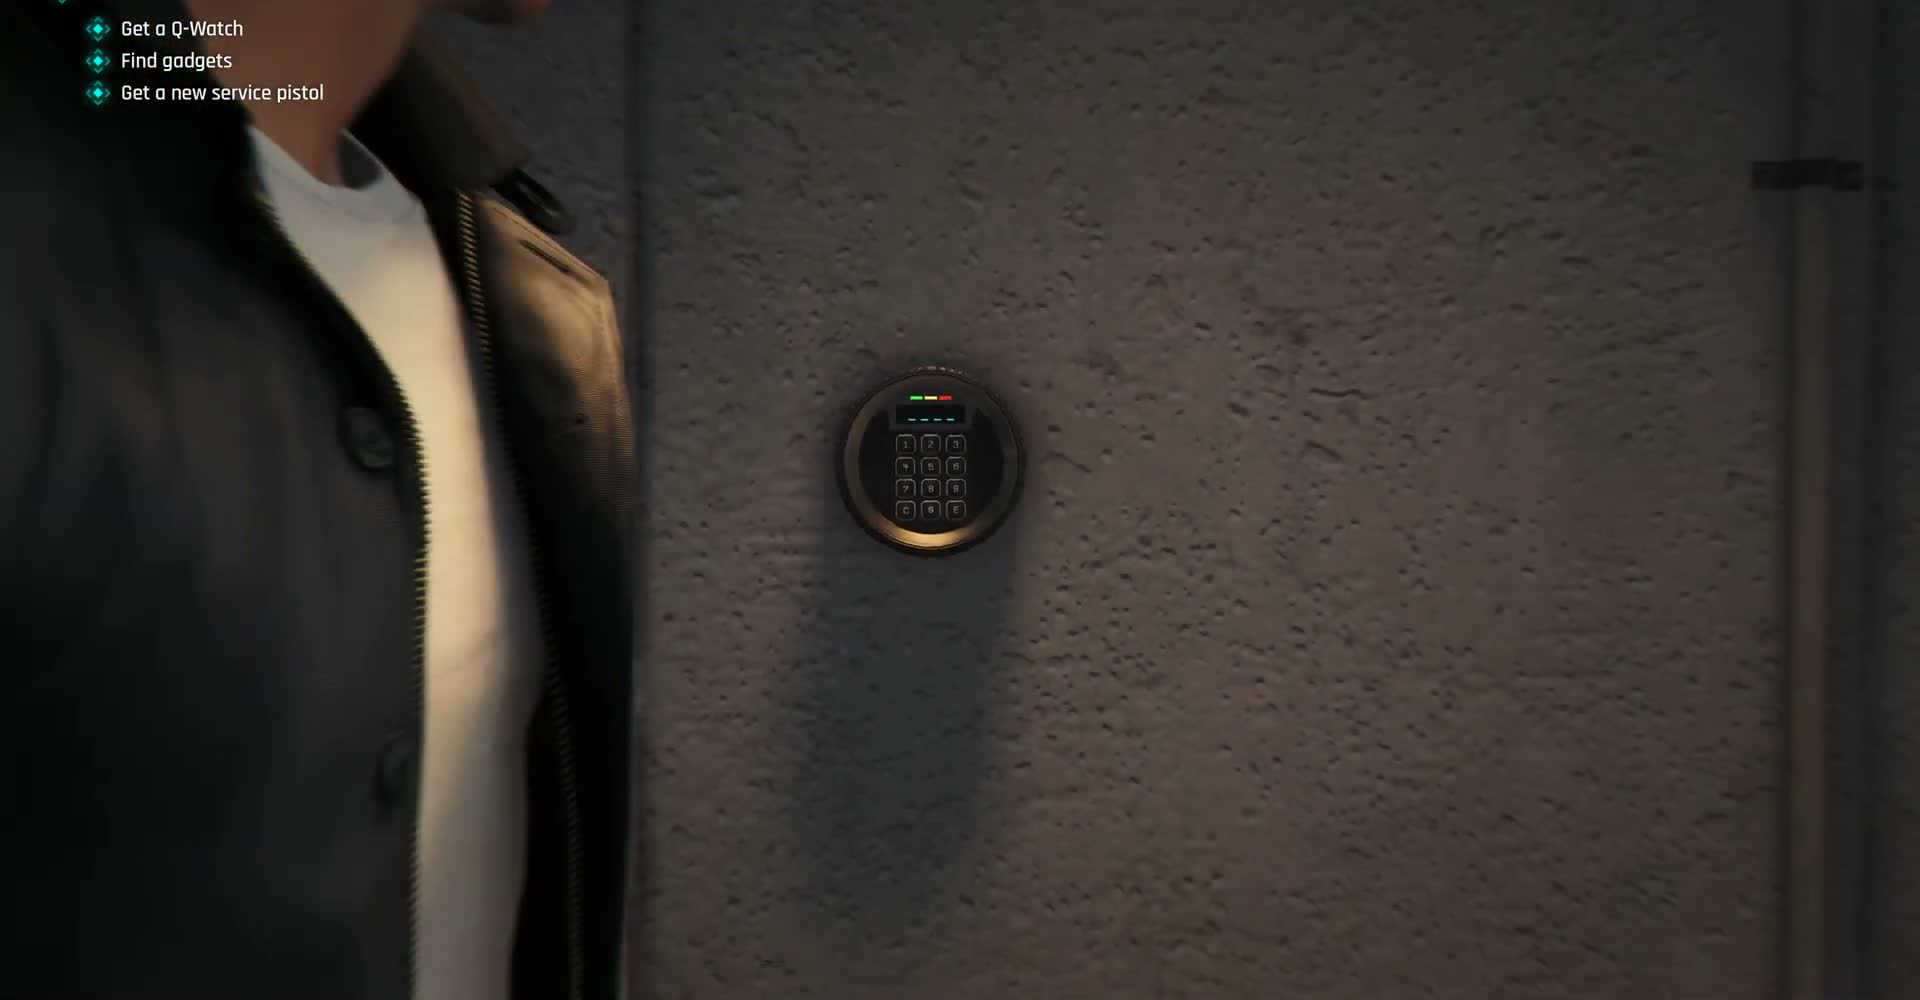
Eventually you'll find the armoury door, marked with 'Q-08 ARMOURY' and 'AUTHORIZED PERSONNEL ONLY' signage. It's a heavy security door, separate from the main workshop areas. This is where your mission equipment is stored — the cold-weather gear, weapons, and gadgets you'll need for Antarctica.
The door requires access, but given the circumstances (and M's implicit authorisation via Moneypenny), Bond gets through. Inside is where the equipment selection happens.
Gadget Workbench
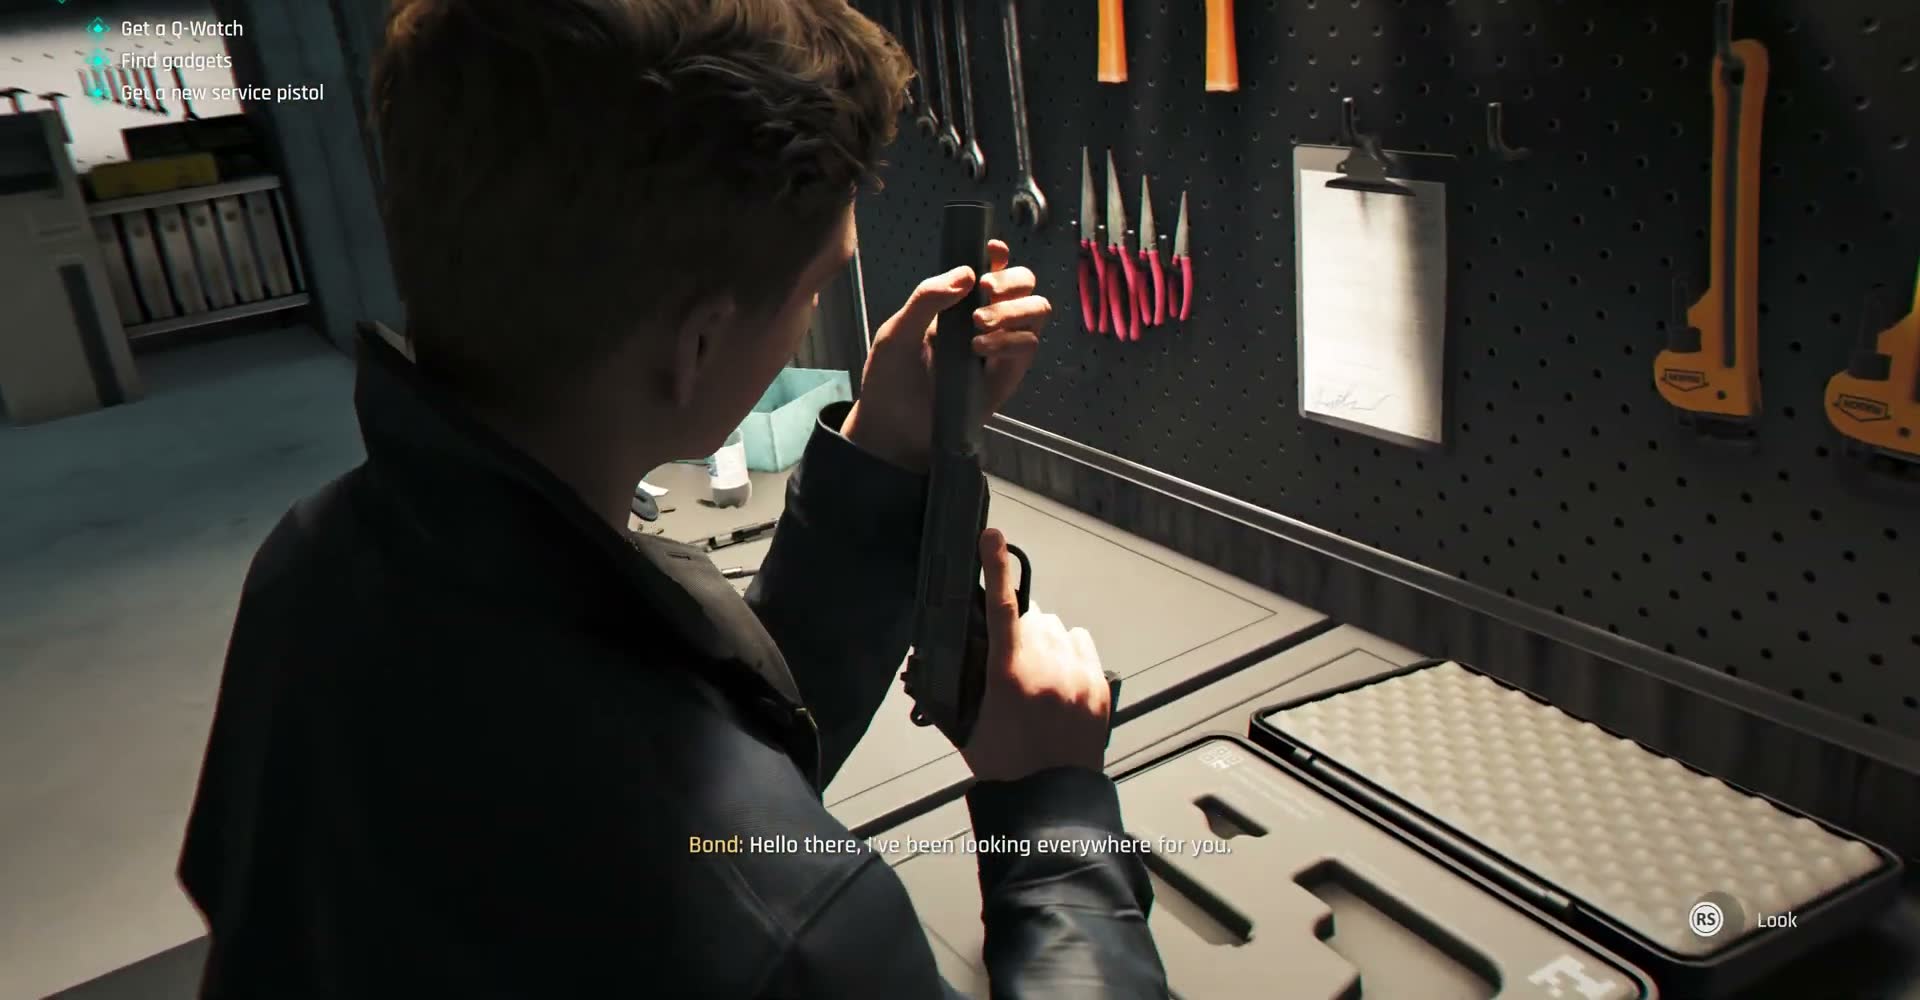
Inside the armoury and equipment prep area, you'll find workbenches laid out with gear. This is where you can examine the equipment being prepared for the Antarctica mission — not just weapons, but cold-weather clothing, climbing gear, communication devices, and specialised gadgets that make sense for an arctic infiltration.
The level of detail on the workbenches is impressive. You can see tools laid out alongside gadget components, schematics pinned to boards, and partially assembled devices. It feels like a real workshop where real equipment is being prepared, not a movie set with prop gadgets.
Equipment Selection
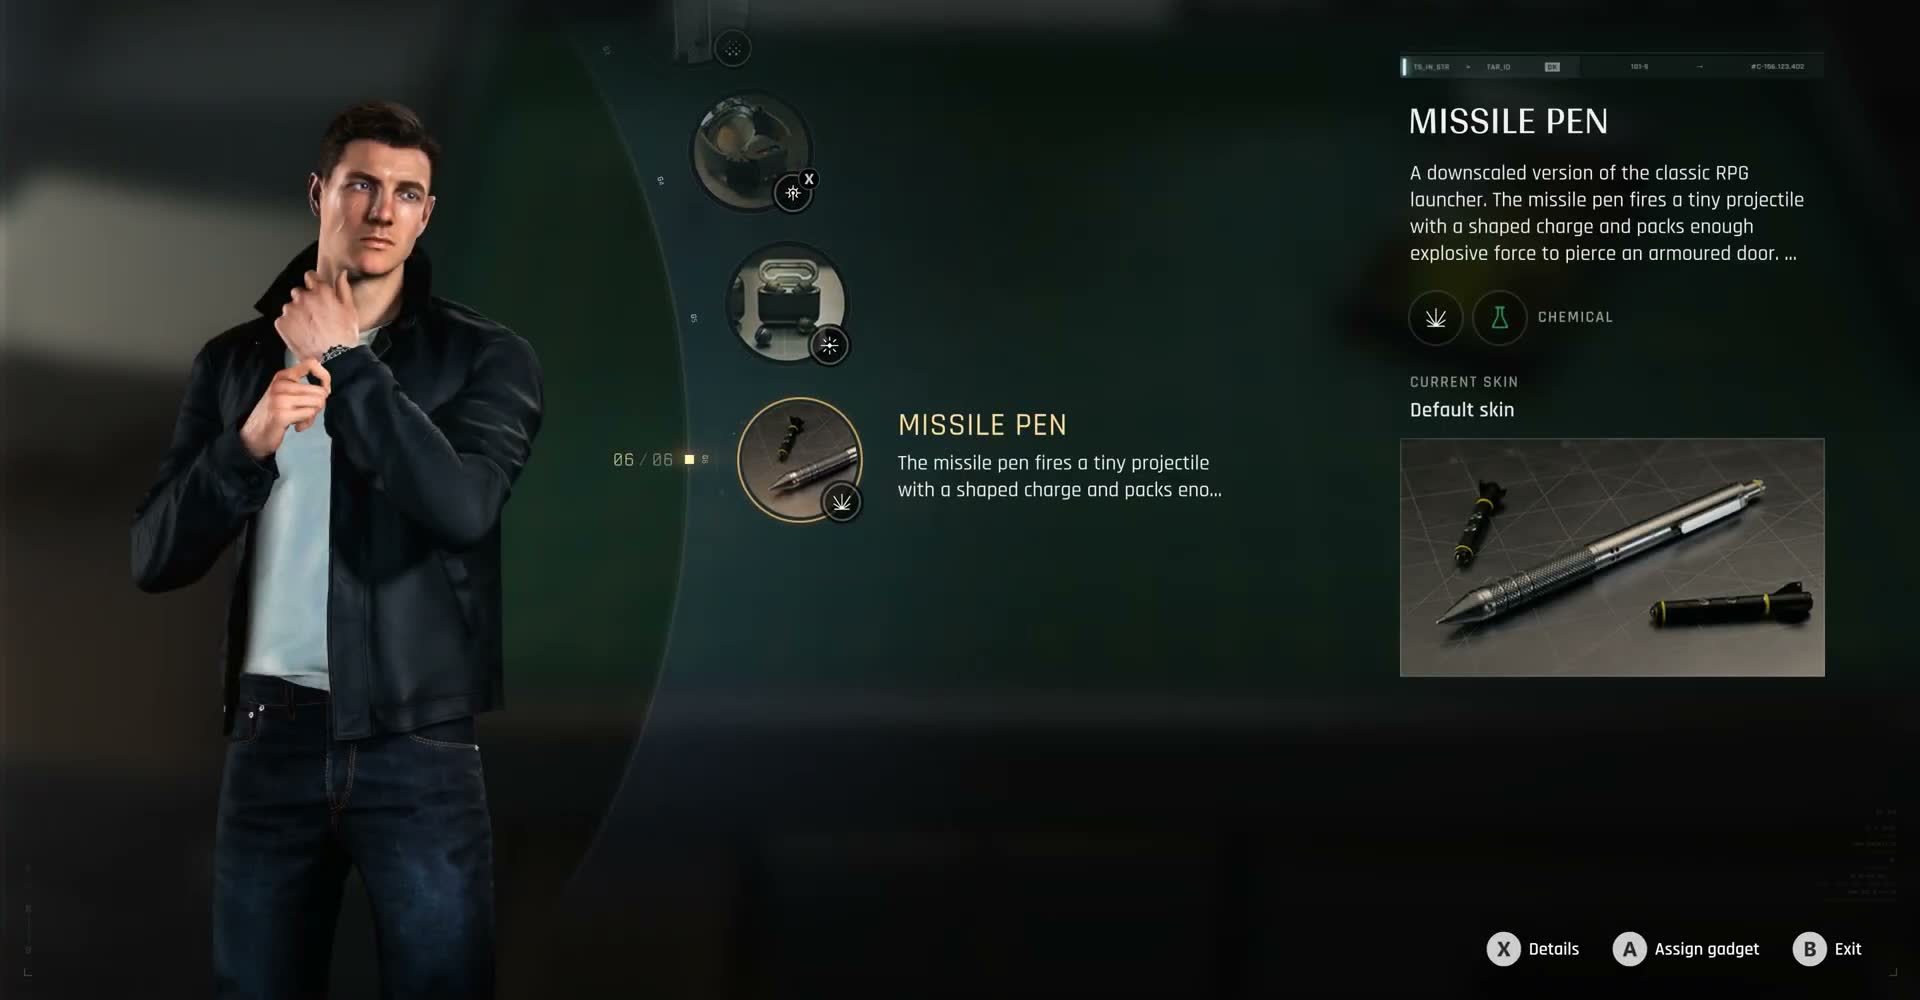
At a certain point, you'll access the equipment selection interface. This is where you choose your loadout for the Antarctica mission. The interface shows available weapons and gadgets, and you can select what Bond will carry into the field. Without THEIA online, the loadout screen itself has a slightly simplified appearance compared to previous chapters.
Choose carefully — as with previous missions, your loadout affects how you can approach the next chapter. The suppressed pistol is a solid default, but there may be specialised gear worth considering for the cold environment.
Lockdown Protocol
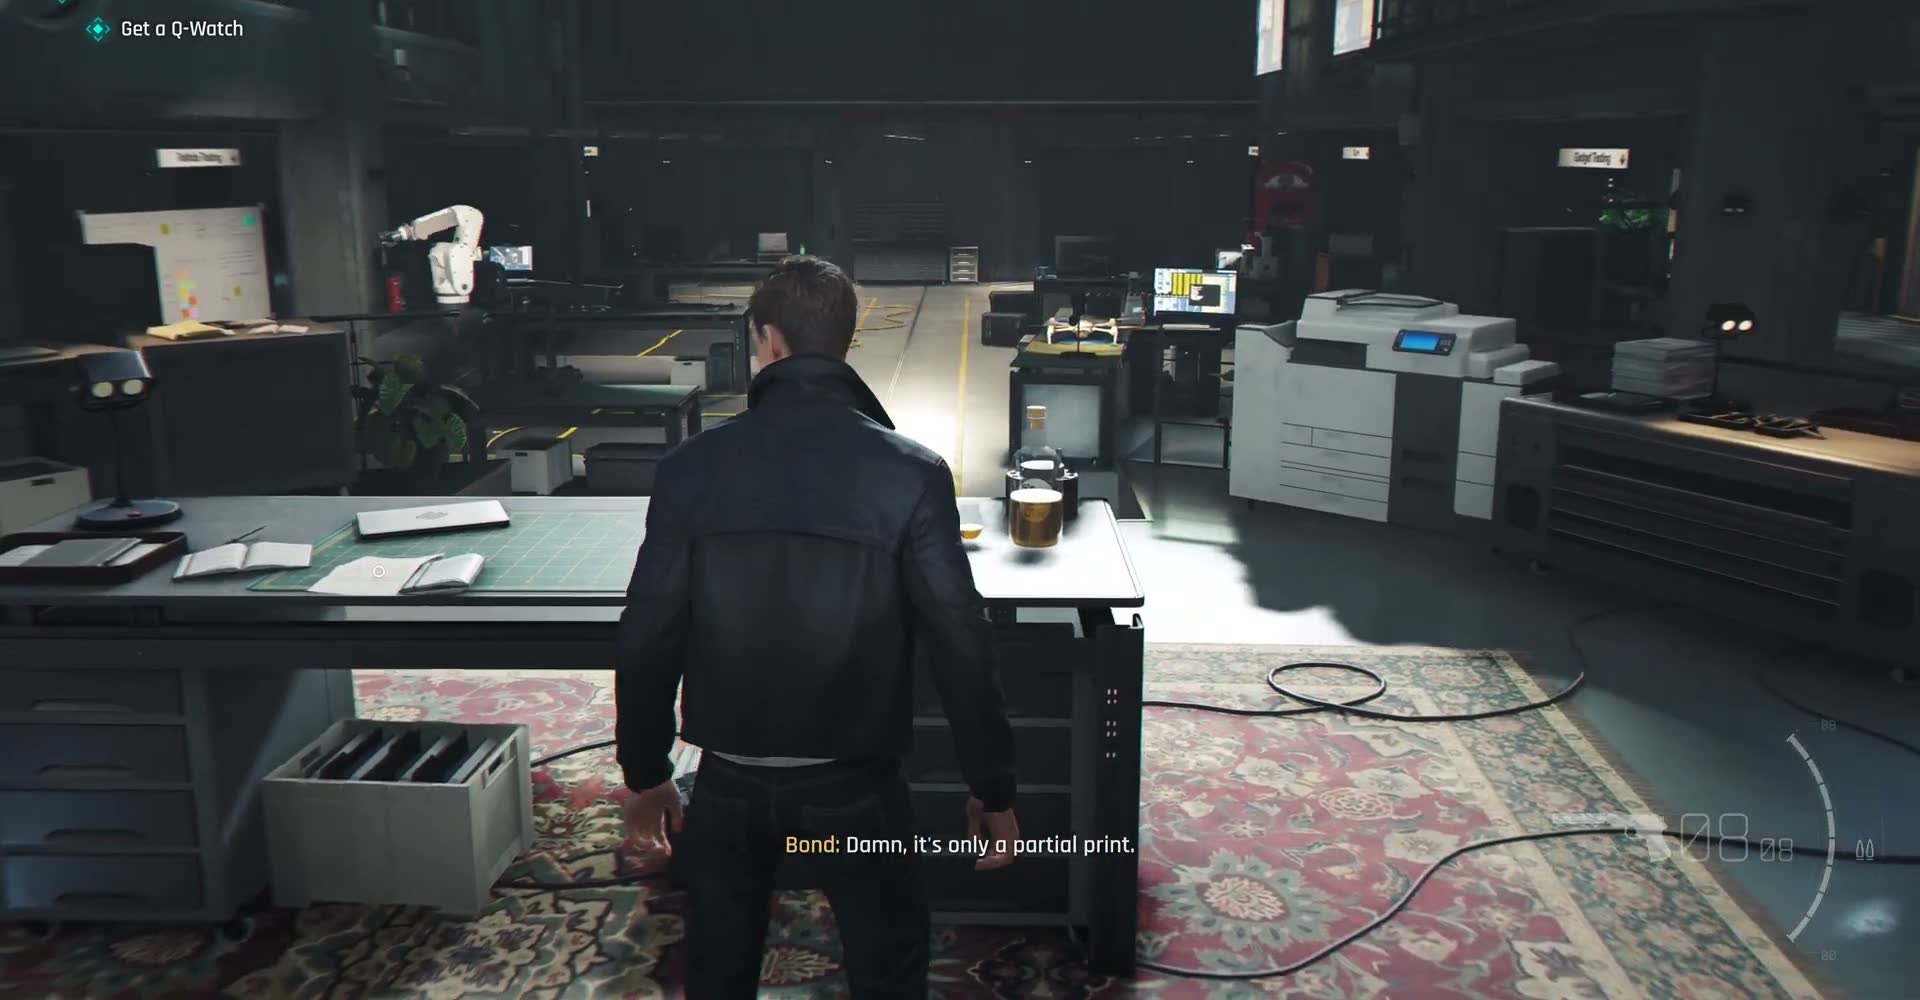
After collecting your gear, something goes wrong. An alarm sounds — not a security alarm, but a fire/safety alarm. The lights in the section of Q Branch you're in change, and emergency protocols activate. It's not immediately clear what caused it (a lab accident? A stress test gone wrong? One of Q's experiments overheating?), but the situation escalates quickly.
You can see warning indicators on screens, and the atmosphere shifts from quiet exploration to urgency. This is the closest the chapter gets to action, though it's still not a combat sequence.
Red Alert — Fire in Q Branch
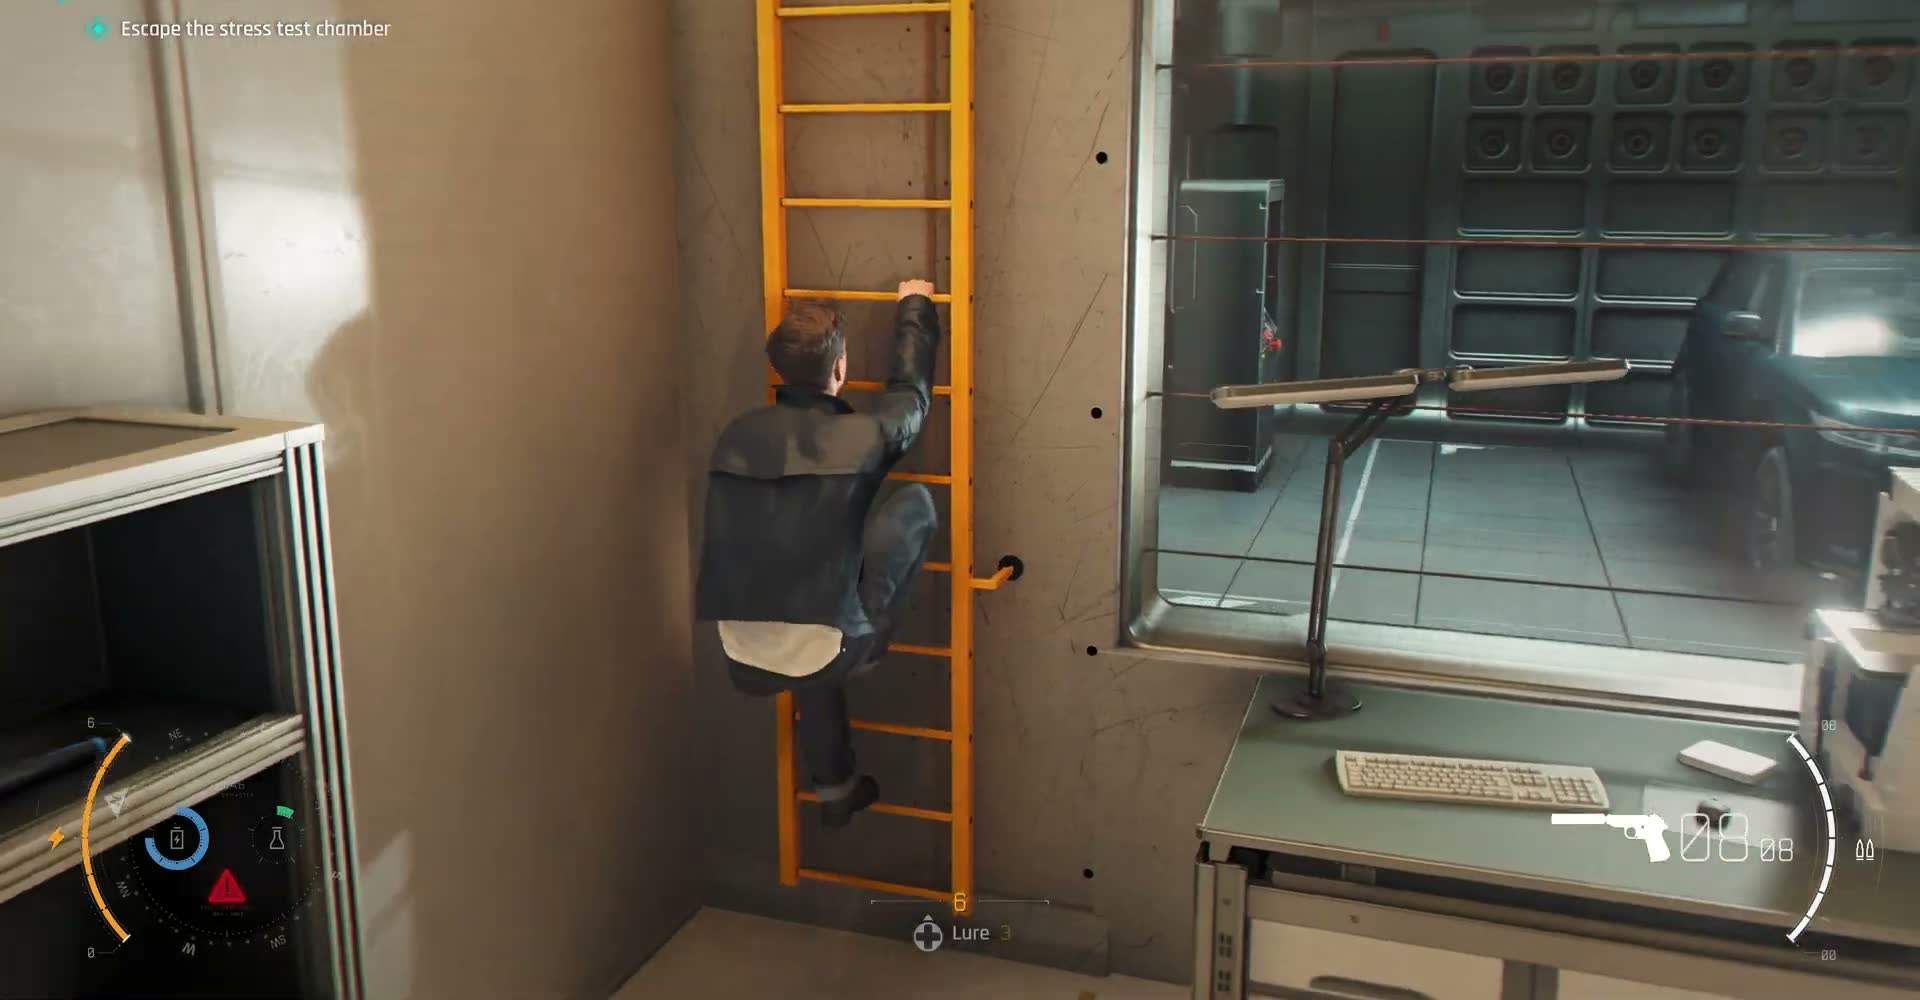
The emergency lighting floods the area in red. A fire has broken out in one of the test chambers or lab sections — you can see flames and smoke through doorways as you move. The red alarm lights paint everything in an urgent crimson glow, and the familiar blue-lit workshop is transformed into something far more dangerous.
Bond needs to get out, but the direct path is blocked by the fire. You'll need to navigate through emergency exits and alternate routes. This isn't a combat sequence — it's a tense escape through a facility that's suddenly become hazardous.
Fire Escape
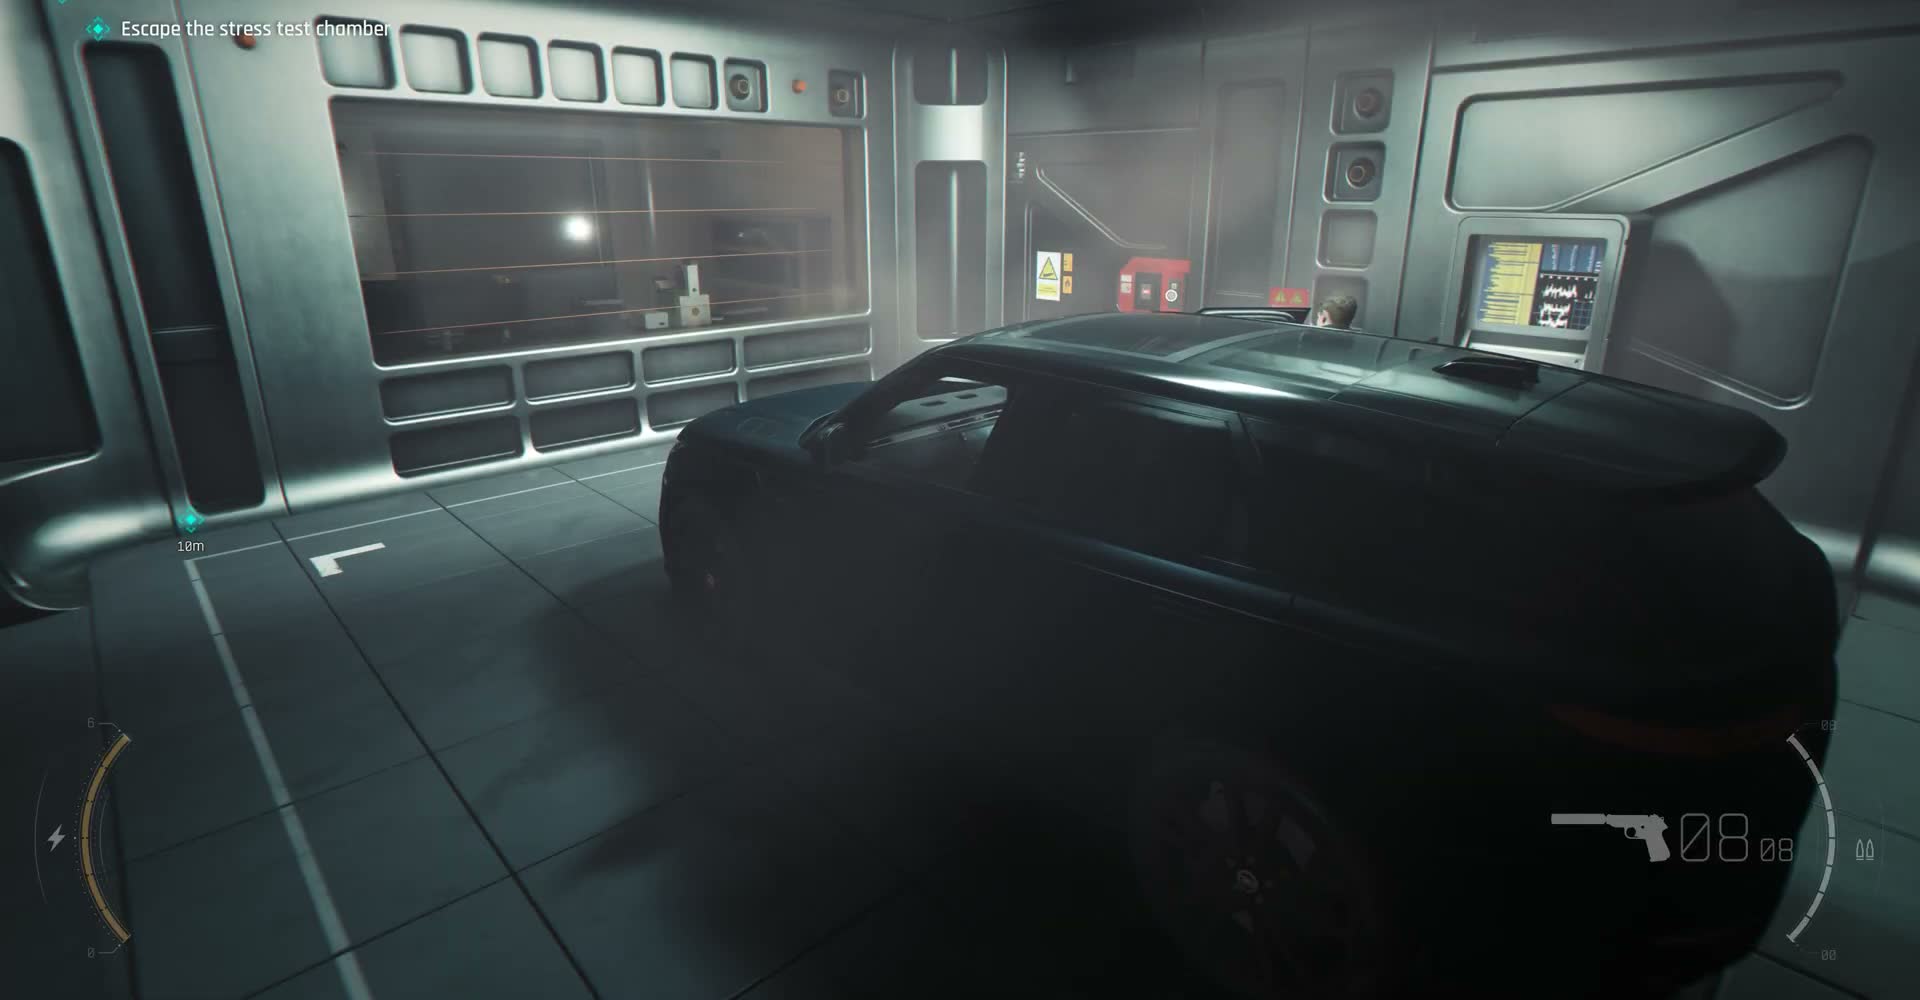
The fire escape sequence takes you through service corridors and emergency exits that weren't accessible during normal operations. You'll pass through industrial-looking areas of Q Branch that contrast sharply with the high-tech workshop spaces you were exploring just minutes earlier. Exposed pipes, concrete walls, and metal stairways replace the clean workbenches and display cases.
There's a sense of urgency but no timer breathing down your neck — the sequence is scripted to build tension rather than punish slow movement. Just follow the path and react to what's around you.
Emergency Exit
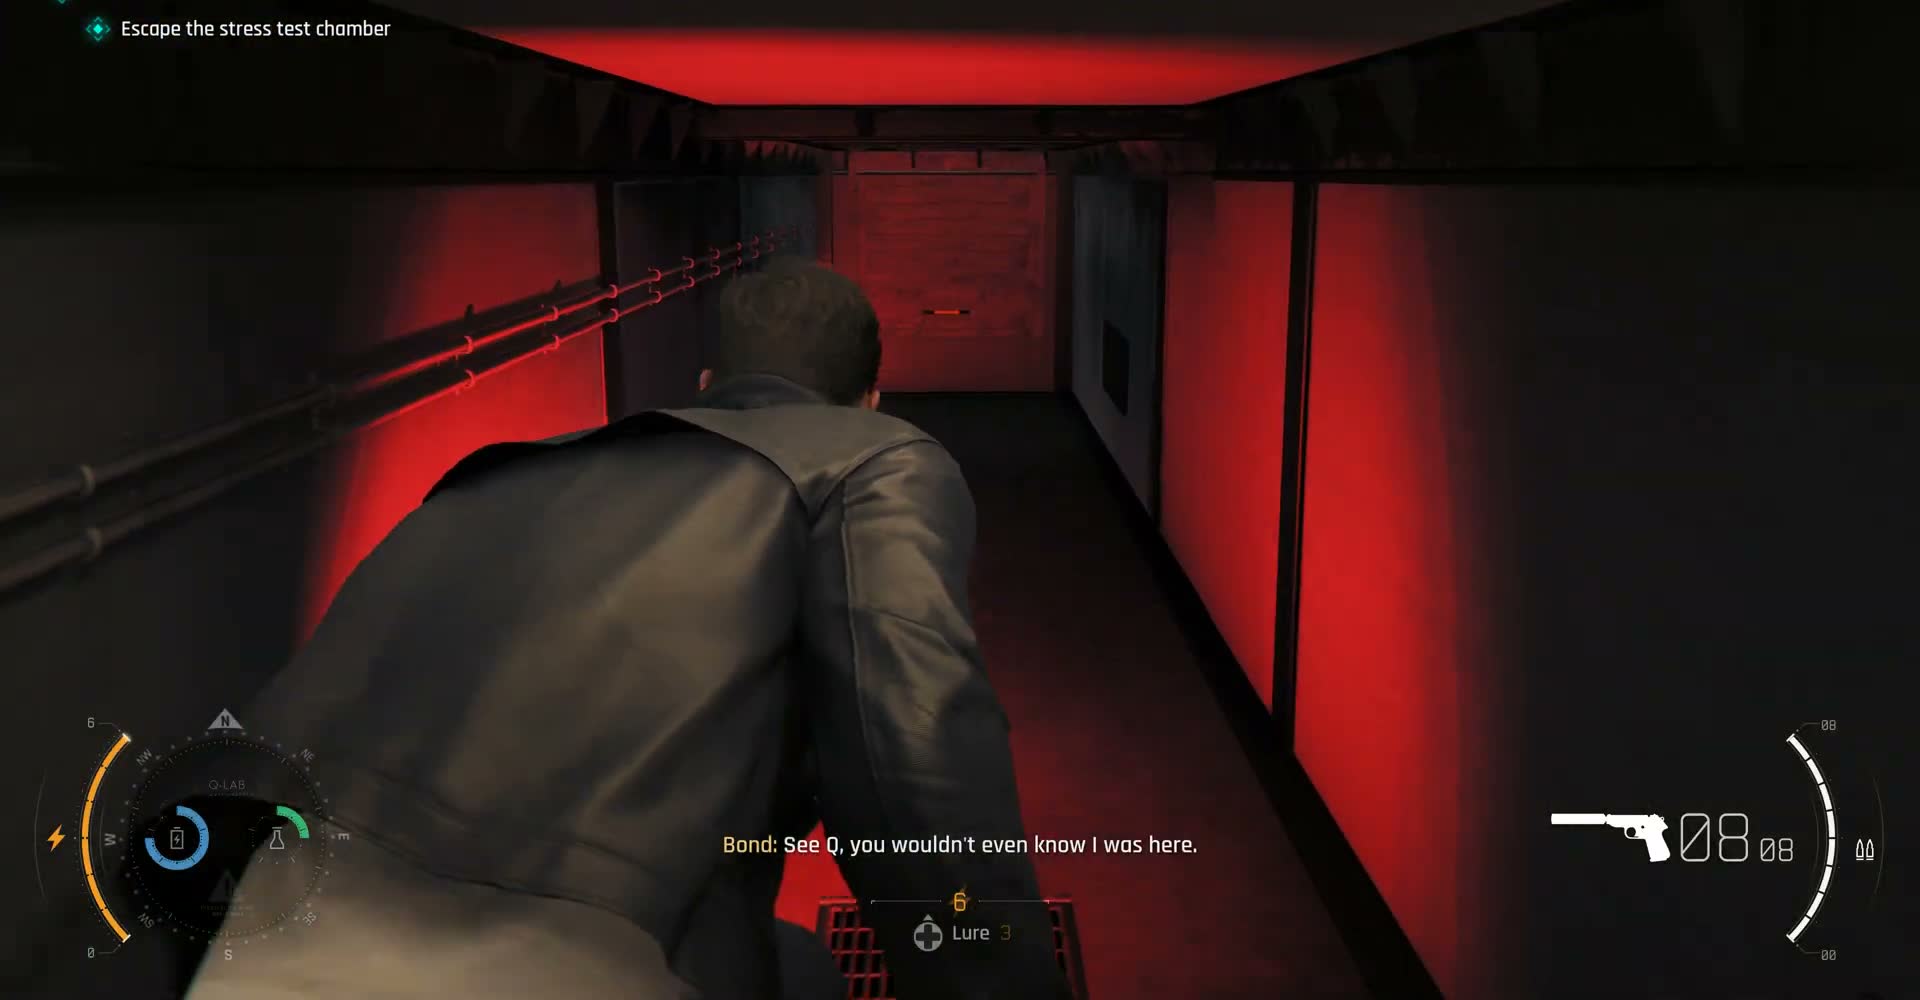
You'll eventually reach a heavy emergency exit door with red and white warning markings — the kind of door you'd expect to find in an industrial facility or laboratory. Pushing through it takes you out of the fire zone and back to safer parts of the facility. The transition from red alarm lighting back to normal is a palpable relief.
On the other side, the alarm is still audible but distant. You've escaped the immediate danger, and Q Branch staff are presumably dealing with the fire behind you.
Q Sees Bond Off
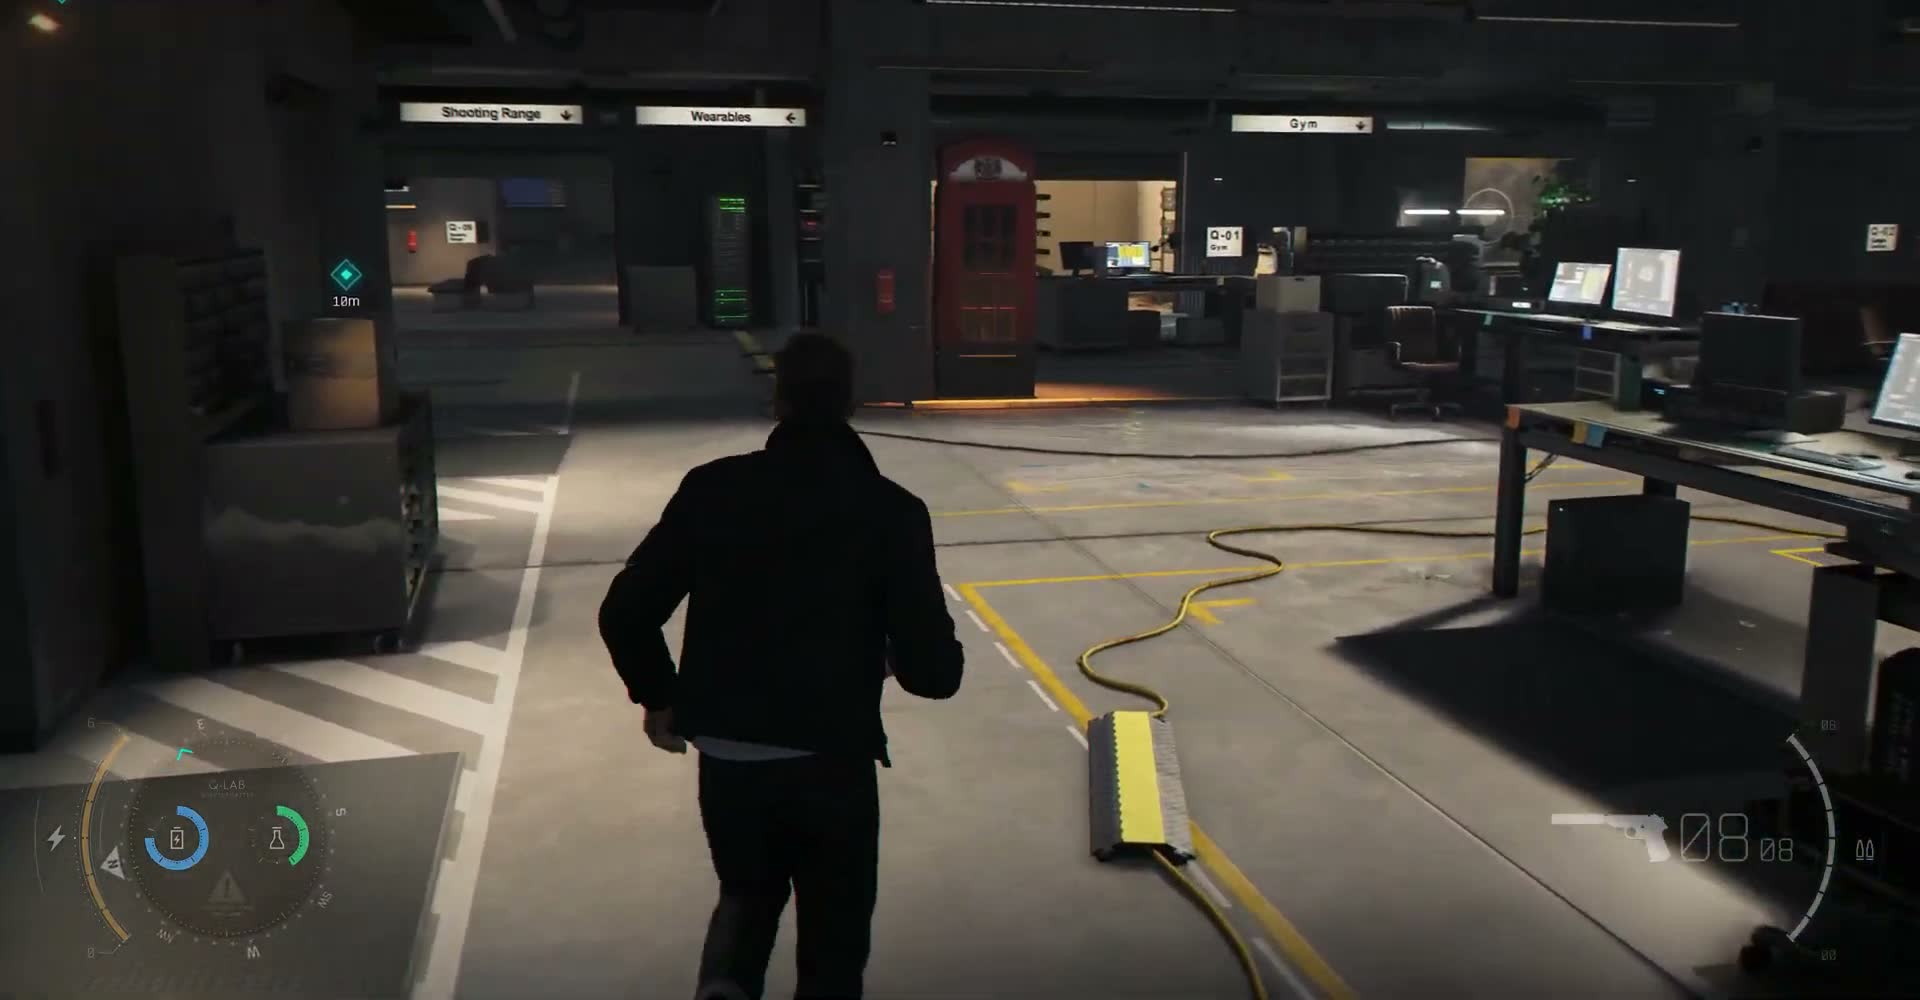
Q is waiting for you near the exit, or you encounter him as you make your way out. He's not pleased about the fire (and may have some sharp words about lab safety), but he's satisfied that Bond has the equipment needed for Antarctica. There's a brief exchange — nothing sentimental, just the dry, efficient send-off you'd expect from Q.
It's a classic Q-Bond moment: Q reminding Bond not to break the equipment, Bond not promising anything.
Leaving Q Branch
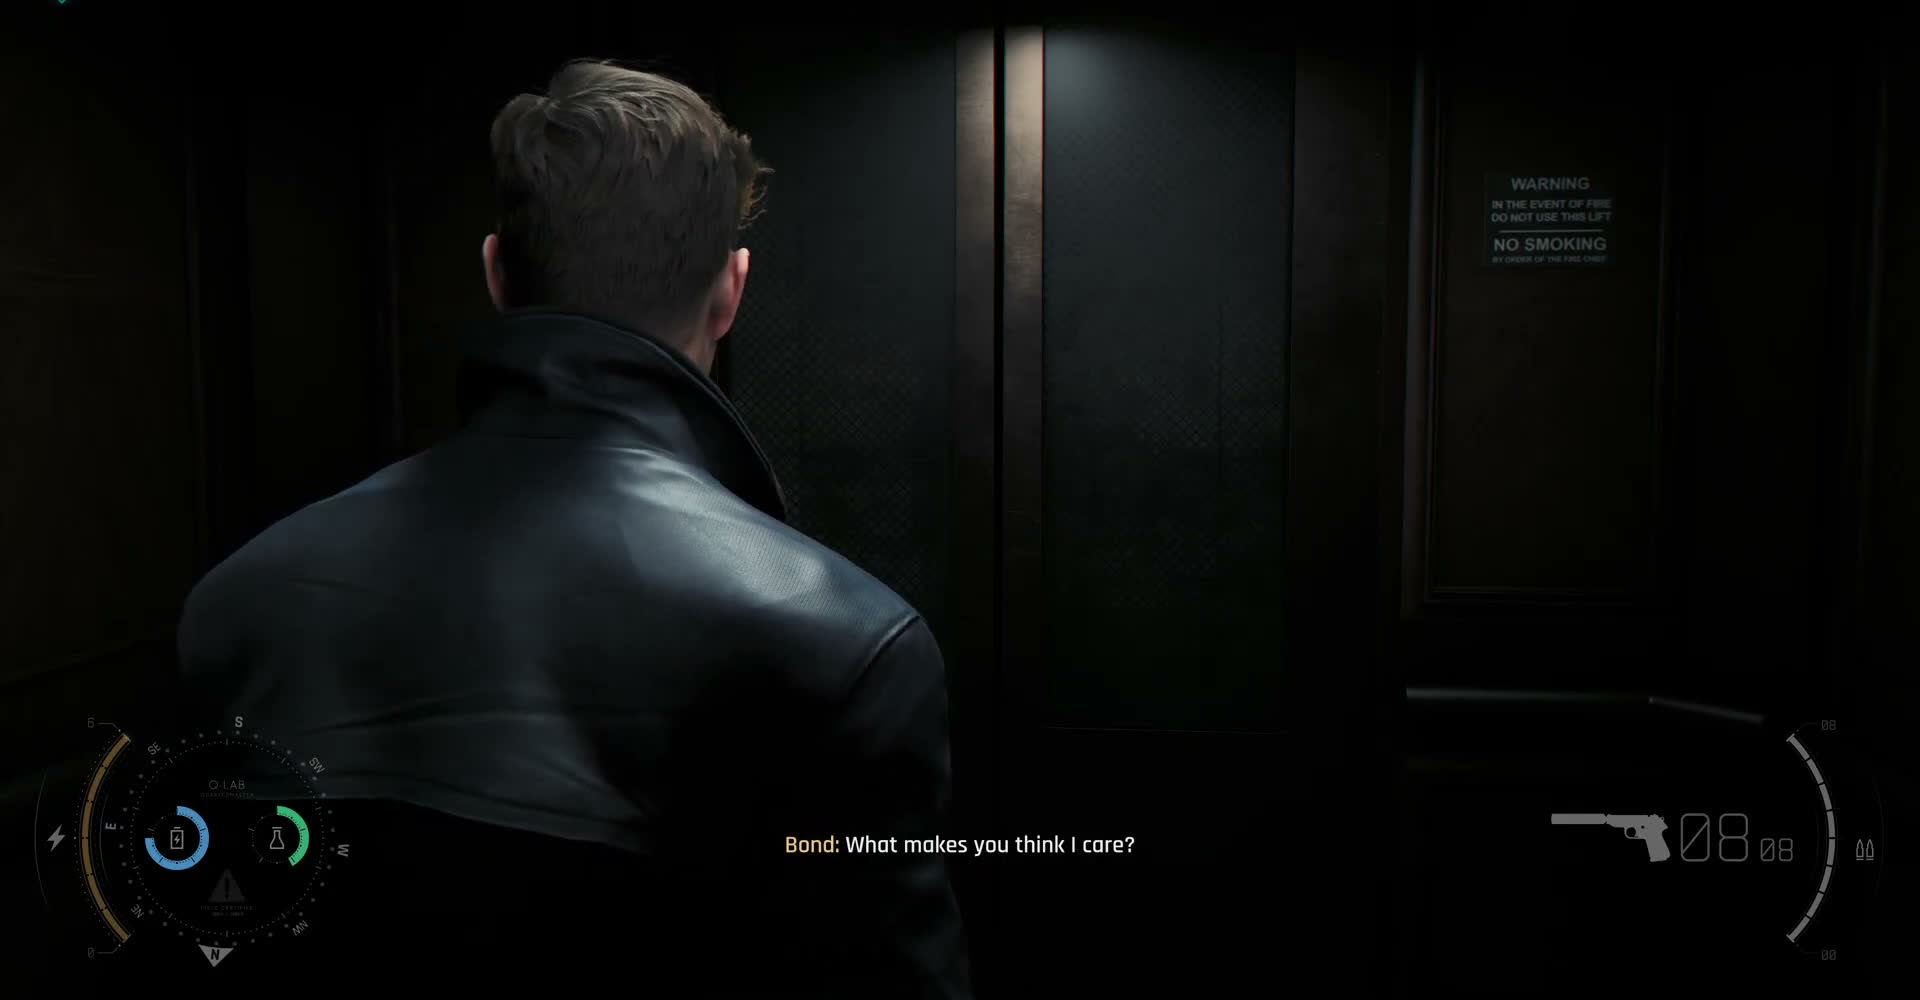
With your gear collected and the fire behind you, Bond walks back through the access corridors of Q Branch toward the elevator. The blue lighting is still there, but the atmosphere has changed — the crisis mood from upstairs has filtered down even here, and the facility feels slightly less welcoming on the way out.
The walk back is a moment of decompression after the fire alarm sequence. No dialogue, no puzzles, just movement through the underground space as you prepare to leave MI6.
MI6 Garage Exit
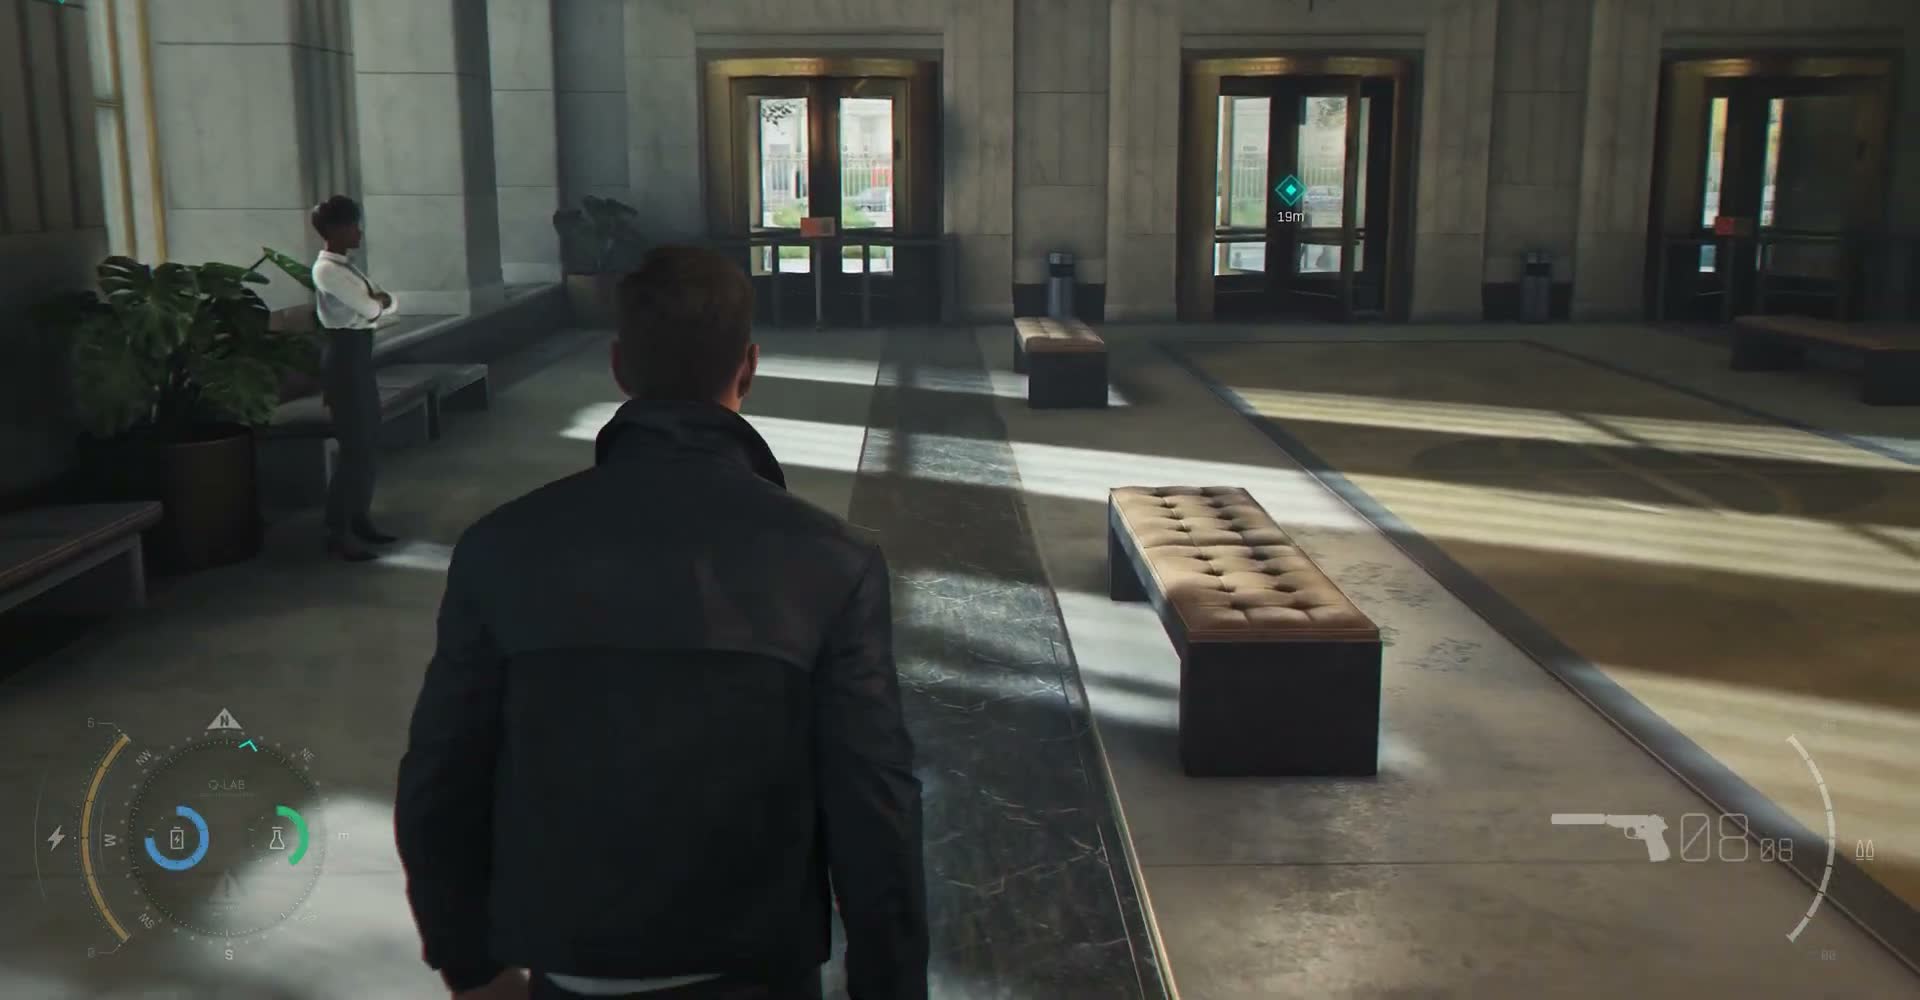
The scene transitions to Bond leaving MI6, likely through the underground garage or vehicle bay. The lighting is dark and industrial — not the bright blue of Q Branch or the warm wood of the ops centre, but shadowy concrete and the silhouettes of vehicles. This is where the operational side of MI6 meets the outside world.
From here, the chapter moves to its final and most visually striking sequence.
Yacht at Sunset
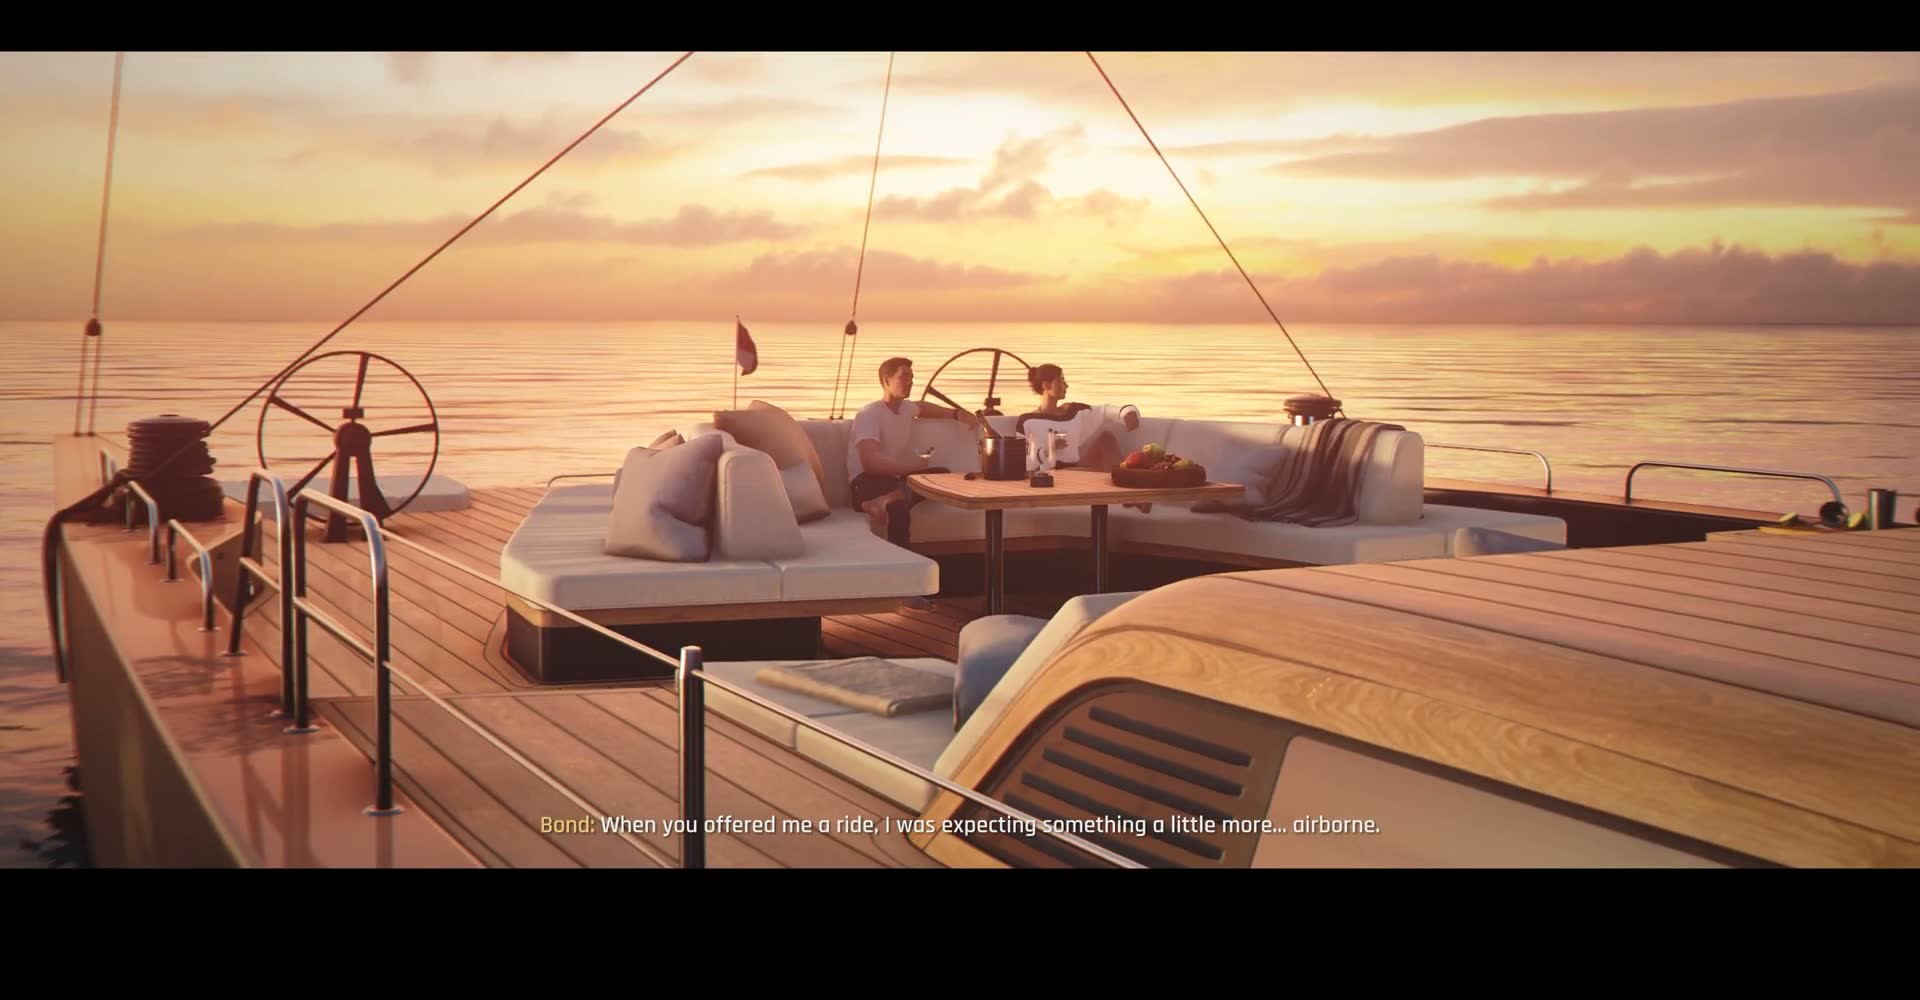
The final act of the chapter takes place on a yacht at sunset. The camera shows the exterior of the vessel — a sleek, modern luxury yacht sitting on calm water as the sun sets behind it. The colour palette shifts dramatically from the blues and greys of MI6 to warm oranges, golds, and deep purples. It's one of the most visually stunning sequences in the game.
Why Bond is on a yacht and how he got from the MI6 garage to here is handled with cinematic economy — you don't need a loading screen or a long travel montage. The sunset and the water tell you everything you need to know about the mood shift.
On Deck
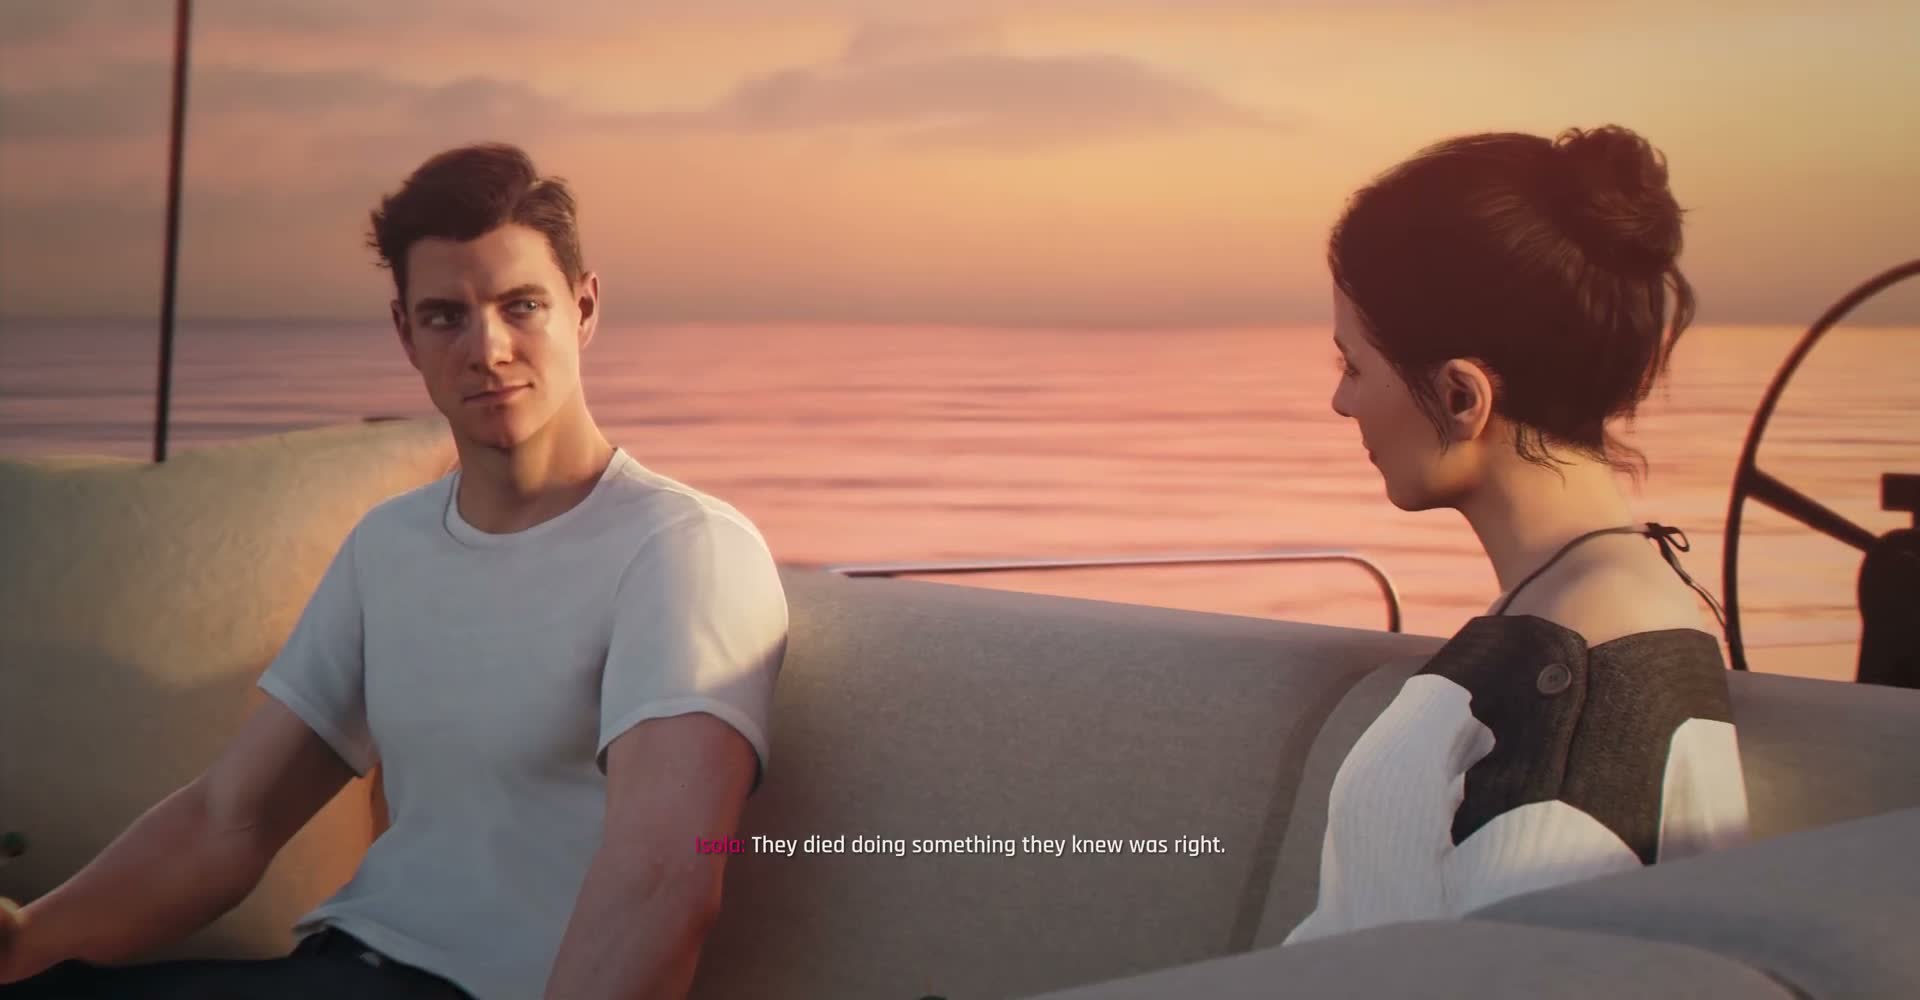
Bond steps out onto the deck of the yacht. The wood planks underfoot, the railings, the calm water stretching out to the horizon bathed in orange-gold light — it's a world away from the concrete corridors and alarm bells of MI6. The sunset is at its peak, painting everything in warm, cinematic light.
There are no objectives here, no waypoints, no alarms. Just the sound of water and the visual warmth of the fading sun.
Bond Alone
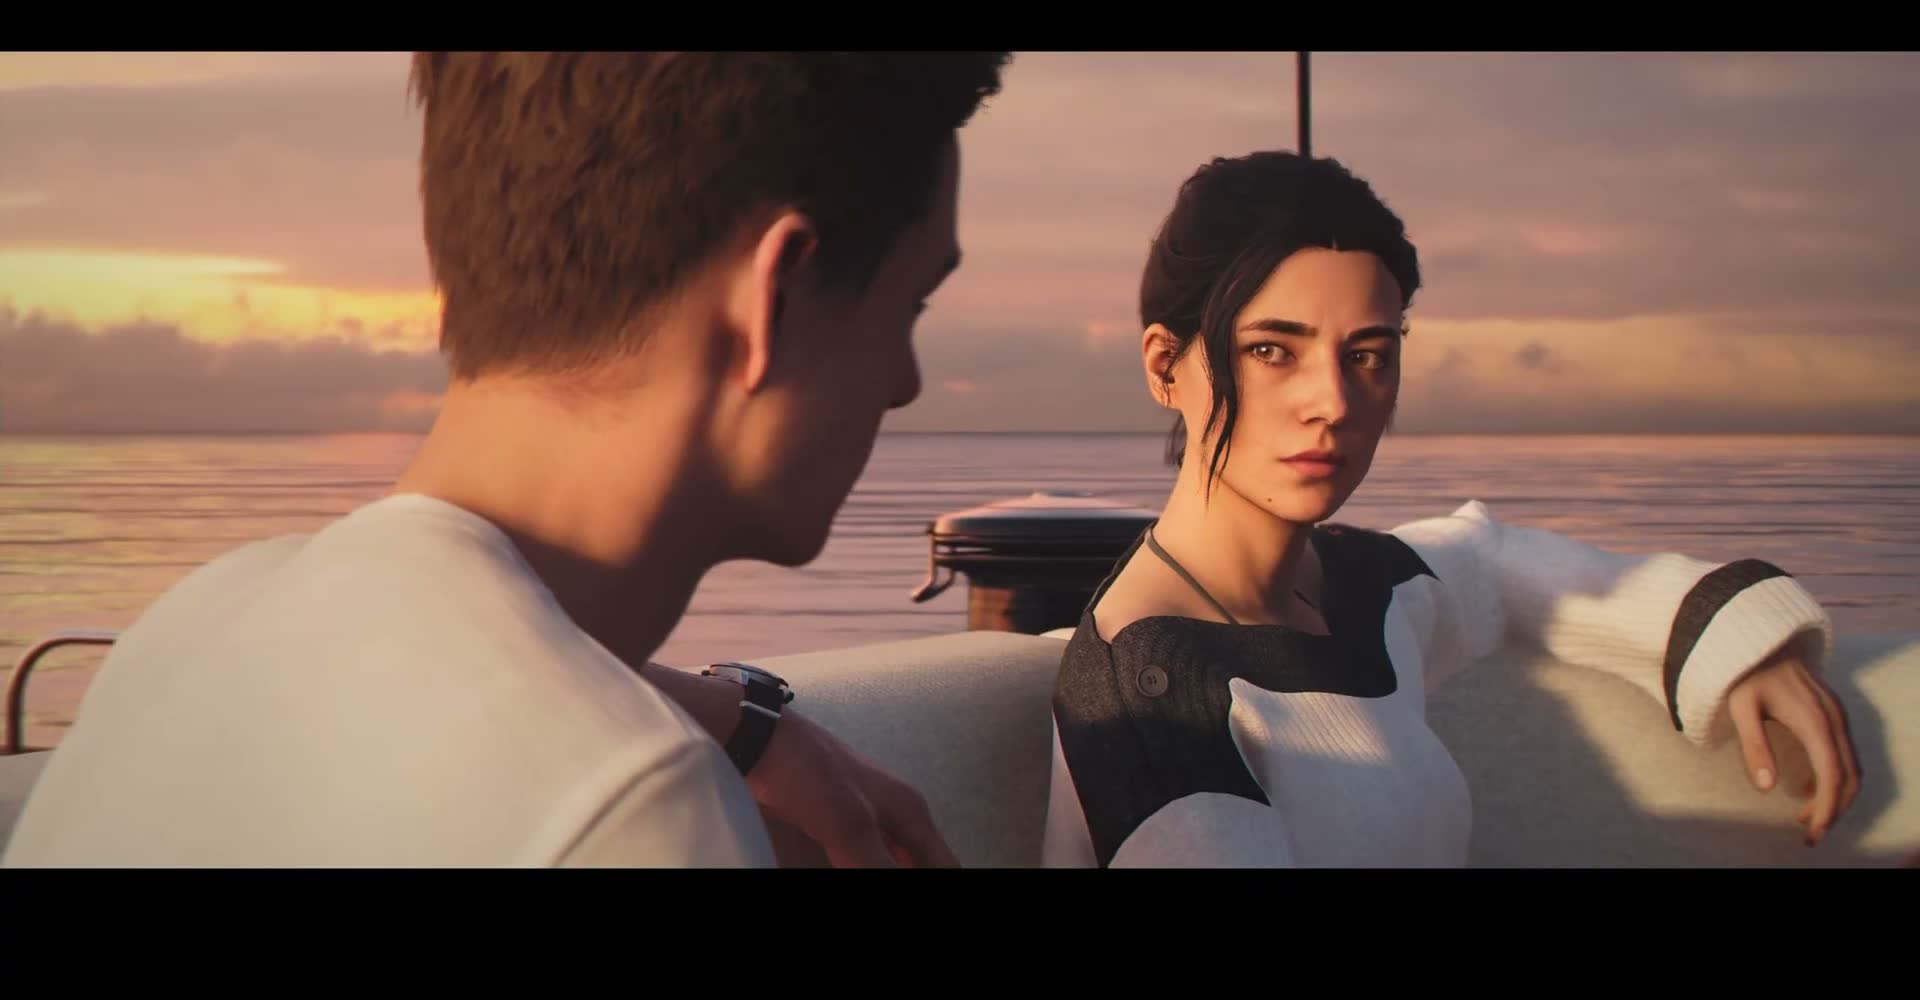
For a moment, Bond stands alone on the deck. The warm sunset light hits him from behind, creating a silhouette effect in some shots and catching the side of his face in others. He's wearing the same dark jacket he wore in MI6 — he hasn't changed, but the world around him is completely different.
It's a quiet, reflective moment. After the chaos of the ops floor speech, the tension with Bright, the exploration of Q Branch, and the fire alarm, this is the first time Bond has had to breathe since the chapter began.
The Mysterious Woman
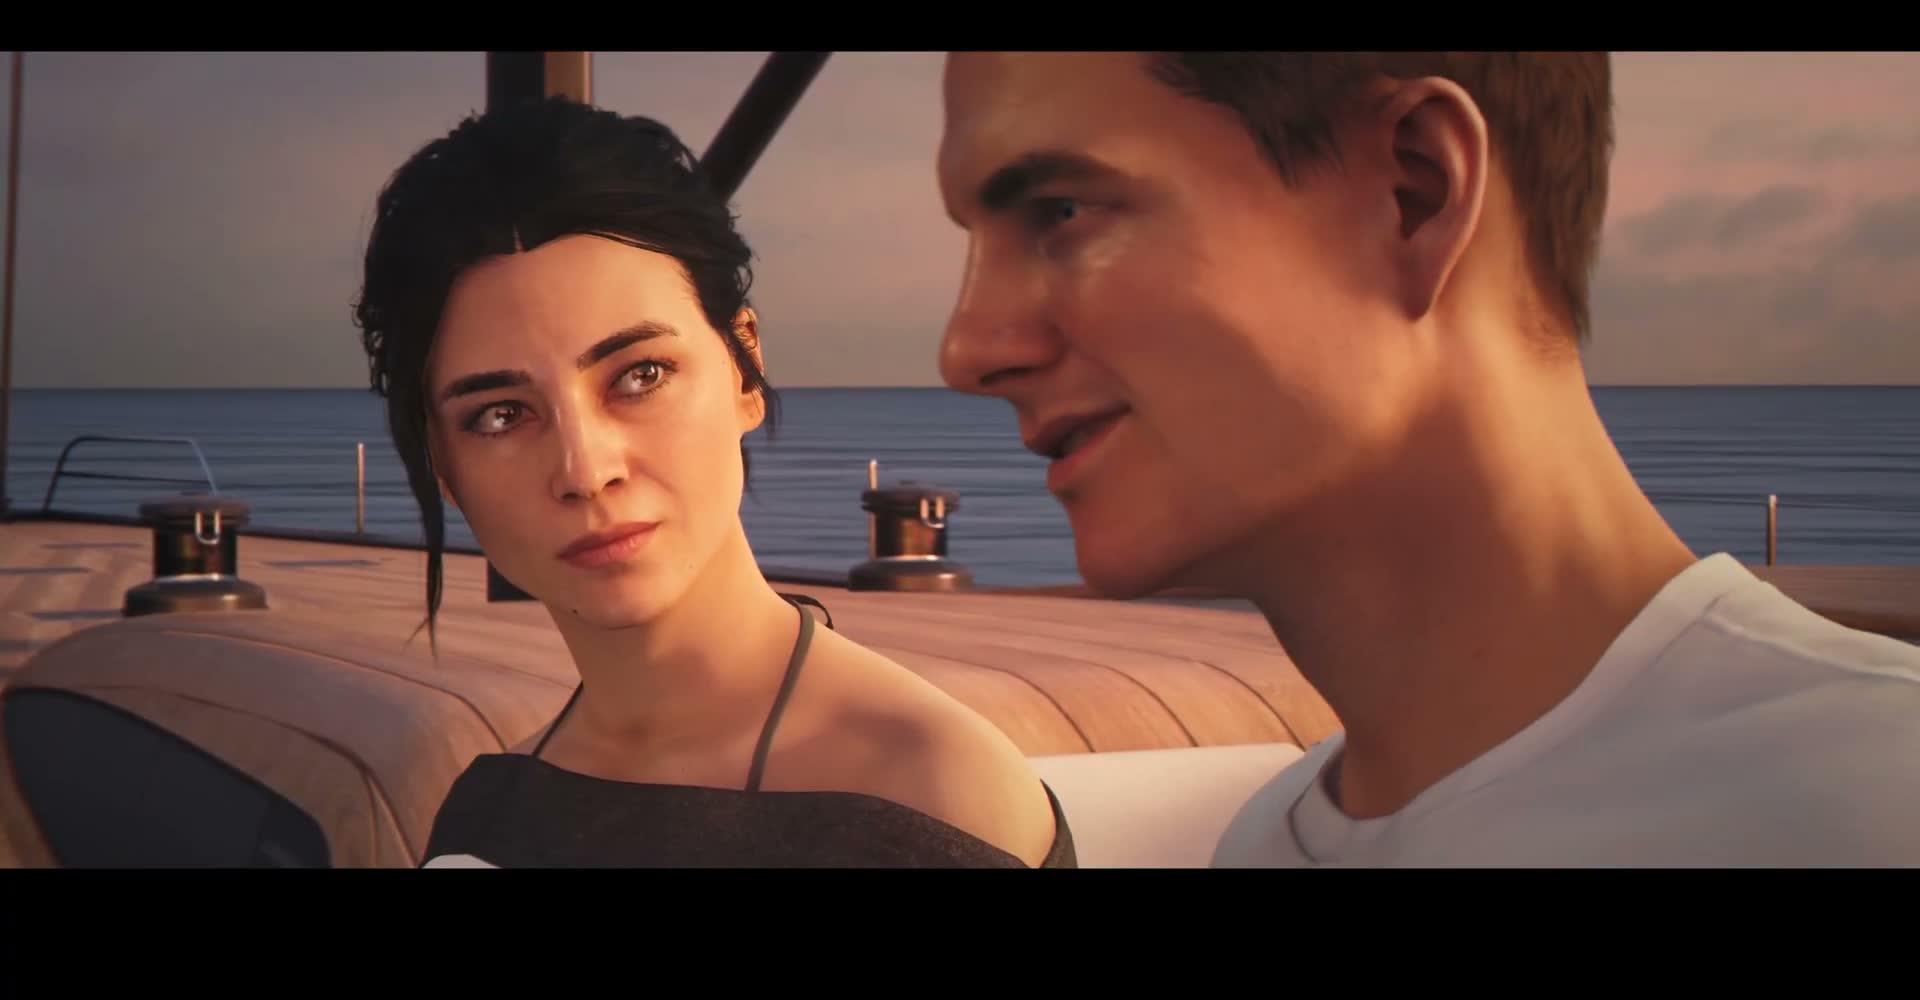
Bond is not alone on the yacht for long. A woman appears — dressed elegantly, silhouetted against the sunset initially before coming into clearer view. She's not Moneypenny. She's not a Q Branch technician. She's someone new, and her presence on the yacht at sunset is the kind of classic Bond scene that the series does so well.
Their conversation is understated, loaded with subtext. Whoever she is, she's connected to the world Bond is about to enter in Antarctica, or to the larger Webb/HYPERION plot. The scene doesn't resolve with exposition dumps — it teases, suggests, and leaves you wanting more.
Sunset Conversation
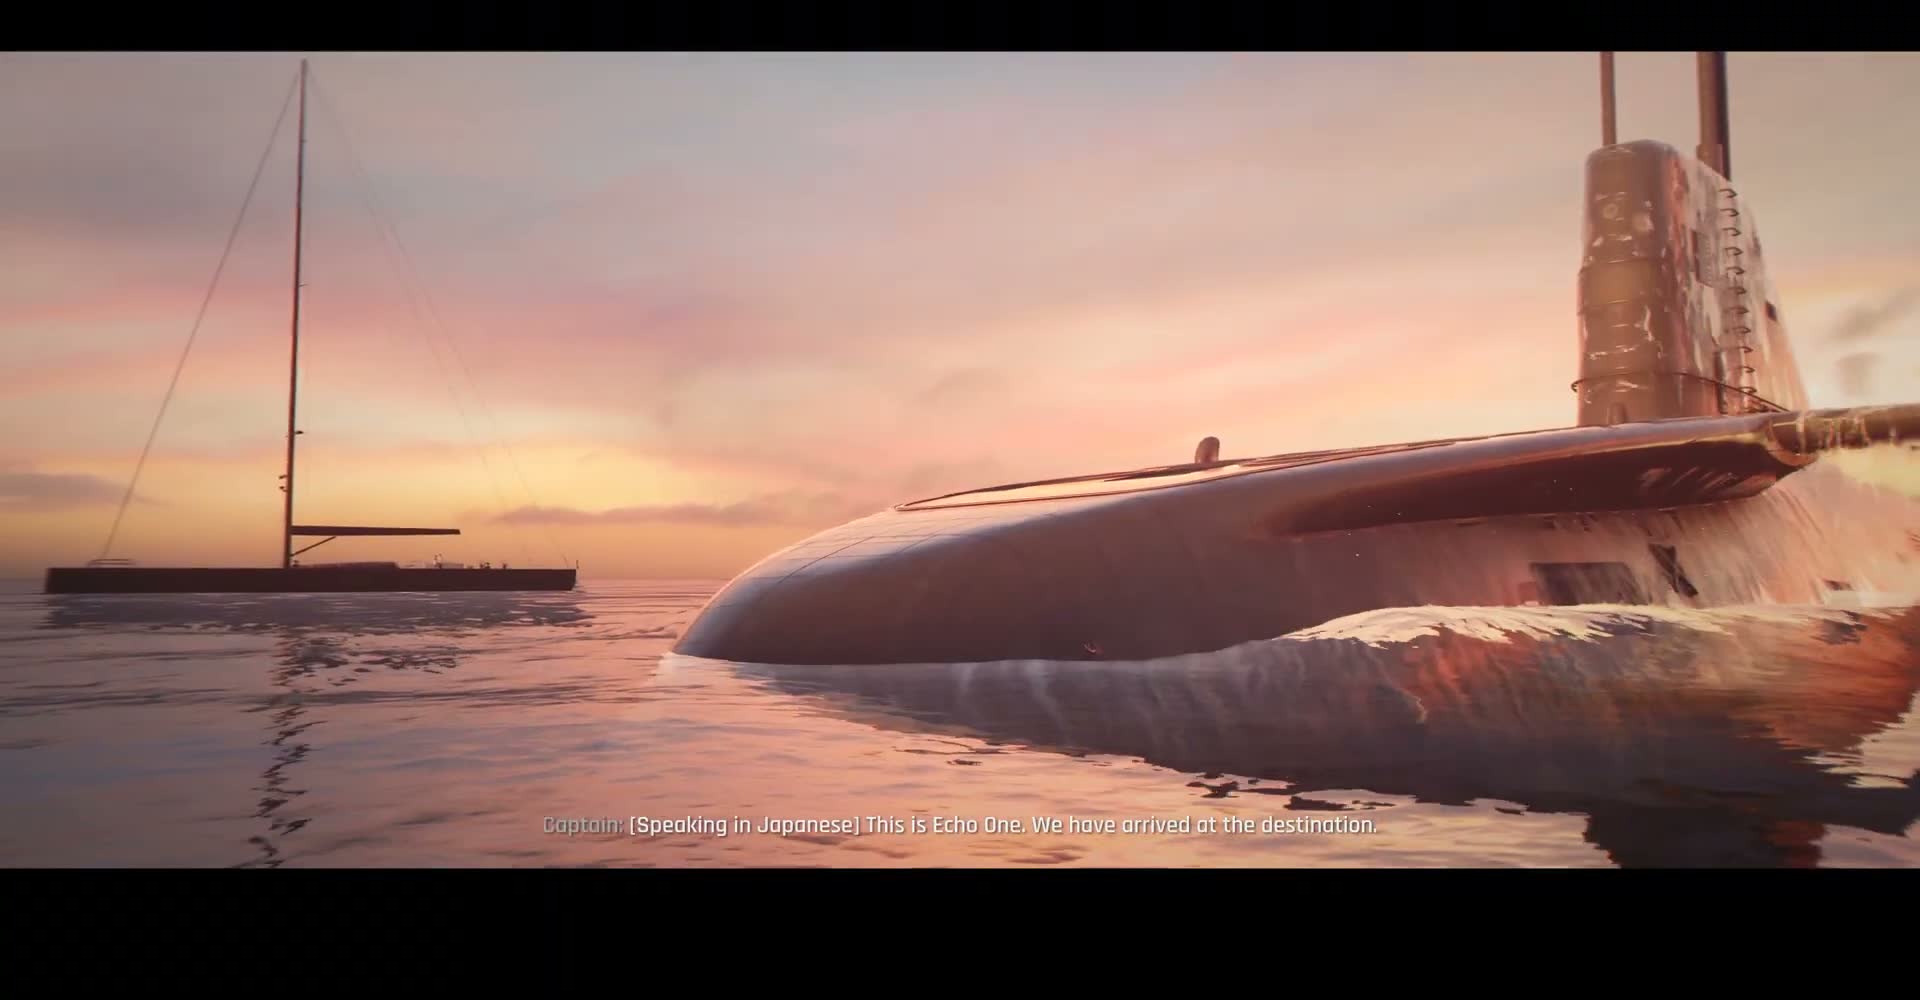
The conversation between Bond and the woman continues as the sun drops lower, the light turning from gold to deep orange and then purple. The two of them framed against the darkening sky is one of the most memorable images in the game. It's a scene that wouldn't be out of place in a classic Bond film — quiet, glamorous, and slightly dangerous.
There's a sense that information is being exchanged, alliances are being formed (or tested), and Bond is being positioned for what comes next. But the scene doesn't over-explain. It trusts the player to read between the lines.
End of Chapter

The chapter closes as the sun finally dips below the horizon, the warm orange light fading to deep blue and purple. The camera holds on the yacht, the water, and the last of the twilight before cutting to black.
Man of the Hour has done exactly what an interlude chapter should do: it dealt with the consequences of the previous mission, re-established the state of the world (MI6 in crisis, THEIA offline, Webb still at large), gave you time with key characters in a quieter context, set up the next mission (Antarctica), and ended on a note of mystery that makes you want to keep playing. When Chapter 16 begins, you'll be going into a frozen research facility with the gear you collected from Q Branch, THEIA still dark, and Webb's endgame waiting to be uncovered.
Chapter Tips
Collectibles in This Chapter
Explore each section thoroughly to find all hidden items. Check the tips above for specific collectible locations.