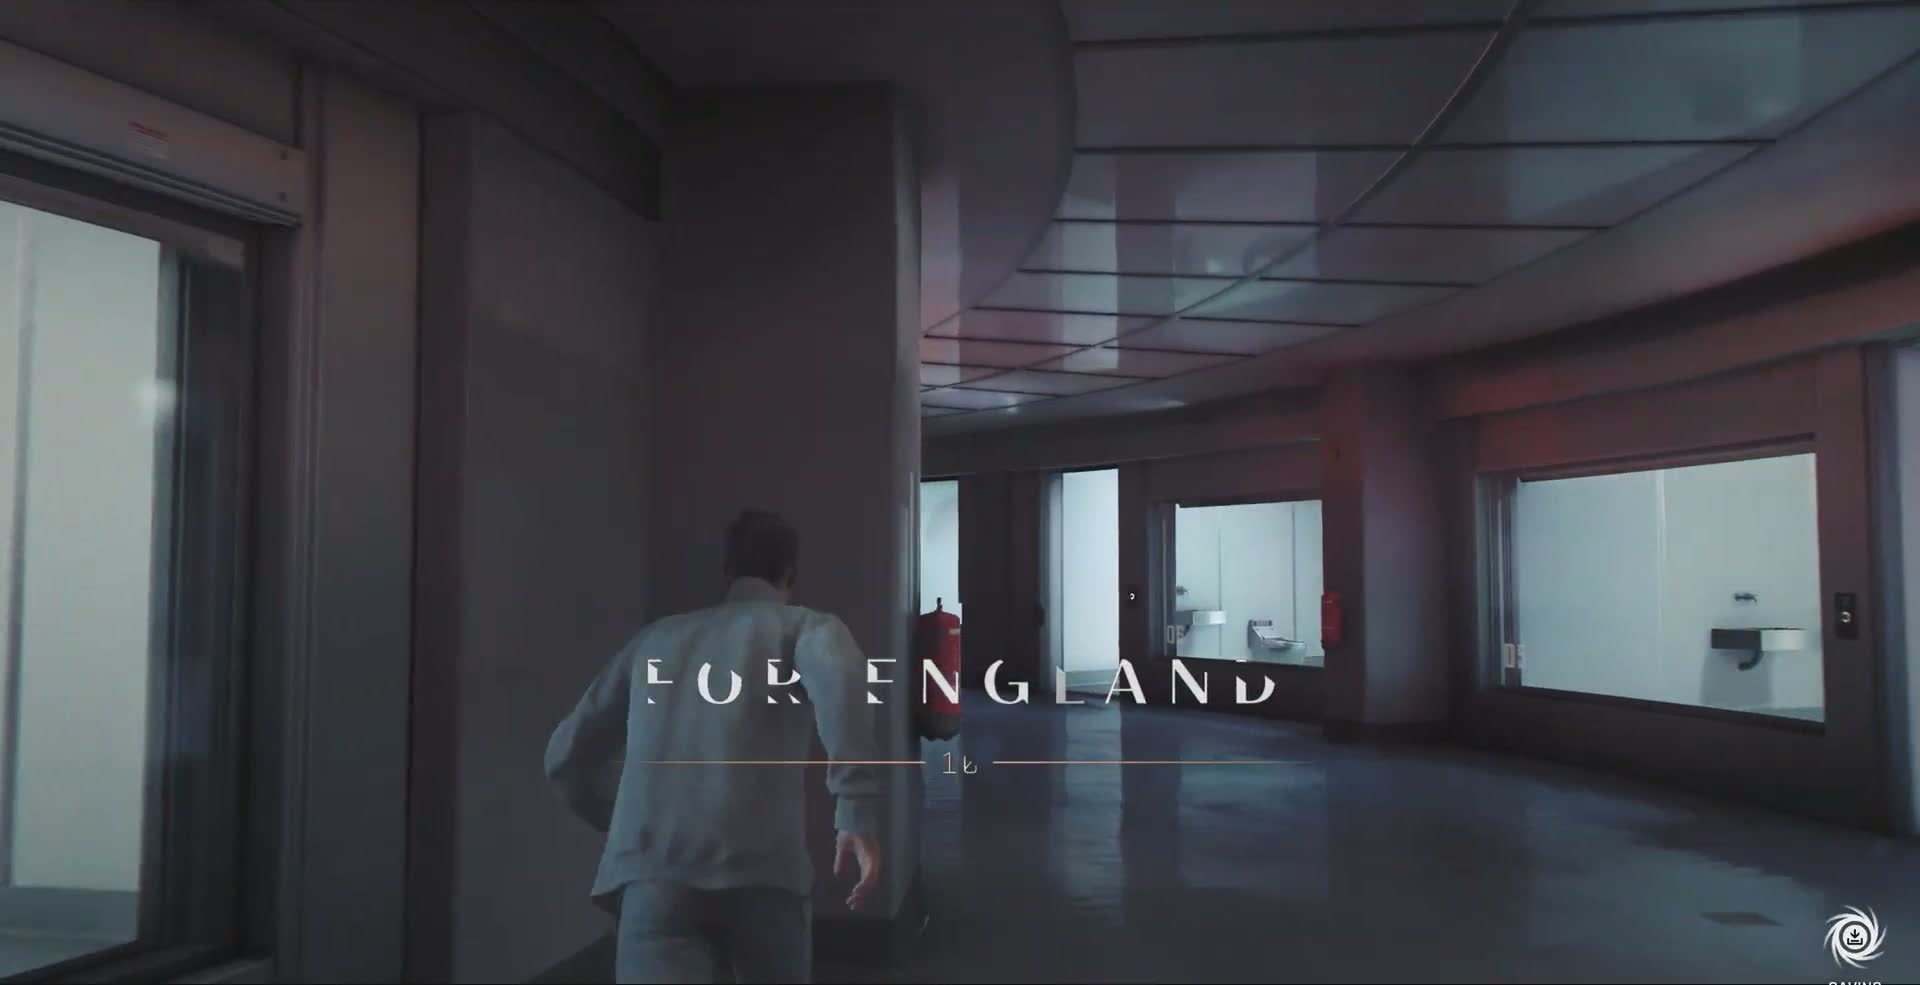
For England
For England opens not with gunfire but with silence — an interrogation cell, a one-way mirror, and Bond in a grey tracksuit answering uncomfortable questions. What follows is the most ambitious mission in 007 First Light: a breakneck rescue operation through a hostile facility, a meeting with a villain in a gold mask, a desperate sprint through corridors bathed in red alarm light, a car chase through city streets in an Aston Martin Valhalla, a brutal fist-fight with a heavily armoured opponent in industrial tunnels, and a quiet, devastating coda among gravestones.
The Cell
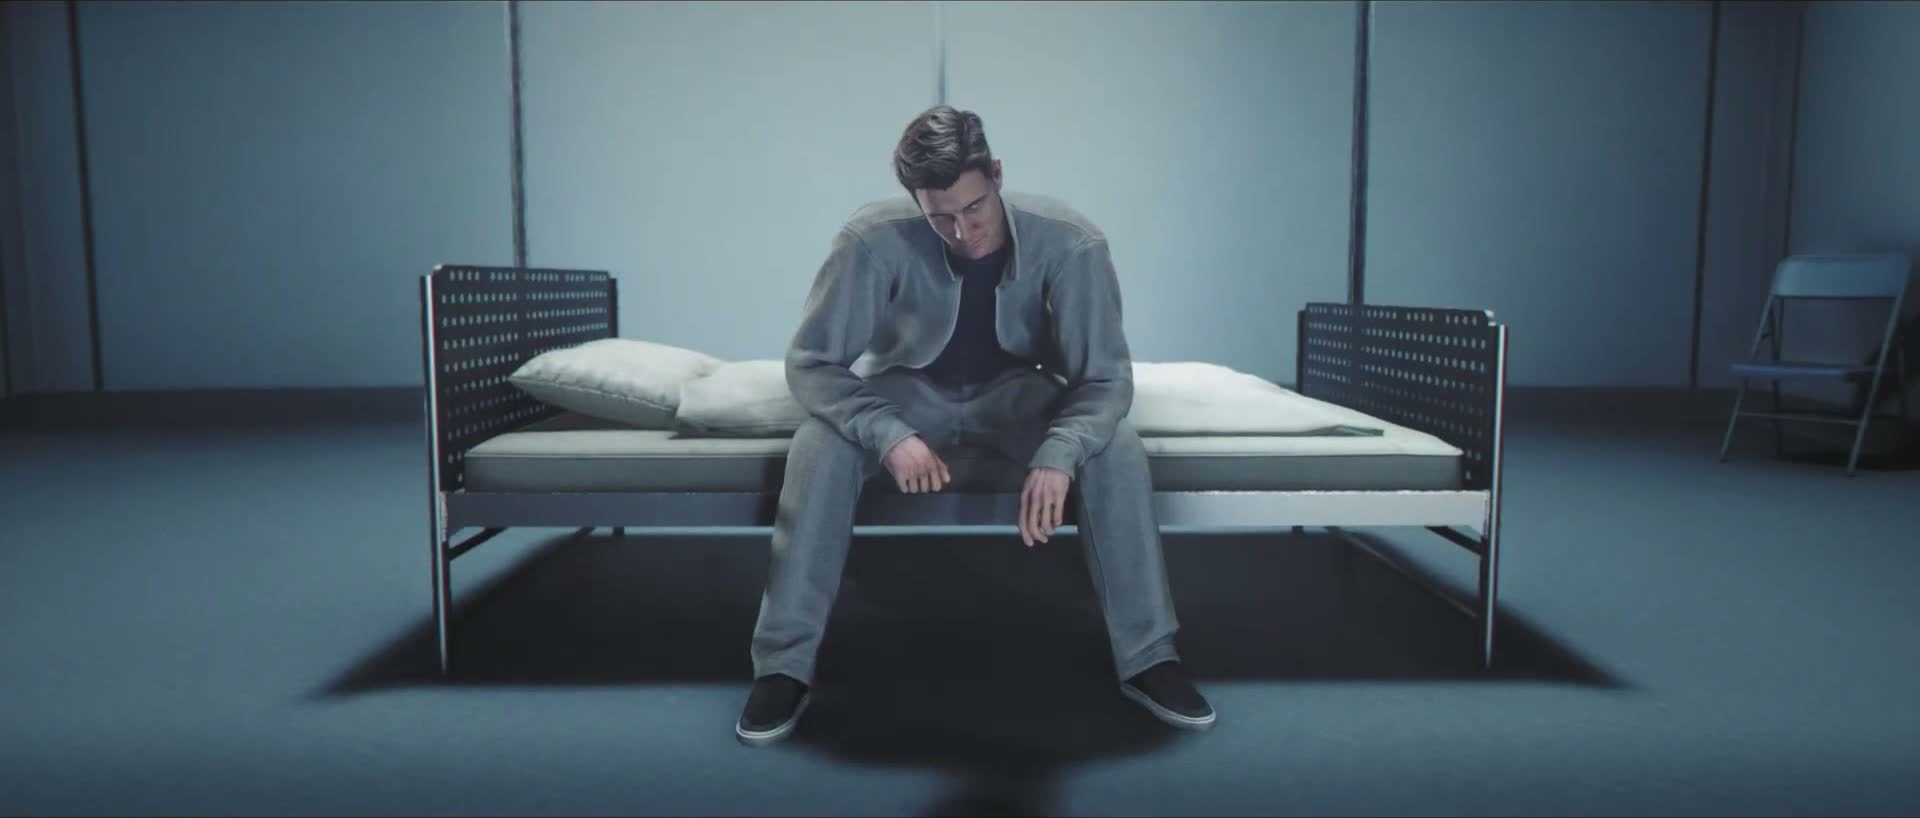
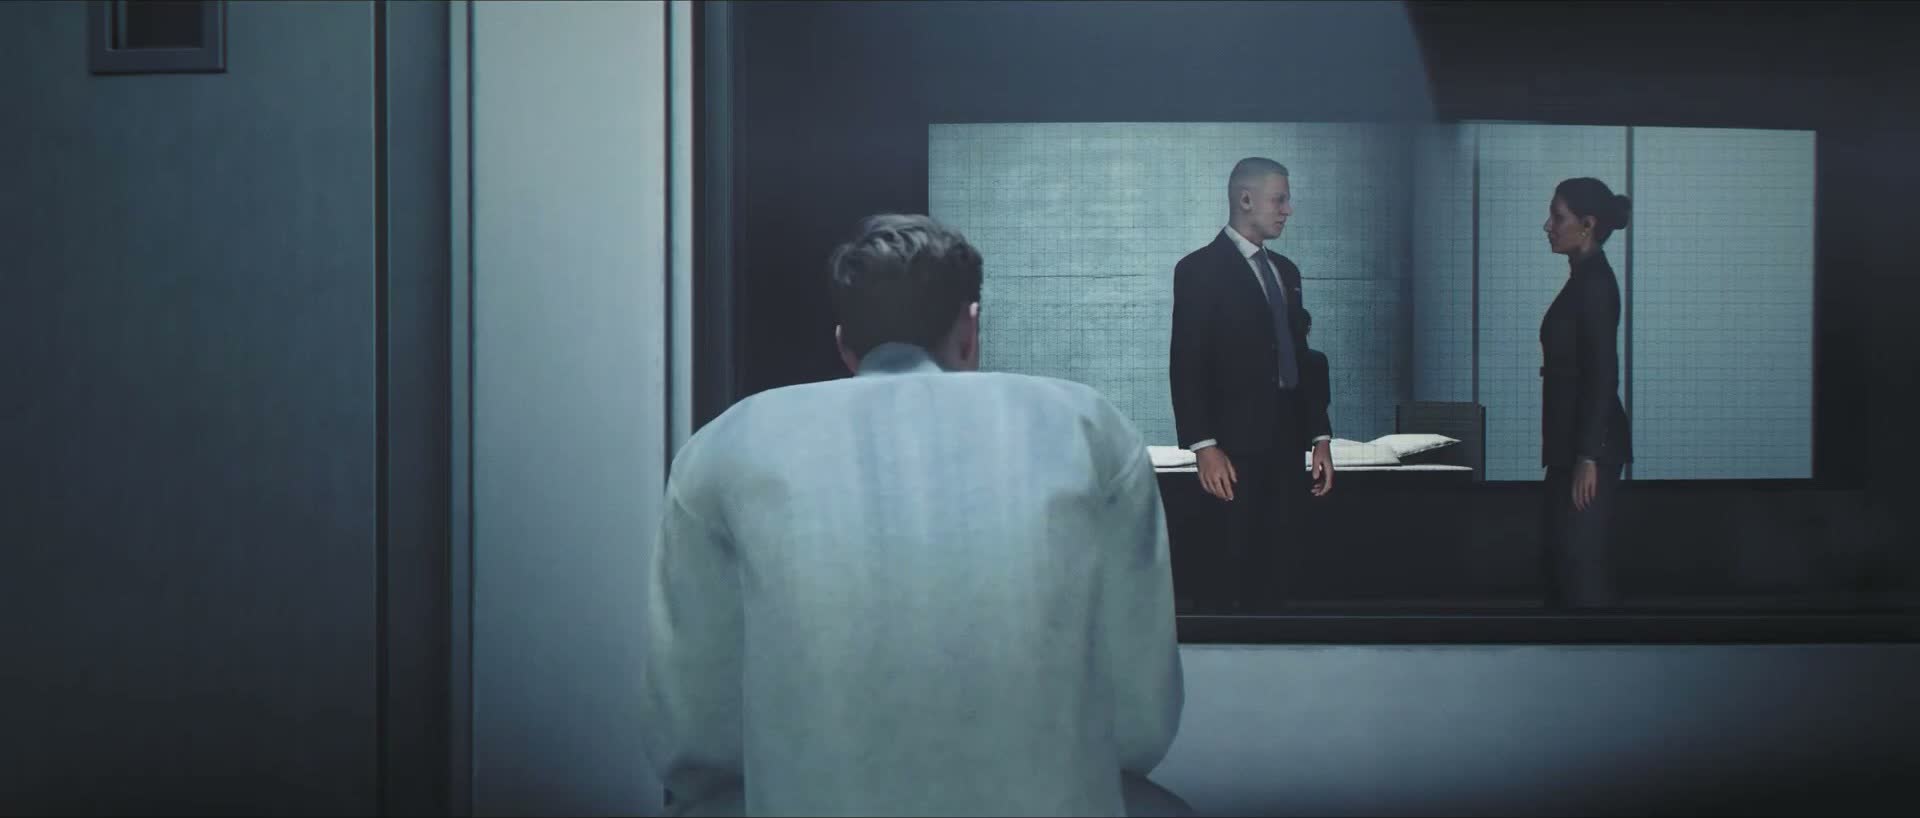
The chapter opens cold. No music, no establishing shot. You are looking at a man in a grey tracksuit sitting on the edge of a plain bed in a featureless room, head bowed, hands clasped between his knees. The room has padded walls and a small shelf. It is an interrogation cell.
Through a one-way mirror that dominates one wall, two people watch in silence. One is a woman with dark hair pulled back in a tight bun, wearing a black blazer — this is M, or the woman who will become M. The other is an older, grey-haired man in a dark suit and tie. They stand side by side, studying the man in the cell.
The prisoner does not move.
Through the Glass
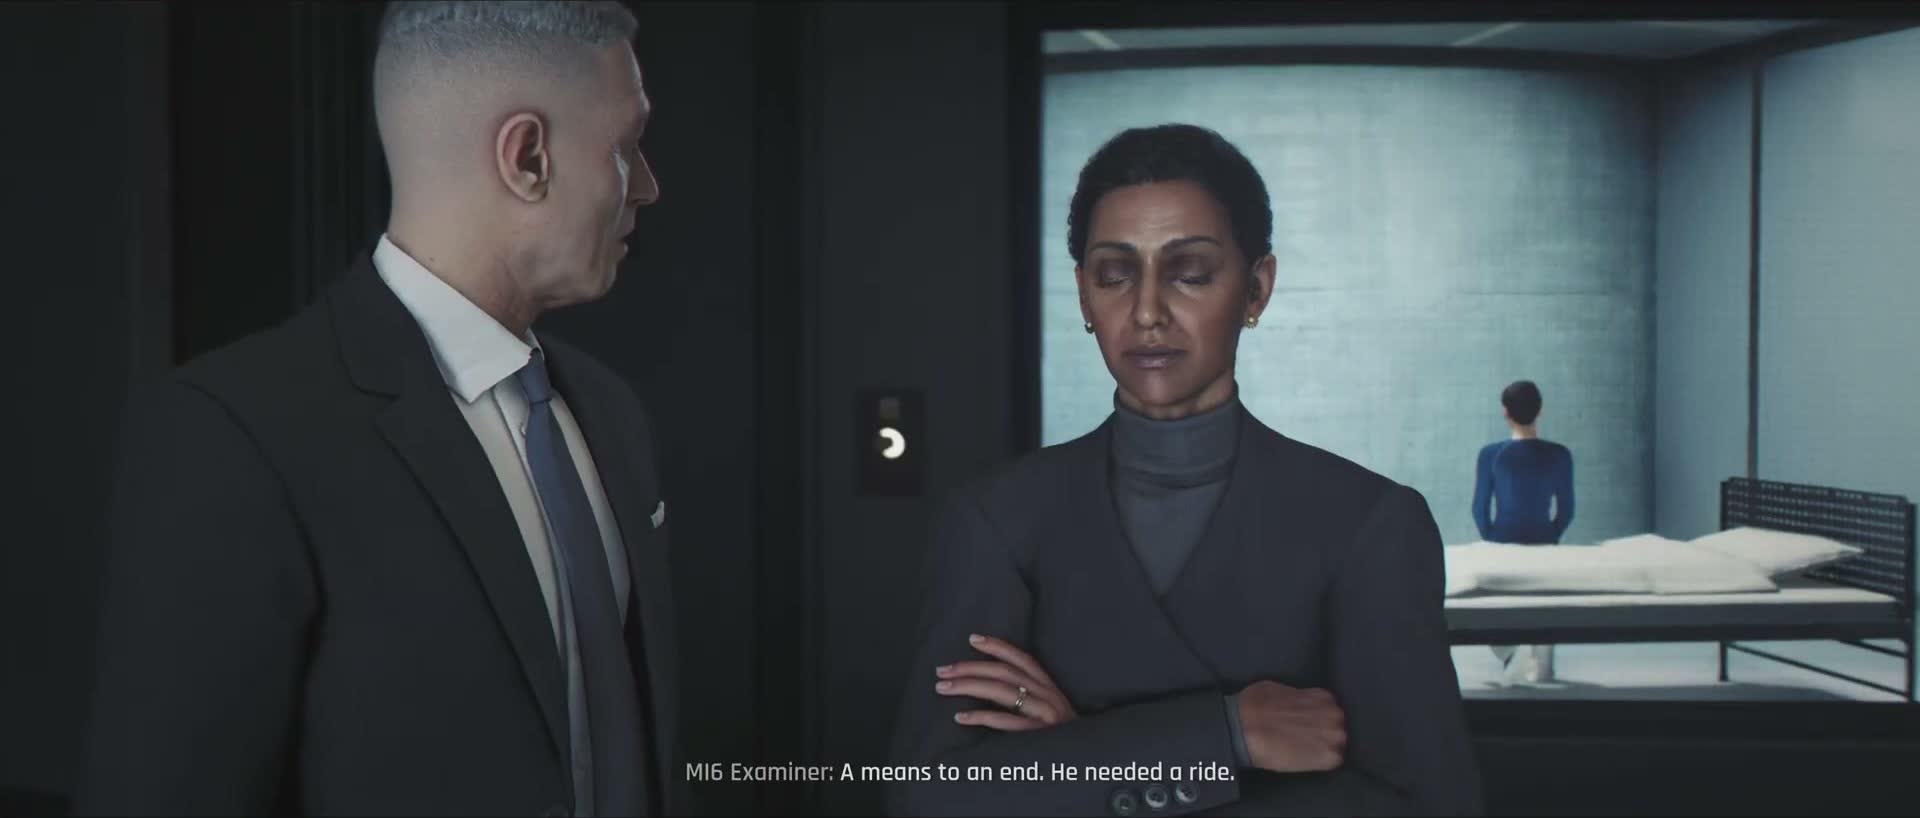
The camera cuts to the other side of the mirror. The grey-haired man speaks quietly to the woman. The observation room is clinical and cold — grey walls, a small desk, subdued lighting. Through the glass, the figure on the bed remains motionless.
The prisoner is Bond. Not the Bond you know from the films — not yet. This is a younger Bond, at the start of his career, in the moments before he earns his 00 designation. He has been through something, and he is being made to account for it.
M's Office
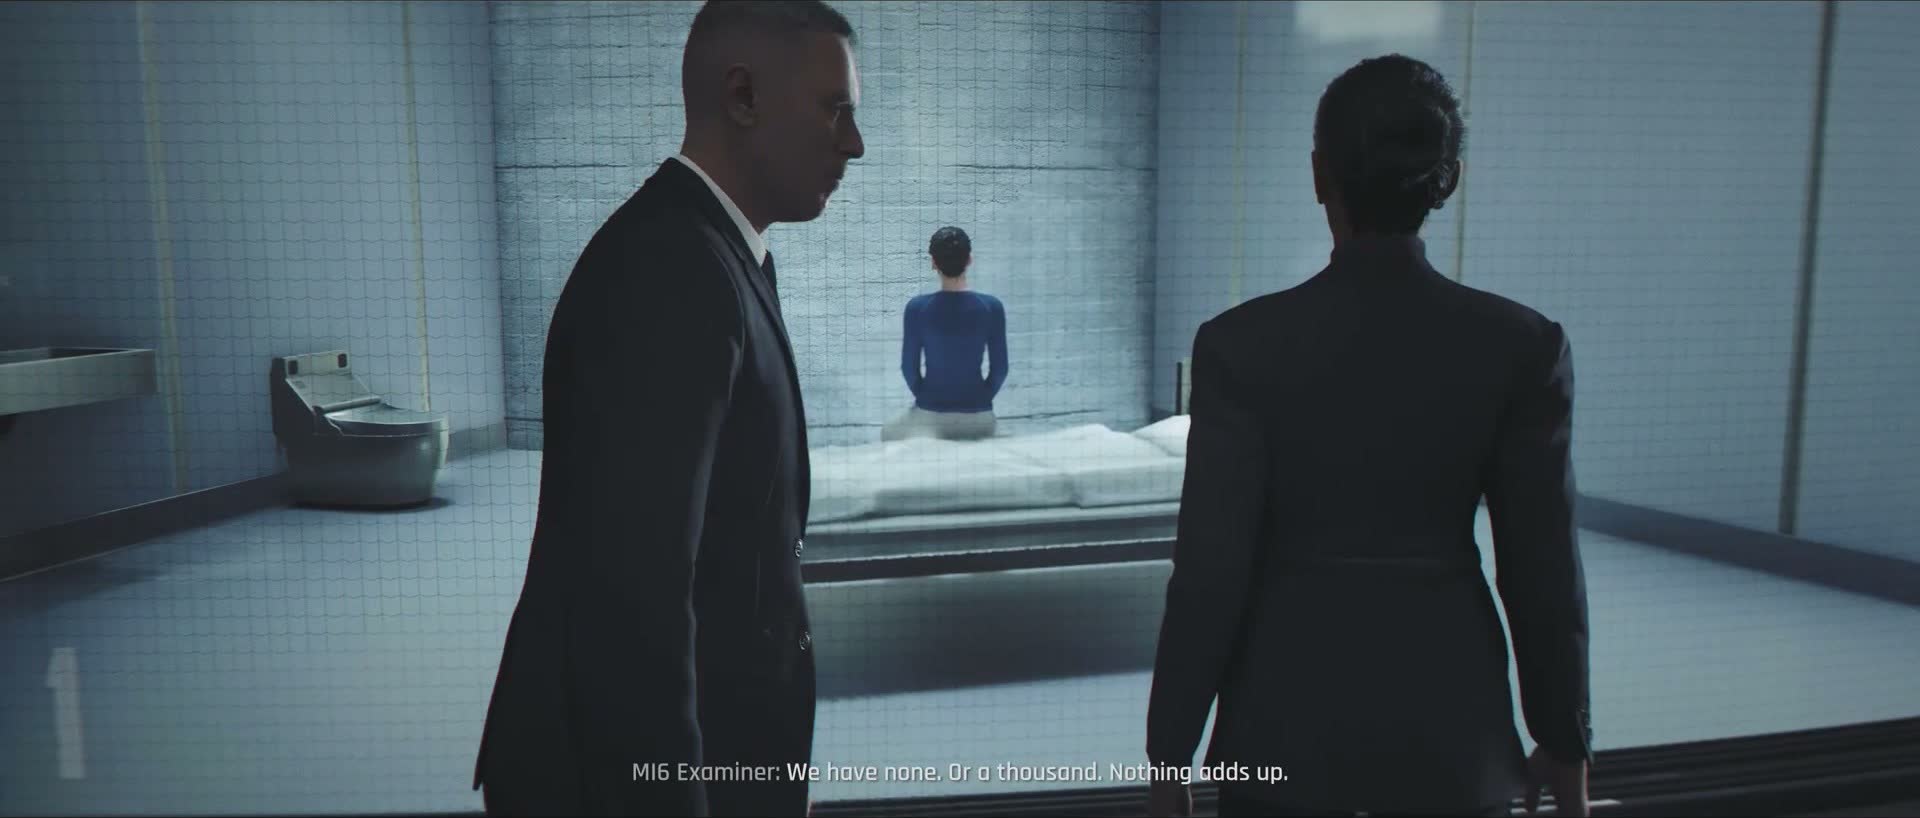
There is a brief scene in what appears to be M's office — the same woman, now seated behind a desk, the grey-haired man standing nearby. The tone is tense but professional. Whatever happened, it has reached the highest level of the Service.
The scene shifts. The prisoner — Bond — is led out of the cell and made to stand against a wall, his back to the camera. He wears the grey tracksuit, hands behind his back. A guard stands to one side.
Red Alarm
Without warning, the clinical blue-grey of MI6 is replaced by the strobing red of emergency lighting. You are somewhere else — a corridor slick with reflected crimson, doorways open onto darkness, and a young Bond in a light grey jacket moves through the frame at a run.
The memory has begun. The interrogation gives way to the mission itself, and you are no longer watching Bond being questioned — you are watching him fight for his life.
Young Bond in the Red Light
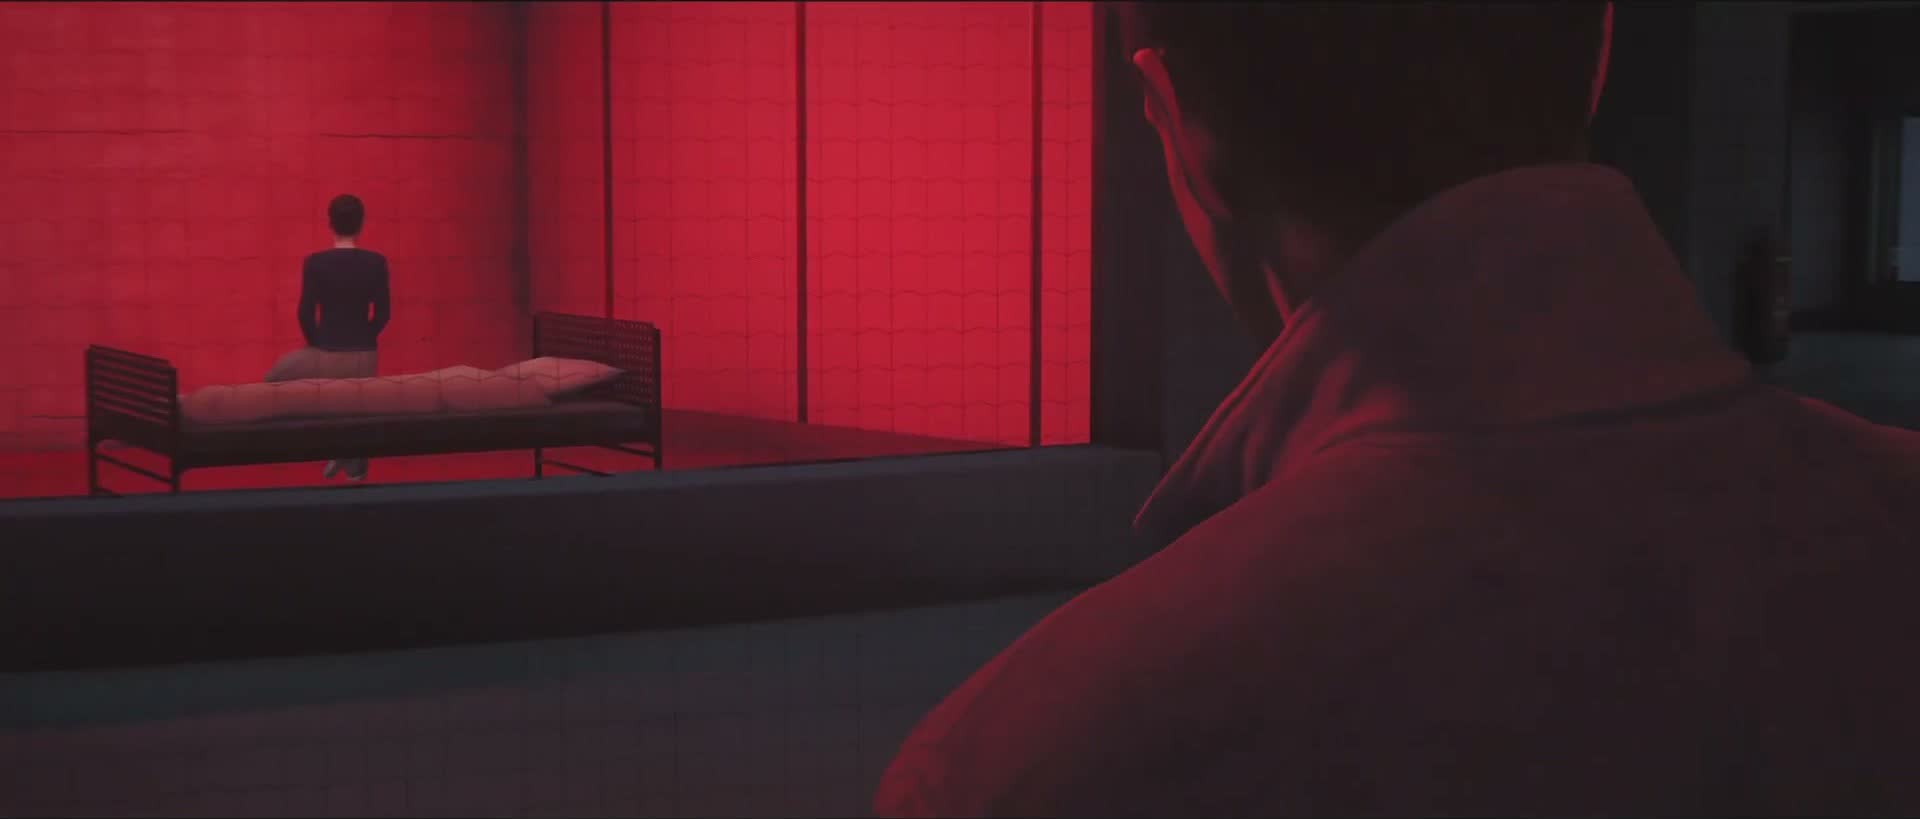
A close-up catches Bond's face in the red wash. He looks younger, harder to read — there is none of the easy charm here. His jaw is set. His eyes are scanning, always scanning.
The corridors are modern, institutional — glass walls, recessed lighting, the kind of architecture that says government facility or corporate research park. Every surface is painted red by the alarm lamps. Somewhere an alarm is blaring; you cannot hear it over the music and the gunfire, but you feel it in the pulse of the scene.
For England
The chapter title card slams down: FOR ENGLAND, in white serif capitals. The card is stark and unadorned — no dramatic music sting, no elaborate animation. The point is: you know where you are now. The stakes are total.
Bond moves through a corridor at speed. The camera is behind him, tracking forward with him. The red alarm light continues to pulse. The floor is polished concrete, the walls are glass partitions revealing empty offices and interrogation rooms beyond.
Glass Shatters
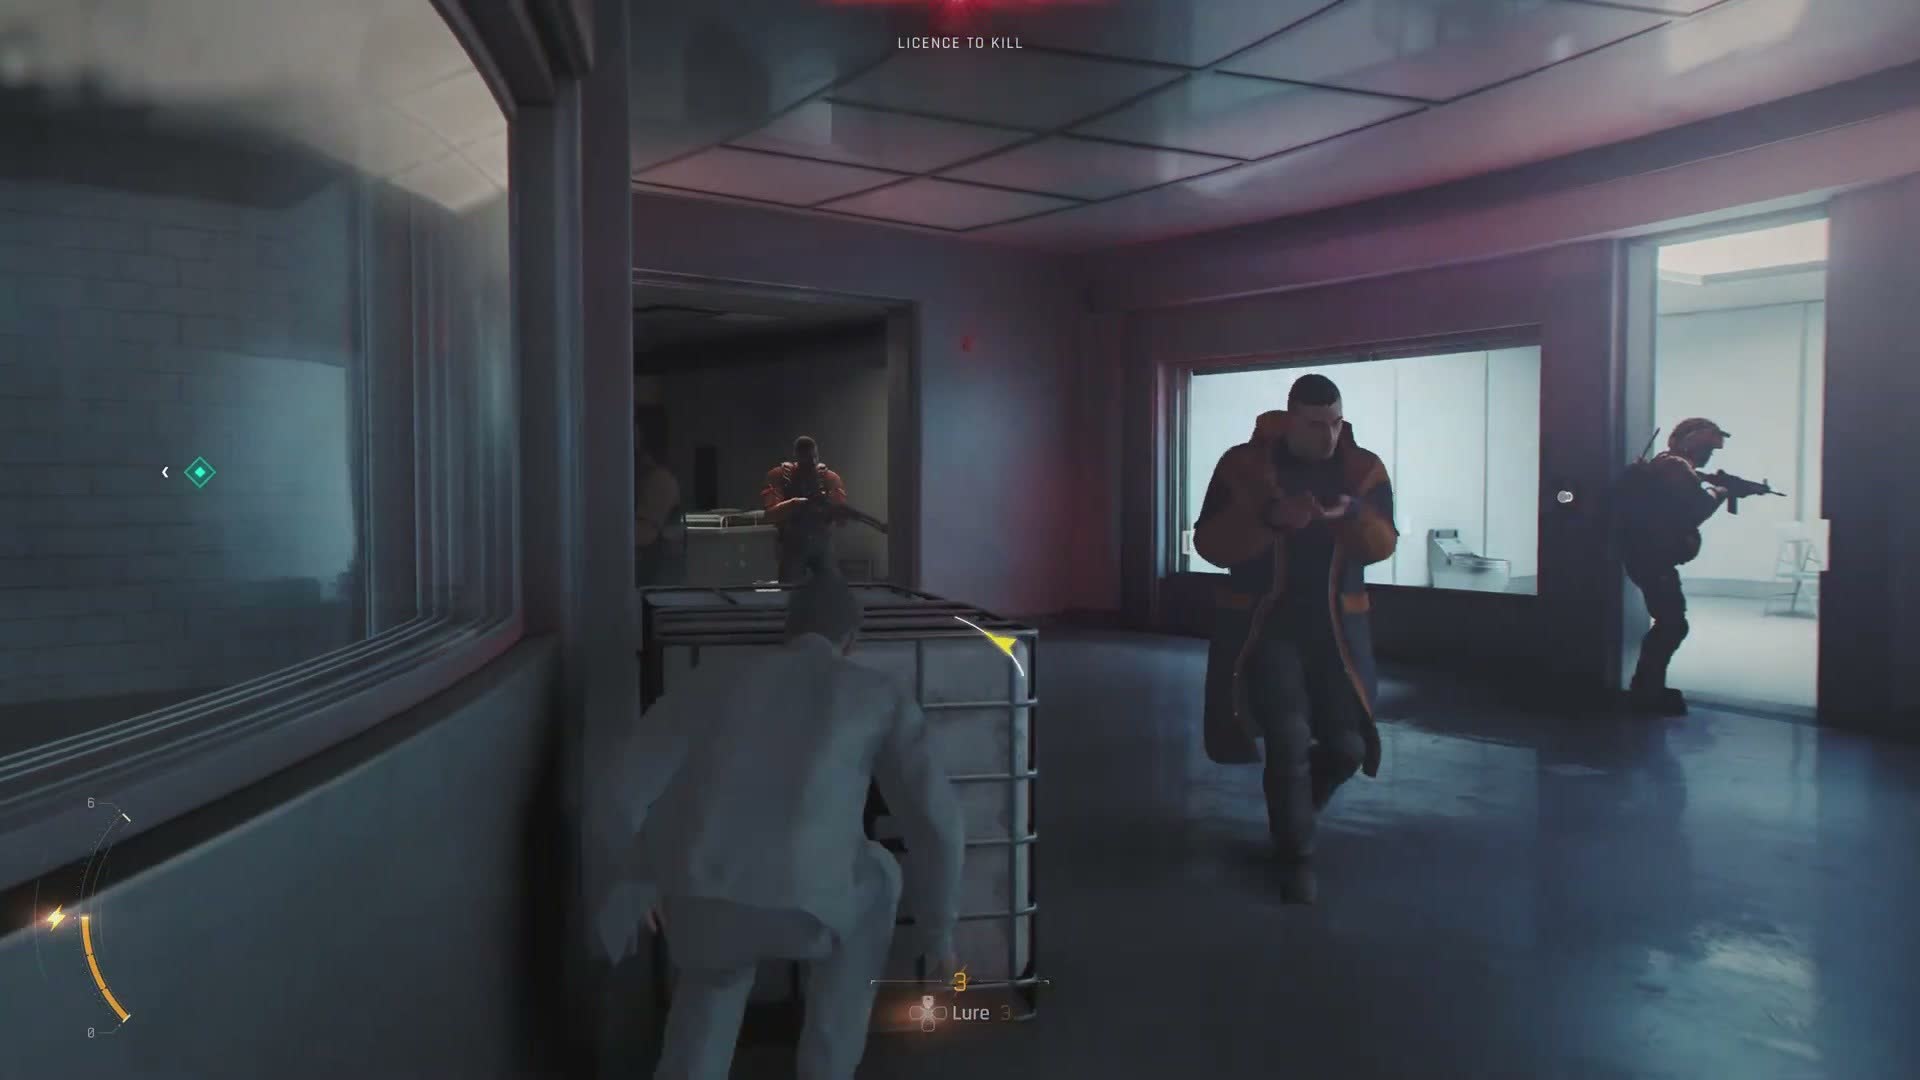
The first glass partition explodes inward. Bond does not slow down. He moves through the breach and into the room beyond — an office area with desks, monitors, the detritus of a workspace abandoned in a hurry.
Enemies are here already. Guards in dark tactical gear move through the space, weapons raised. The combat is immediate and brutal. This is not a stealth opening — you are in a fight from the first second, and the game expects you to keep pace.
Finding M
In an inner office, Bond finds the woman from the framing device — M — on the floor. She has been injured; there is blood. She is conscious but not moving quickly, propped against a desk, her blazer torn. Bond drops to his knees beside her.
This is the emotional core of the opening act. Bond is not just infiltrating a facility — he is here to rescue someone, and he may be too late. The urgency you feel in every frame of this chapter is anchored to this moment.
Getting Her Up
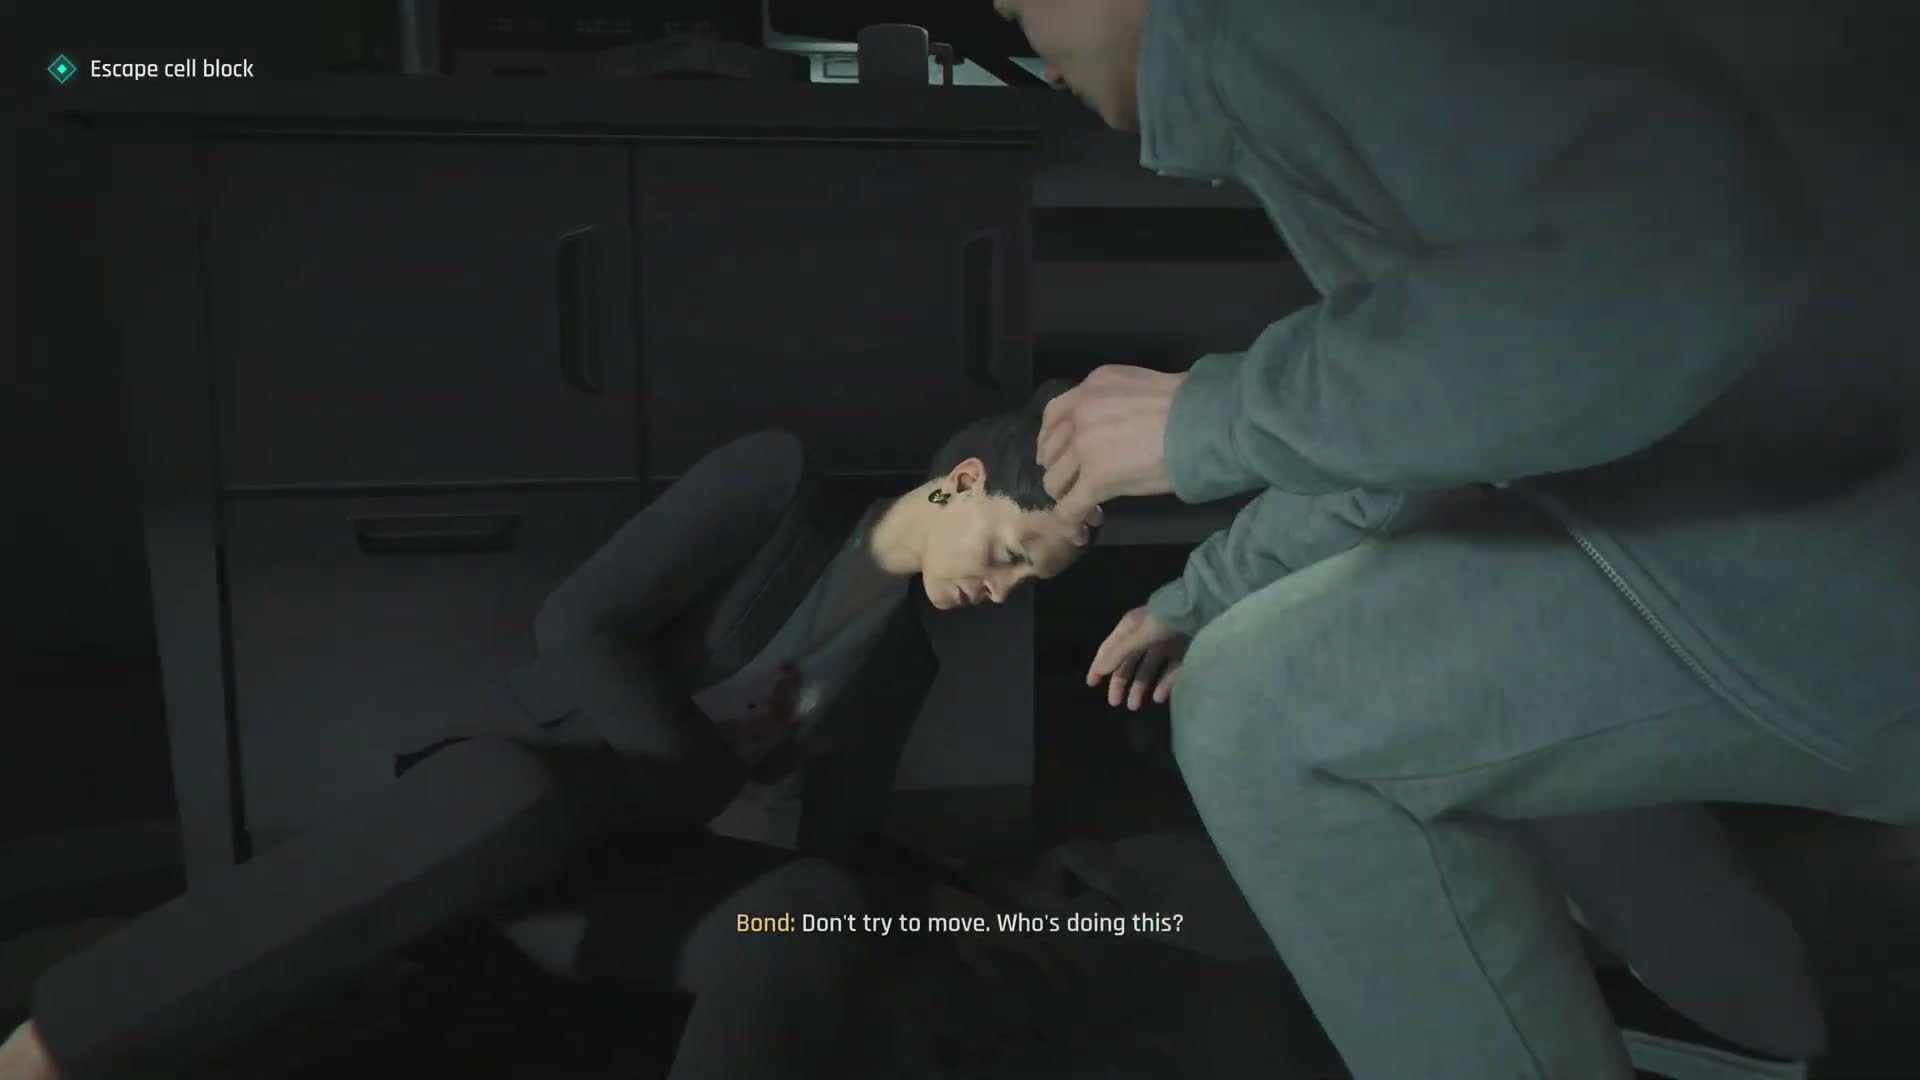
Bond helps M to her feet. She is unsteady but refuses to be carried. The two of them move together through the next stretch of corridor, Bond covering her as she limps forward.
This section plays like an escort mission without the escort-mission frustration — M keeps pace, takes cover when she needs to, and does not require constant babysitting. The design is generous: the game wants you to feel the weight of protecting someone without making it mechanically tedious.
First Gameplay — Light Grey Jacket
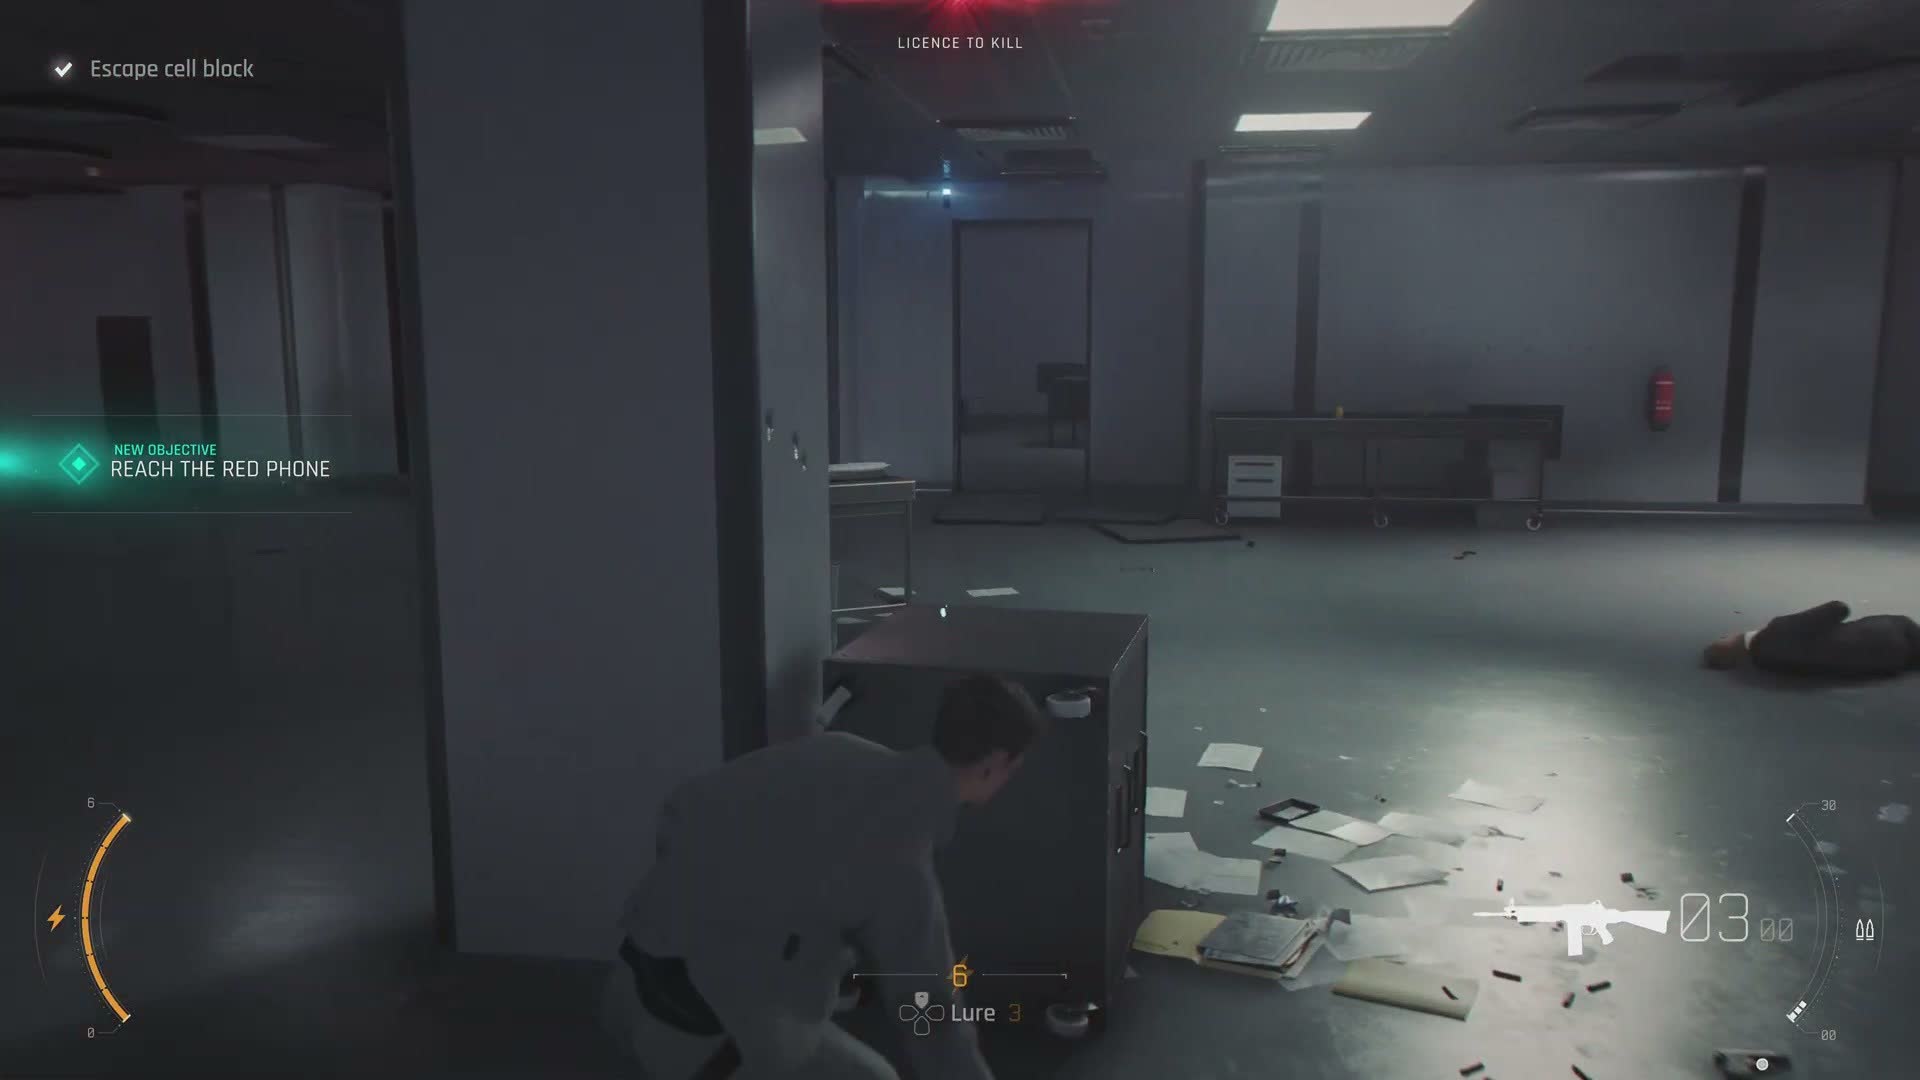
Once M is settled in a relatively secure position, you are back in sole control of Bond for the rest of the mission. He wears a light grey zip-up jacket over a dark shirt for most of the chapter's first half — a detail that makes him stand out against the dark tactical gear of the enemies.
The facility opens up here. You are in a long corridor with offices branching off on both sides, overhead lights casting cold white pools onto the floor. Guards patrol. The red alarm lighting continues to pulse, but in this section it alternates with normal white lighting — a visual rhythm that tells you when you are moving between zones of relative safety and active alarm.
The Red Jacket
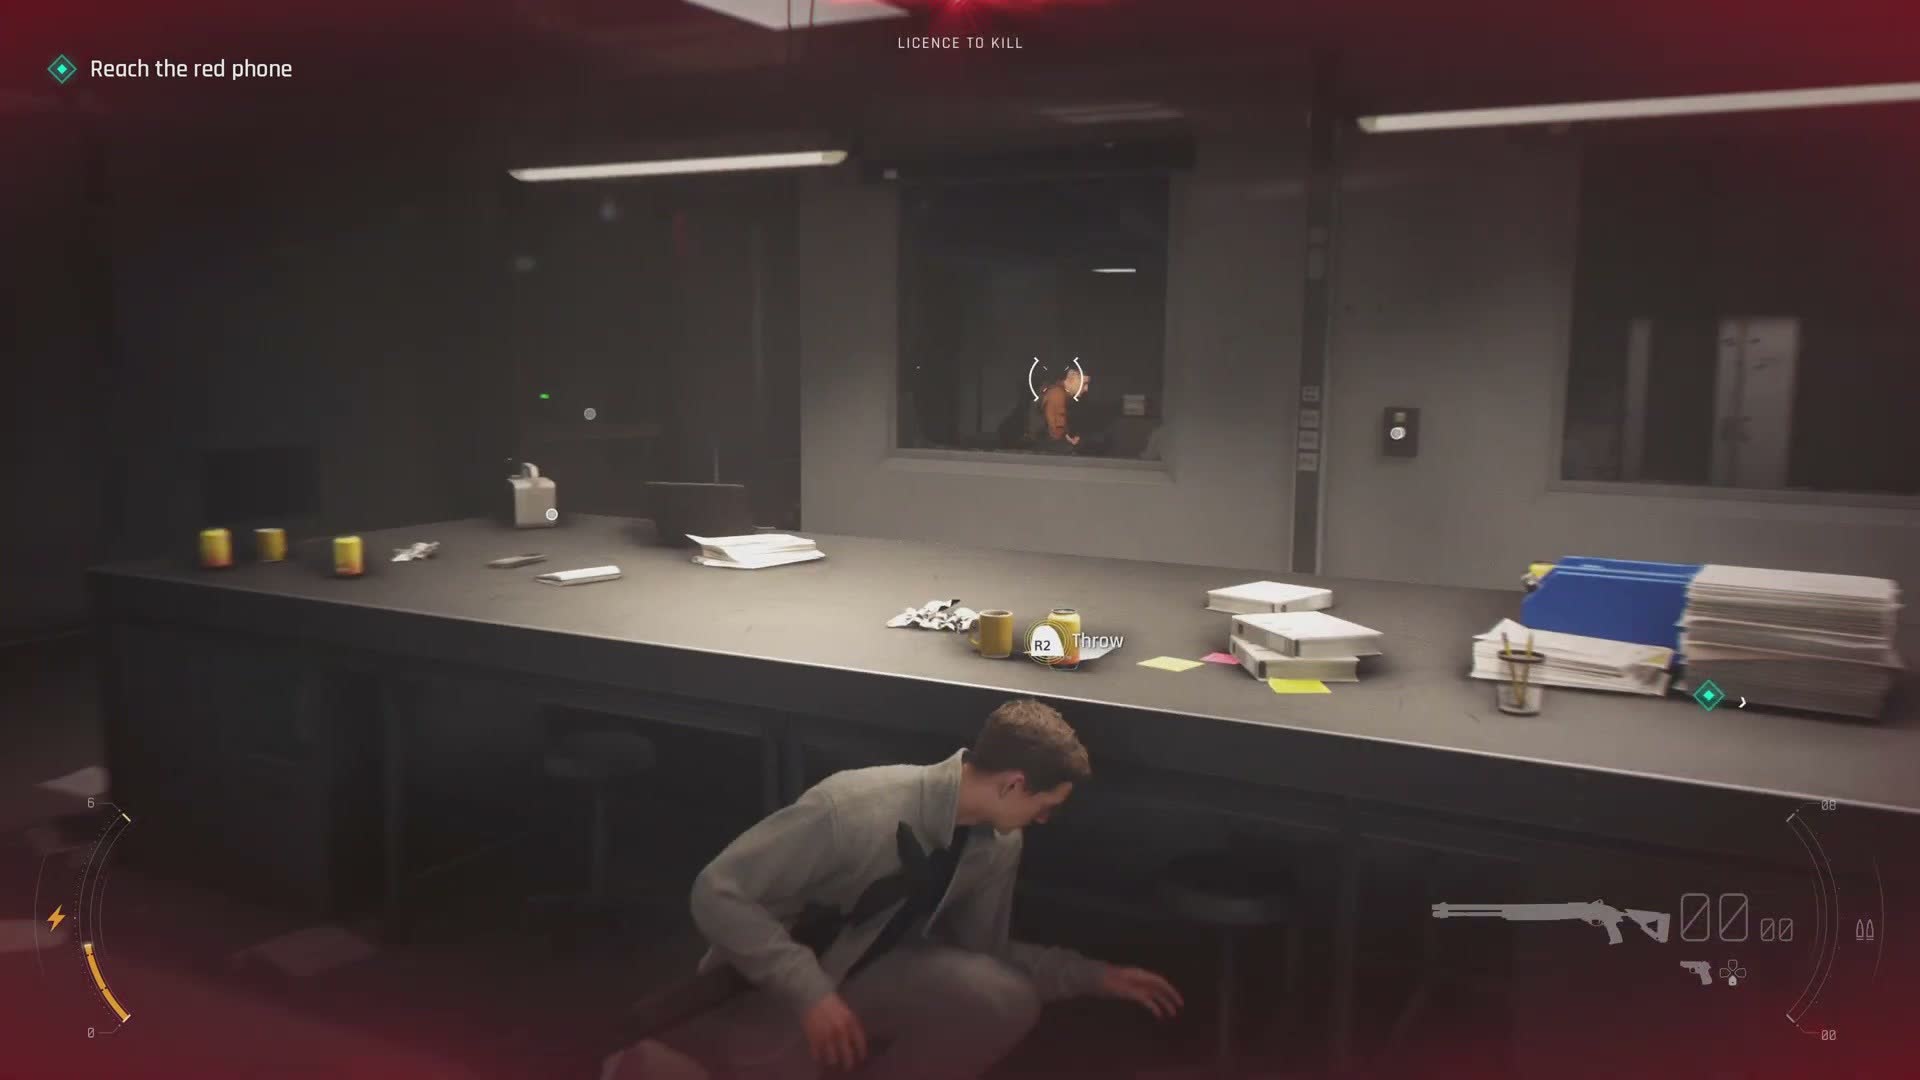
Moving through a server area, you encounter a distinctive enemy — a guard in a bright red jacket, standing out sharply against the dark and grey of the facility. He is more heavily armoured than the standard guards and carries a heavier weapon.
This is not a boss — just an elite enemy type you will encounter throughout the chapter. The red jacket marks them as threats to prioritise.
First Explosion
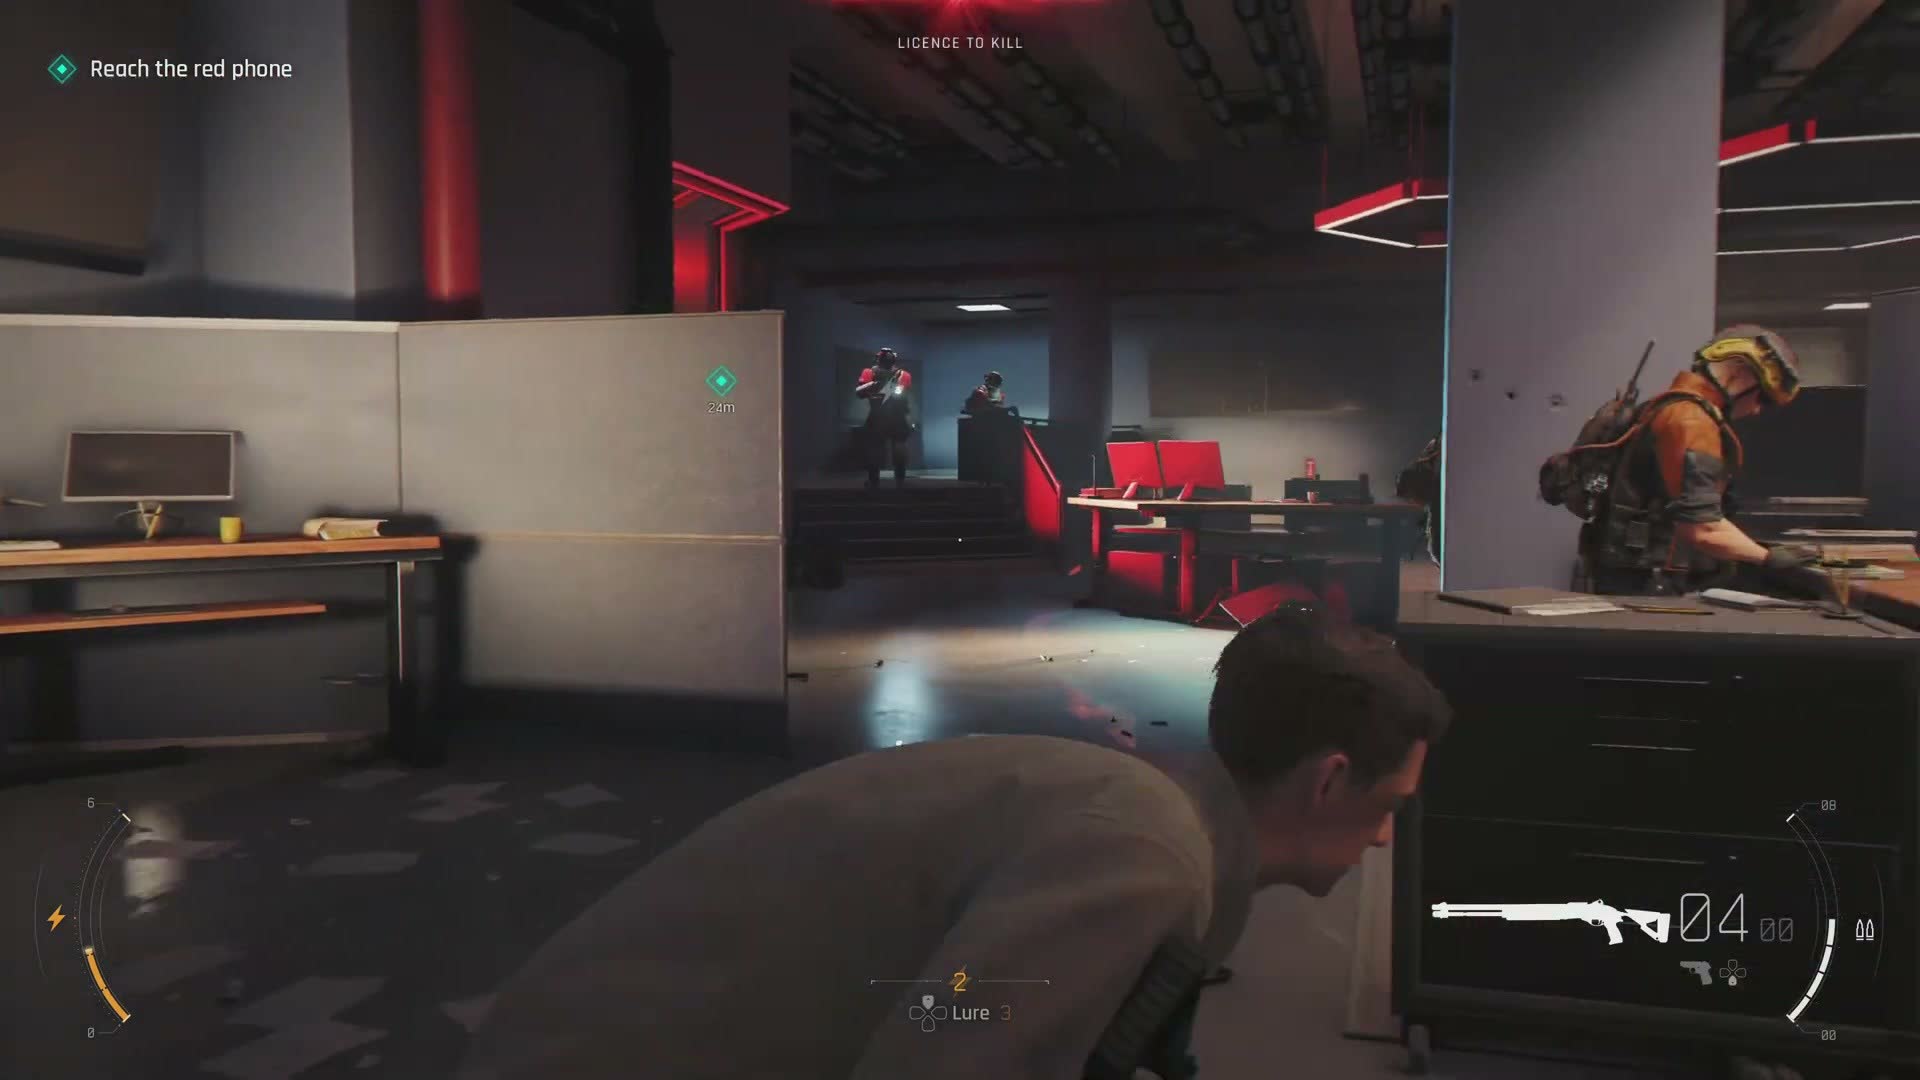
A doorway opens onto a wider office area — and an explosion tears through the far end of the room, sending debris and paper flying. The blast wave hits Bond and the camera shakes. Through the smoke and fire, you can see enemies moving in to take advantage of the chaos.
Explosions are common in this chapter. The facility is being systematically destroyed as you move through it — whether by Damien's men covering their tracks or by something Bond himself triggers is never entirely clear, but the effect is the same: you are always one step ahead of the collapse.
Office Combat
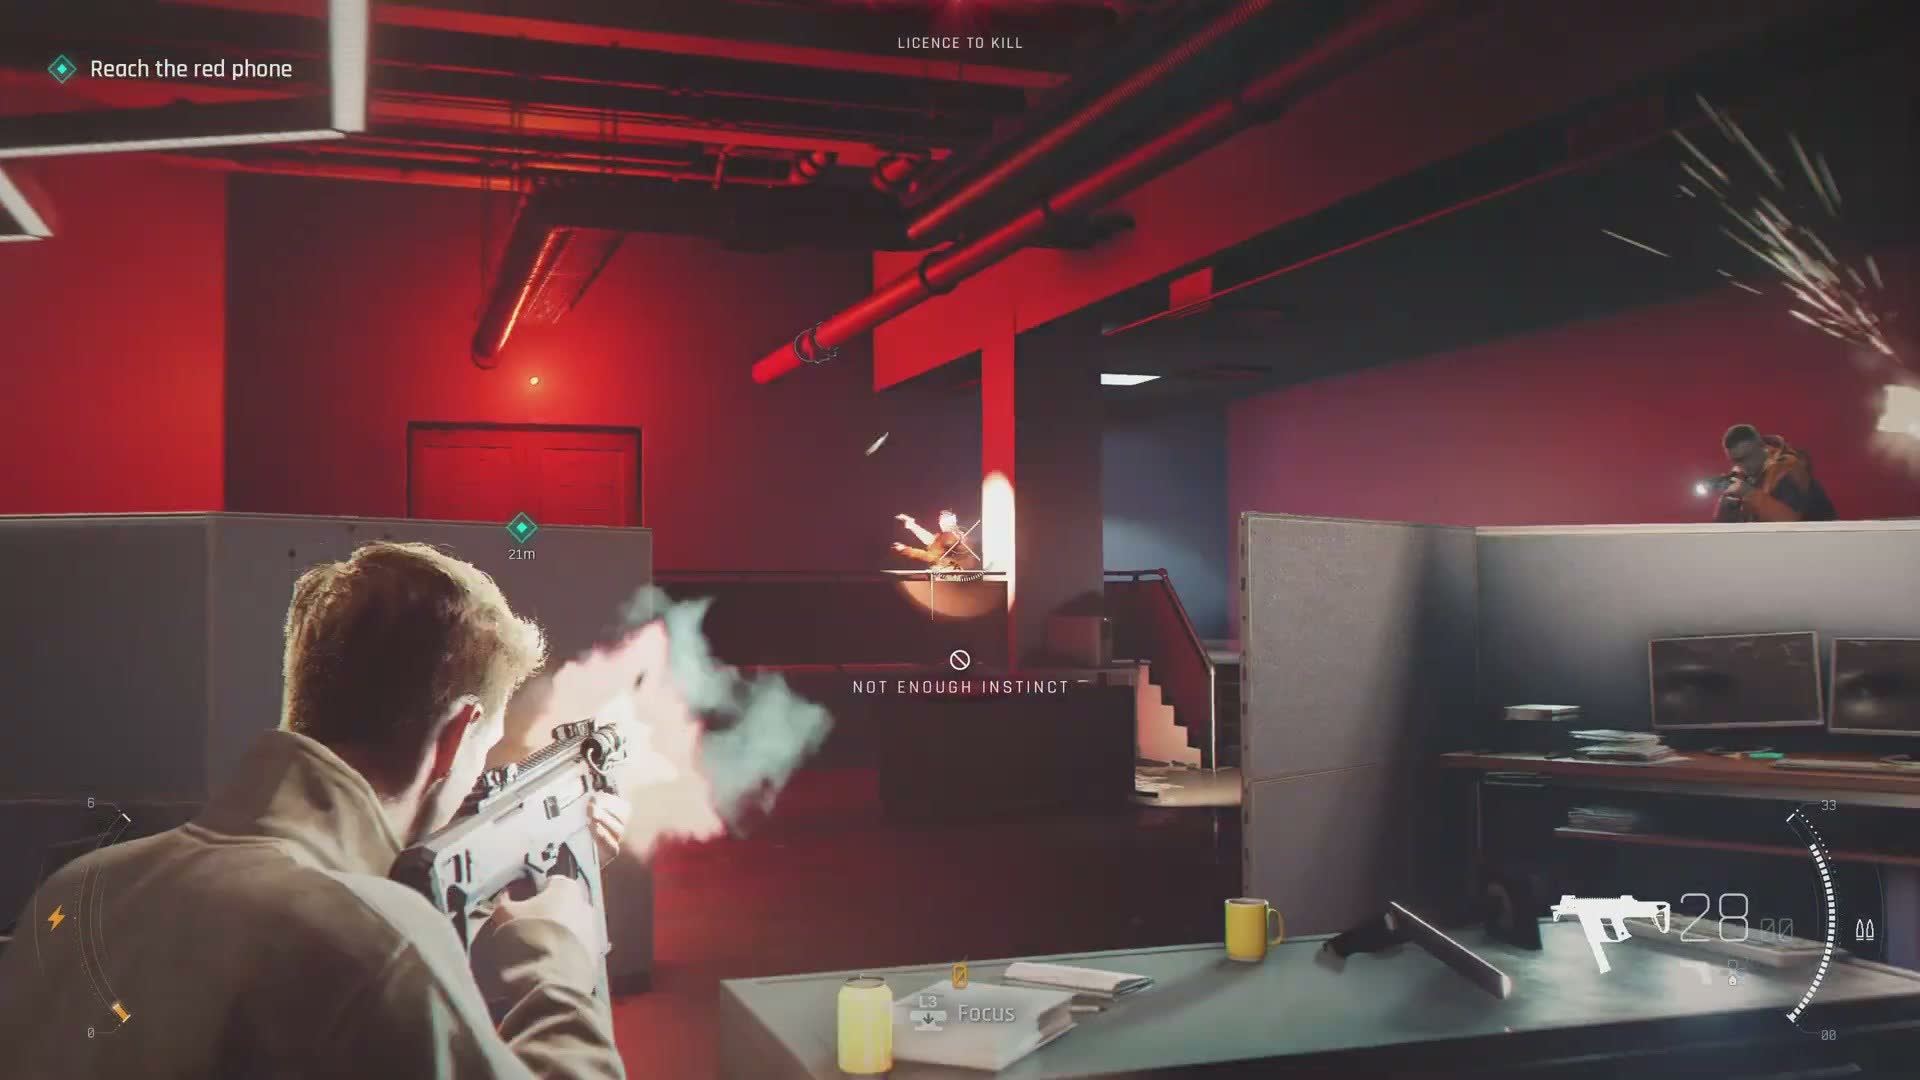
A long sequence of office-to-office combat follows. You move through reception areas, conference rooms with glass tables, cubicle farms with low partitions, and open-plan workstations. Each space is a different combat puzzle.
The enemies are varied. Some carry submachine guns and push aggressively; others hang back with rifles and take cover; a few patrol set routes and can be picked off stealthily. The mix keeps the encounters fresh.
Planting Charges
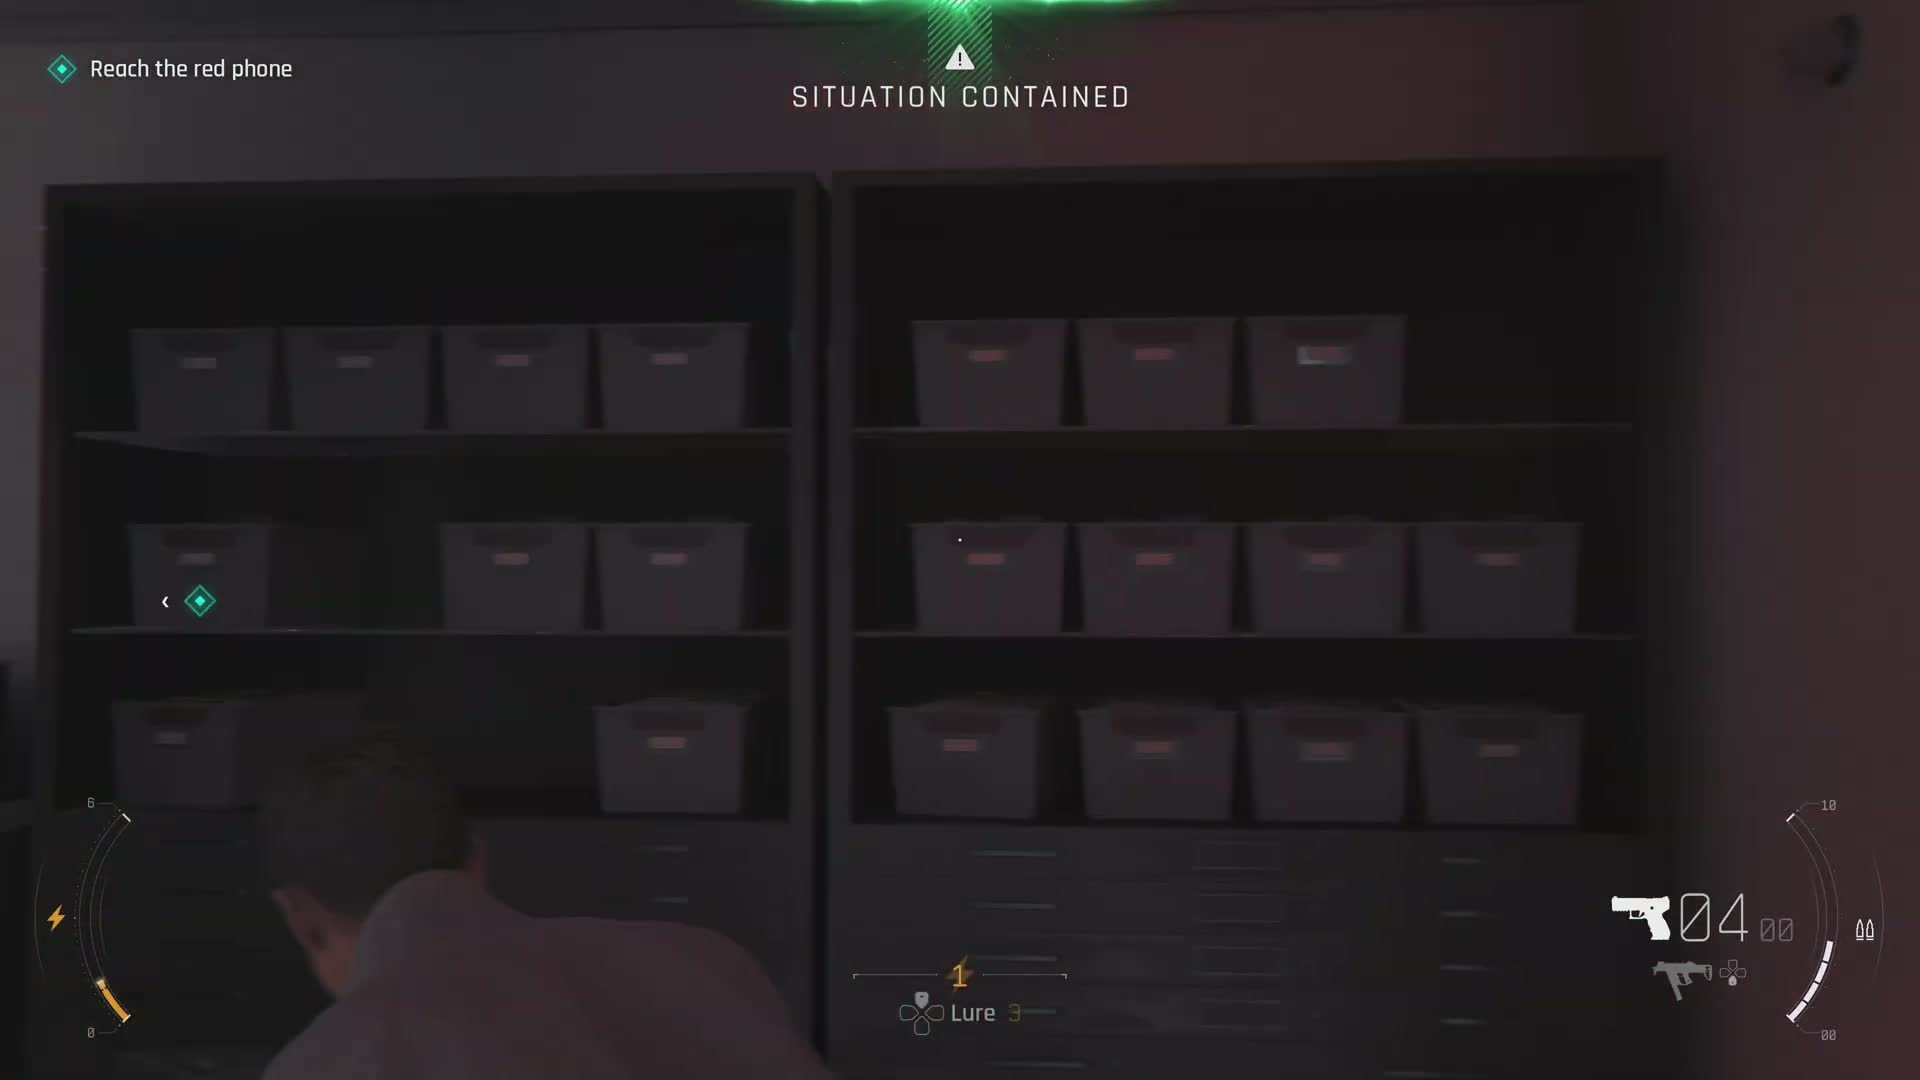
At a key objective point, Bond plants explosive charges on a structural pillar or server stack — the game is slightly ambiguous on the exact target, but the purpose is clear: you are creating a diversion or destroying something Damien needs. The C4 sticks to the surface with a satisfying click, the blinking red light synchronising with the alarm lighting that washes over everything.
Once the charge is planted, you have a limited window to clear the area before it detonates.
Allies Under Fire
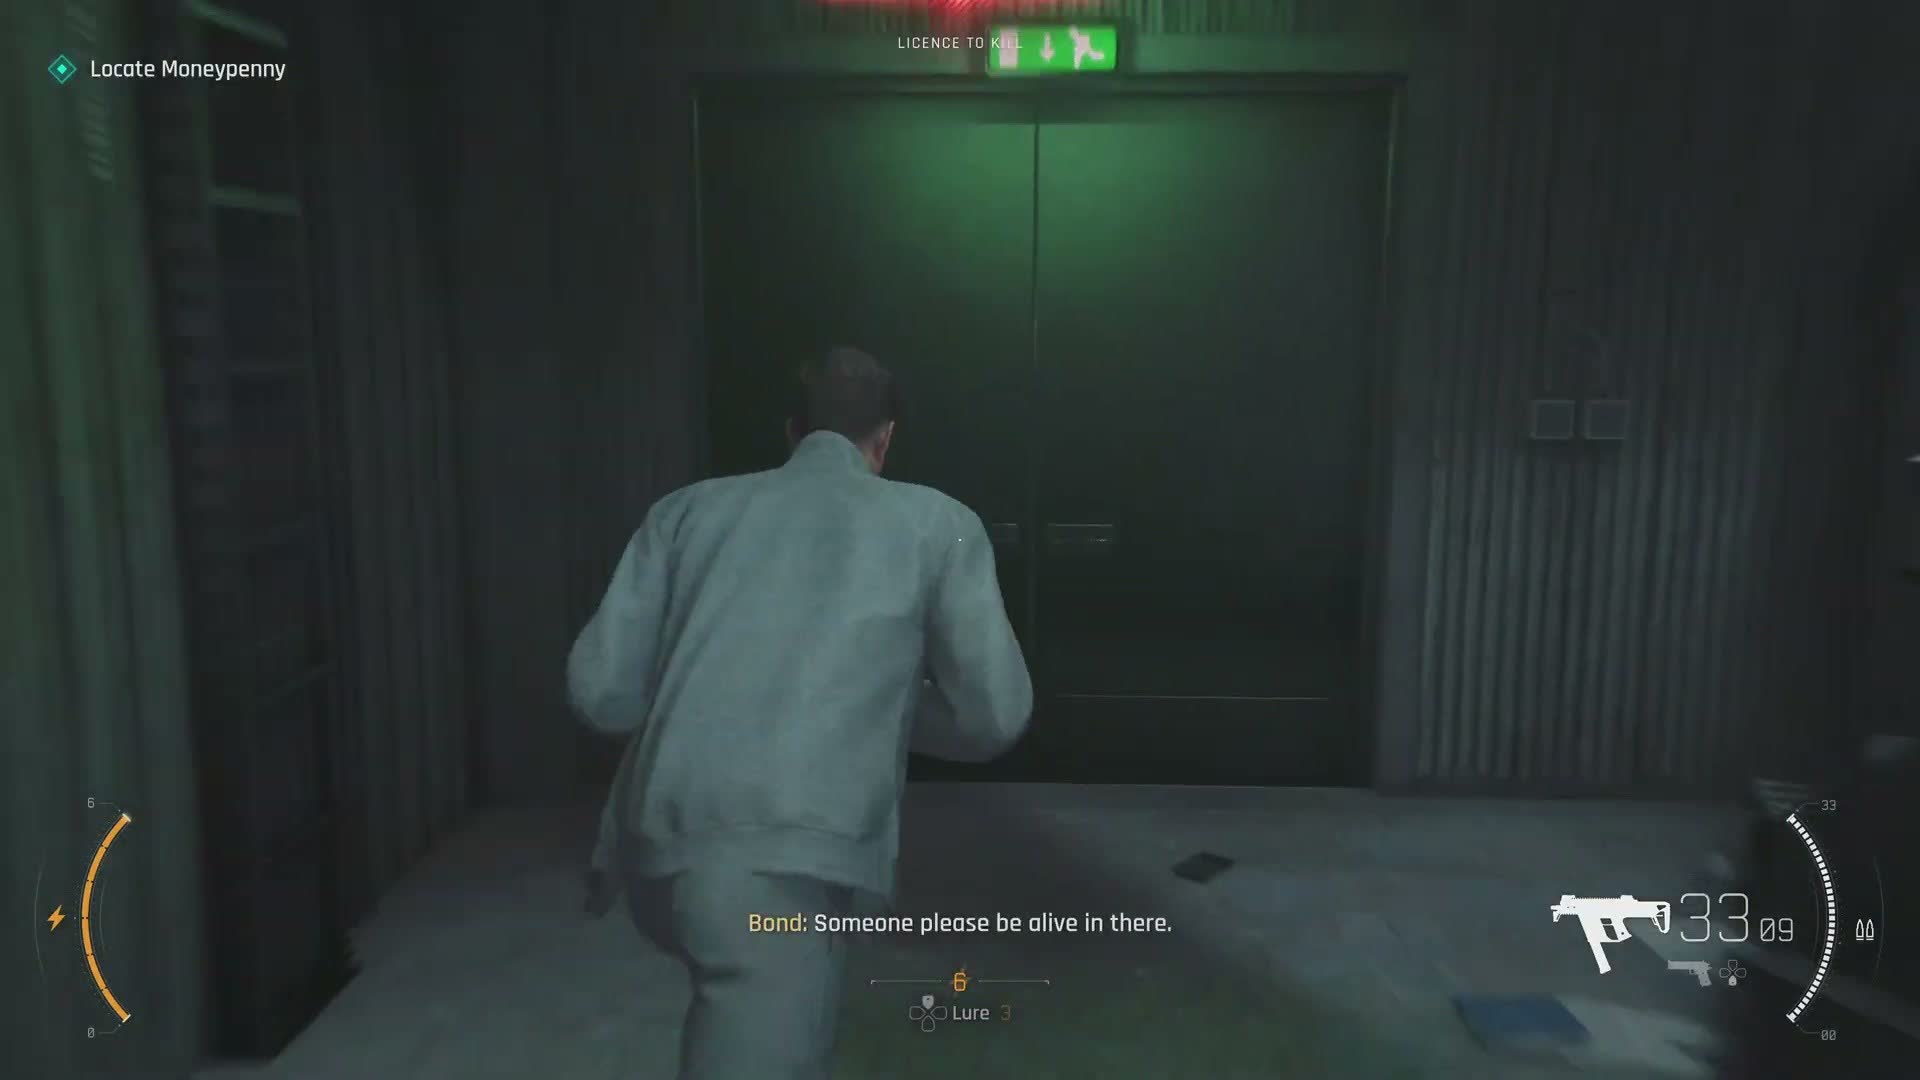
Rounding a corner, Bond finds a group of allies — other operatives or facility workers who are resisting Damien's takeover. They are pinned down behind a counter, taking fire from multiple directions. One of them is down, being helped by two others.
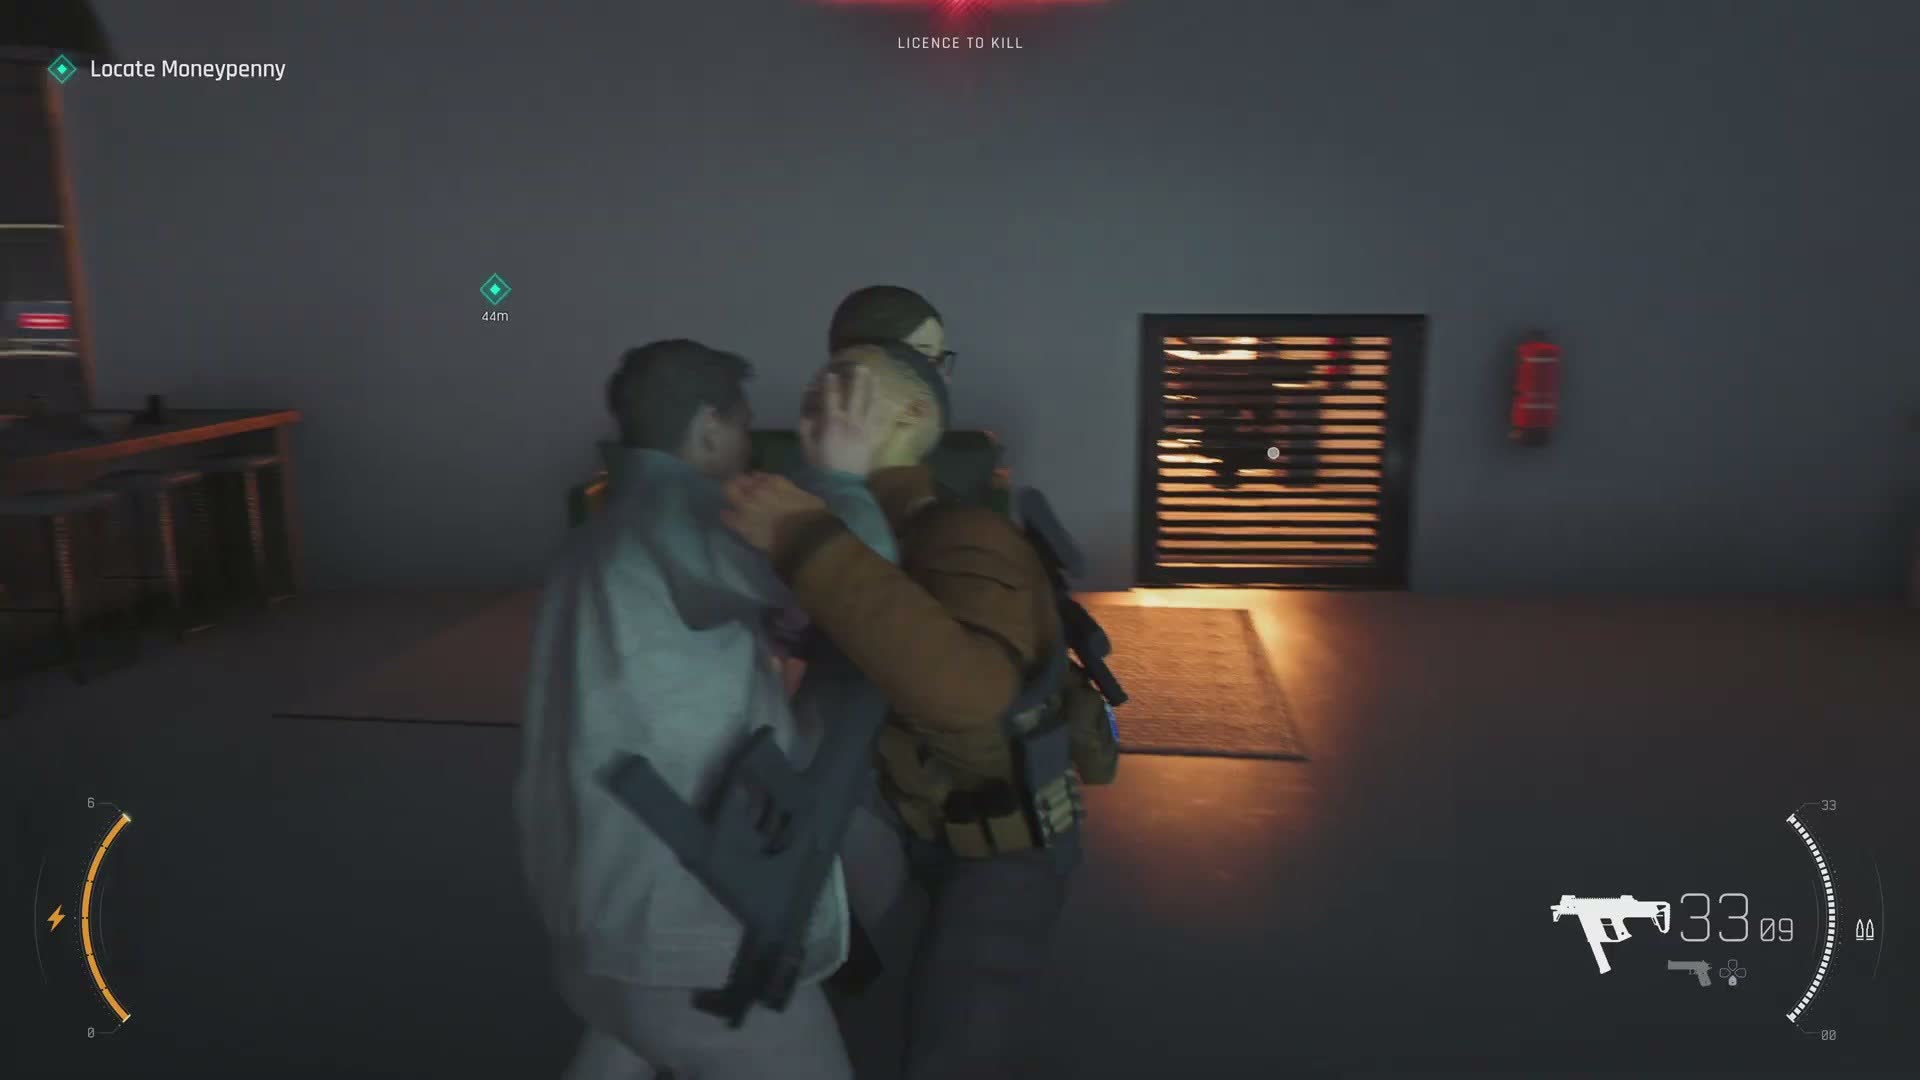
Bond's arrival turns the firefight. Working together, you clear the room. The animation of the three men helping their fallen comrade to his feet is a small but effective piece of visual storytelling — not everyone in this facility is an enemy.
Kitchens and Shattering Glass
The route takes you through a commercial kitchen or canteen area — stainless steel counters, industrial refrigerators, shelves of plates and glassware. A firefight here is spectacularly destructive; every shot seems to shatter a shelf of glasses or send a stack of trays clattering.
One particularly effective moment finds Bond using a serving counter as cover while enemies pour fire into the kitchen from an adjacent corridor, the muzzle flashes strobing through steam and smoke.
Control Room
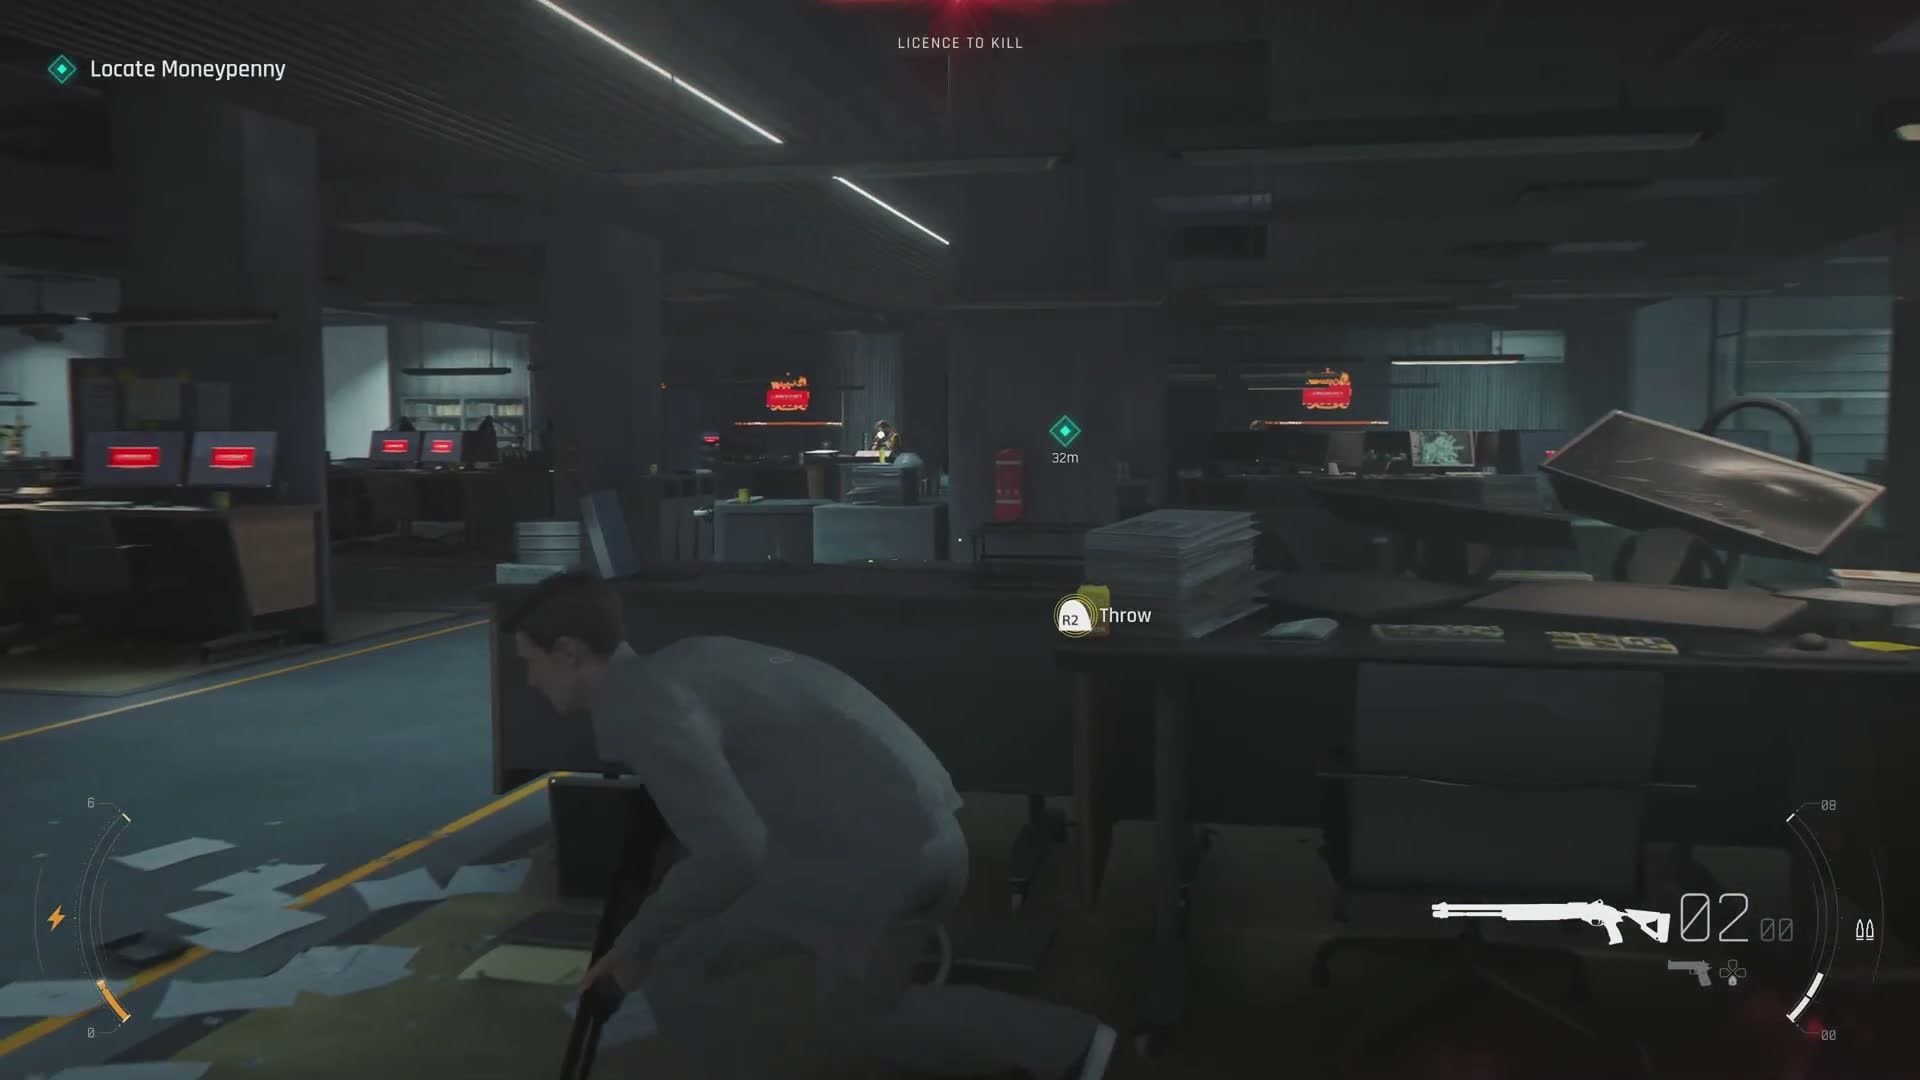
You reach a control room — a semicircular bank of monitors and consoles overlooking a larger space beyond glass windows. This is where the facility's security and operations are coordinated. The screens show camera feeds from throughout the complex; many of them are now showing static or red alarm warnings.
A close-up catches Bond's face as he processes what he is seeing on the screens. Whatever he sees, it is not good.
Bond's Reaction
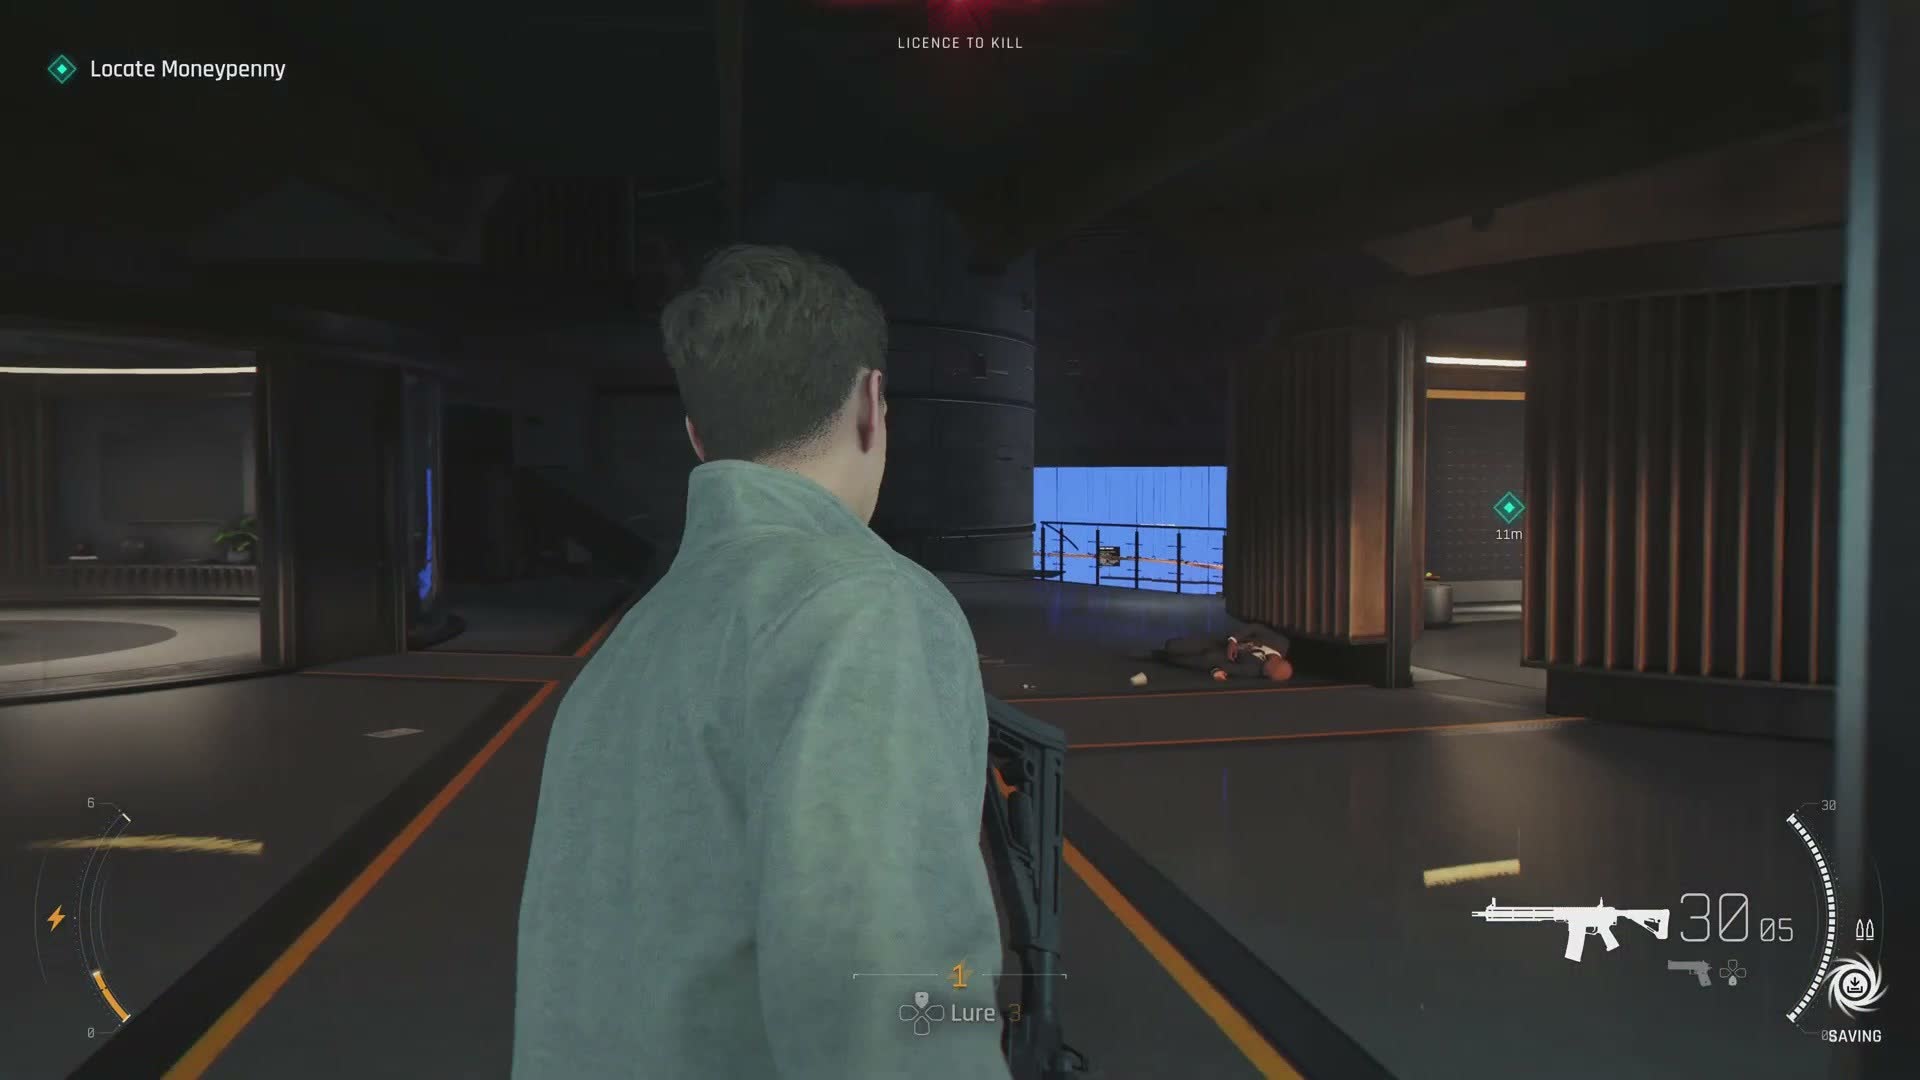
The camera holds on Bond's face for a beat. Whatever he saw on those monitors has changed the calculus of the mission. His expression shifts from determination to something colder, harder.
This is a brief but important character moment. For England is the chapter where Bond stops reacting and starts acting — where he makes the choice that defines who he will become as 007.
The Blue Office
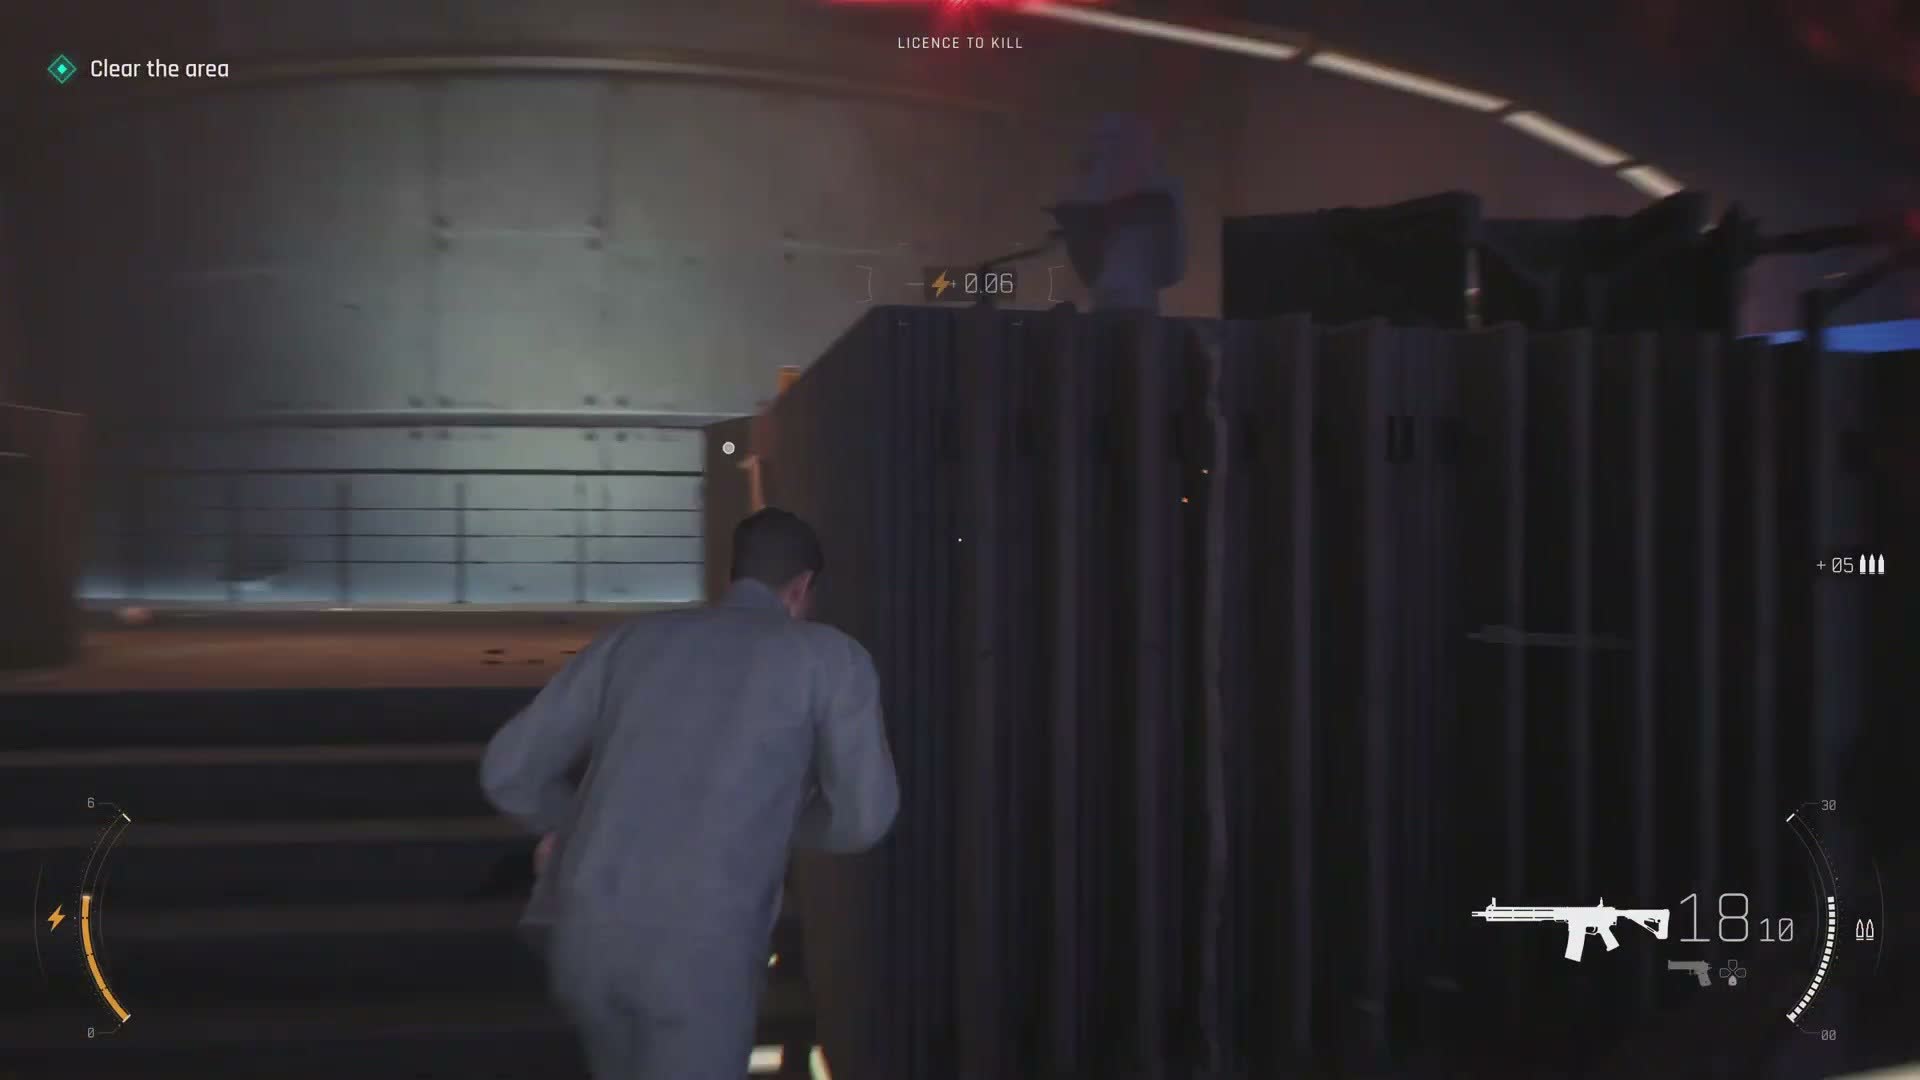
Moving deeper, you enter a strikingly different space: a modern open-plan office lit in cool blue and purple light, with colourful modular furniture and what looks like a collaboration area with hexagonal wall panels. It feels like a tech startup's headquarters rather than a secret government facility.
The contrast with the red alarm zones is stark. The lighting is calmer here, but do not be fooled — enemies are present in force, and the blue glow does not mean you are safe.
Climbing Through Maintenance
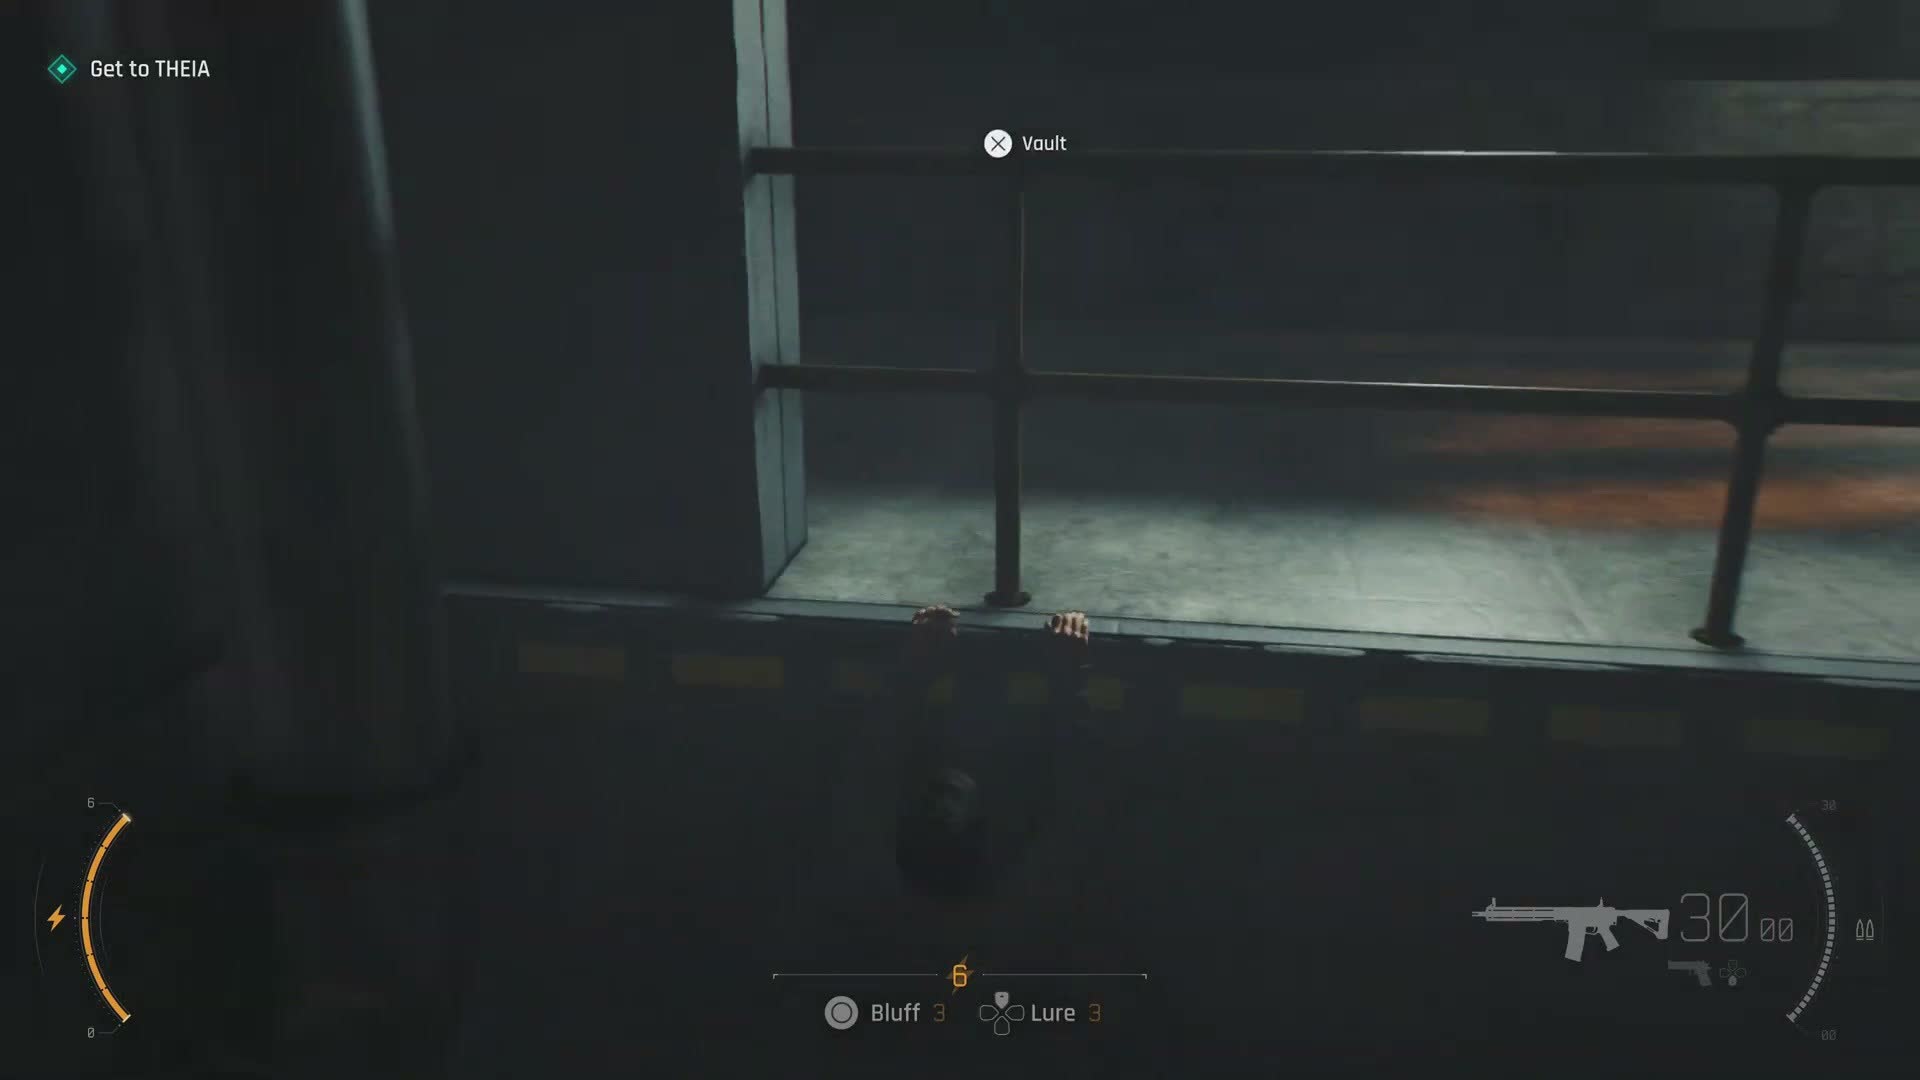
The direct route is blocked — destroyed in one of the explosions — so Bond must climb through a maintenance crawlspace: yellow pipes, concrete walls, and a narrow vertical shaft with a ladder. The camera pulls tight as he pulls himself up, the sounds of combat distant behind him, new sounds of machinery and steam ahead.
This is a linear traversal section — no enemies, no choices. It exists to give you a breather and to transition you from the office floors into the deeper, more industrial section of the facility.
Approaching THEIA
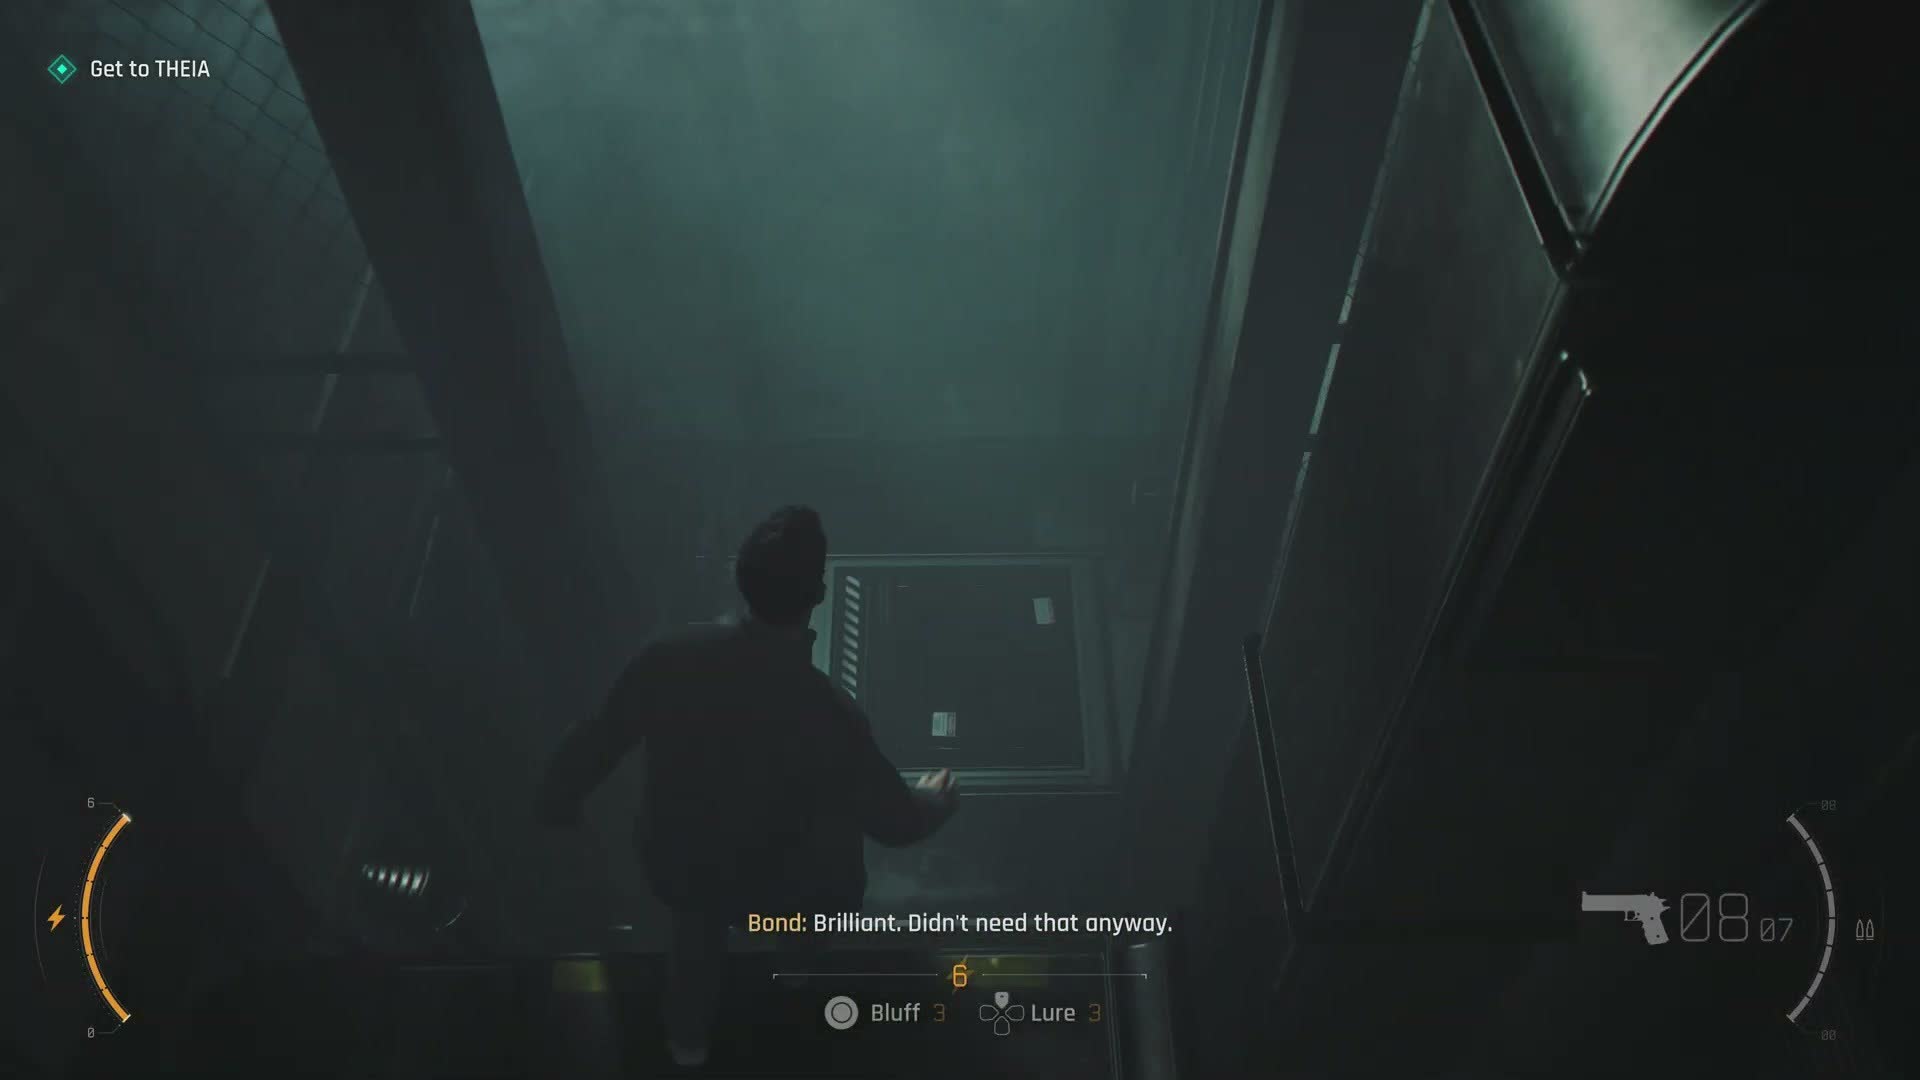
Emerging from the maintenance shaft, you are in a darker, more utilitarian part of the facility. The architecture changes: ribbed metal walls instead of glass partitions, exposed pipes instead of recessed lighting, warning stencils on the floor. This is the engineering level, and it is built to withstand things the office floors are not.
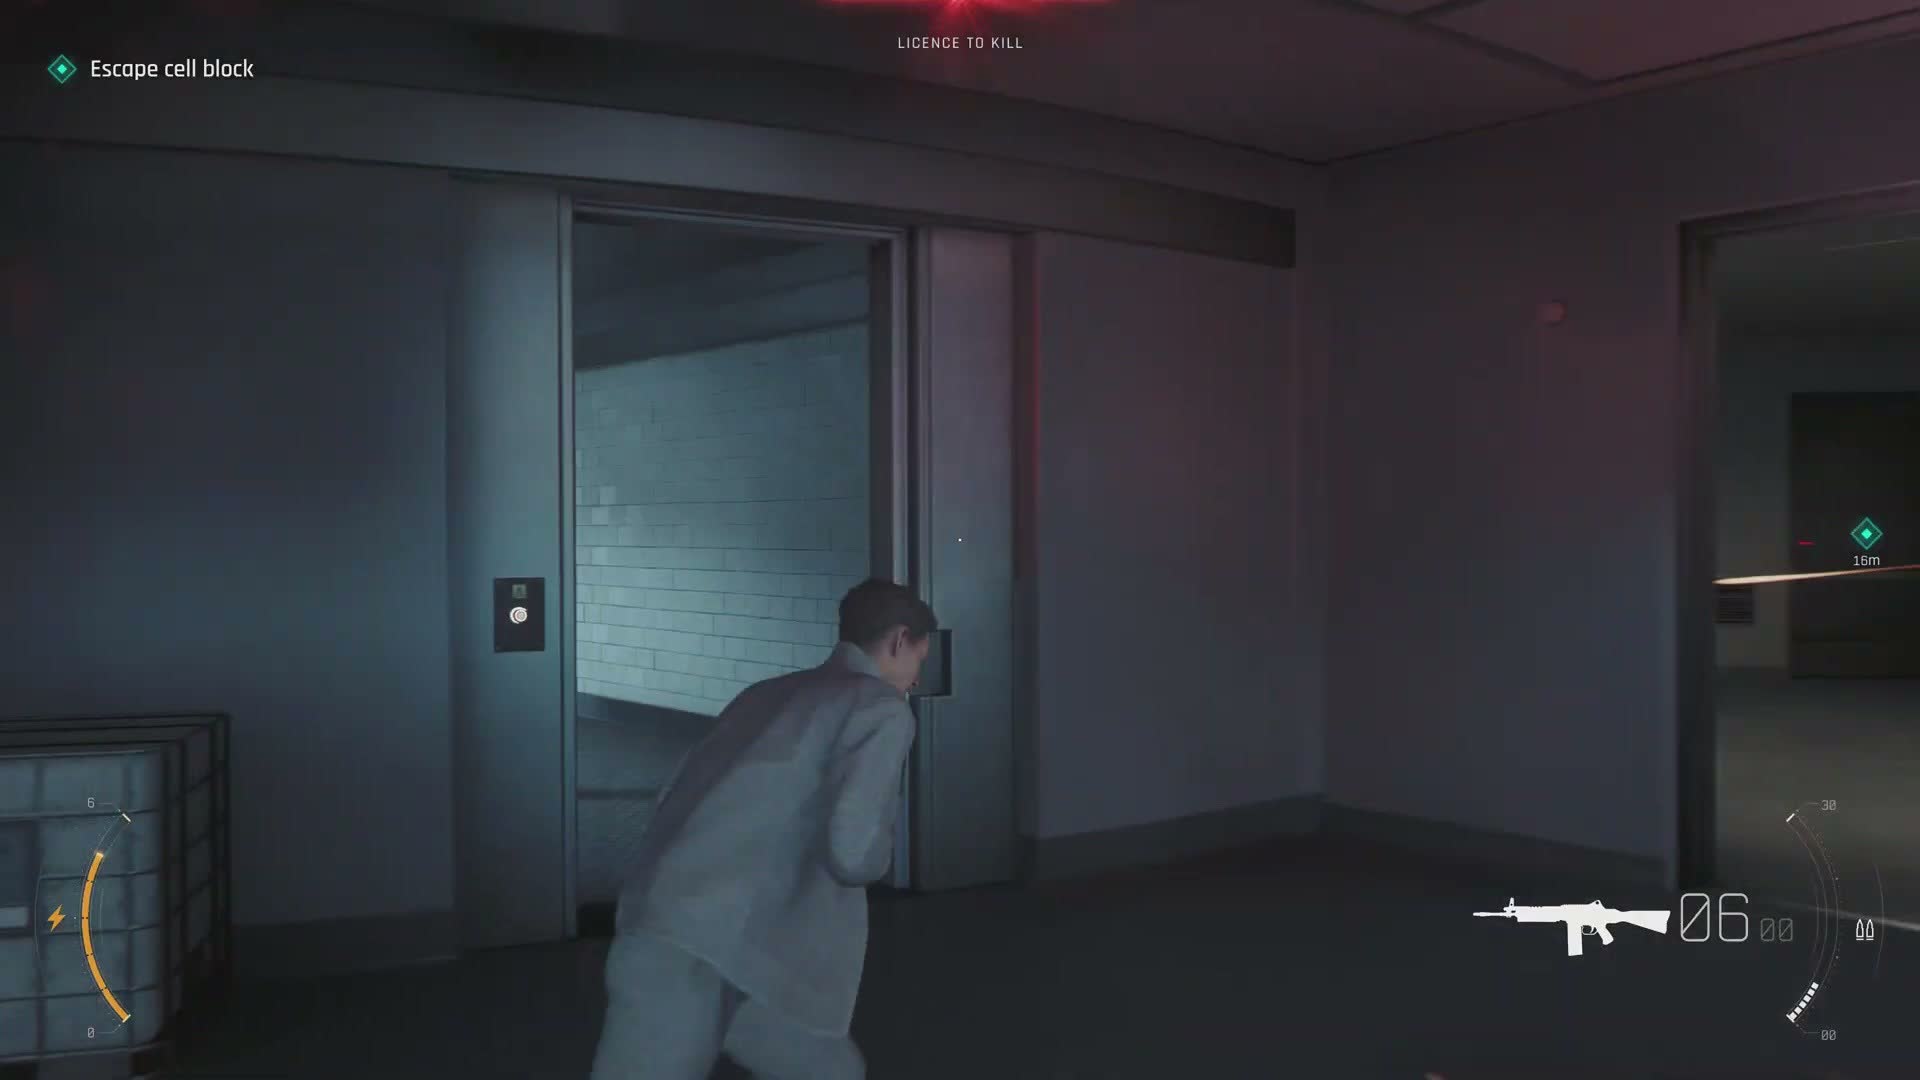
Your objective updates: Get to THEIA. M's voice comes over comms explaining that THEIA is a system — not a person — and that Damien has activated its magnetic shielding, making electronic interference and gadget use difficult.
The Red Vault — Damien
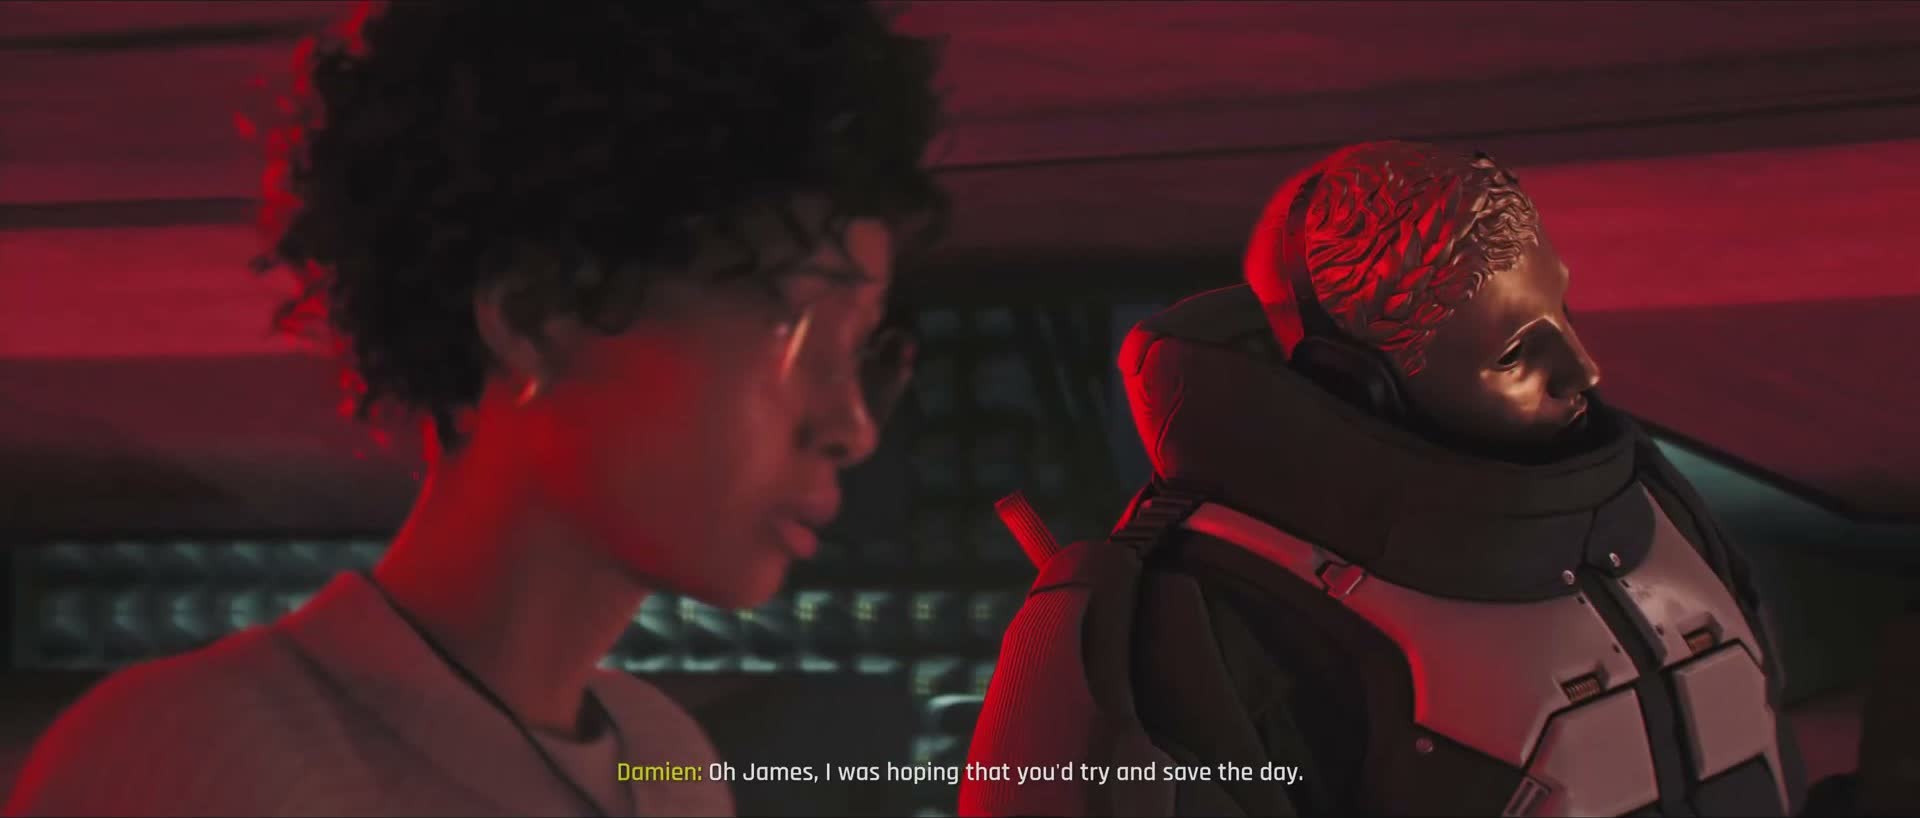
The doors open into a circular chamber lit entirely in red. And there, waiting for you, is the man you have been chasing: Damien. He is not what you expect.
Damien wears a suit of heavy, angular body armour — black plates with a white chest panel, a high collar that rises around his neck — and his face is hidden behind a smooth gold mask, sculpted into the impassive features of a classical statue. It is one of the most striking villain designs in any recent action game. Beside him stands a young woman with short curly dark hair and glasses, wearing a white sweater — an engineer or programmer, clearly not a soldier, clearly terrified.
Damien speaks to Bond. The gold mask never moves; his voice comes through a filter, cold and even. 'You've had quite the run,' he says, or words to that effect. 'Haven't you?'
The Engineer
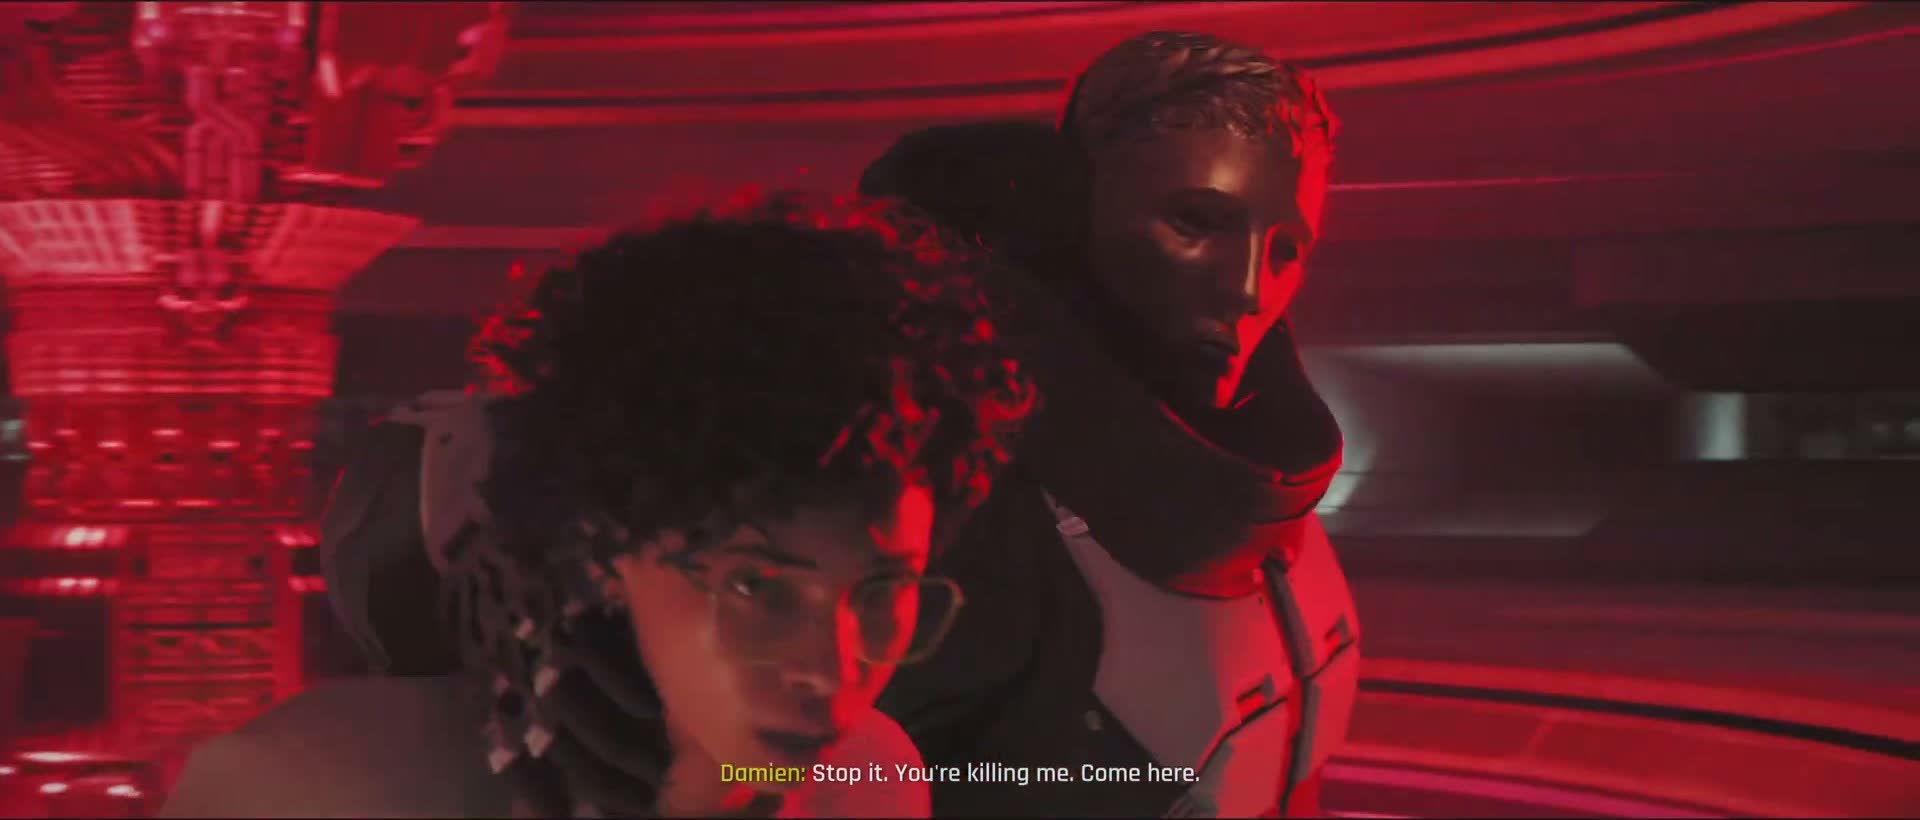
Damien has his arm around the woman in a way that is half-restraint, half-protection. It is hard to read whether she is his hostage or his willing accomplice — the gold mask gives away nothing, and her face is hard to parse in the red light, caught between fear and something that might be defiance, or might be resignation.
The chamber is dominated by a massive circular structure that pulses with red light — THEIA itself, or the control core for it. The scale is impressive: Bond looks small in the frame when the camera pulls back.
Close-Up
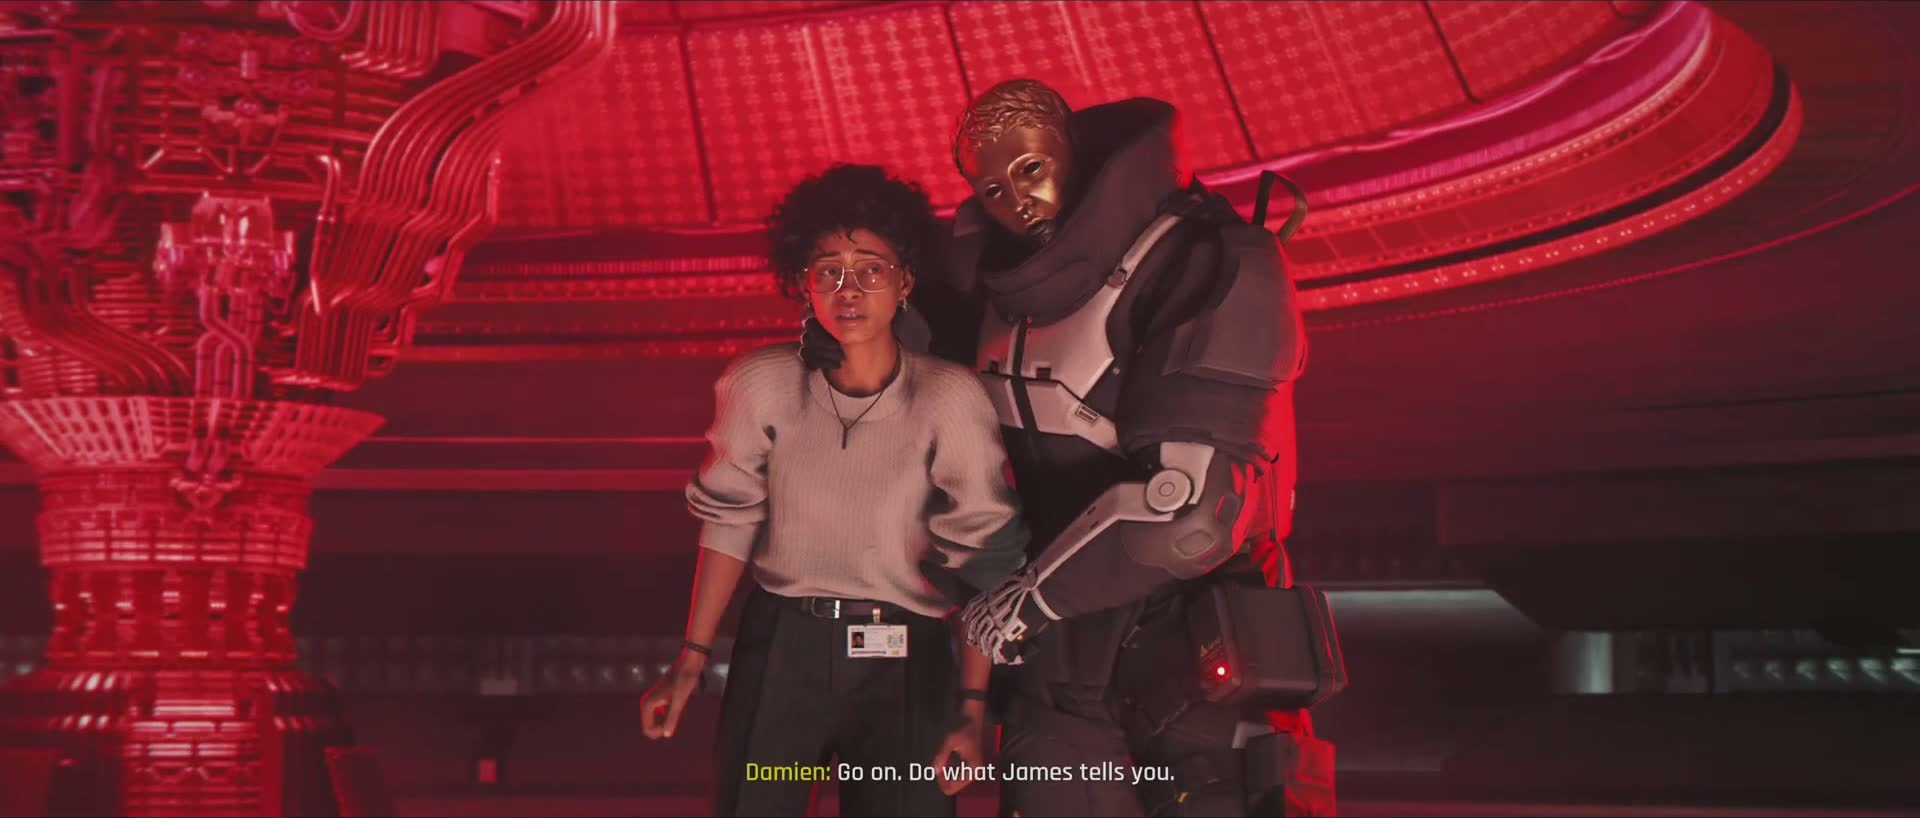
The camera pushes in on the woman's face as she looks at Bond, her glasses catching the red light. Something passes between them — a flicker of recognition, perhaps, or a silent plea. She knows who he is. She may have been waiting for him.
Damien is not blind to this exchange. But he says nothing. He simply maintains his hold on her, watching Bond through that impassive gold mask, and waits.
Concrete and Shadow
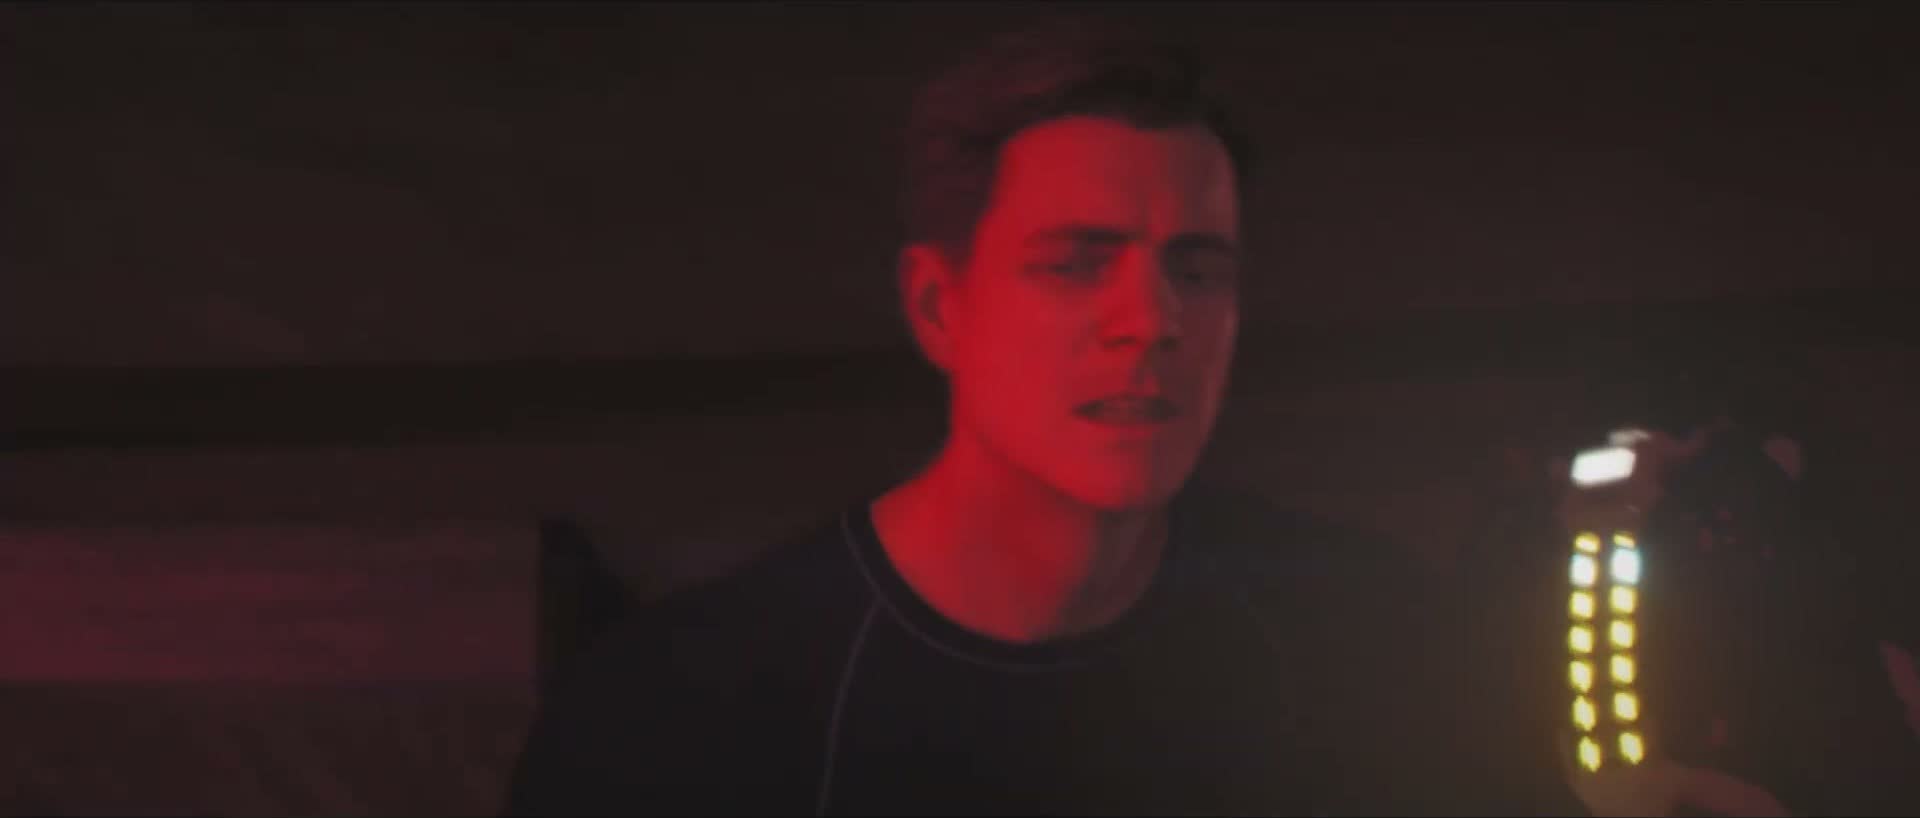
The meeting ends the way these meetings always end: in gunfire. How it starts is slightly fuzzy — Damien leaves, or he sends his men in, or the woman makes a move — but the outcome is the same. You are fighting your way out of the red chamber, past armoured guards, and into a section of the facility you have not seen before.
Bond's outfit changes here, or the lighting makes it look that way. He wears a dark shirt now, the light jacket gone — discarded, lost, or ruined in the escape. The environment is unfinished concrete, ladders, industrial elevators, and temporary string lights.
Pushing Toward THEIA
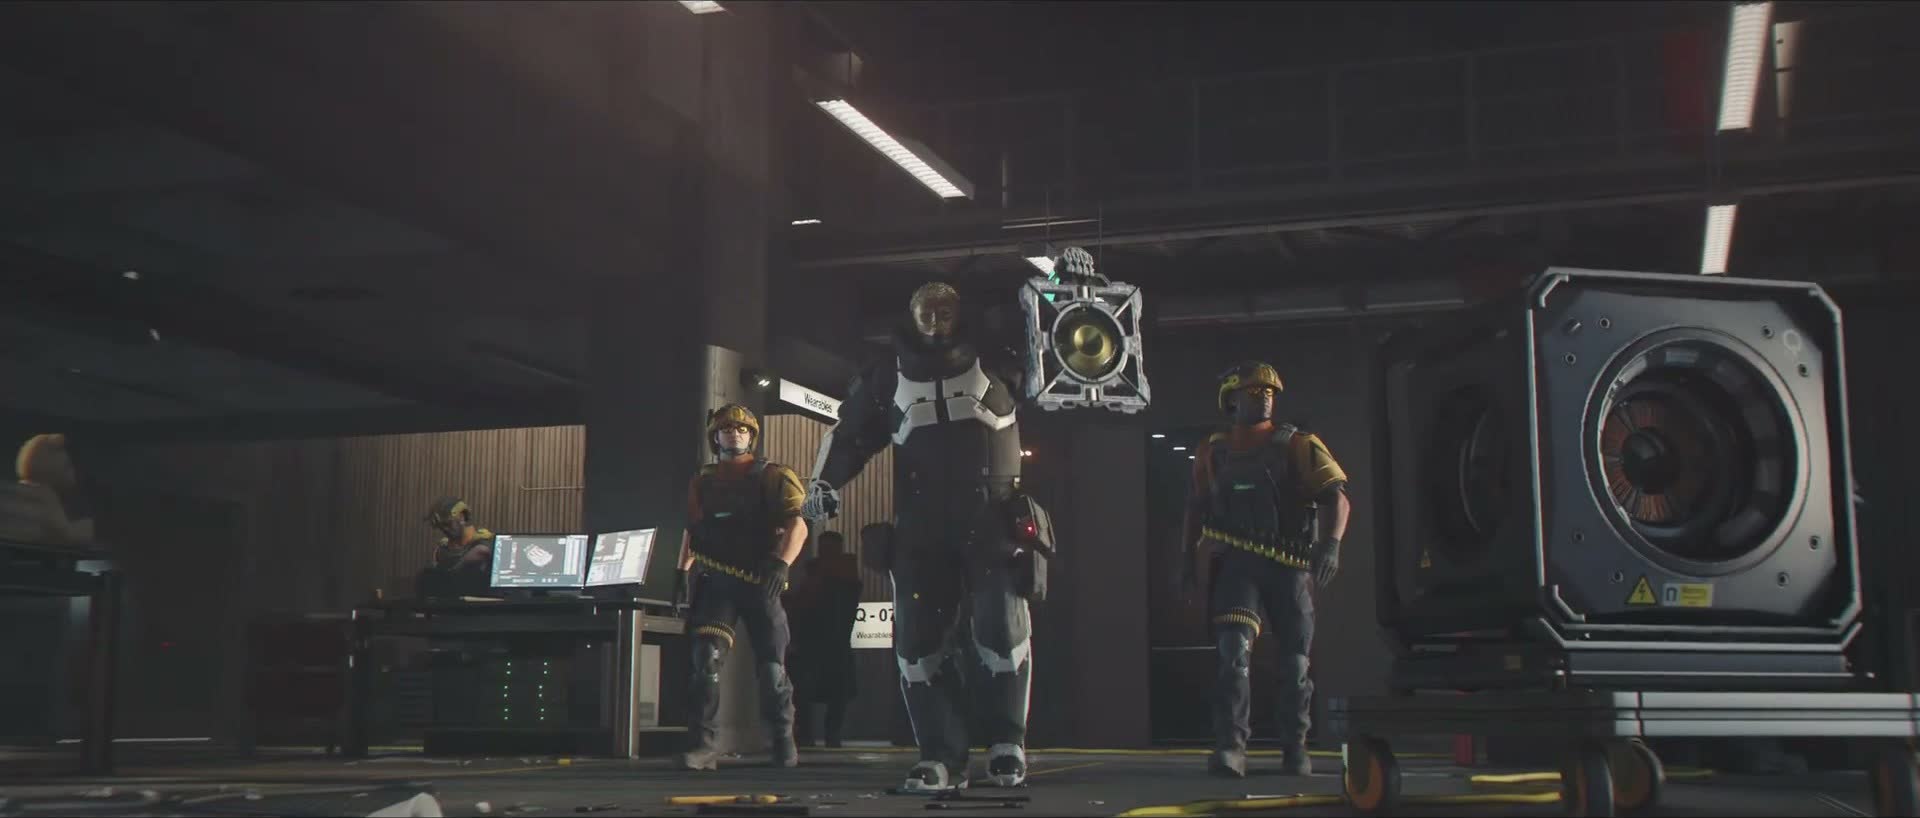
The objective is clear and urgent: Get to THEIA. M's voice is tight over comms as she explains that the magnetic shielding is interfering with remote access; Bond has to reach THEIA physically to disable it.
The combat is relentless here. Each room is a separate arena, each doorway a potential kill zone. Enemies come in waves — after you clear one group, another arrives from a side passage or drops from an overhead walkway. The game is testing whether you have learned its combat rhythm: move, take cover, eliminate the closest threat, reposition, repeat.
The Long Fight
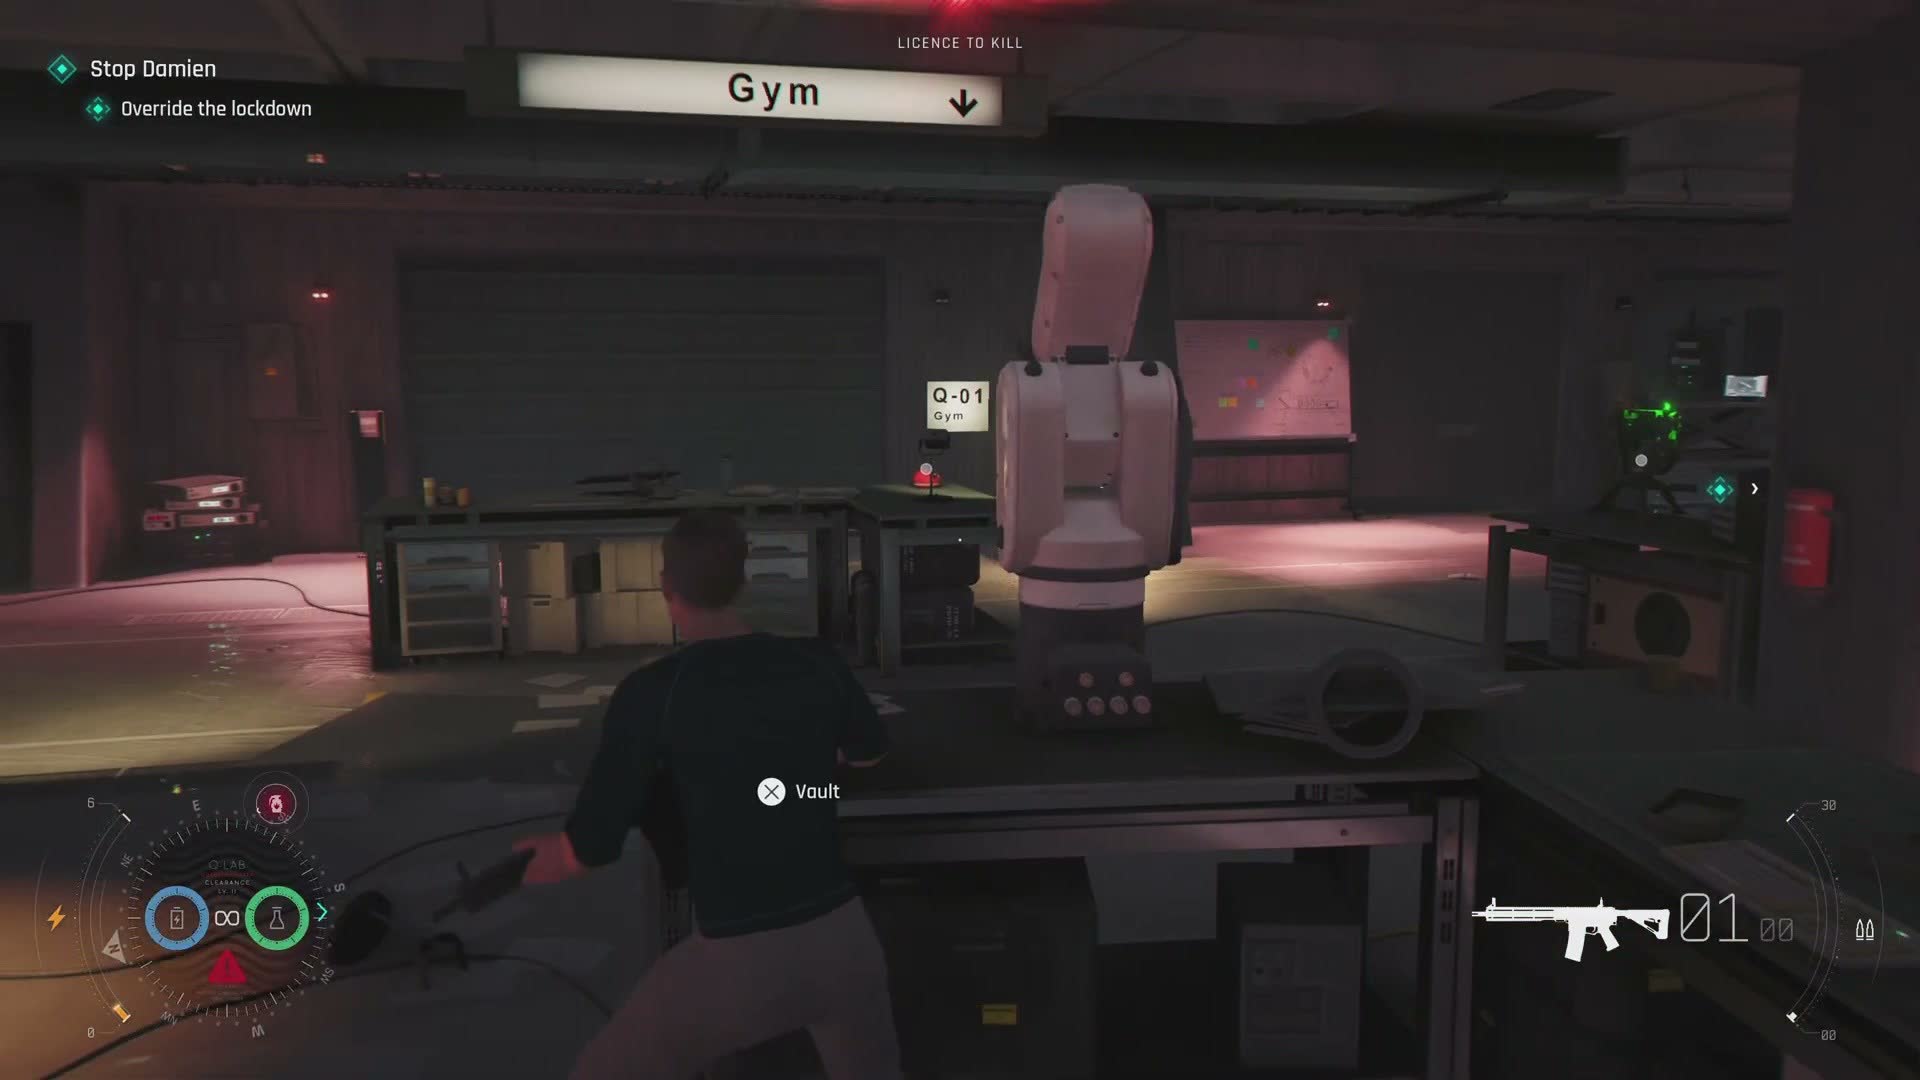
There is a stretch of the chapter — roughly ten minutes of gameplay — where you are simply fighting through room after room with almost no downtime. Offices give way to storage areas; storage areas give way to server rooms; server rooms give way to corridors that open onto mezzanines overlooking larger spaces.
What prevents this from becoming monotonous is the variety of encounters. Some rooms favour run-and-gun; others demand stealth; one particularly memorable set-piece has you fighting across a multi-level atrium with enemies on balconies at three different heights.
The Garage — Stop Damien

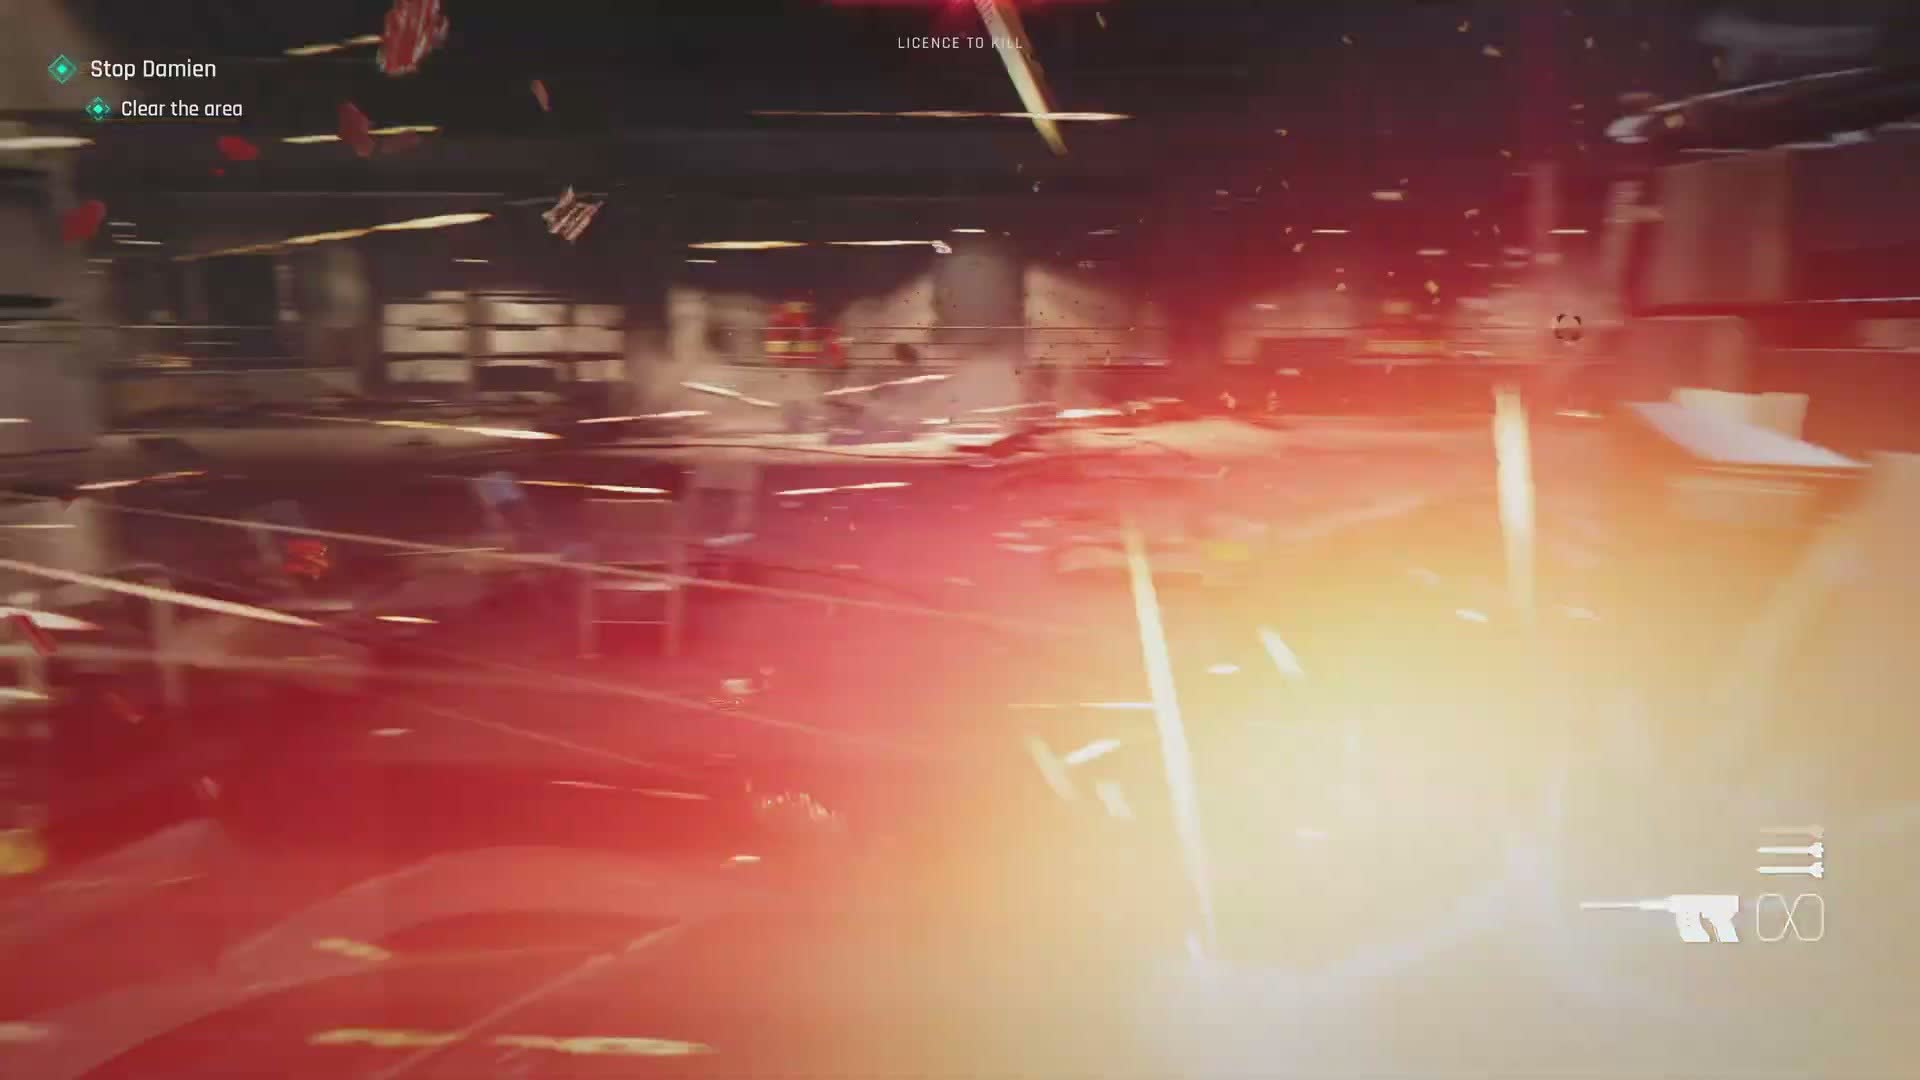
The objective updates abruptly: Stop Damien. You have reached the underground garage — a vast concrete space filled with expensive cars under tarps and strip lighting, and there, at the far end, is the Aston Martin Valhalla. But the garage is also full of enemies, and a furious firefight erupts among the vehicles.
Sparks fly, windows shatter, a sportscar's door is ripped off by gunfire. The licence-to-kill indicator at the top of the screen pulses red as you mow through the last wave of guards between you and the car.
The Valhalla
Bond reaches the Aston Martin Valhalla — a low, black, futuristic hypercar with the engine already running. The car's door is open; he slides inside.
The Valhalla is a real vehicle (Aston Martin's hybrid hypercar) and it is rendered with almost absurd attention to detail in the game: the shape of the headlights, the curve of the roofline, the sound of the engine as it roars to life. For a car enthusiast it is a genuine 'wow' moment.
Car Chase
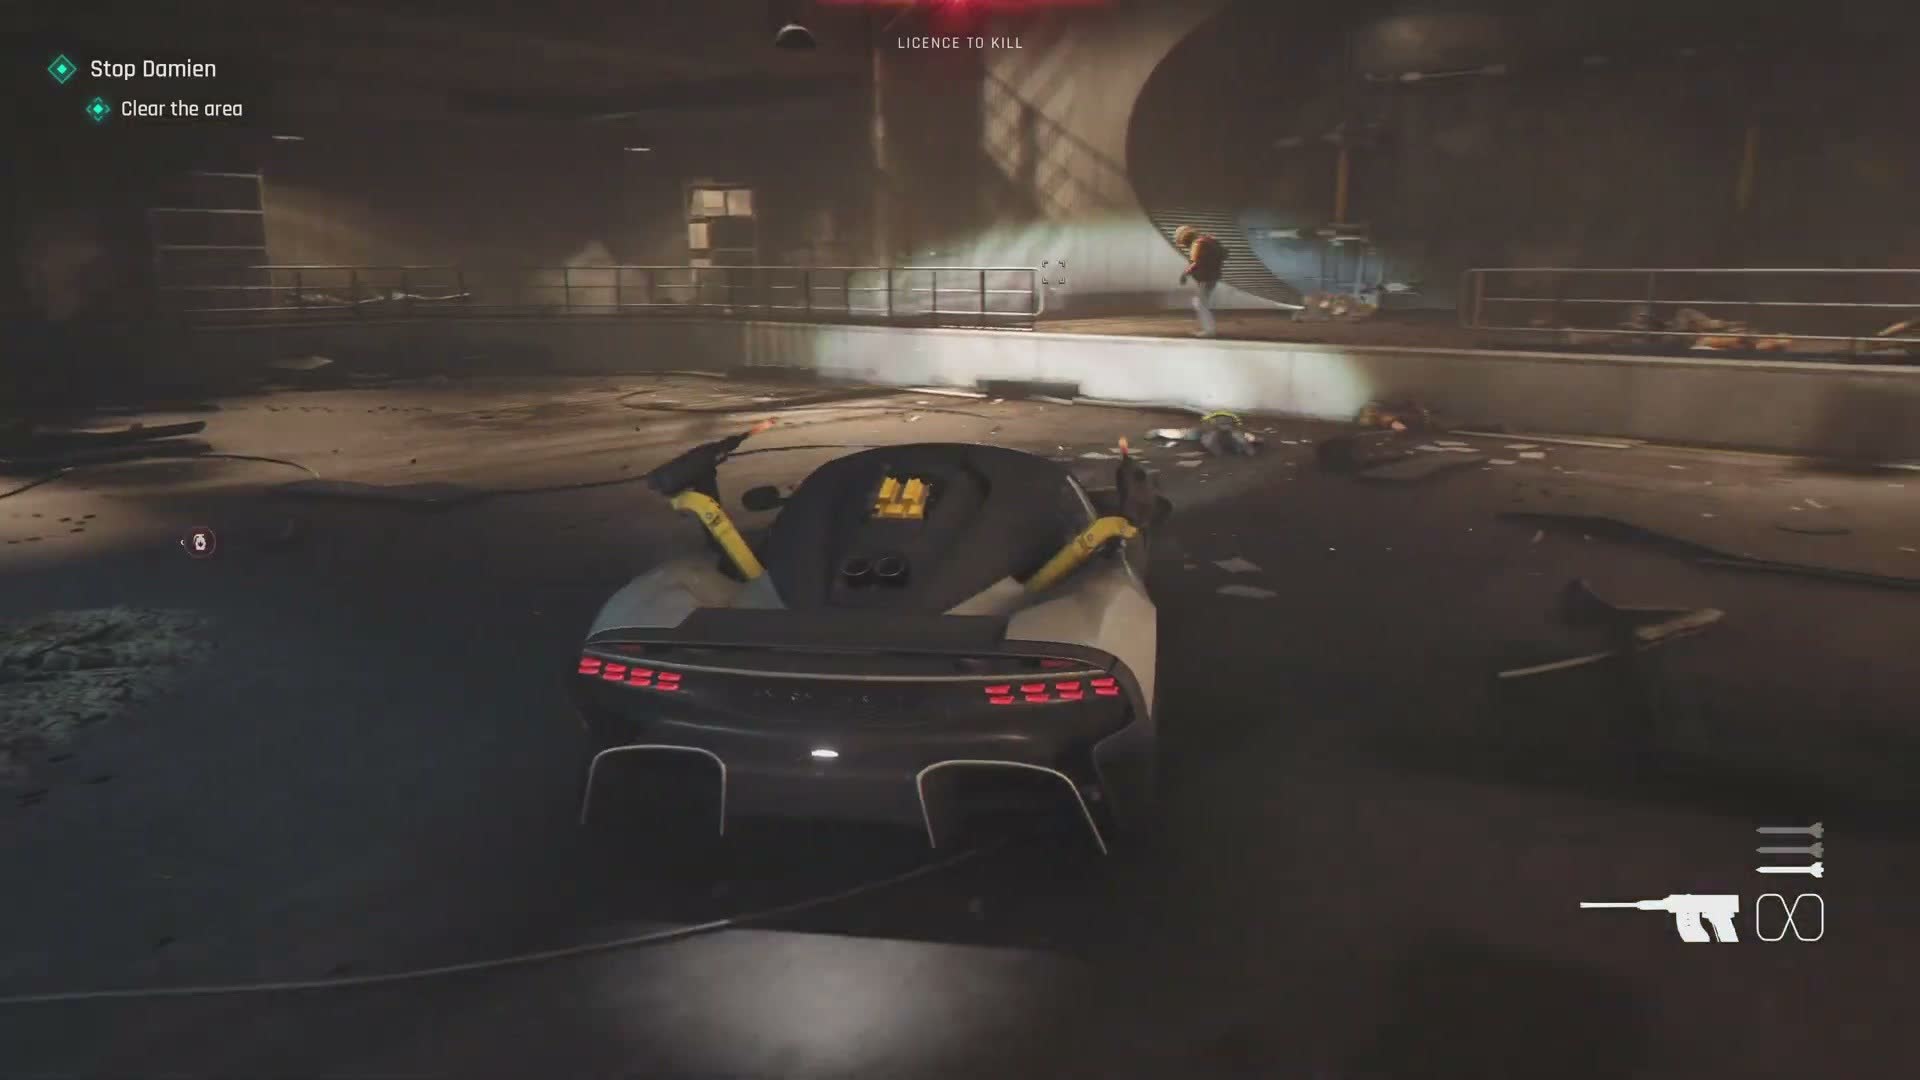
The garage door explodes open and you are out, tearing through city streets at night. This is not a scripted on-rails sequence — you are actually driving the Valhalla, and the controls are tight, responsive, and wildly fast. The city blurs past: wet tarmac reflecting neon, other cars swerving to avoid you, the occasional police siren somewhere in the distance.
Damien is ahead of you in another vehicle (or vehicles — the chase involves multiple enemy cars that attempt to ram you and run you off the road). You can shoot from the car — aiming out of the window at pursuers — while maintaining control of the vehicle.
Are You Quite Sure?
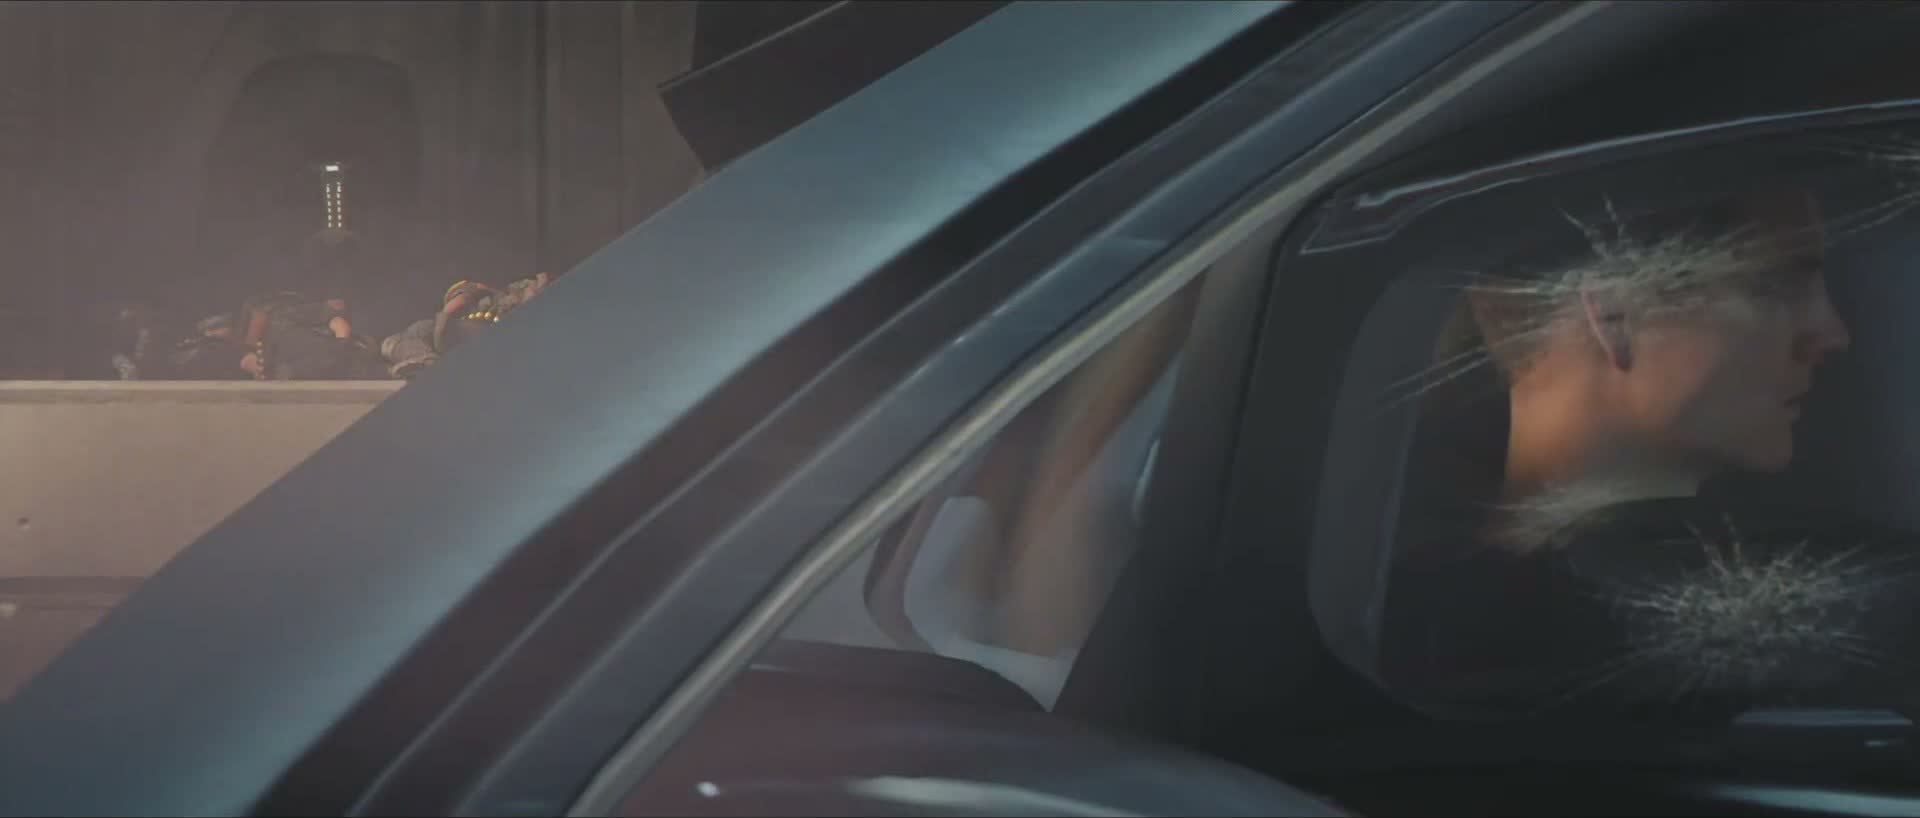
During the chase, a familiar voice comes over the car's communications system — it is Valhalla, the car's AI assistant, asking in a calm, almost polite tone: 'Are you quite sure?' The question is directed at the manoeuvre Bond is attempting (a sharp turn, a collision, a ramp — the context depends on your driving) but it lands as a dryly funny moment amid the chaos.
The chase sequence ends as abruptly as it began: Bond brings the Valhalla to a screeching halt outside an industrial entrance — a tunnel mouth, a service entrance to something below ground — and exits the vehicle.
Out of the Car
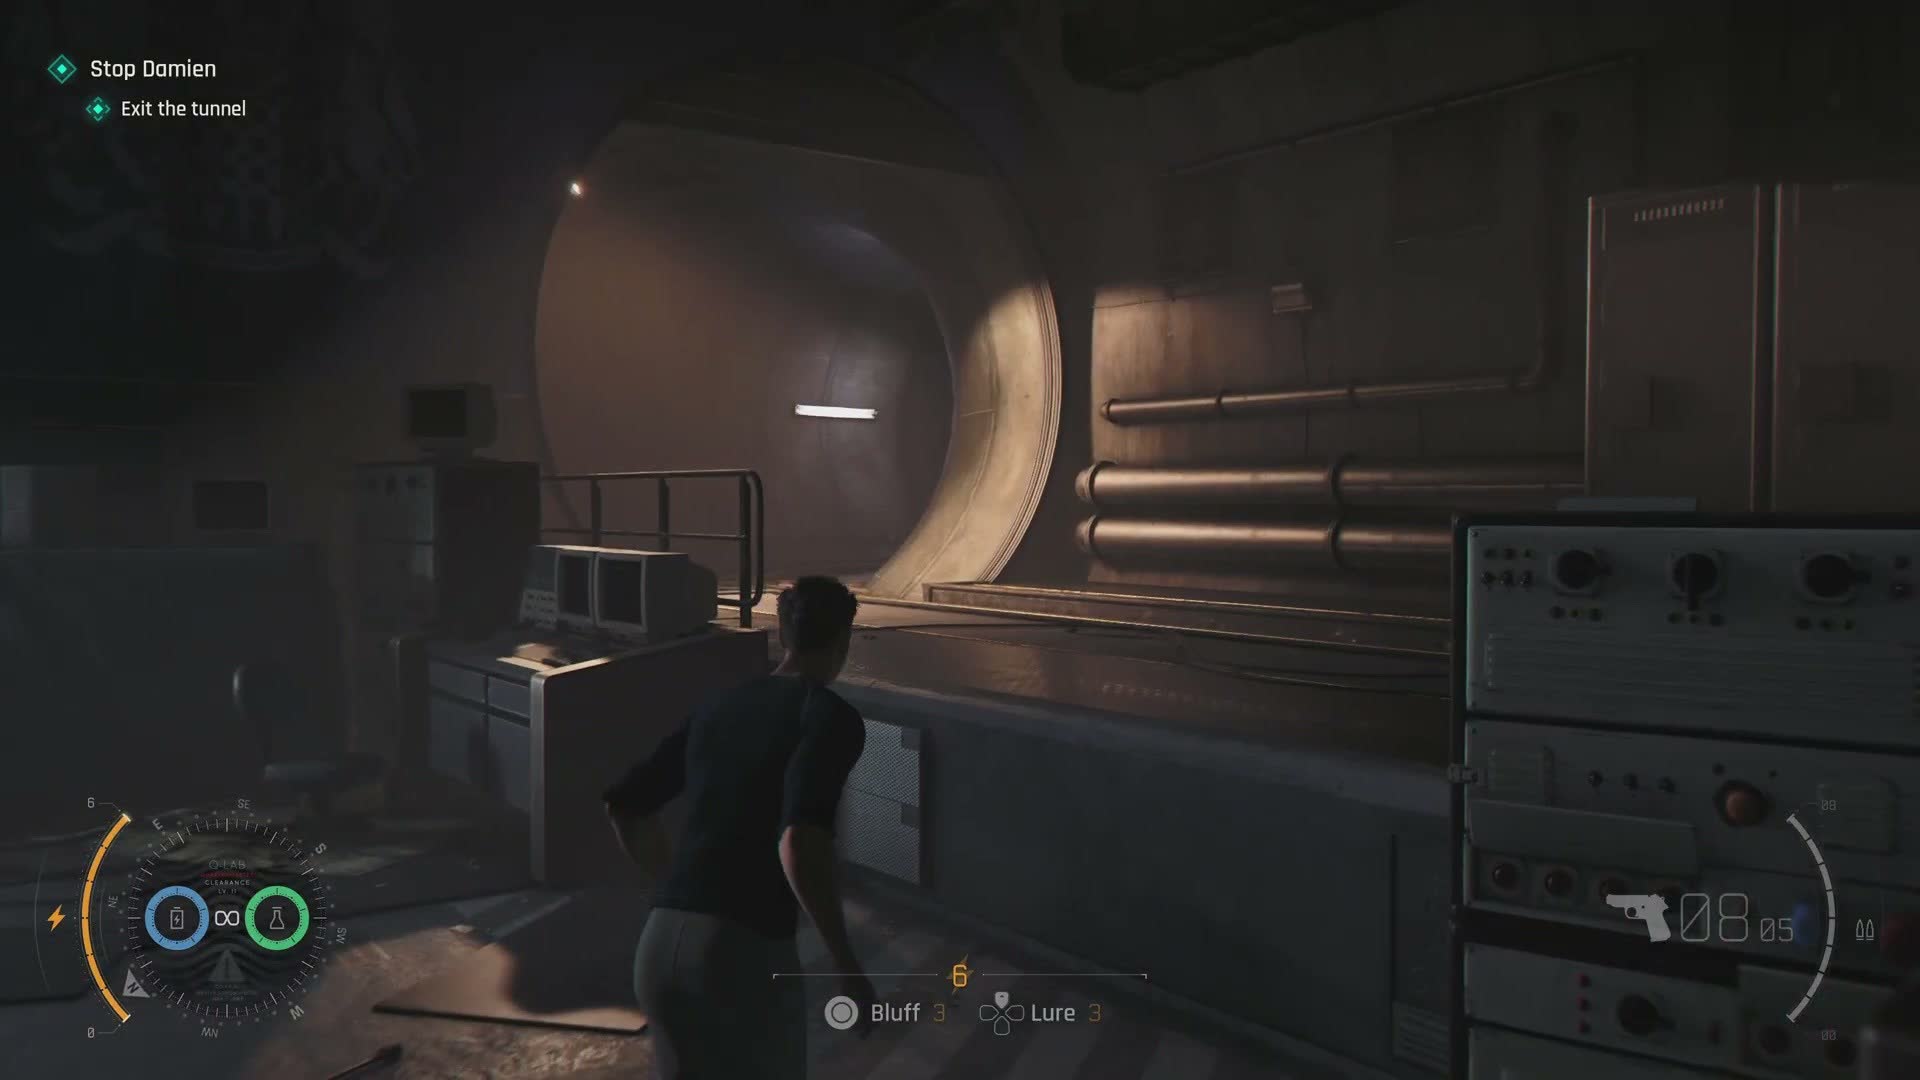
Bond steps out of the Valhalla into the cold night air. He is in a dark shirt now, sleeves pushed up, the jacket long gone. The entrance before him is a heavy industrial doorway, lit by a single yellow bulb. Steam rises from a grate nearby.
There is a brief pause here — no music, no dialogue, just the sound of the Valhalla's engine idling behind him and the distant wail of a siren. Then Bond moves forward into the darkness.
Into the Tunnels
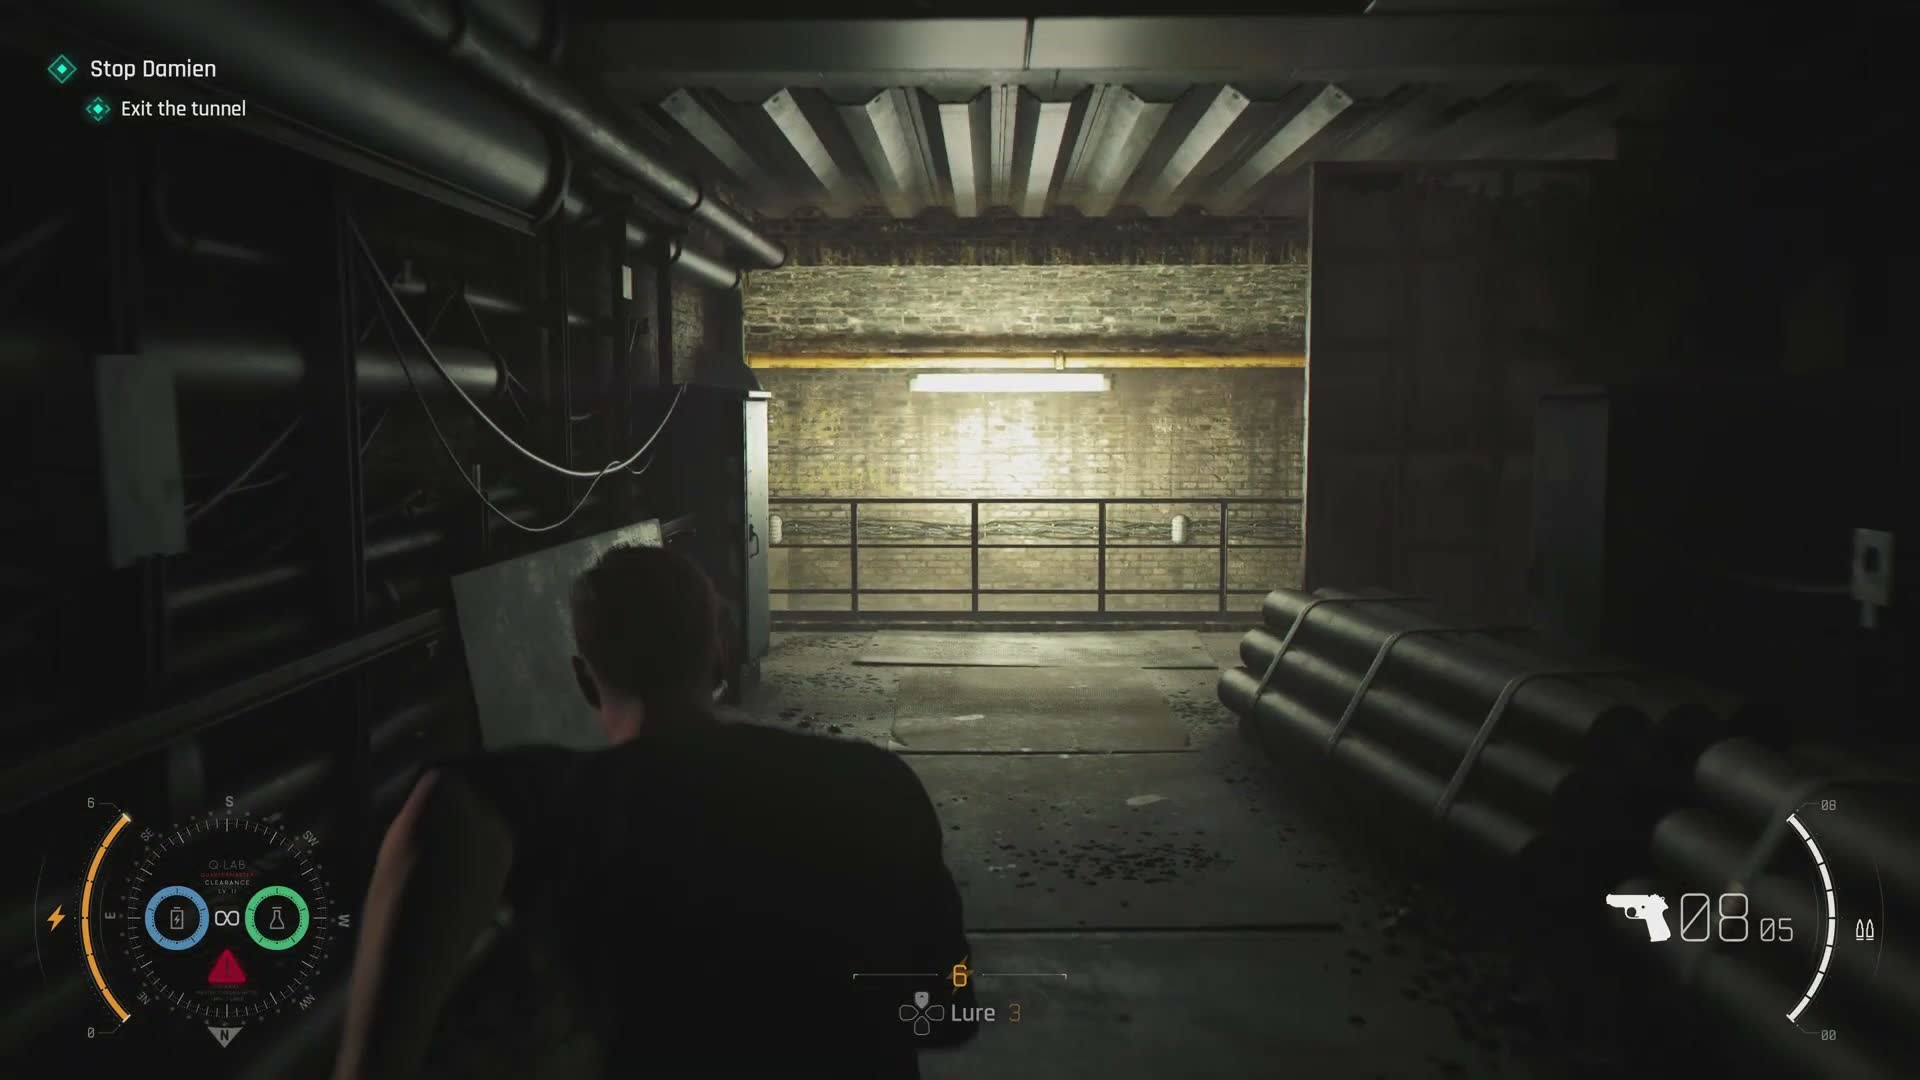
The environment changes completely now. Gone are the glass offices and polished concrete of the facility. You are in old brick-lined tunnels — Victorian-era infrastructure, service tunnels, sewer access, the bones of the city beneath the shining glass above. The walls are dark brick streaked with moisture, pipes run along the ceiling, and the only lighting comes from bare bulbs strung at intervals that cast deep, unreliable shadows.
This is where the chapter gets genuinely tense. The enemies are fewer but deadlier, and the tight brick corridors leave no room for flanking or retreat. You move forward because there is nowhere else to go.
Tunnel Combat
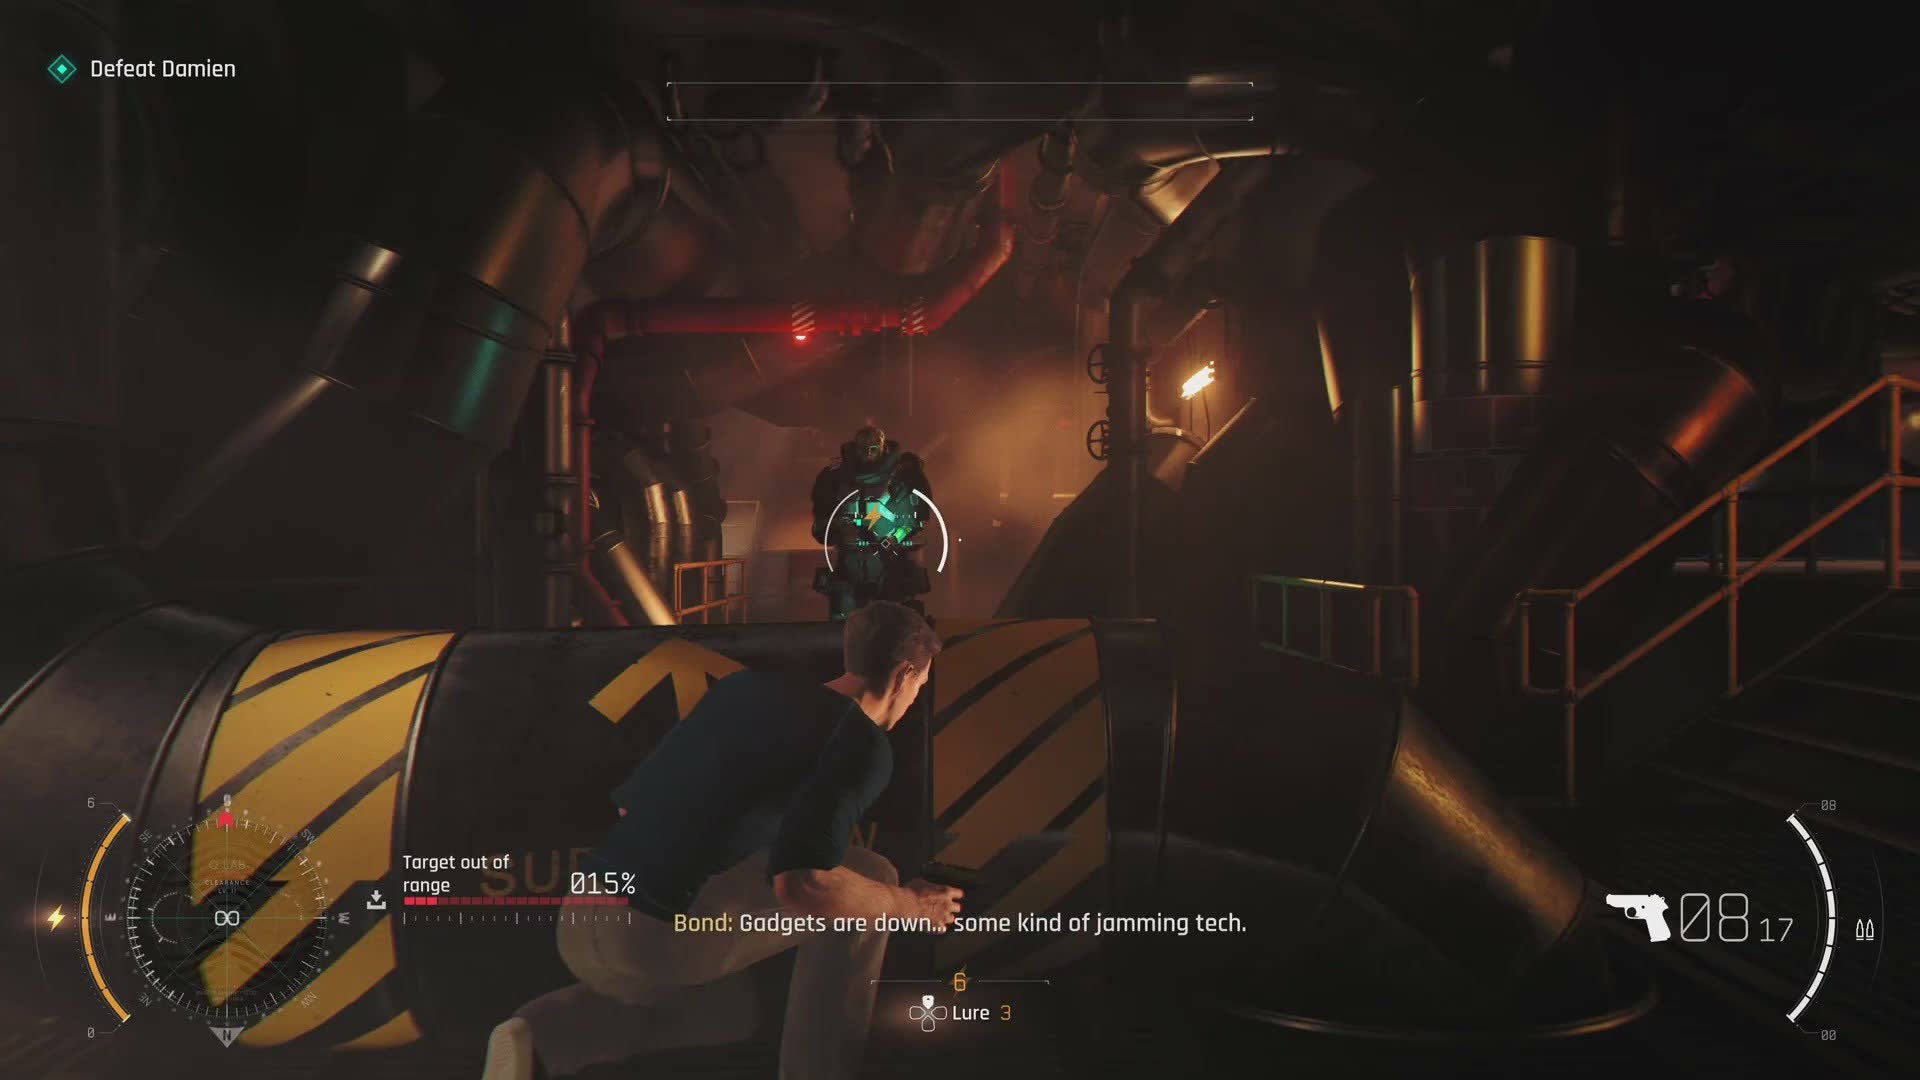
The tunnel fighting is close-quarters and brutal. The brick walls channel gunfire; there is no wide-angle cover, only pillars, pipe junctions, and the occasional metal door. Enemies appear from side passages and from around corners with very little warning.
Bond moves through the tunnels methodically, clearing each section, weapon raised. The lighting shifts from the warm yellow of the bulbs to the cold green of emergency strips and the orange glow of steam pipes.
Armoured Presence
You encounter a heavy armoured soldier — not Damien, but the same type: full body plating, heavy weapon, a dark helmet, no mask this time. The silhouette is the same: broad, imposing, seemingly impervious to small arms fire.
This is a mini-boss, effectively — a preview of the Damien fight that is coming. The heavy soldier carries what looks like a light machine gun or an automatic shotgun, and it can kill Bond in seconds if you stay exposed.
The Industrial Fan
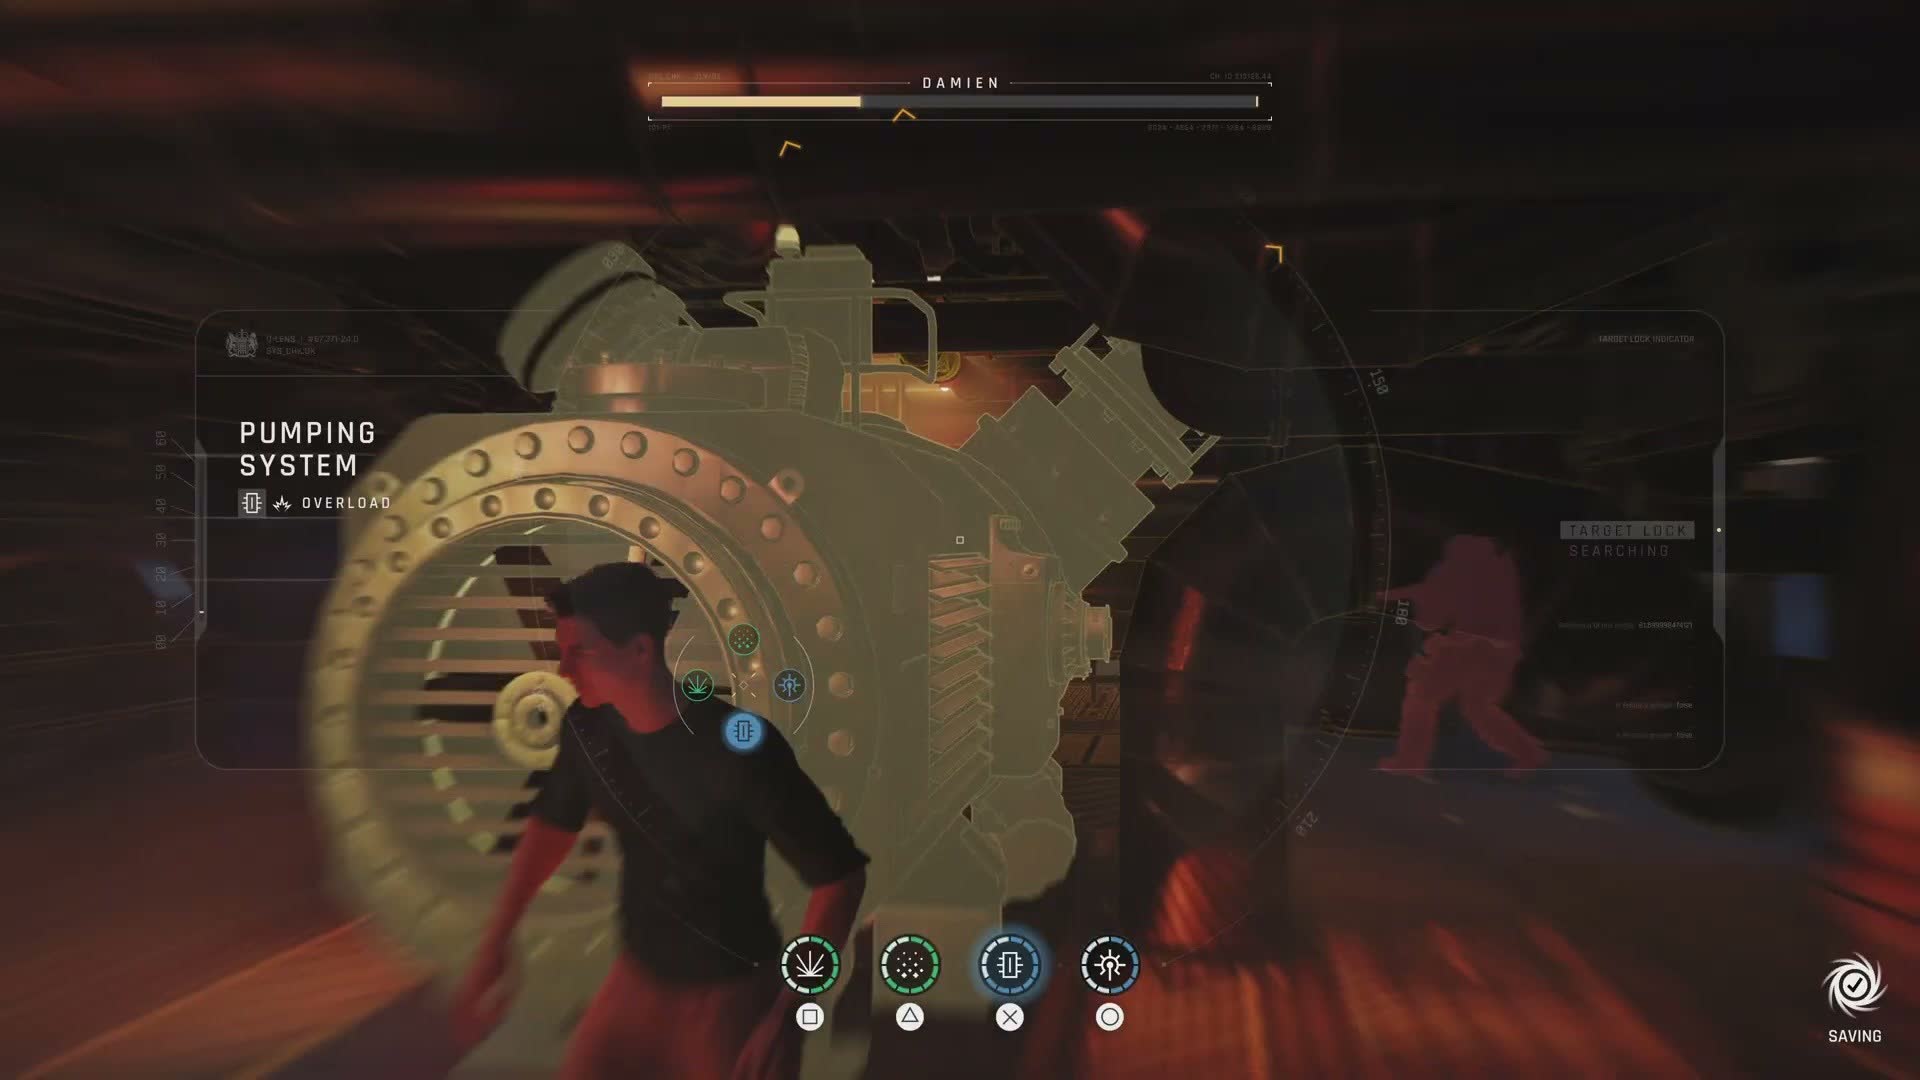
Deeper in, you encounter a massive industrial fan set into the wall — a ventilation shaft, several metres in diameter, its blades spinning slowly. The route forward requires you to move past it, timing your movement between the blades, or to find an override to shut it down.
The fan is one of the more memorable environmental puzzles in the game — not difficult, but a nice change of pace after so much shooting.
Boss Fight — Damien
The tunnel opens into a larger chamber — and Damien is there, waiting. No more guards between you, no more distractions. It is Bond against the gold-masked figure, one on one.
The fight is not what you expect. This is not a shooter duel — Damien closes the distance immediately, and the fight becomes a brutal, intimate sequence of close-quarters combat: grappling, dodging heavy swings, looking for openings. The HUD updates: Defeat Damien. A health bar for DAMIEN appears across the top of the screen.
Overriding the Turret
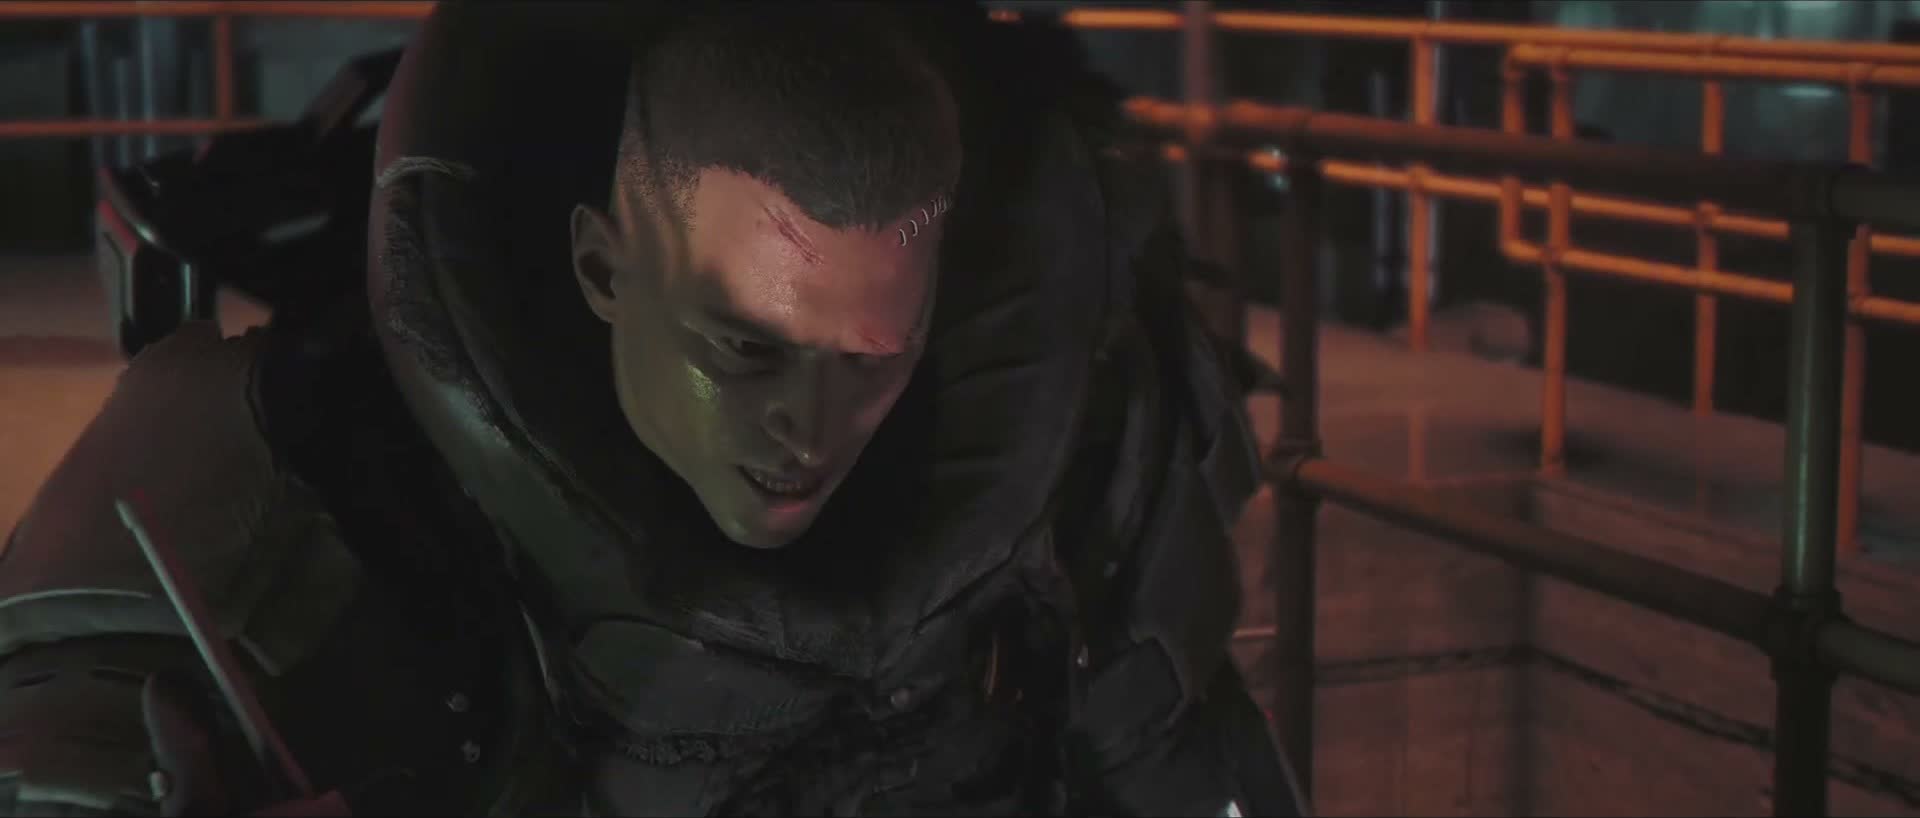
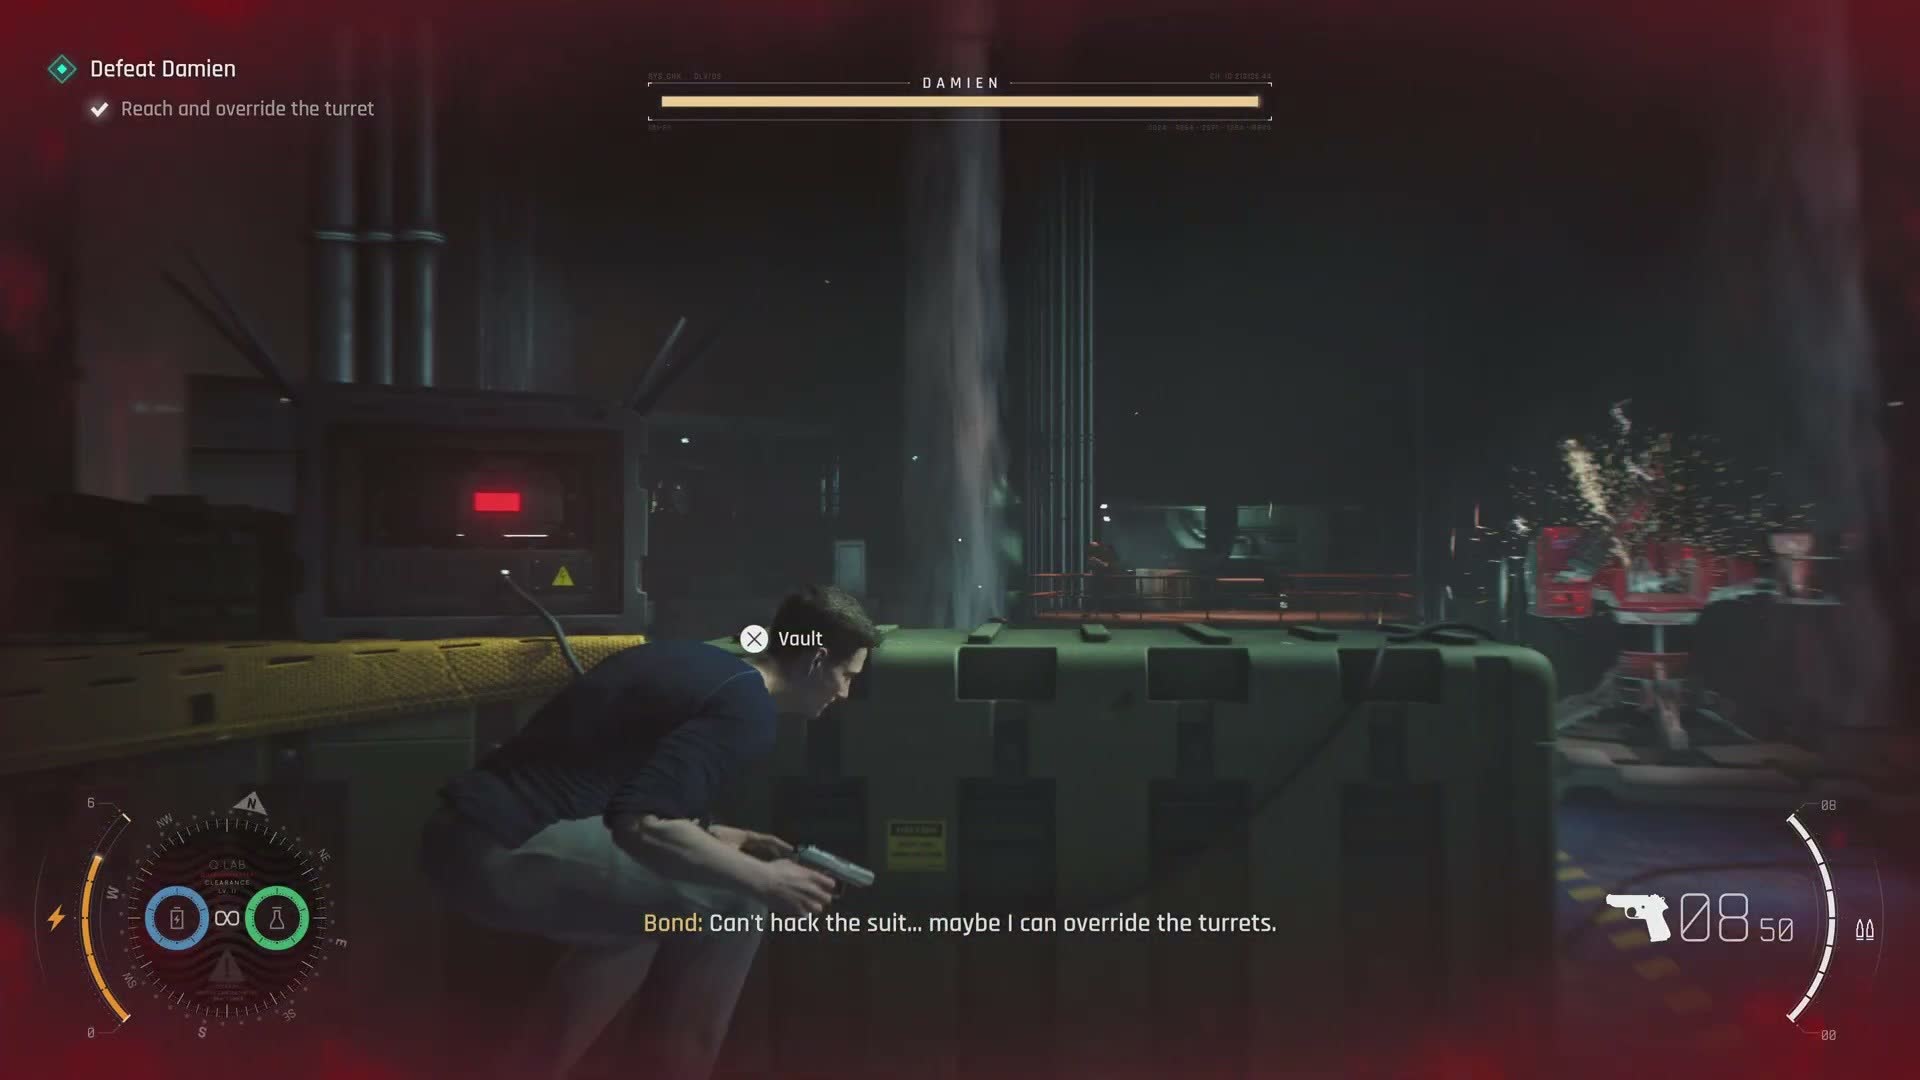
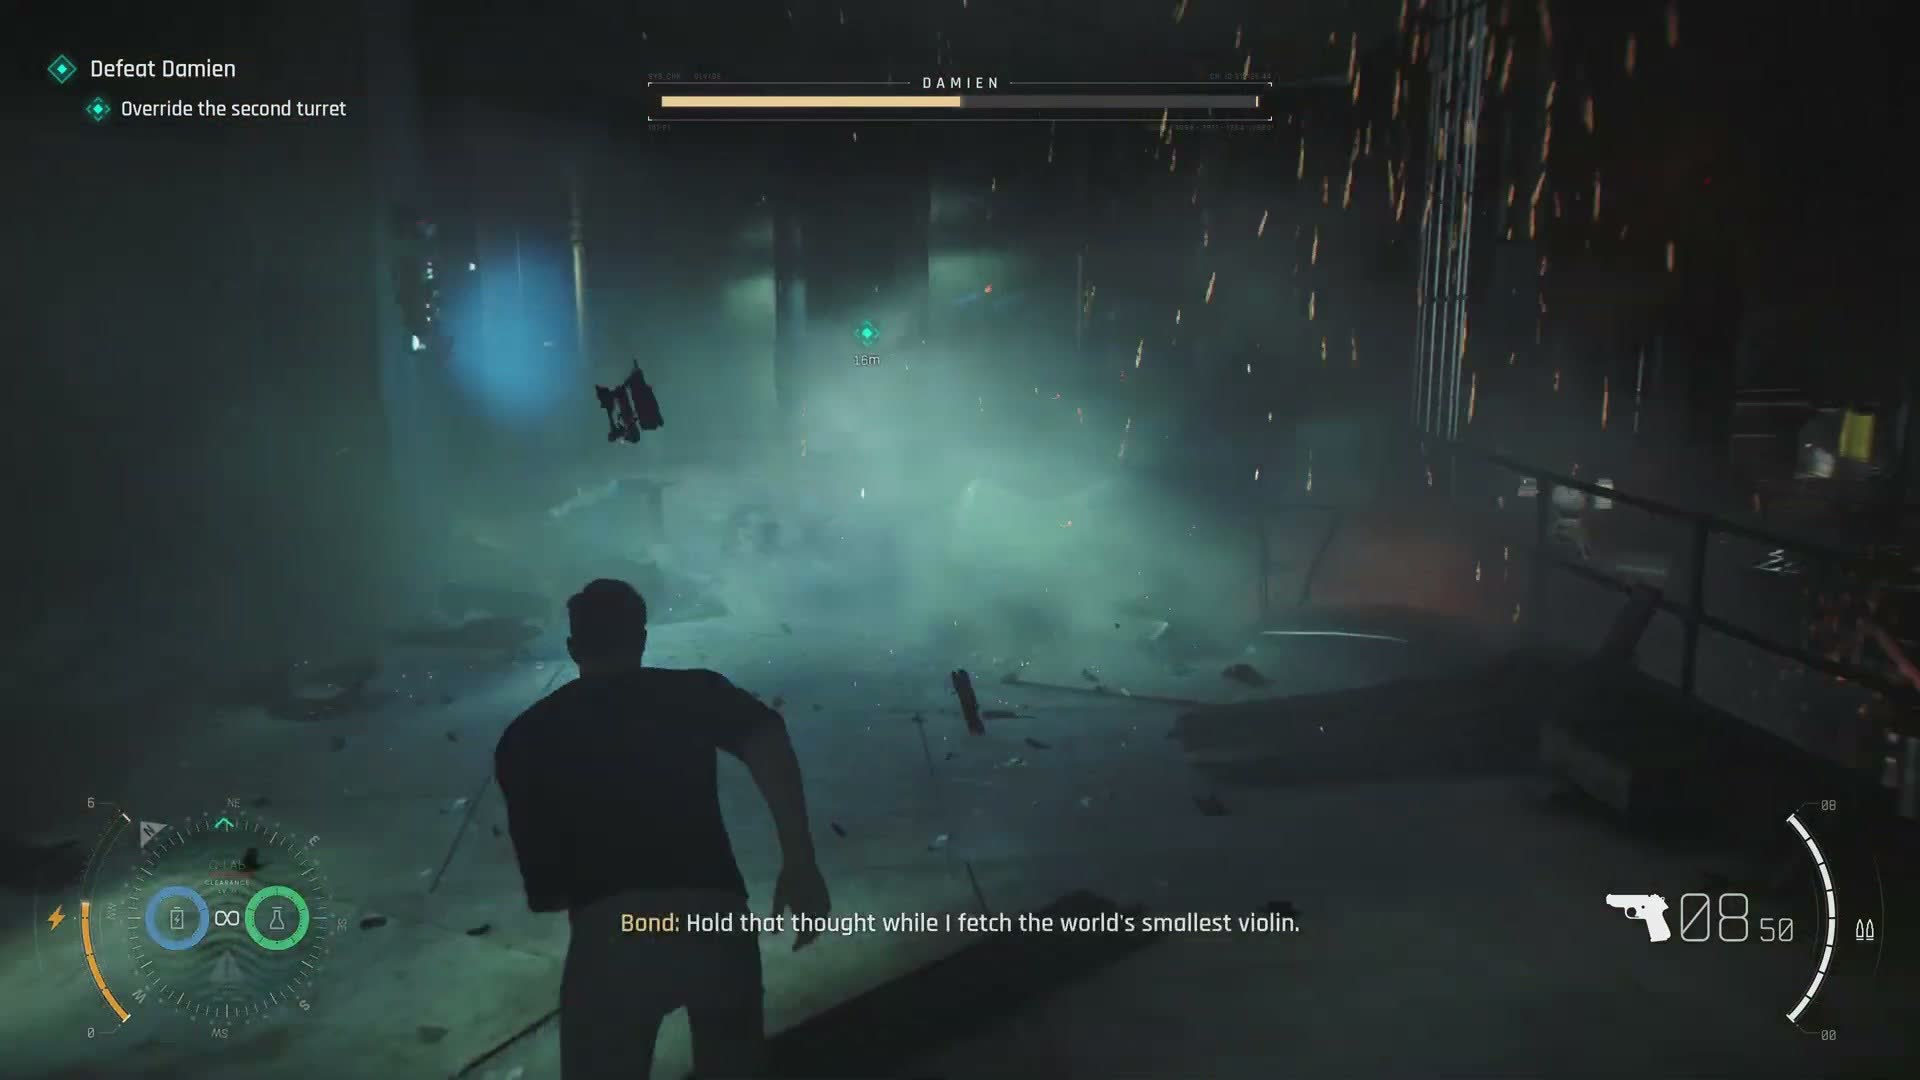
As the fight progresses, a secondary objective appears: Override the second turret. The chamber has automated defence turrets that come online during the boss fight, and you need to reach a control panel to disable them (or turn them on Damien).
This adds a layer of positional gameplay to what is otherwise a brawl. You have to break away from Damien, sprint to the panel under fire, interact with it, and then get back to the fight.
Face to Face
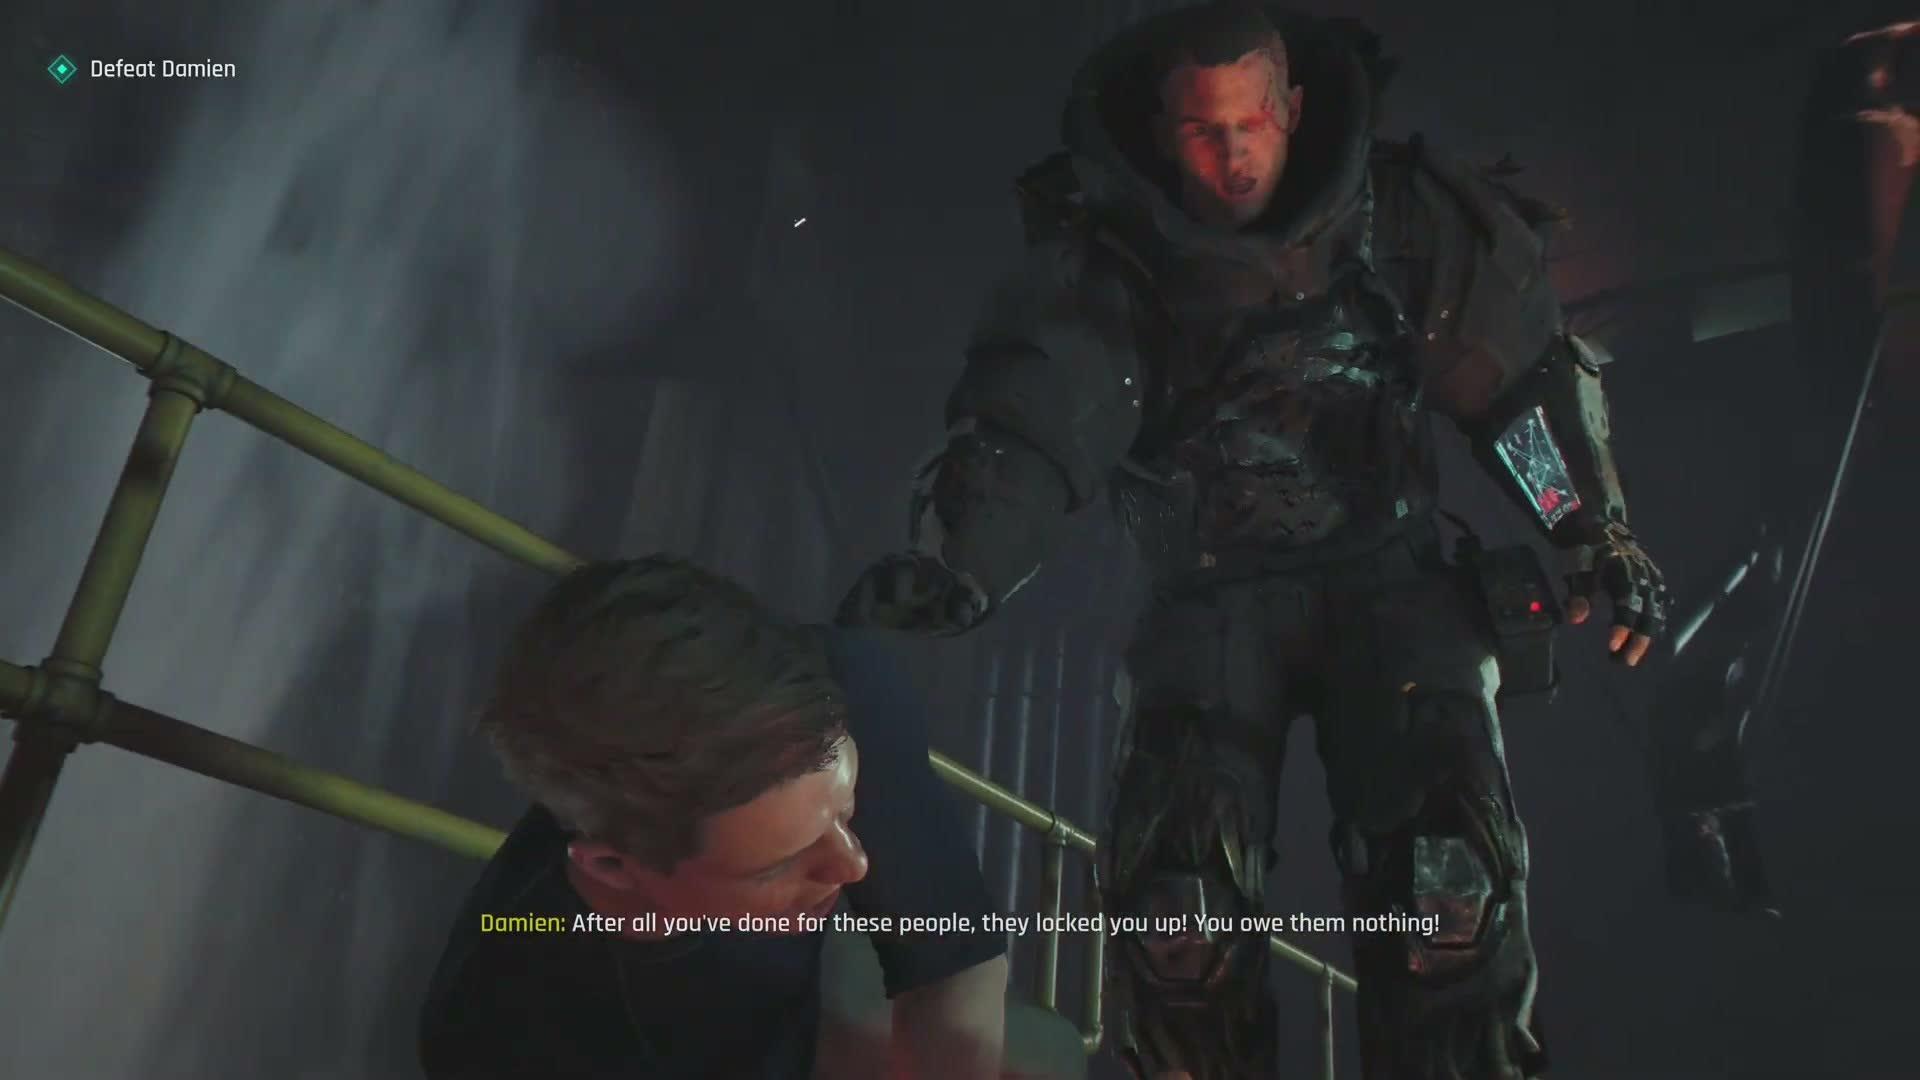
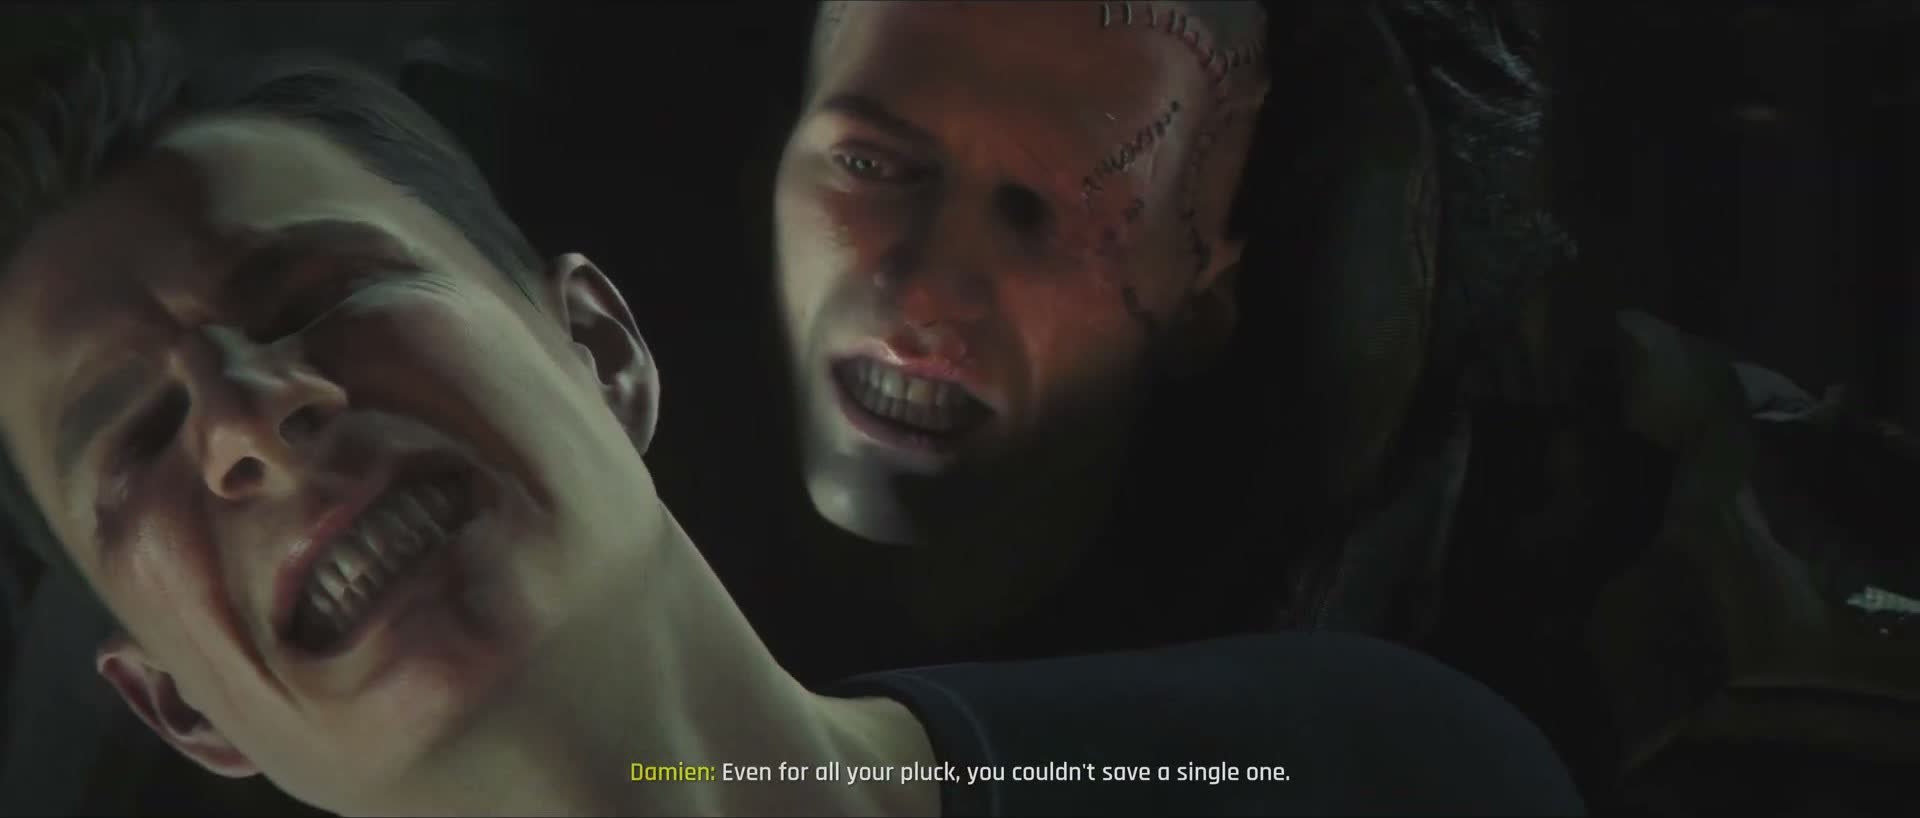
The fight culminates in a grapple — Bond and Damien locked together, the gold mask inches from Bond's face. In one final effort Bond wrenches at the mask, trying to tear it off, and for a split second you see something beneath — a flash of face, a human being rather than an icon.
Whether you remove the mask fully depends on how well you perform in the final QTE sequence. Either way, Damien is defeated — not killed outright, but brought down, the gold mask cracked or askew on the floor, the armoured figure at Bond's mercy.
The Engineer's Choice
The woman from the red vault — the engineer — appears in the chamber. She is no longer being held; she is moving freely, and her expression has changed. She has made her choice.
What she does is a spoiler, but it matters. It determines whether the immediate threat is resolved cleanly or whether Bond must fight one last wave of enemies in the aftermath. She is neither a simple hostage nor a simple villain — she is a person caught between two impossible choices, and her agency is respected by the writing.
Water
There is water in the aftermath of the fight. How it gets there — whether a pipe bursts, whether the chamber floods, whether Bond falls or dives — is handled by cutscene, but the effect is a disorienting sequence of blue-green underwater imagery. Bubbles rise. Light filters down from above. Bond moves through it with the slow-motion weight of someone who has nothing left to give but is not yet ready to stop.
Bond surfaces. The fight is over.
The Cemetery
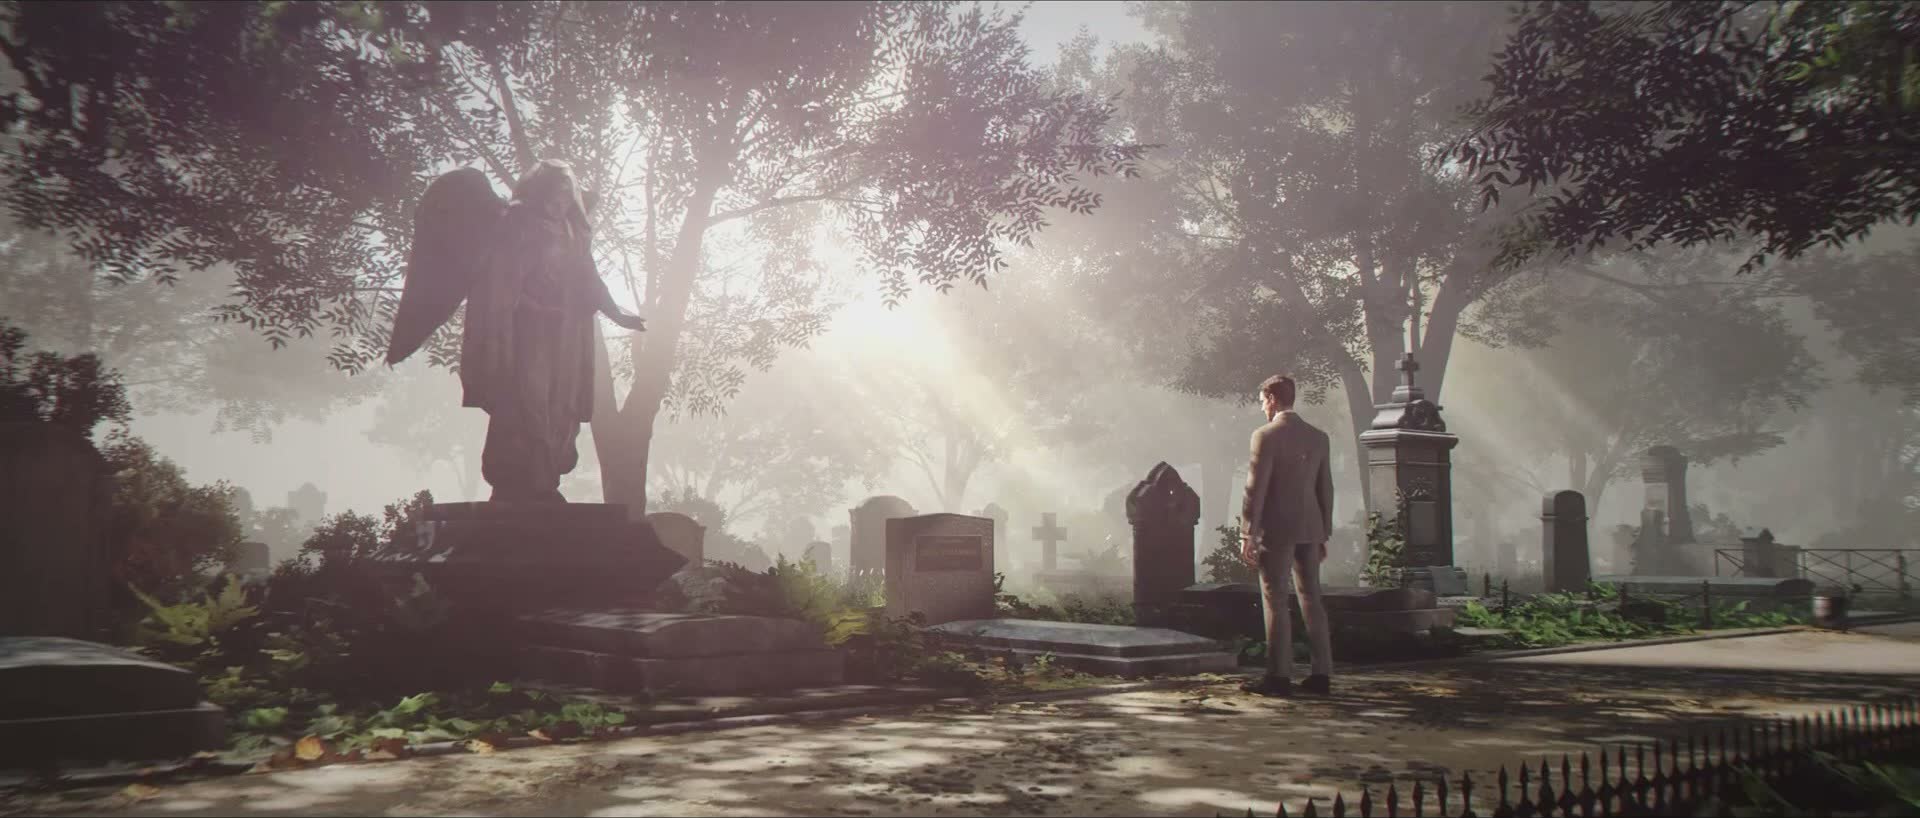
The memory ends. We are back in the present — back in the world of suits and ties and quiet English days. Bond walks through a cemetery. He is wearing a dark suit, white shirt, grey tie. The woman — M — walks beside him, also in black.
It is a beautiful, overcast English day. Grey stone monuments rise among green trees and neatly cut grass. Leaves drift down. The contrast with everything you have just played could not be more complete. You have spent forty minutes in red alarm light, brick tunnels, and gunfire; now you are walking slowly past gravestones with two people in funeral attire.
Graveside

They stop at a grave. The camera does not show the name on the stone — not immediately, not all at once — but you understand who is buried there from the weight of the silence. M speaks. Bond listens. There are no big speeches, no dramatic declarations. Just two people who have been through something terrible, standing together in the rain that has started to fall.
M says something short and final. Bond replies, 'Yes.'
Bond and M

The camera holds on both of their faces for a long moment. M looks at Bond the way a commanding officer looks at a soldier who has just passed his final test — not with affection, exactly, but with recognition. With something that might even be respect.
Bond's face is harder to read. He has aged during this chapter. The young man who moved through red corridors in a light grey jacket has been replaced by someone older, quieter, more dangerous.
The Walk
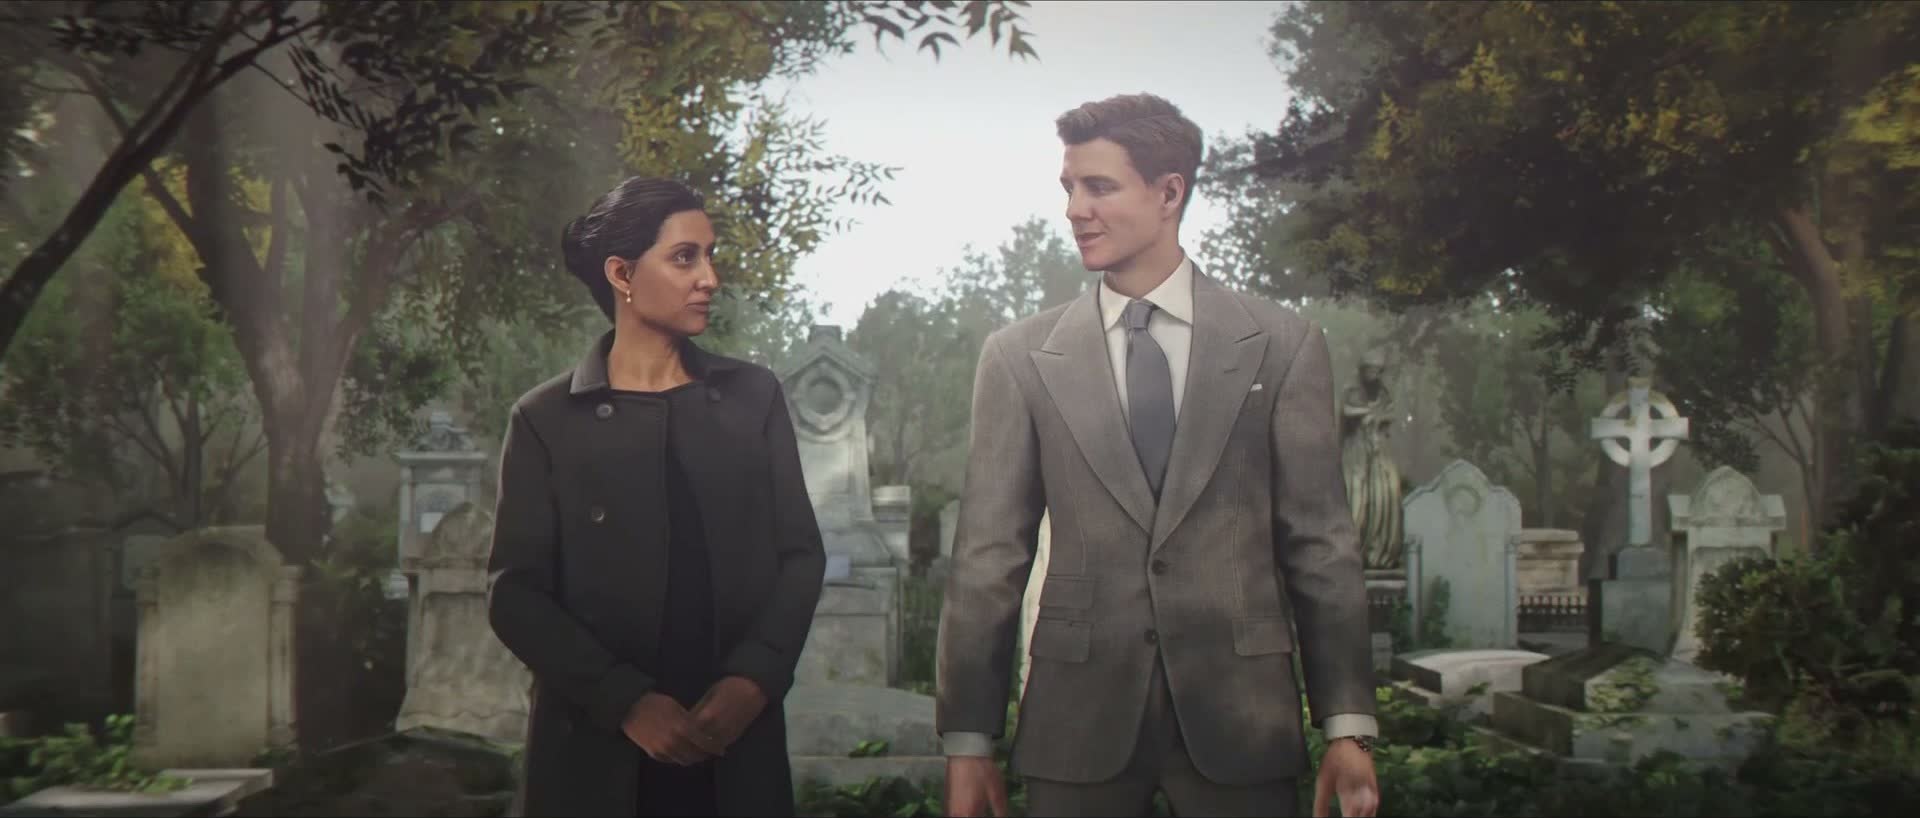
They turn and walk away together, moving slowly between the gravestones, the rain heavier now, the trees swaying gently in the wind. The camera pulls back and up, rising above them, showing the cemetery stretching out in every direction — a city of the dead, and two living figures moving through it.
For England fades to black. The credits do not roll — not yet, because there is more story to come — but the chapter ends here, in quiet, in rain, in grey English weather.
'For England,' M told him earlier, or something very like it. And Bond's reply was the same as it is here: Yes.
Chapter Tips
Collectibles in This Chapter
Explore each section thoroughly to find all hidden items. Check the tips above for specific collectible locations.